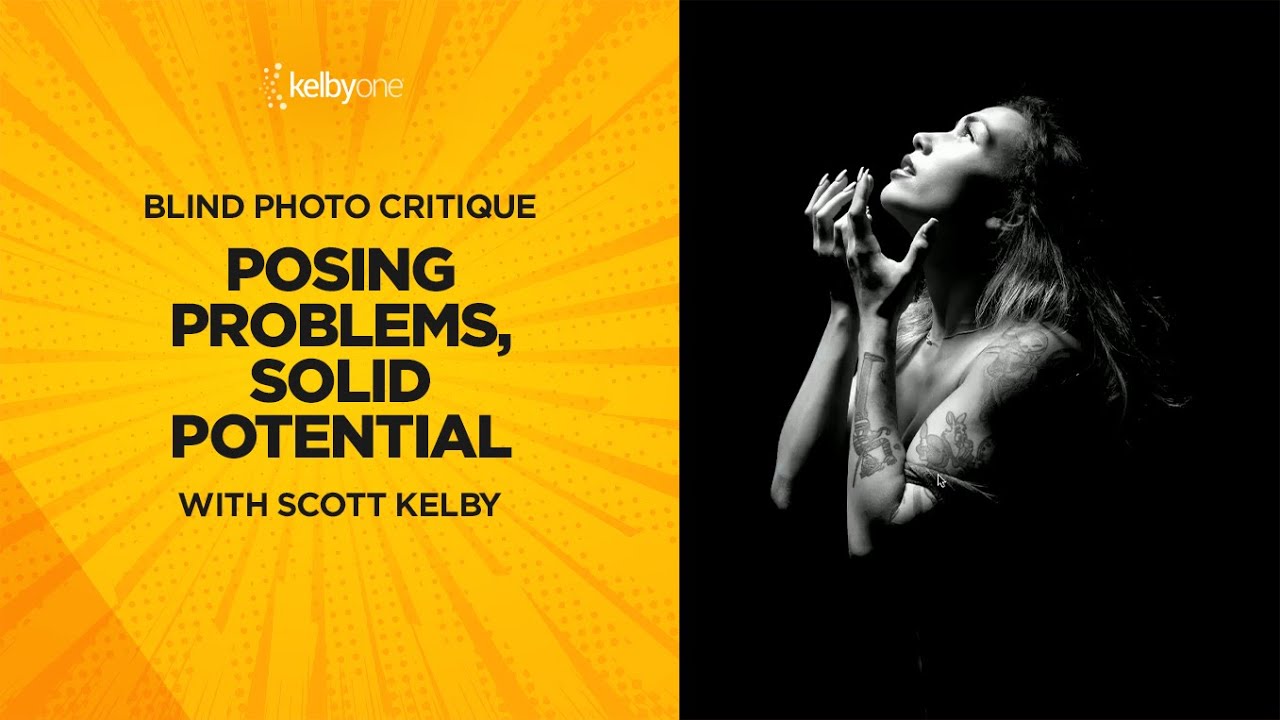
Posing is the thing nobody wants to hear about. Photographers will spend hours obsessing over light ratios, modifier choice, and color calibration — guilty as charged — and then put a subject in front of that carefully engineered setup and completely fall apart. I’ve done it. The light was dialed in, the background was clean, and the model looked like she was waiting for a bus. The image was technically correct and emotionally dead.
That’s why this kind of critique format cuts so deep. In this KelbyOne tutorial, Scott Kelby works through a set of blind portrait submissions — he doesn’t know the photographer, has no context, and calls exactly what he sees. What emerges from the session isn’t really a lighting lesson. It’s a posing lesson wrapped inside a lighting lesson, which is the honest version of how most studio problems actually work. The light can be doing its job and the image still fails if the subject isn’t told what to do with her body, her face, or her intent.
I’ve watched a lot of critique videos. This one stuck because Kelby doesn’t soften the diagnosis. He identifies the category of problem first — posing versus lighting versus composition — and then explains why each failure mode produces the specific result he’s seeing. That’s a teachable framework, and I want to walk through it the way I’d use it on my own shoots.
Step 1: Identify Whether You Have a Posing Problem or a Lighting Problem First
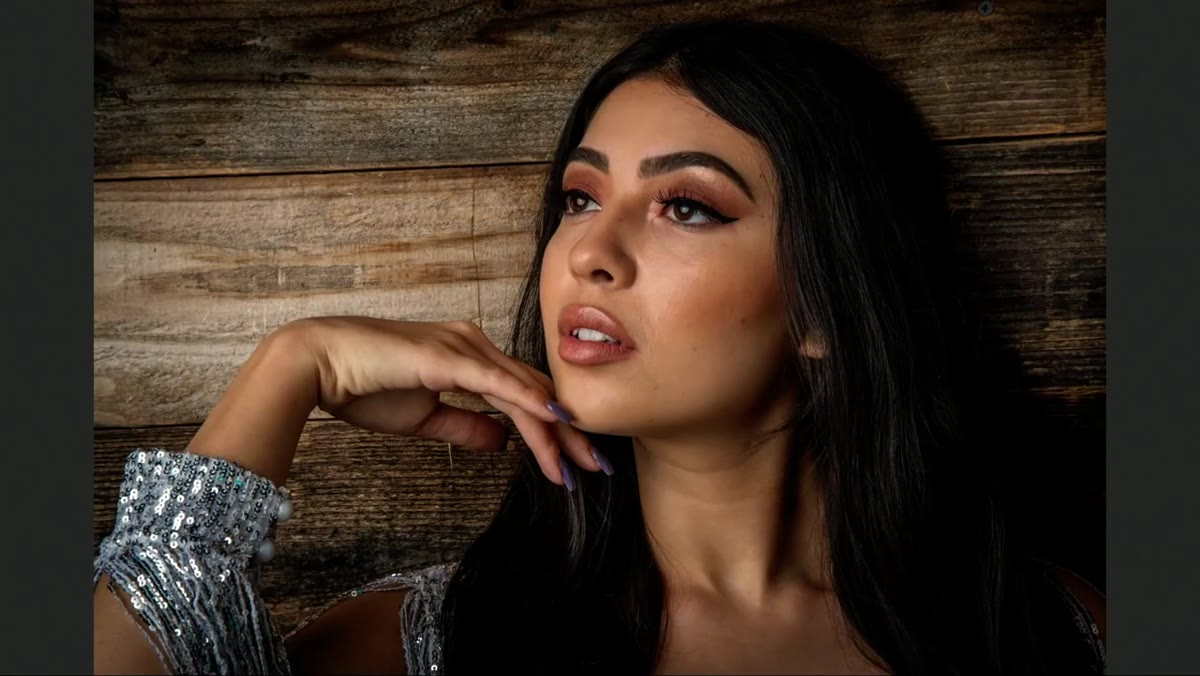 Scott Kelby reviewing first portrait submission on screen
Before you adjust a single light, you need to correctly diagnose what’s wrong with an image. Kelby’s first move in every critique is categorization. With this set of portraits, his immediate read was that the lighting wasn’t the primary offender — the posing was. That’s a critical distinction because the fixes are completely different. Chasing a lighting solution for a posing problem will waste a session.
Scott Kelby reviewing first portrait submission on screen
Before you adjust a single light, you need to correctly diagnose what’s wrong with an image. Kelby’s first move in every critique is categorization. With this set of portraits, his immediate read was that the lighting wasn’t the primary offender — the posing was. That’s a critical distinction because the fixes are completely different. Chasing a lighting solution for a posing problem will waste a session.
When I review my own test shots between setups, I run through a short mental checklist: Is the subject’s body creating awkward lines? Is the expression flat or disconnected? Does the image tell me anything? If the answers point to the subject rather than the light, I stop moving stands and start talking to the model.
Step 2: Check Where the Brightest Point in the Frame Falls
 First portrait showing bright shoulder versus flat face
One of the fastest ways to evaluate your lighting setup is to locate the brightest point in the frame. If that point isn’t the subject’s face or eyes, something is misaligned. Kelby flagged this immediately on the first submission: the model’s shoulder was reading brighter than her face, which collapsed the sense of depth and made the image feel flat.
First portrait showing bright shoulder versus flat face
One of the fastest ways to evaluate your lighting setup is to locate the brightest point in the frame. If that point isn’t the subject’s face or eyes, something is misaligned. Kelby flagged this immediately on the first submission: the model’s shoulder was reading brighter than her face, which collapsed the sense of depth and made the image feel flat.
This happens when your key light is positioned too far to the side without a proper fill to compensate, or when the light is angled in a way that catches fabric or skin at the shoulder before it reaches the face. I keep my key light at roughly a 45-degree angle to the subject’s face and feather it slightly away from the camera axis to make sure the cheekbone and forehead are taking the most light, not the collarbone.
Step 3: Use Shadow to Create Facial Depth and Dimension
 Discussion of flat light lacking shadow on subject’s face
Flat light is the enemy of a three-dimensional face. It reads as amateur even when the exposure is technically perfect, because it erases the natural contours that make a face interesting. Kelby pointed out that the lighting on the first portrait was close to flat — not terrible, but not doing anything to sculpt the subject’s features.
Discussion of flat light lacking shadow on subject’s face
Flat light is the enemy of a three-dimensional face. It reads as amateur even when the exposure is technically perfect, because it erases the natural contours that make a face interesting. Kelby pointed out that the lighting on the first portrait was close to flat — not terrible, but not doing anything to sculpt the subject’s features.
The solution isn’t more light. It’s more deliberate shadow. Short lighting — where the shadow side of the face is closest to the camera — is one of the most reliable ways to add instant depth. Kelby noted that this technique was applied on one of the stronger submissions in the set, and it showed. I use short lighting as my default starting point for any female portrait in the studio, and I only move away from it if the subject’s face shape calls for something different.
Step 4: Evaluate Whether the Pose Communicates Anything Specific
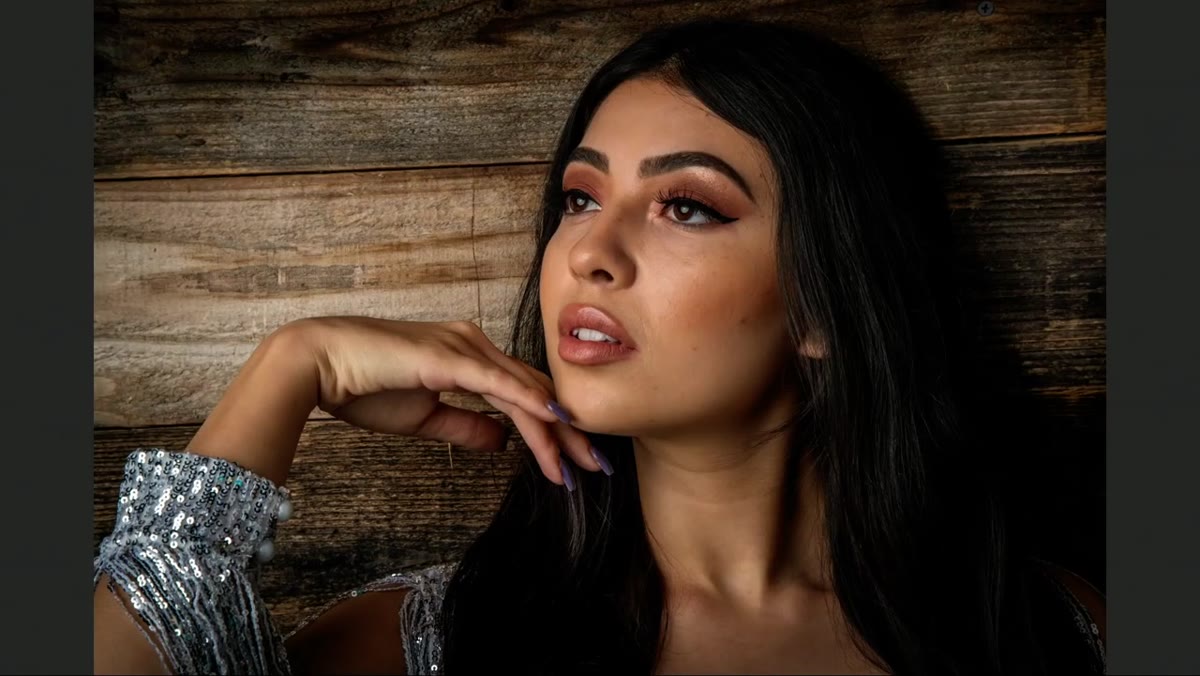 Discussion of dreamy expression with no narrative context
A pose isn’t just a physical arrangement. It’s a piece of visual communication, and if it isn’t saying anything, the viewer moves on. Kelby was blunt about one of the submissions: the model had a soft, dreamy expression, but the pose gave it no context. The story was that she was bored. The viewer was bored. That’s not a lighting problem.
Discussion of dreamy expression with no narrative context
A pose isn’t just a physical arrangement. It’s a piece of visual communication, and if it isn’t saying anything, the viewer moves on. Kelby was blunt about one of the submissions: the model had a soft, dreamy expression, but the pose gave it no context. The story was that she was bored. The viewer was bored. That’s not a lighting problem.
Every pose in a session should answer the question: what is this person doing or feeling right now? Even a simple seated pose works if there’s intention behind the eyes and a reason for the body position. I brief my models before every setup with a one-sentence scenario. It sounds theatrical, but it consistently produces more usable frames than technical direction alone.
Step 5: Watch for Unflattering Arm and Body Positioning
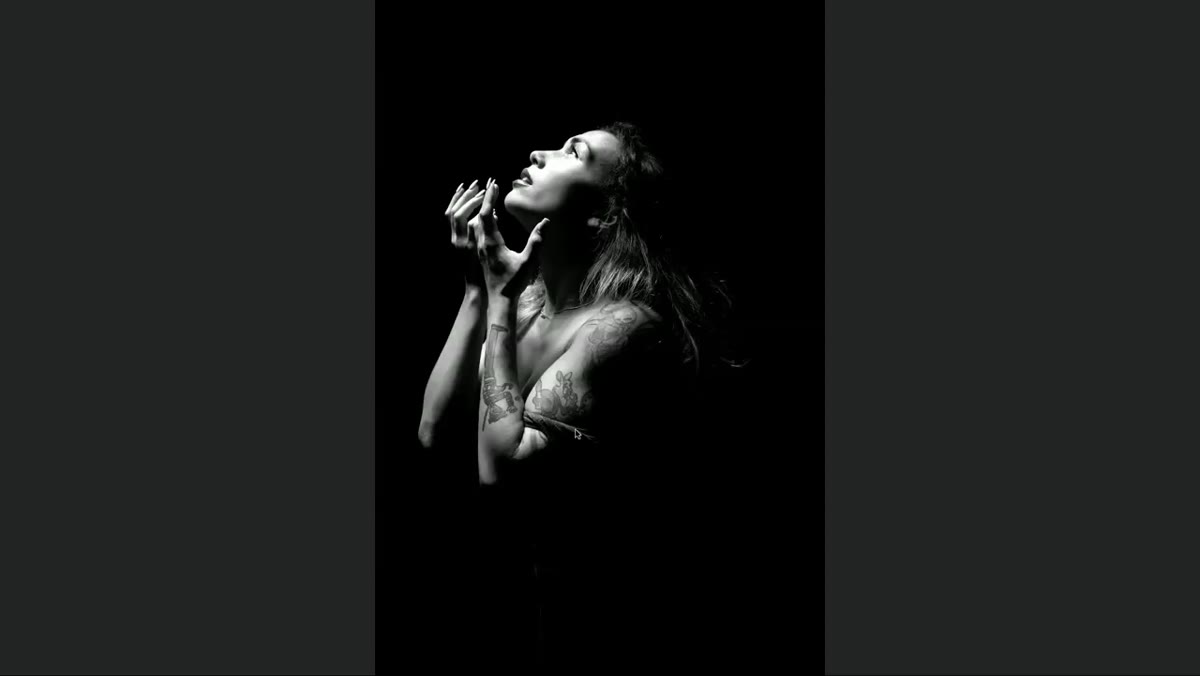 Kelby pointing out arm positioning issues on second portrait
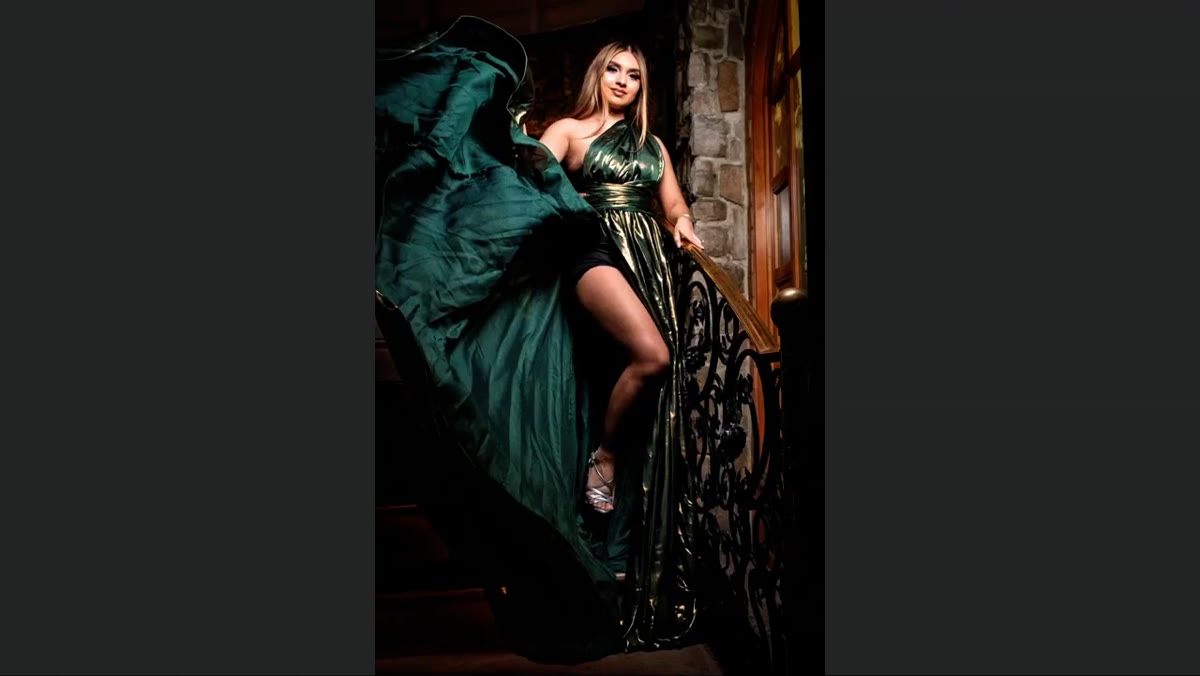
Arms are the most common source of awkward posing in studio portraits, and they’re easy to overlook when you’re focused on the light. Kelby flagged a submission where the arm positioning was unflattering to the subject in a way she almost certainly would have noticed in the final image — and not appreciated.
Kelby pointing out arm positioning issues on second portrait
Arms are the most common source of awkward posing in studio portraits, and they’re easy to overlook when you’re focused on the light. Kelby flagged a submission where the arm positioning was unflattering to the subject in a way she almost certainly would have noticed in the final image — and not appreciated.
The standard fix is to keep a small gap between the arm and the body to prevent the arm from compressing and widening against the torso. Angling the arm slightly toward or away from camera creates a slimmer, more defined line. I also ask subjects to roll their shoulders back slightly before I shoot, which opens the chest and improves arm position simultaneously.
Step 6: Respect Crop and Give the Subject Room to Breathe
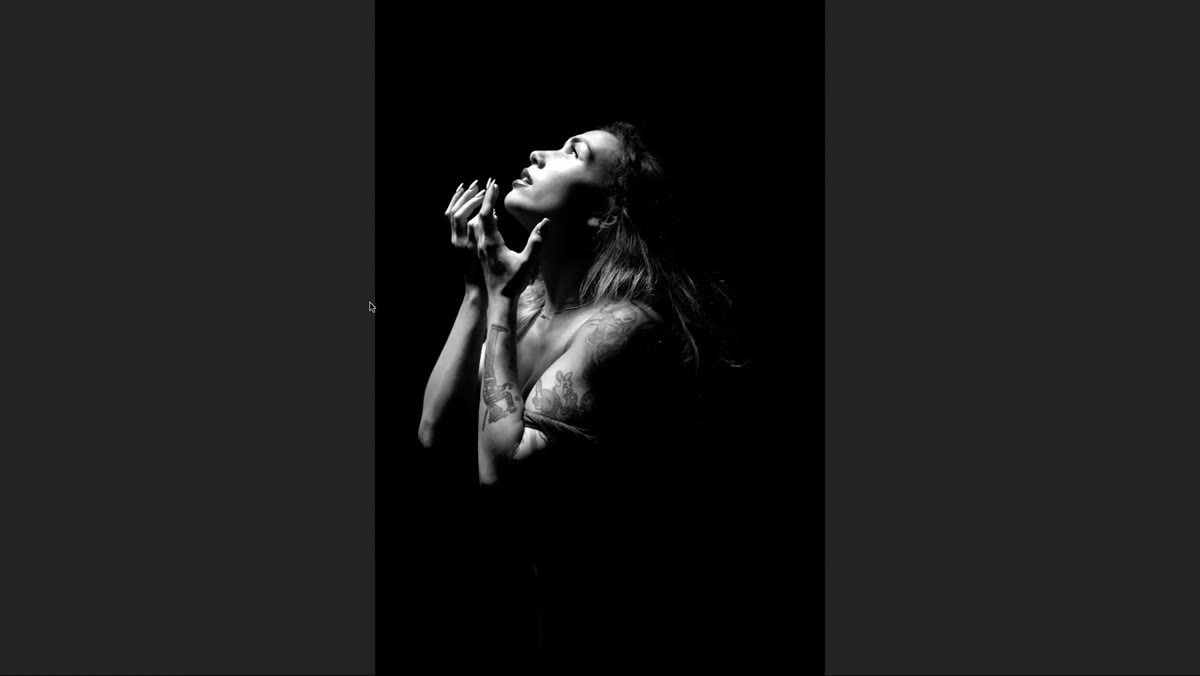 Tight crop with insufficient space on left side of frame
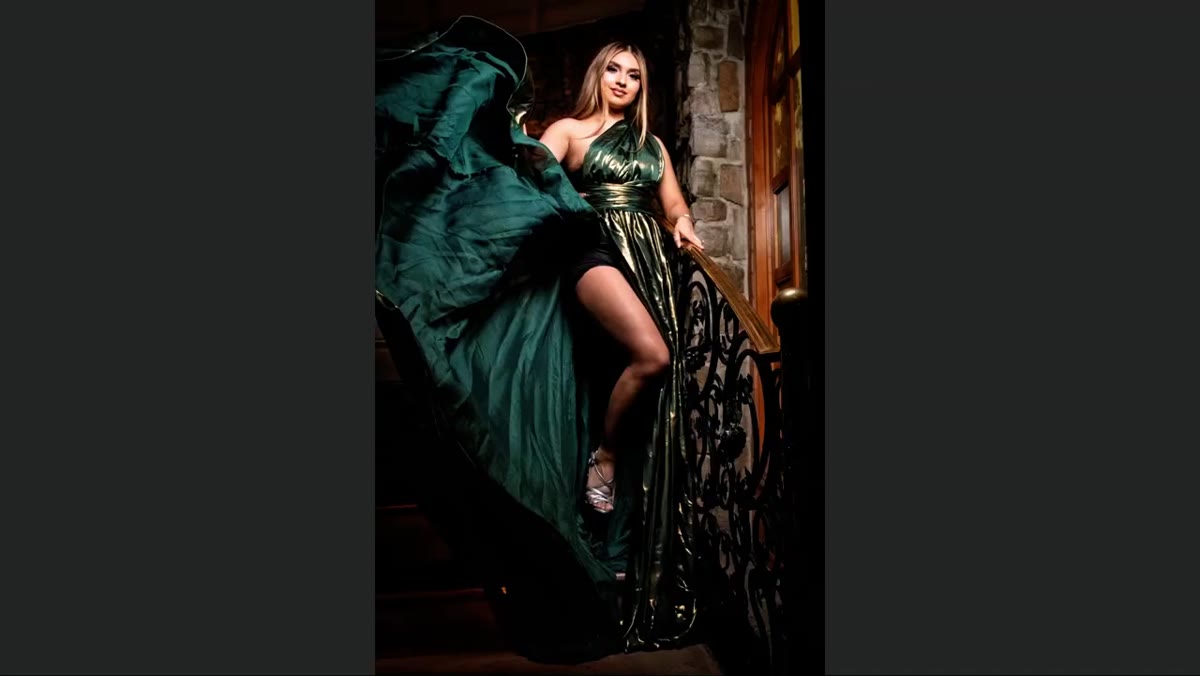
Tight cropping can feel dynamic but often just feels claustrophobic. Kelby noted that one submission needed more negative space on the left side to balance the composition. The subject was being pinched into the frame, which added tension that read as discomfort rather than energy.
Tight crop with insufficient space on left side of frame
Tight cropping can feel dynamic but often just feels claustrophobic. Kelby noted that one submission needed more negative space on the left side to balance the composition. The subject was being pinched into the frame, which added tension that read as discomfort rather than energy.
A simple rule: give your subject space in the direction they’re facing or leaning. Even a modest amount of breathing room shifts the psychological read of an image from confined to considered.
From the Studio: The Posing Brief I Should Have Been Giving All Along
I learned posing the hard way — by reviewing images after the shoot and realizing that technically clean frames were still unusable because the subject looked uncomfortable or disconnected. Now I spend the first five minutes of every session doing nothing but talking: what we’re going for, what kind of energy the images should have, and what I need from the model physically. I also sketch the intended poses in my lighting journal alongside the setup diagram so I’m not improvising on both fronts at once.
The principle Kelby surfaces in this critique is that lighting and posing are not independent variables. Flat light makes awkward poses more visible. Good short lighting can partially rescue a mediocre pose, but it can’t fix a subject who has no idea what story she’s supposed to be telling.
Diagnose the category of problem before you touch anything. Get the pose intentional before you finalize the light. That sequence alone will change the ratio of usable frames you come home with.
Watch the full tutorial on YouTube to see Kelby’s real-time critique and hear how he reads each image in the moment.
Comments
Leave a Comment