The Shoot That Made Me Rethink Everything I Knew About Posing
I had a model in the studio last spring. Experienced, professional, genuinely beautiful. I had a Profoto B10 with a 3-foot Rotalux softbox camera left, a reflector camera right, and a clean gray backdrop. Textbook setup. I shot 200 frames and came back with almost nothing usable.
The light was technically correct. The exposure was spot on. But she looked stiff, two-dimensional, like a cardboard cutout standing in front of a well-lit wall. The problem wasn’t the light. It wasn’t her. It was that I’d been thinking about posing and lighting as two separate systems, when they’re actually one.
Posing is a lighting problem. The way a body is angled, where weight is distributed, how a chin is positioned, all of these determine how light travels across skin, where shadows fall, and whether a face reads as three-dimensional or flat. You cannot solve a posing problem by adjusting the subject without also understanding the light, and vice versa.
What the Body Does to Light
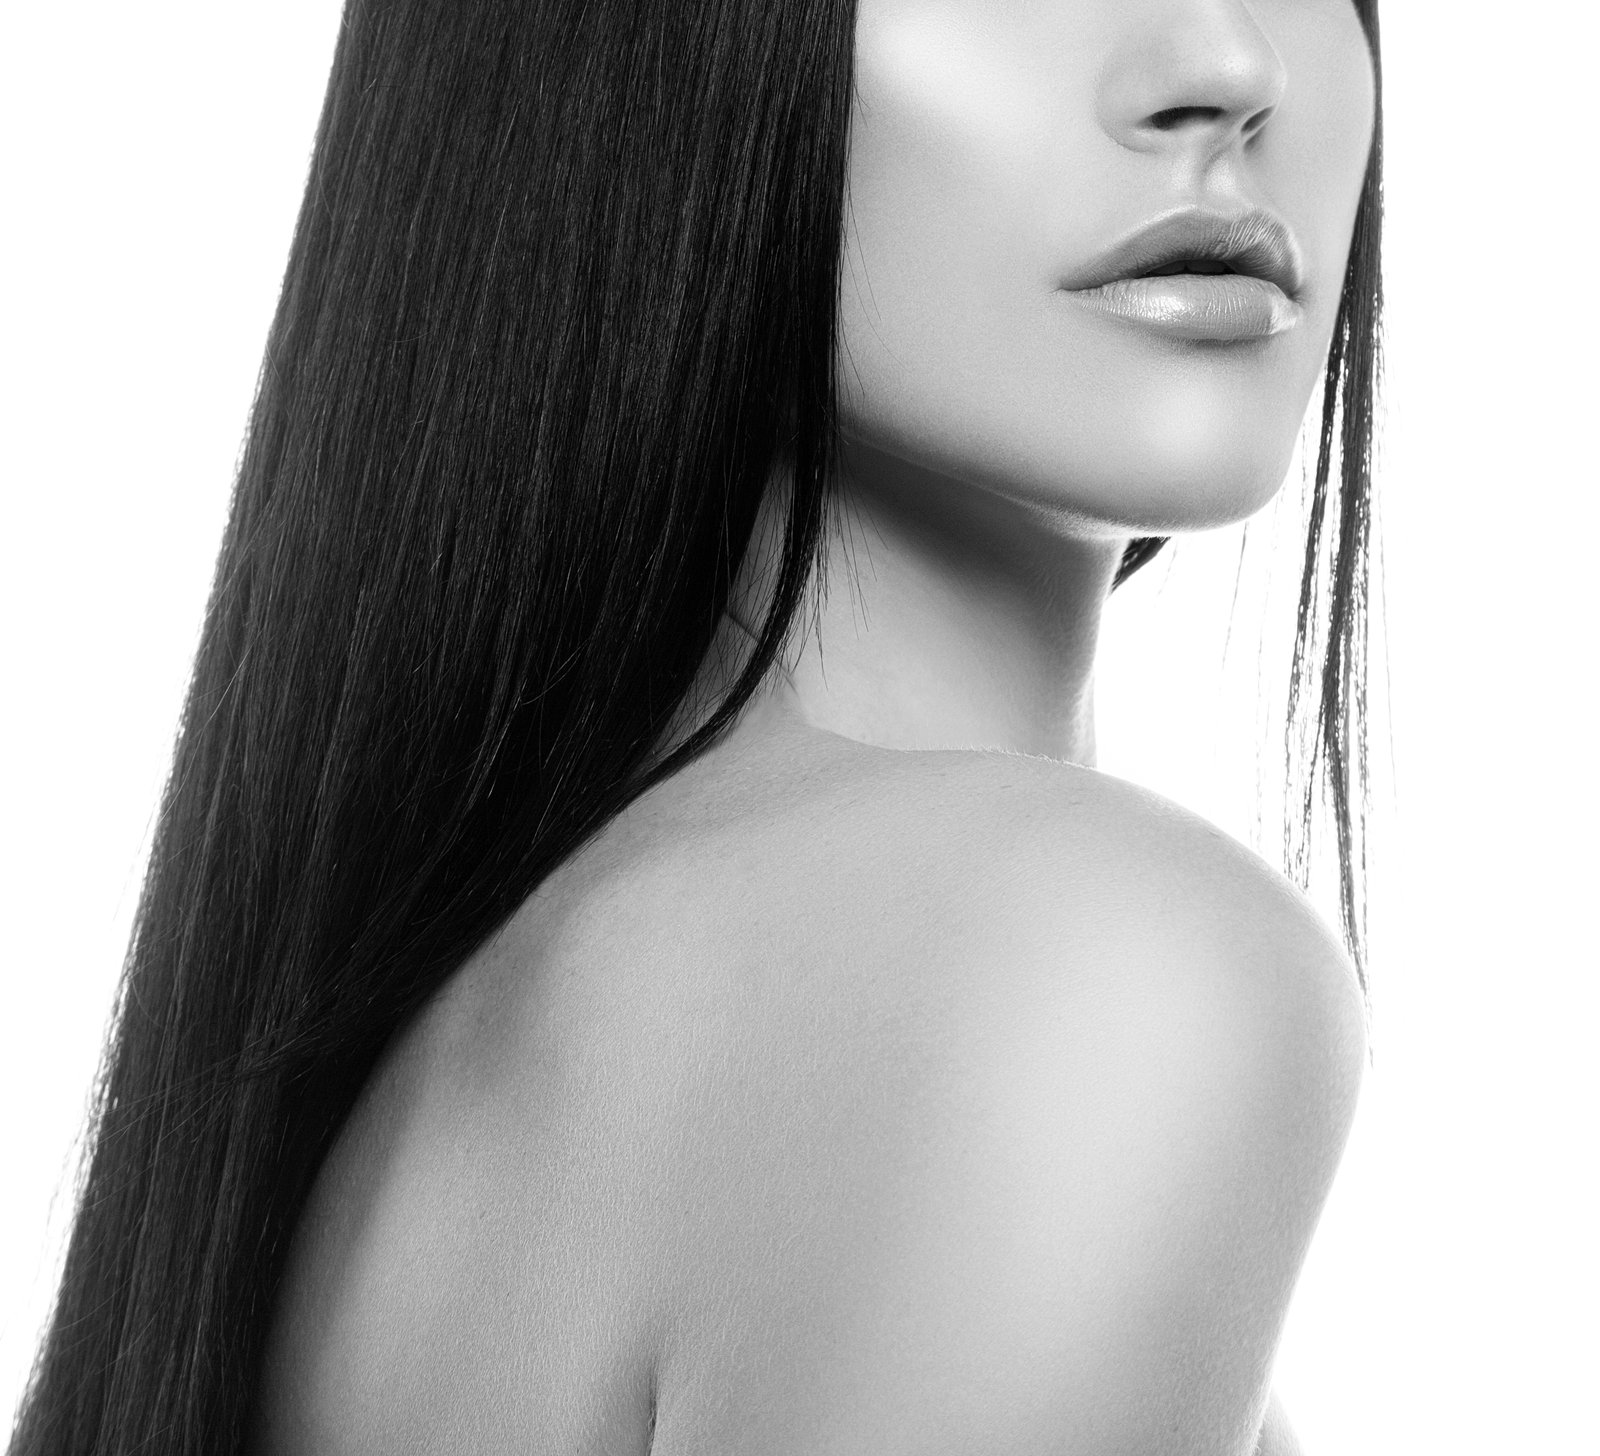
Light travels in a straight line until it hits a surface. When that surface is a face or a torso turned directly toward the source, you get even, flat illumination with minimal shadow. The image looks like a passport photo. When the surface angles away from the source, light has to wrap around curves and edges, which creates gradients, and gradients are what the eye reads as dimension and depth.
This is why the single most useful posing instruction you can give almost any subject is: turn your body 45 degrees away from the camera, then bring your face back toward the lens. That movement alone separates the shoulder plane from the facial plane and forces the light to travel across two different surfaces at two different angles. Suddenly you have a jaw shadow, a cheekbone catch light, and a neck that separates from the background. Nothing changed about the lighting setup. You just gave the light something to work with.
The same principle applies to the body below the neck. A subject standing square to the camera with weight evenly distributed looks wide and static. Shift the weight to the back foot and angle the front hip slightly inward and the silhouette narrows, the body gets a diagonal line running through it, and the light starts to describe the actual shape of the torso instead of flattening it.
The Three Adjustments I Make on Every Portrait
I work from a mental checklist I developed over years of commercial work, three physical adjustments I run through before I fire a single frame.
First, the spine. I ask the subject to think about lengthening the back of their neck and rolling their shoulders slightly down and back. This isn’t about posture for its own sake. It opens the collarbone, pulls the chin forward and slightly down, and prevents the common problem where a subject’s head appears to shrink into their shoulders under studio lights. A compressed neck creates a shadow that shortens the face.
Second, the chin. The chin leads. I position my main light first, usually at a 45-degree angle to the subject at roughly head height or just above, then I tell the subject to point their chin toward the light slightly, not dramatically, just enough so the near eye catches the source. This is the difference between a flat, symmetrical face and one with visible bone structure. I use a Profoto 24x36 inch softbox for most of my beauty work, set to about a 4:1 ratio with a white V-flat on the opposite side, and that chin adjustment is what makes or breaks whether that ratio reads correctly on camera.
Third, the hands. Hands are where inexperienced subjects and photographers both panic, and I get it. But the rule is simple: never show the full flat of the hand to the camera. The edge of the hand, the side view, reads as thin and elegant. The flat front of a hand looks like a traffic sign. Angle hands away, drape them loosely, or if in doubt, keep them out of the frame entirely.
What My Wife Taught Me That No Workshop Could
A few years into my career I was shooting a beauty campaign and struggling to get the skin to read correctly. My wife, who is not a photographer, looked over my shoulder at the monitor and said, “She’s turning into the light wrong. It’s making her nose look like it’s separate from her face.” She was describing a classic lighting split where the nose shadow was disconnecting from the cheek shadow because the subject’s face angle and my key light were slightly misaligned.
She had never heard of a Rembrandt pattern or a butterfly setup. She just saw what was there. That moment recalibrated something for me. I started approaching posing the way I approach lighting: from the perspective of the viewer, not the technical diagram. Where is the eye going first? What shape does this shadow make? Does this angle tell the story I’m trying to tell?
Now I sketch every setup in a lighting journal I keep, and I note the subject’s position relative to the key light in degrees, literally writing “face 30° toward key, body 45° away.” That specificity is what lets me reproduce results and diagnose problems quickly when something isn’t working.
When the Pose Contradicts the Light
The failure mode I see most often, even in experienced photographers’ work, is the beautiful lighting setup paired with a pose that fights it. A Rembrandt pattern, which requires the face to be turned significantly away from the key light, falls apart the moment a subject turns back toward the camera to look more “natural.” The triangle shadow under the far eye disappears and you’re left with a muddy, uneven split that looks like a mistake rather than a deliberate choice.
Your light placement is a commitment. Once you set a key light at a specific angle, the subject’s face needs to honor that geometry. If you want to change the feel of the pose, move the light to match the new position, not the other way around. This is why I have every light in my studio labeled with masking tape showing its function and angle. Muscle memory is not a substitute for knowing exactly where things are when you need to make a fast change on a live set.
The single most important thing I can tell you: posing and lighting are not two separate decisions you make at two separate moments. They are one decision, made together, about how you want light to move across a specific body in a specific space.
Comments
Leave a Comment