The Problem Shows Up in the Eyes, Not the Body
Last spring I was shooting a beauty campaign for a skincare client, three looks, tight deadline, and a model who had a solid book but kept going rigid the moment I stepped behind the camera. Arms too straight. Jaw too set. Every frame looked like a driver’s license photo with better lighting. We were 45 minutes in before I realized I had been directing her body and completely ignoring what was happening in her face and spine.
That’s the thing nobody tells you early on: posing problems almost never originate where they appear. A stiff arm usually means a locked hip. A flat expression usually means nobody told the subject what to do with their weight. The body is a chain, and tension travels.
Weight Distribution Is the Invisible Foundation
Before I give any posing direction, I ask my subject to shift 70 percent of their weight onto their back foot. Not “put your weight back a little” - I tell them the number. Seventy percent. It sounds arbitrary until you watch what it does to the body automatically: the front knee softens, the hip cants slightly, the shoulder on the weighted side drops a fraction. Suddenly there is a line running through the body that the camera can read.
This is physics, not style. When weight is distributed evenly across both feet, the body locks into a neutral stance that reads as uncertain or confrontational depending on the expression. When weight shifts, the skeleton finds a natural asymmetry and the muscles stop working so hard to hold everything upright. Relaxed muscles look different under light than tense ones. I shoot with a key light to fill ratio around 3:1 for most editorial work, sometimes 4:1 for fashion, and at those ratios every plane of the face and neck is visible. Tension in the trapezius, the jaw, even the hands catches shadow in ways that look like something went wrong with the lighting when really it is a posing issue.
The Chin, the Forehead, and the Geometry of the Face
The single most common mistake I see in portrait posing, across experience levels, is the subject pulling their chin straight back when they’re told to “extend” or “lengthen” the neck. This flattens the jawline and creates a compressed, doughy look under the chin that no amount of retouching fully fixes.
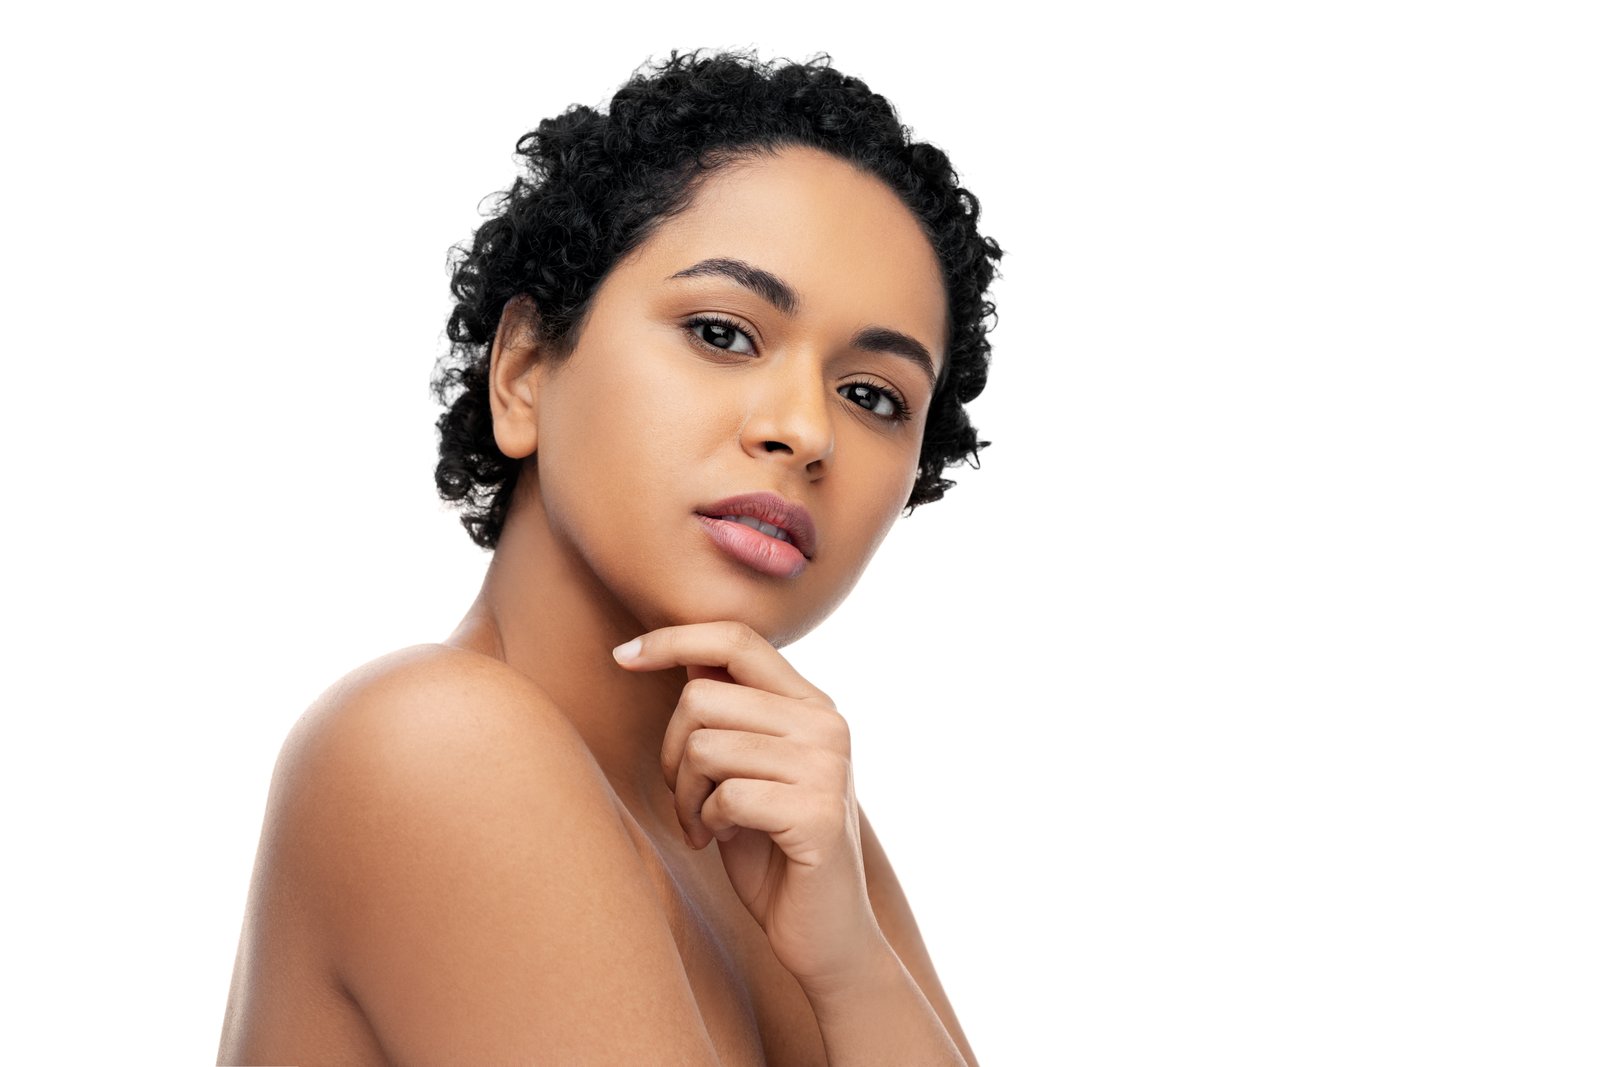
What I want is chin forward and slightly down. Forward maybe two inches from neutral, down maybe five degrees. I demonstrate it myself every time because verbal direction alone rarely lands. When the chin moves forward and down, the sternocleidomastoid muscle on the side of the neck becomes subtly visible, the jaw separates cleanly from the neck, and the eyes sit at a more open angle to the camera. At my working distance of roughly eight to ten feet with an 85mm or 105mm lens, this difference is dramatic in the final frame.
I pair this with a forehead tilt. Asking someone to tilt their forehead very slightly toward the camera - maybe three to four degrees - closes the distance between their eyes and the lens, which reads as engagement and presence. It also brings the highlight from my beauty dish or large octa down across the forehead in a way that flatters the brow and de-emphasizes any unevenness in the skin. The light does more work when the geometry is right.
Hands Are the Hardest Part and Most Photographers Ignore Them
Hands are extraordinarily difficult to photograph well and most photographers, myself included for years, treat them as an afterthought. They shouldn’t be.
A flat, open hand pressed against a face looks like a prop, not an expression. What works is what I call “dead weight” hands - I ask subjects to let their hand go completely limp from the wrist, then bring it up to the face or collar and let it rest with zero muscle engagement. The fingers curl naturally, the knuckles angle slightly, and the hand stops competing with the face for attention. It becomes part of the composition rather than a statement.
For seated or three-quarter poses, I have subjects rest their elbows on their knees or on the posing table and then drop their hands off the edge. The wrists bend, the fingers hang. It looks effortless because it actually is. Any time a subject is actively holding a hand position, you can see it, and the camera is merciless about that kind of effort.
What My Wife Showed Me About Light and Skin
I have been studying light formally for almost 20 years. I label every fixture in my studio with masking tape, I keep a lighting journal where I sketch every setup by hand, I built my own diagram app because none of the existing ones worked the way I think. And the most useful thing anyone ever showed me about how light falls on skin came from my wife, who pointed out one afternoon that she always turned slightly away from overhead light when she didn’t want to look tired.
She was describing, without knowing it, exactly the difference between a subject angled toward a light source versus angled away from it. When someone turns their face toward the light, the planes open up and the skin reads as smooth and alive. When they turn away, the shadows fall into the hollows and the texture becomes more pronounced. This is not complicated. But I had been so focused on moving my modifiers that I had underweighted the impact of rotating the subject’s face two or three degrees in either direction.
Now I build that adjustment into every shoot. I set my light position first, then I fine-tune by asking the subject to make small rotations toward the key until I see the catchlight land exactly where I want it - typically at the 10 or 2 o’clock position in the iris. That one check tells me whether the face geometry is working with the lighting plan or fighting it.
Get the weight into the back foot, get the chin forward and down, and let the hands go dead. Everything else is refinement.
Comments
Leave a Comment