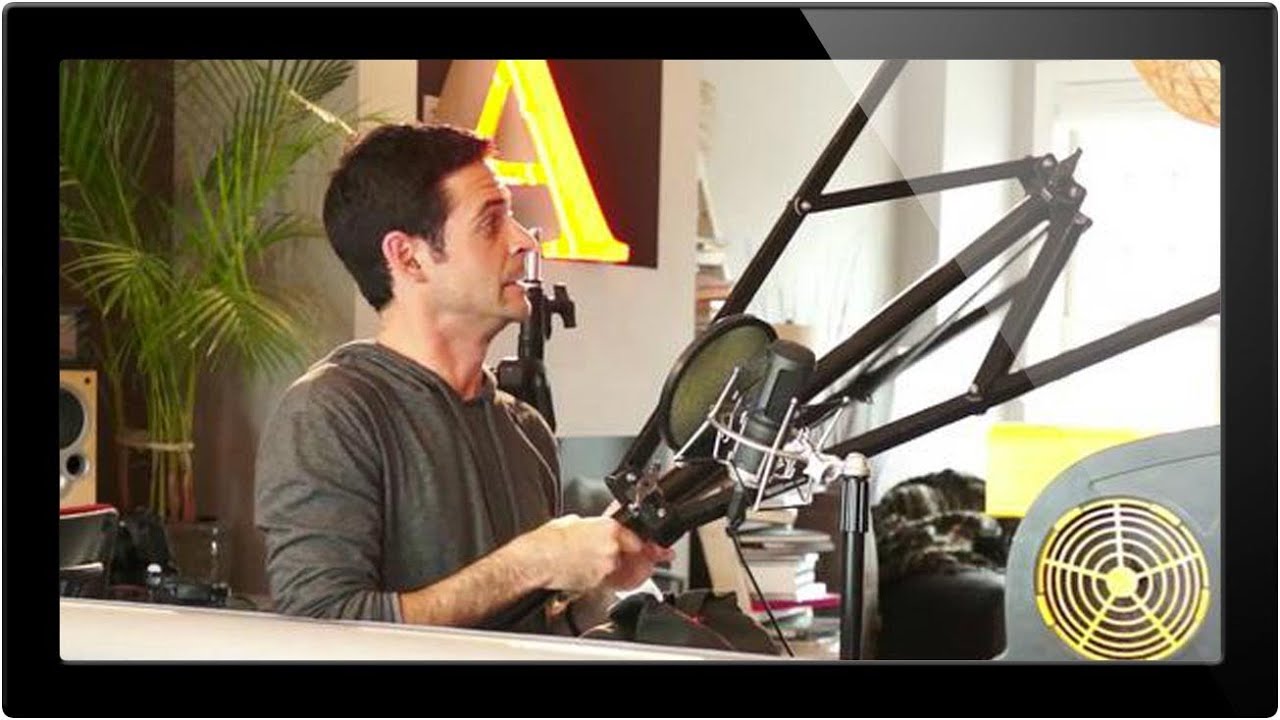
One of the most persistent myths in professional photography is that studio-quality images require an actual studio. I’ve shot beauty campaigns on a garage floor and editorial spreads in a borrowed living room, and the clients never knew the difference. The background looks clean, the light is controlled, and nobody is asking whether you paid monthly rent on a Culver City space to pull it off. That’s the part most working photographers keep to themselves.
Which is why I appreciated the honesty in this Aaron Nace (PHLEARN) tutorial on building a home photography studio. Watch the full tutorial on YouTube. Nace comes right out and says what a lot of us know but rarely admit: a significant portion of the “studio” images you’ve admired were probably shot in someone’s house. The tutorial walks through five foundational pieces of gear that create that clean, professional look without requiring a dedicated space. I’m going to break those down here with the specifics you need to actually go buy and use them.
The reason this tutorial is worth your time, especially if you’re earlier in your career, is that it strips the setup down to its functional logic. Once you understand why each piece is there, you stop second-guessing your gear and start thinking about light.
Step 1: Start with Seamless Paper
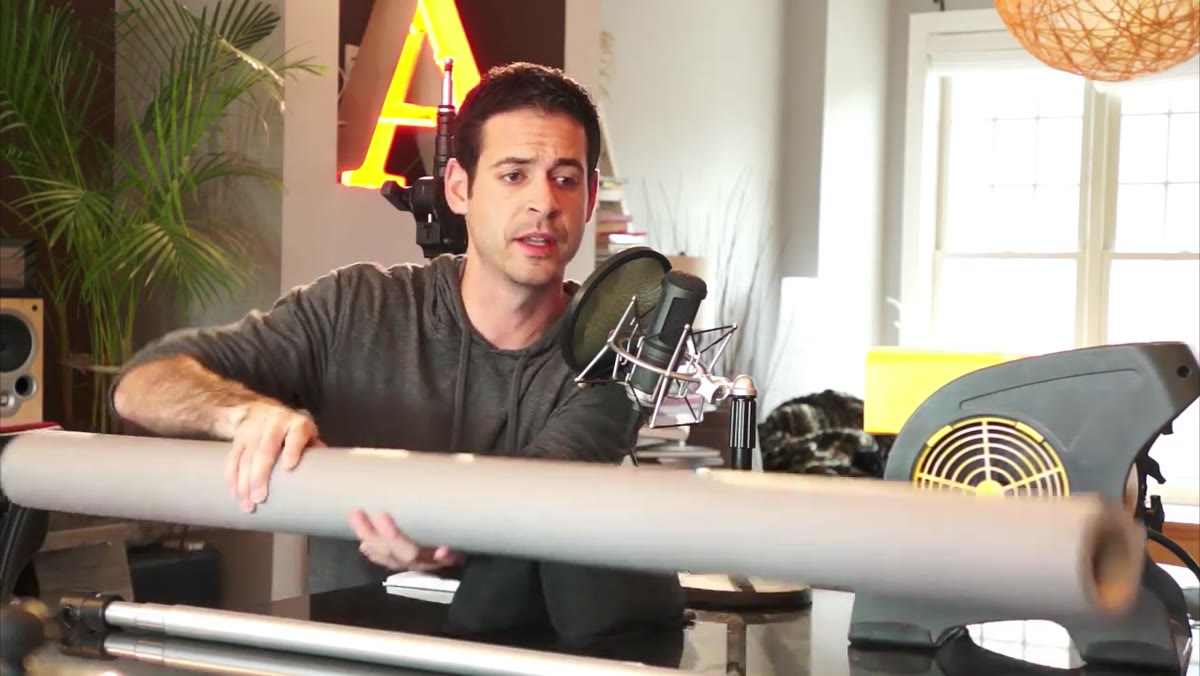 Aaron holding a roll of seamless paper backdrop
Seamless paper is the single item that most convincingly sells the “studio” look, and it costs less than a decent dinner out. The key is what it does optically: it creates an unbroken curve from the vertical plane behind your subject to the horizontal plane under them, eliminating the corner shadow that immediately reads as “someone’s spare bedroom.”
Aaron holding a roll of seamless paper backdrop
Seamless paper is the single item that most convincingly sells the “studio” look, and it costs less than a decent dinner out. The key is what it does optically: it creates an unbroken curve from the vertical plane behind your subject to the horizontal plane under them, eliminating the corner shadow that immediately reads as “someone’s spare bedroom.”
Nace recommends the Savage brand, which you can order from B&H or Amazon. It comes in a wide range of colors, and the rolls come in different widths, typically around 53 inches or the more useful 107-inch (9-foot) width. For most single-subject portrait or beauty work, 9 feet gives you enough room to light the background independently of your subject. Buy white first. You can gel a white background to any color you want, which means one roll does the work of several.
Step 2: Mount It on a Crossbar, Not a Wall
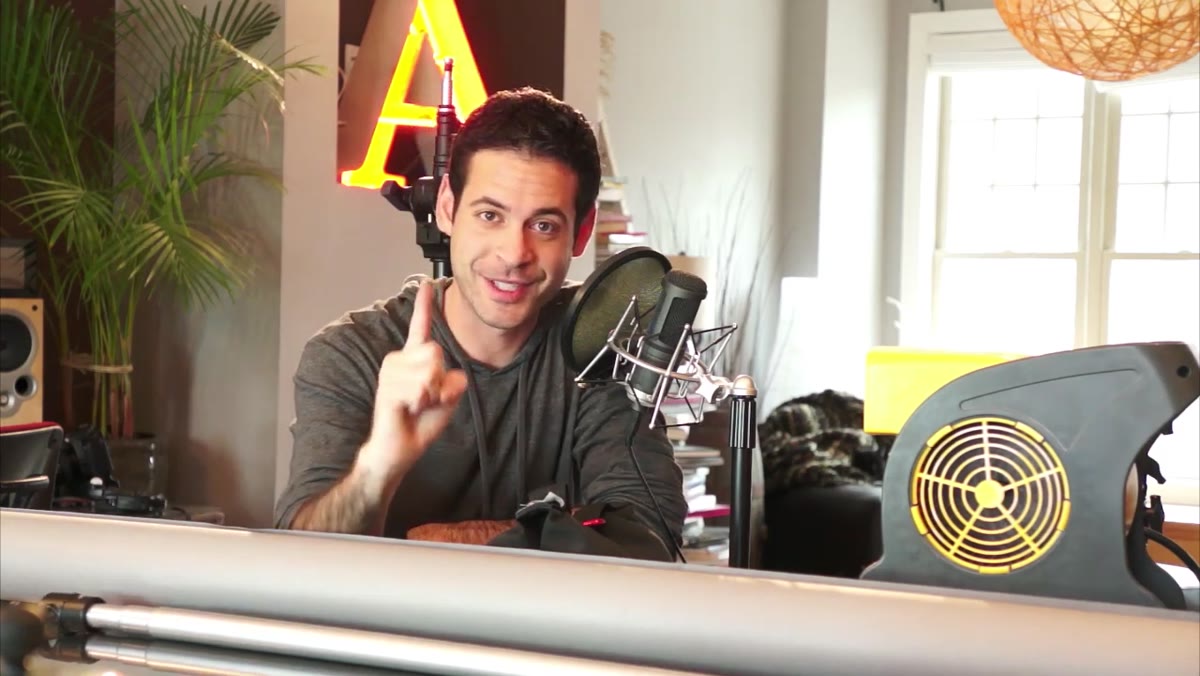 Crossbar/backdrop support system demonstrated against light stand
Paper on the floor is just paper. Paper on a crossbar is a studio. The crossbar slides through the paper roll’s core and suspends it horizontally between two light stands, letting you unroll as much or as little as you need.
Crossbar/backdrop support system demonstrated against light stand
Paper on the floor is just paper. Paper on a crossbar is a studio. The crossbar slides through the paper roll’s core and suspends it horizontally between two light stands, letting you unroll as much or as little as you need.
Nace specifically mentions a Manfrotto crossbar system, which he likes because it telescopes. That matters for storage: the bar collapses small enough to fit in a light stand bag, and extends out to accommodate a full 9-foot wide roll. The attachment end fits the standard 5/8-inch spigot on any light stand, so there’s no proprietary hardware to chase down. Budget roughly $40 for a decent crossbar. The thing to look for is a secure locking mechanism at each extension point. Cheap crossbars slip under load and you’ll spend more time re-leveling your paper than shooting.
Step 3: Choose the Right Light Stands for Your Space
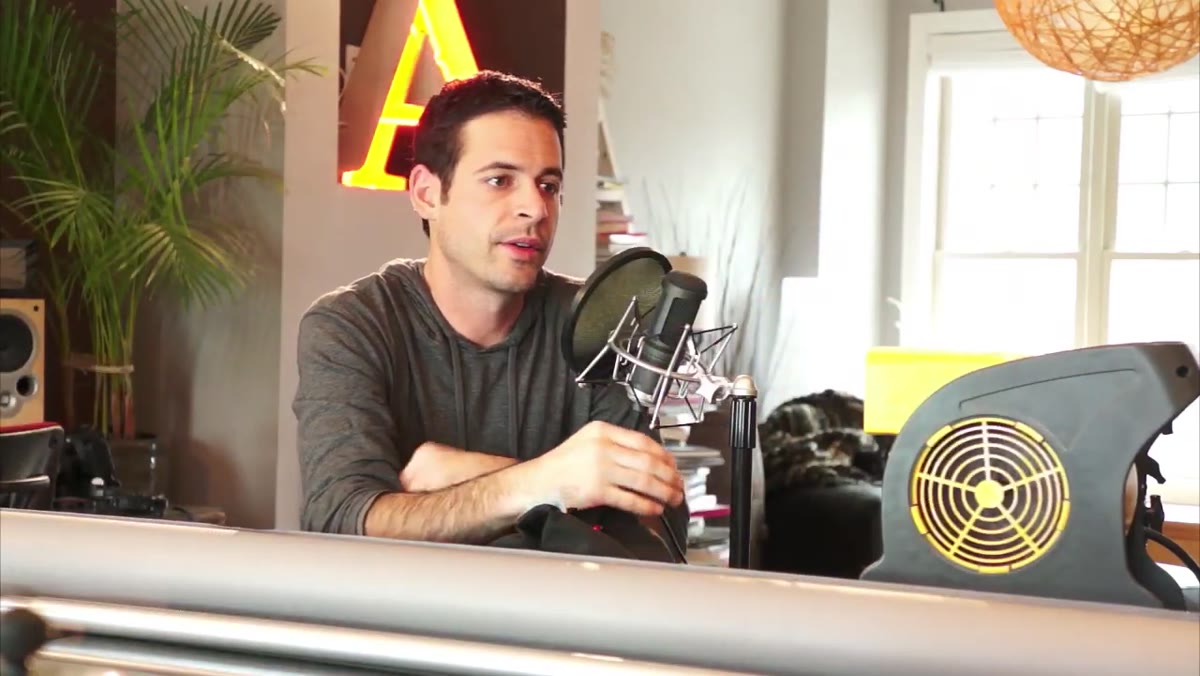 Heavy-duty Avenger light stand with wide leg spread demonstrated
Light stands have a deceptively wide range, from $20 flimsy aluminum tubes to heavy-duty roller stands that cost as much as a lens. Nace walks through both ends of that spectrum honestly, and the distinction he draws is useful: heavy-duty stands, like the Avenger A410 he demonstrates, are stable, confidence-inspiring, and built to hold serious weight. The wide leg spread gives you real stability if you’re working with heavier modifiers or hanging anything overhead.
Heavy-duty Avenger light stand with wide leg spread demonstrated
Light stands have a deceptively wide range, from $20 flimsy aluminum tubes to heavy-duty roller stands that cost as much as a lens. Nace walks through both ends of that spectrum honestly, and the distinction he draws is useful: heavy-duty stands, like the Avenger A410 he demonstrates, are stable, confidence-inspiring, and built to hold serious weight. The wide leg spread gives you real stability if you’re working with heavier modifiers or hanging anything overhead.
The practical caveat is floor space. Wide-leg stands eat room, and in a home setup you’re already working with limited real estate. For most home studio configurations, a mid-tier stand in the 8 to 9-foot range with a good weight capacity, around 11 to 15 pounds, is the right balance. I use sandbags on every stand in my own space regardless of how heavy the modifier is. It takes 30 seconds and has saved me from a collapsed light twice in the last year.
Step 4: Think About Stand Placement Before You Set Up Paper
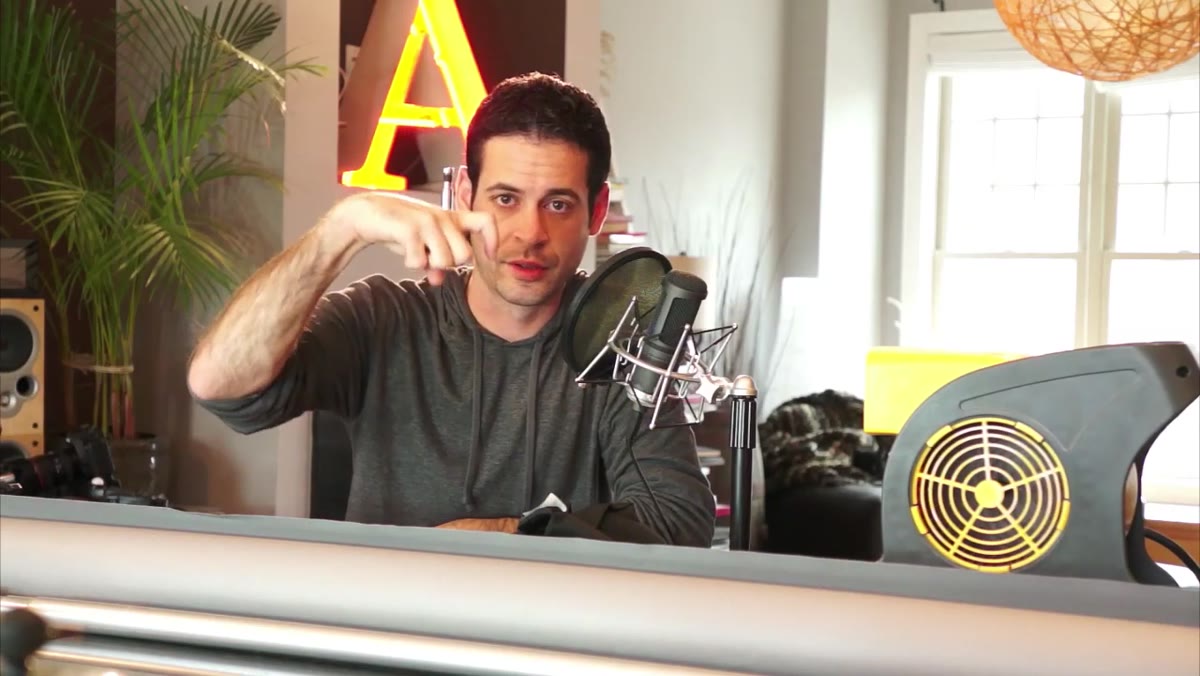 Stand leg positioning shown relative to backdrop placement
This is the sequencing mistake I see most often from photographers building their first home setup: they hang the paper, then realize their stand legs are fighting each other and the subject has no room to move. Plan your floor layout first.
Stand leg positioning shown relative to backdrop placement
This is the sequencing mistake I see most often from photographers building their first home setup: they hang the paper, then realize their stand legs are fighting each other and the subject has no room to move. Plan your floor layout first.
The backdrop stands go against the wall or as close to it as possible. Your subject needs to stand at least 4 to 6 feet in front of the paper, both to avoid casting shadows on it and to give you room to light it separately. Map that distance out on the floor before you attach anything. In smaller rooms, this calculation determines everything, including how wide a lens you can realistically use.
Step 5: Use the Portability of the System Intentionally
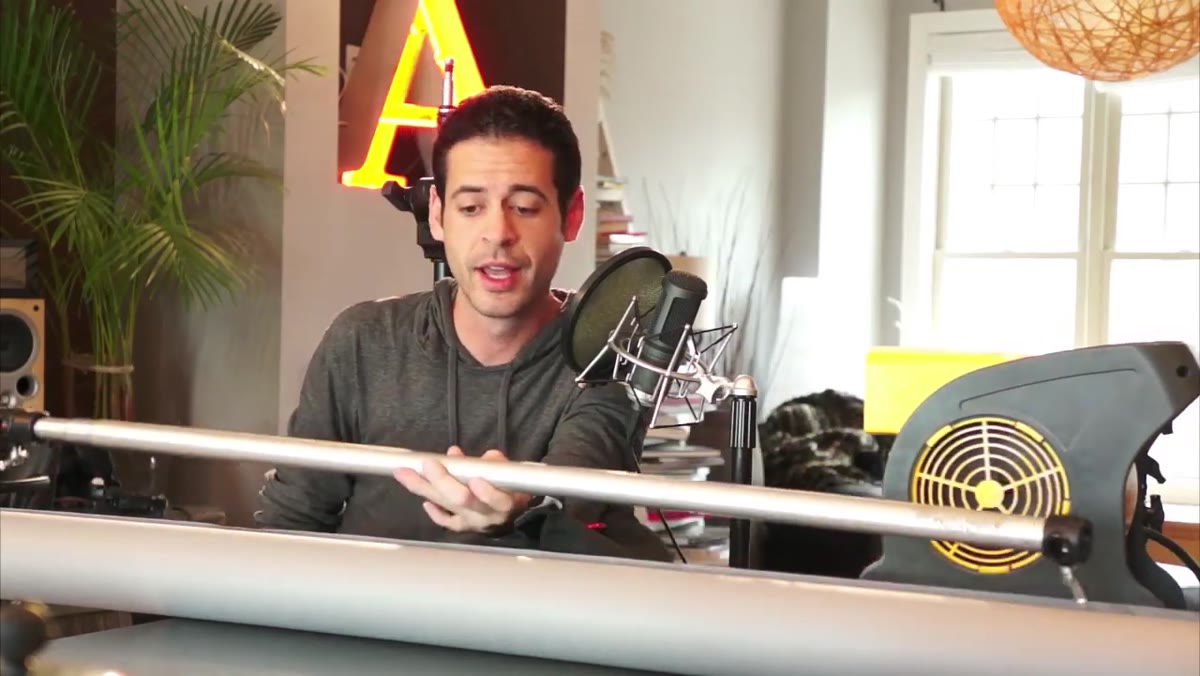 Collapsed crossbar shown fitting inside light stand carrying bag
The best thing about a paper-and-crossbar setup is how fast it breaks down. Nace points out that the Manfrotto crossbar fits inside a standard light stand bag, which means the whole studio, stands, crossbar, and a roll of paper, can move to any location in under 20 minutes. That’s not a small thing.
Collapsed crossbar shown fitting inside light stand carrying bag
The best thing about a paper-and-crossbar setup is how fast it breaks down. Nace points out that the Manfrotto crossbar fits inside a standard light stand bag, which means the whole studio, stands, crossbar, and a roll of paper, can move to any location in under 20 minutes. That’s not a small thing.
I’ve used this exact configuration on commercial jobs where the client wanted a “studio look” but couldn’t justify renting space. You show up, hang the paper, set your lights, and deliver images that are indistinguishable from a fixed studio environment. The portability is the feature, not a compromise.
What I’d Add from My Own Experience
Nace doesn’t get into this in the tutorial, but the thing that made the biggest difference in my home setup was controlling spill onto the paper. In a small room, light bounces off walls, ceilings, and floors and hits your background even when you think you’re only lighting your subject. The first time I shot beauty work in my house, the white background was coming out a warm gray because the ceiling light was contaminating it.
Fix this with flags, even cheap ones. Black foam core from any craft store blocks spill reliably. I cut a few pieces to roughly 24x36 inches and clamp them to stands. I also label every light in my setup with a strip of masking tape showing the modifier and its power setting. Sounds fussy, but when you’re troubleshooting a background that keeps going gray, knowing exactly what each head is doing saves you from running through every variable blindly.
The single most important takeaway from this tutorial is that the studio look is a function of the background and the light, not the building you’re standing in. Seamless paper, a crossbar, and two light stands are enough infrastructure to produce images that read as fully professional. The rest is lighting craft.
Watch the full tutorial on YouTube and pay attention to how Nace talks about the physical relationship between these components. The gear list is short. The thinking behind it is what you’re actually learning.
Comments (3)
This is the kind of content that keeps me coming back.
Quality content like this is rare. Keep it up.
Well explained. I think my audience would really benefit from this — mind if I link to it?
Leave a Comment