Inside a Working Portrait Studio: Gear, Lighting Logic, and the Lessons That Cost Money to Learn

Inside a Working Portrait Studio: Gear, Lighting Logic, and the Lessons That Cost Money to Learn

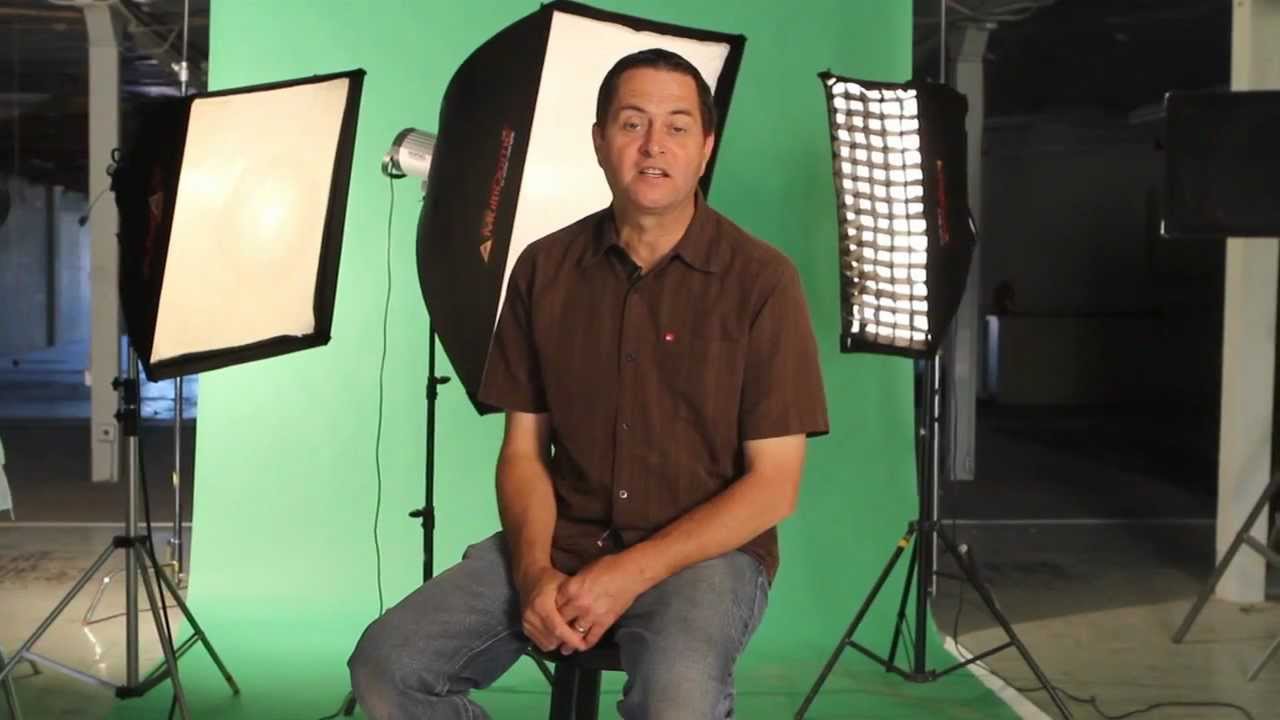
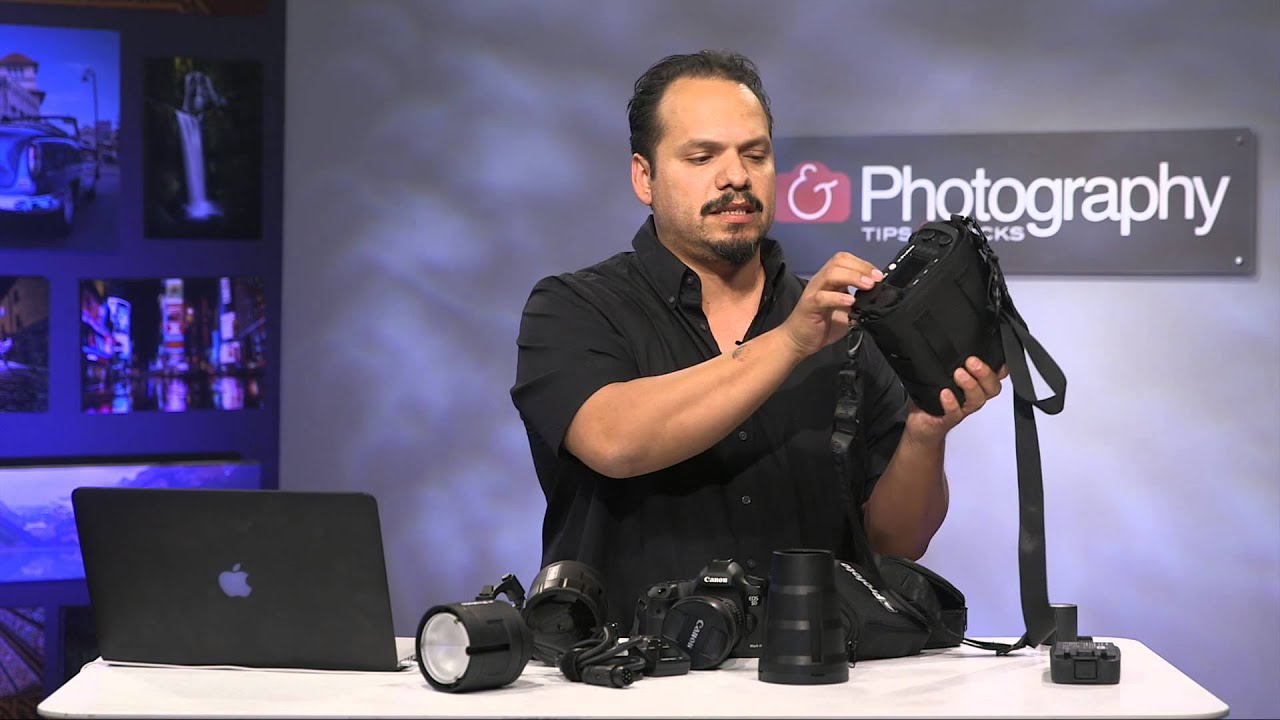
Every time I walk into my studio in Los Angeles, I spend the first ten minutes doing a checklist before a single client arrives. Sandbags on every stand. Numbers on every light. Tethering cable routed so nobody trips over it. It took me years to build that habit, and most of it came from mistakes that were embarrassing and expensive in equal measure. So when I came across Watch the full tutorial on YouTube - the Tony and Chelsea Northrup portrait studio tour - I recognized immediately that this was the kind of walkthrough I wish had existed when I was setting up my first real space.

Off-Camera Flash Without the Guesswork: Channels, Zones, and Triggering Systems Explained

Off-Camera Flash Without the Guesswork: Channels, Zones, and Triggering Systems Explained

Every time I walk into a new studio space, the first thing I do is tape labels on every light. Masking tape, black marker, “KEY,” “FILL,” “KICKER.” It looks ridiculous. It has saved me from catastrophic mistakes more times than I can count. That habit came from learning, the hard way, that when you’re managing multiple off-camera flashes, confusion is expensive. Missed sync, wrong zone triggering the wrong light, two photographers’ systems fighting each other at an event shoot — these are real problems that happen to real working photographers.

What a Snoot Actually Does to Your Light (And When to Reach for One)

What a Snoot Actually Does to Your Light (And When to Reach for One)

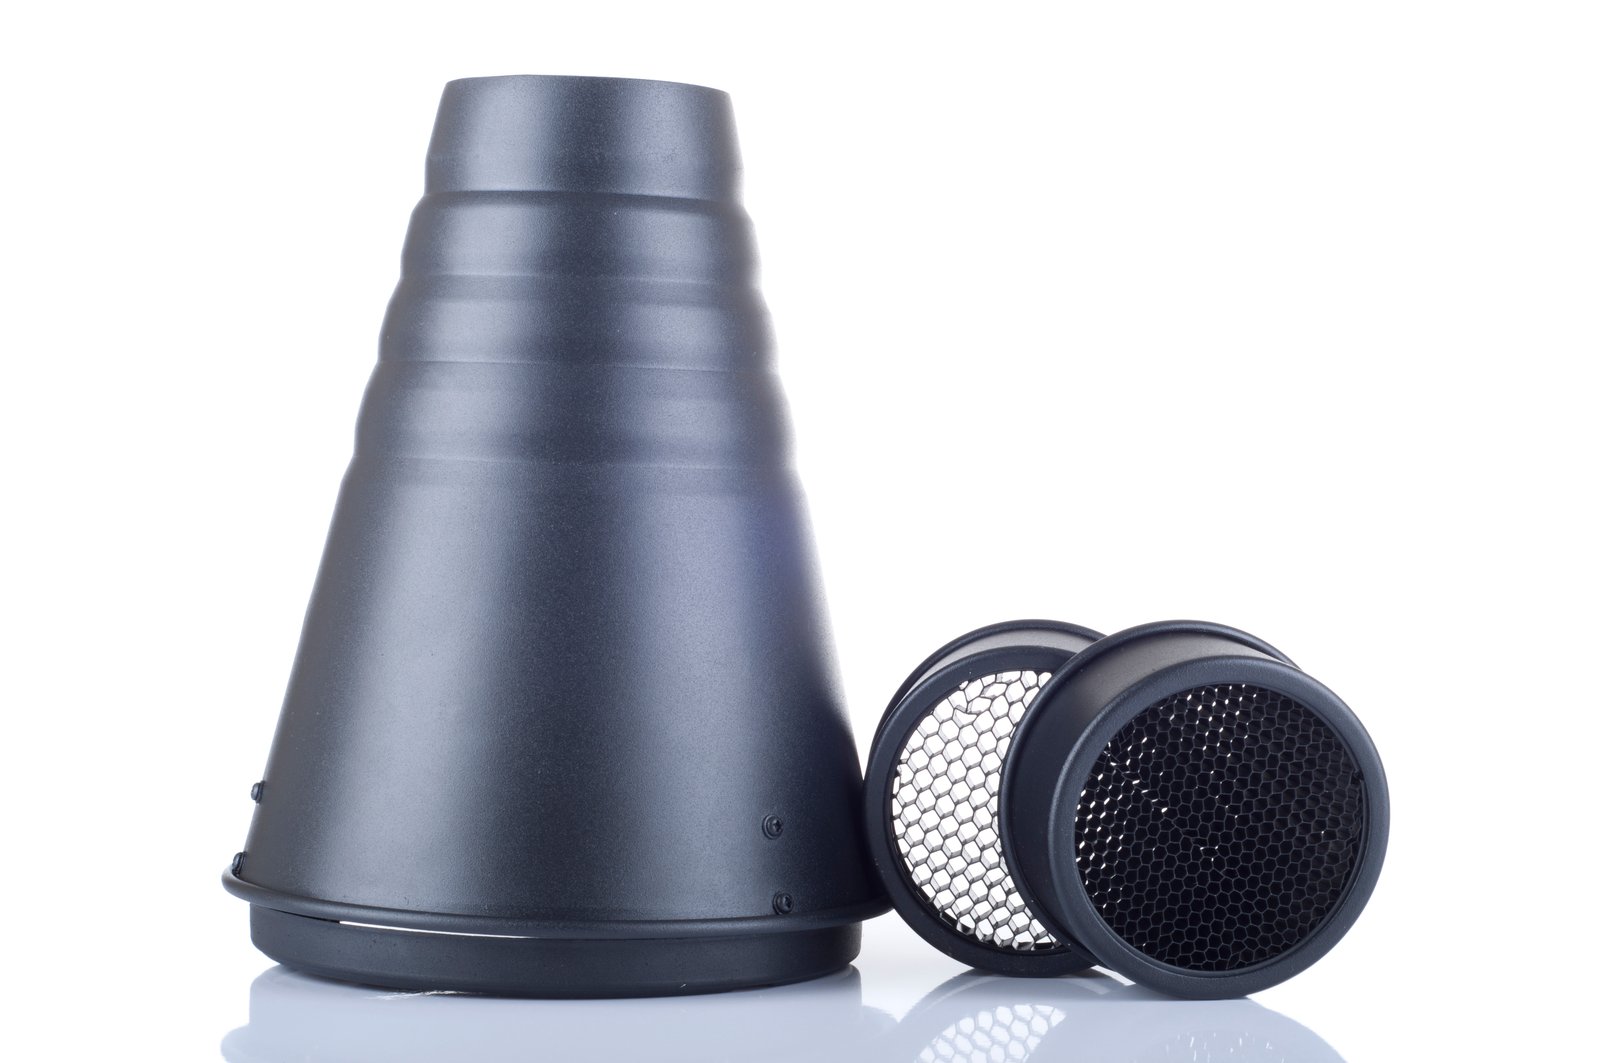
There’s a modifier sitting in most photographers’ gear bags that gets used either constantly or almost never, with very little middle ground. The snoot is one of those tools that sounds simple until you actually try to control it on a real set, and then the questions start piling up fast. How narrow is the coverage, really? How does it compare to a grid? Why does my shadow side look muddier than I expected?

Beyond CTB and CTO: How I Actually Use Creative Gels to Build a Shot

Beyond CTB and CTO: How I Actually Use Creative Gels to Build a Shot

The Gel Drawer Most Photographers Never Open Every lighting kit I’ve seen in a rental house has the same thing: a neat stack of CTO and CTB corrections at the front of the gel drawer, and then a mess of colors shoved behind them that nobody touches. Full CTO for tungsten matching. Half CTB for a cooler key. That’s where most photographers stop, and I understand why. Correction gels have a clear purpose.

Octodomes Decoded: What Every Studio Photographer Needs to Know About Eight-Sided Light

Octodomes Decoded: What Every Studio Photographer Needs to Know About Eight-Sided Light

I test every new modifier the day it arrives. Not because I’m impatient, though I am, but because showing up to a client shoot with an untested piece of gear is how careers end quietly. So when octodomes started appearing in more of my commercial setups, I needed to understand exactly what I was getting, not just the marketing copy on the box. Size, coverage, feathering behavior, catchlight shape. All of it.

The Model as Modifier: How to Shoot Pure Backlight Without Destroying Your Subject's Face

The Model as Modifier: How to Shoot Pure Backlight Without Destroying Your Subject's Face

Backlighting is one of those techniques I keep returning to, not because it’s easy, but because nothing else produces that quality of edge light and depth that makes a portrait look genuinely three-dimensional. The problem is that pure backlight is also one of the fastest ways to wreck a shot. You get blown rim light, a crushed, featureless face, and enough lens flare to sink a fashion campaign. I’ve been in that situation more times than I’d like to admit, which is why this Visual Education tutorial featuring broncolor stopped me mid-scroll.

One Light, Two Lights, Three Lights: What Jessica Kobeissi's Studio Setup Tutorial Actually Teaches You

One Light, Two Lights, Three Lights: What Jessica Kobeissi's Studio Setup Tutorial Actually Teaches You

Most photographers overcomplicate their first studio setup. They buy three lights before they understand one, then wonder why their images still look flat. I did the same thing early in my career, and I’ve watched a lot of new photographers make that same expensive mistake. What I appreciate about this Jessica Kobeissi tutorial, shot with photographer Jake Thomas, is that it does the opposite: it builds from a single light outward, showing you what each additional source actually contributes before you spend a dollar on it.

Everything Reflects: How to Read Light from Your Subject Outward

Everything Reflects: How to Read Light from Your Subject Outward

I keep a lighting journal. Every setup from every shoot gets a quick sketch: light positions, modifier choices, distances, the subject’s surface qualities. I started doing it after a period where I noticed my lighting decisions were reactive. I was placing lights where they felt right, then troubleshooting by moving things around until the image looked acceptable. That’s not a workflow. That’s guessing with expensive equipment. What changed my thinking was learning to ask a different question.

Deep Focus Umbrellas Under the Microscope: What the Price Tag Actually Buys You

Deep Focus Umbrellas Under the Microscope: What the Price Tag Actually Buys You

Every modifier purchase I make goes through the same test: I unbox it, mount it, fire a strobe through it, and write down exactly what I see before I shoot a single frame with it. I’ve been burned too many times by gear that looks impressive in a product photo but produces muddy, unflattering light on a real subject. So when the deep focus parabolic-style umbrella kept coming up in conversations with other commercial shooters, I went looking for a rigorous comparison, not a marketing demo.

Why Your Flash Looks Nothing Like the Tutorial (And How to Fix the Gap Between Power and Output)

Why Your Flash Looks Nothing Like the Tutorial (And How to Fix the Gap Between Power and Output)

The Number on the Dial Is Not the Light on Your Subject I’ve been taping labels on every light in my studio since about 2009. Each piece of gaffer tape has the unit’s actual measured output at full power, the modifier currently mounted, and the distance I most commonly park it from my subject. It looks obsessive, I know. But the reason I started doing it is simple: I got tired of the number on the back of the strobe lying to me.

The Five Portrait Lighting Patterns Every Studio Photographer Needs to Own

The Five Portrait Lighting Patterns Every Studio Photographer Needs to Own

When a Client Asks for “Dramatic” — You Need a Blueprint, Not a Guess Last spring I had a beauty client sit down in my chair, hand me a reference image torn from a magazine, and say “like that.” The image was moody, directional, with deep shadow carving the left side of the model’s face. No lighting diagram. No EXIF data. Just a glossy rectangle and an expectation. I knew immediately it was split lighting pushed slightly toward loop.

How Karl Taylor Actually Lit That Shot (And Why Lighting Ratios Are the Wrong Question)

How Karl Taylor Actually Lit That Shot (And Why Lighting Ratios Are the Wrong Question)

Every time I finish a commercial shoot and review the selects, I flip back through my lighting journal and check what I sketched before the first frame fired. More often than not, the setup that worked was not the setup I planned. It was the one I adjusted after reading the shadows. That habit, paying close attention to what the dark areas are doing rather than obsessing over the bright ones, is something I picked up slowly over years of editorial work.