Questions about lighting land in my inbox constantly. From assistants just starting out to photographers who’ve been shooting for years but never formalized their understanding, the same handful of confusions keep surfacing. What should my histogram actually look like? What do I do when I can’t afford professional strobes? How do I stop guessing at exposure? These aren’t beginner questions, they’re foundational ones that every working photographer has to answer for themselves at some point.
In this Aaron Nace (PHLEARN) tutorial, Watch the full tutorial on YouTube, Aaron works through ten questions submitted by his audience on Facebook and YouTube. It’s a Q&A format, which means the information comes fast and without a lot of hand-holding. What I want to do here is slow that down, add some context from my own studio practice, and give you something you can reference next time you’re standing in front of a subject trying to solve one of these problems in real time.
The two questions Aaron opens with are the ones I hear most often from photographers I mentor. They sound simple. They aren’t.
Step 1: Read Your Histogram Based on the Scene, Not a Default Rule
 Histogram explanation, left equals dark right equals light
The common assumption is that a good exposure means a histogram centered in the middle of the graph. Aaron pushes back on this, and he’s right to. The histogram is a map of your tonal distribution, not a scorecard. If you’re photographing a subject against a dark background at night, the majority of your pixel information should sit toward the left side of the graph. If you’re shooting a high-key portrait or a winter landscape full of snow, expect the bulk of your data to sit right of center.
Histogram explanation, left equals dark right equals light
The common assumption is that a good exposure means a histogram centered in the middle of the graph. Aaron pushes back on this, and he’s right to. The histogram is a map of your tonal distribution, not a scorecard. If you’re photographing a subject against a dark background at night, the majority of your pixel information should sit toward the left side of the graph. If you’re shooting a high-key portrait or a winter landscape full of snow, expect the bulk of your data to sit right of center.
What you’re actually guarding against are two specific failure states: clipping on the left (pure black with no recoverable detail) and blowing out on the right (pure white with nothing to pull back in post). Aaron’s practical guidance is to leave a small buffer on each end, roughly five percent, so your lightest and darkest tones have room to breathe. I keep a piece of masking tape on the inside of my camera bag with the words “match the scene” written on it. It sounds obvious until you’re three setups into a shoot and you’ve been staring at the same histogram for an hour.
Step 2: Understand What the Histogram Cannot Tell You
 Aaron explaining histogram limits for subject exposure
One thing Aaron flags that most tutorials skip: the histogram shows you the full frame, not your subject. Your subject can be overexposed even when the histogram looks balanced, because the background or other elements in the frame are pulling the overall distribution into a range that looks acceptable. You might have a slightly blown-out face sitting inside a histogram that reads fine.
Aaron explaining histogram limits for subject exposure
One thing Aaron flags that most tutorials skip: the histogram shows you the full frame, not your subject. Your subject can be overexposed even when the histogram looks balanced, because the background or other elements in the frame are pulling the overall distribution into a range that looks acceptable. You might have a slightly blown-out face sitting inside a histogram that reads fine.
This is where shooting tethered or reviewing your image zoomed in on your subject’s highlights becomes essential, especially on skin. I learned this the hard way on a beauty editorial years ago where I was matching my histogram religiously and still ended up with clipped highlights across the model’s cheekbones. The histogram was technically correct. The image wasn’t usable. Spot-check your subject independently from your overall exposure read.
Step 3: Use Work Lights and Household Gear as Legitimate Light Sources
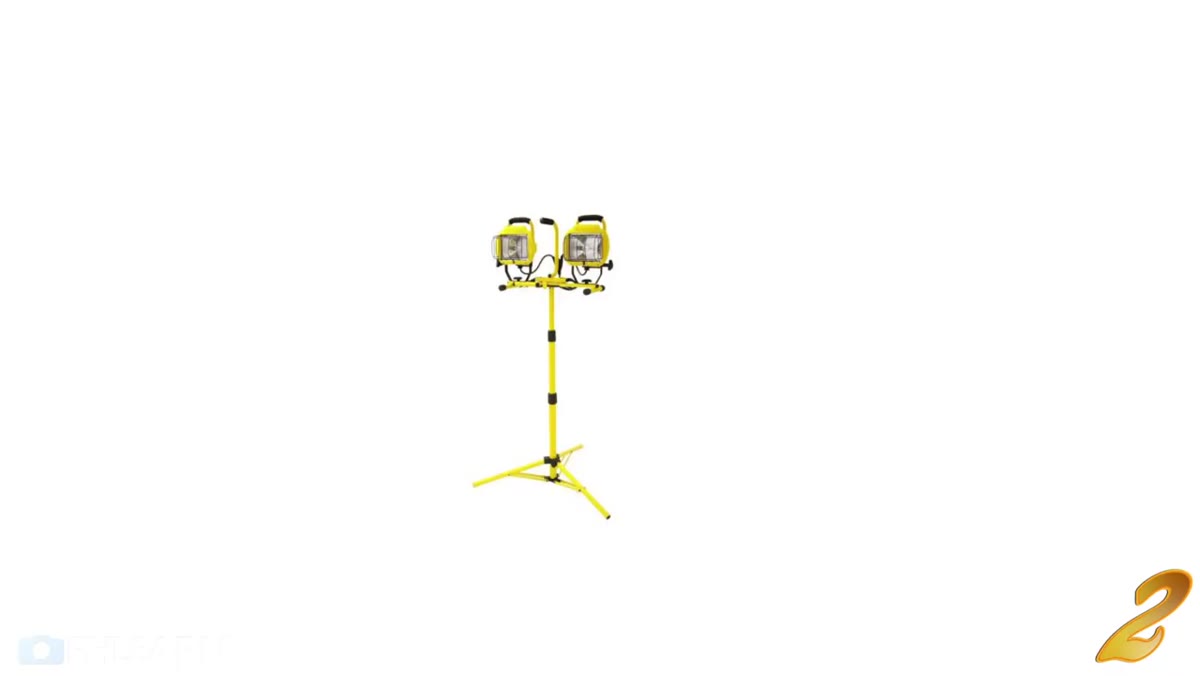 Discussion of hardware store work lights as alternatives
Aaron’s answer to the “no budget, no gear” lighting question is the most practical one I’ve seen given on camera: buy work lights from a hardware store. The kind you’d see on a construction site. They’re bright, they’re cheap, and light is light. The only thing a professional strobe gives you that a work lamp doesn’t is volume of output and the ability to freeze motion with a fast flash duration. For static subjects, a work light is completely viable.
Discussion of hardware store work lights as alternatives
Aaron’s answer to the “no budget, no gear” lighting question is the most practical one I’ve seen given on camera: buy work lights from a hardware store. The kind you’d see on a construction site. They’re bright, they’re cheap, and light is light. The only thing a professional strobe gives you that a work lamp doesn’t is volume of output and the ability to freeze motion with a fast flash duration. For static subjects, a work light is completely viable.
The key difference you’ll need to manage is color temperature. Work lamps typically run warm, around 2700-3200K depending on the bulb, so your white balance needs to match or you’ll get a muddy orange cast across your subject. This is not a dealbreaker. It’s just something to set intentionally rather than leave on Auto. If I were building a DIY kit for a photographer starting out, I’d spend thirty dollars on a work lamp, pick up a cheap white bed sheet to diffuse it (which Aaron also recommends as a DIY softbox), and use a gray card to nail white balance before every shot.
Step 4: Use High ISO and Fast Primes to Shoot in Available Light
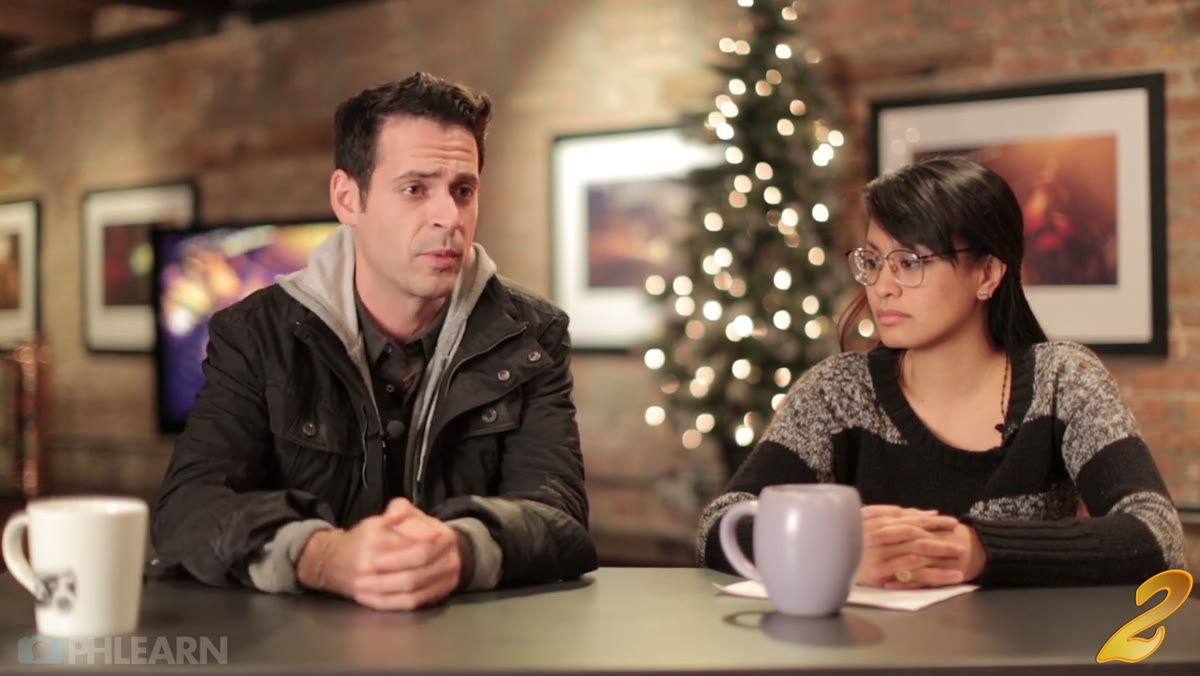 Aaron discussing ISO and using a 50mm 1.4 in low light
Modern camera sensors have changed what’s possible without any additional lighting at all. Aaron mentions shooting with a 50mm f/1.4 and cranking ISO to make use of whatever ambient light exists in a room. This isn’t a workaround. For the right kind of image, it’s actually the correct choice. Existing light from a window, a lamp, or a neon sign has a quality and character that no strobe can perfectly replicate.
Aaron discussing ISO and using a 50mm 1.4 in low light
Modern camera sensors have changed what’s possible without any additional lighting at all. Aaron mentions shooting with a 50mm f/1.4 and cranking ISO to make use of whatever ambient light exists in a room. This isn’t a workaround. For the right kind of image, it’s actually the correct choice. Existing light from a window, a lamp, or a neon sign has a quality and character that no strobe can perfectly replicate.
The discipline here is learning to see and position your subject in relation to whatever light source already exists in the space. This is a skill that transfers directly into studio work. Photographers who’ve spent time shooting in available light tend to understand how light falls on faces more intuitively than those who learned exclusively with strobes. My wife, who studied painting, taught me more about how light wraps across skin and where shadows need to land to read as natural than any workshop I’ve attended. Looking at existing light as a teacher rather than an obstacle is a mindset shift worth making early.
Step 5: Treat Every Light Source as a Tool With Tradeoffs, Not a Compromise
 Neon sign mentioned as a usable creative light source
Aaron closes his DIY lighting answer by mentioning neon signs as a usable creative light source, and the underlying point is bigger than the example. Every light source you encounter, natural, artificial, continuous, strobe, cheap, expensive, comes with specific qualities and specific limitations. The job isn’t to find the perfect light. It’s to understand what any given source does and decide whether that matches the image you’re trying to make.
Neon sign mentioned as a usable creative light source
Aaron closes his DIY lighting answer by mentioning neon signs as a usable creative light source, and the underlying point is bigger than the example. Every light source you encounter, natural, artificial, continuous, strobe, cheap, expensive, comes with specific qualities and specific limitations. The job isn’t to find the perfect light. It’s to understand what any given source does and decide whether that matches the image you’re trying to make.
This reframe matters because it eliminates the excuse that you can’t create good work without professional equipment. You can. What you can’t do is use professional techniques unchanged with non-professional gear. Each light source requires you to adapt: your white balance, your ISO, your shooting angle relative to the source, your choice of subject and background. The photographers who figure this out early build problem-solving instincts that make them better when they do eventually get access to a full studio kit.
What I’d Add From My Own Studio Practice
Aaron covers the conceptual foundations cleanly, but there’s one habit I’d recommend layering on top of everything he describes: document every setup. I keep a lighting journal where I sketch each configuration after every shoot, including whatever DIY or improvised solutions I used on location. When a particular quality of light worked on a client’s skin, I want to be able to rebuild it. When something looked wrong, I want to know why.
If you’re just starting out, this doesn’t need to be elaborate. A phone note with a rough diagram and a few settings will do. The goal is to move from reacting to light toward making intentional decisions you can repeat. That’s the difference between a good day on set and consistent work across an entire career.
The most important thing Aaron communicates across these questions, whether he’s talking about histograms or hardware store lamps, is that understanding what your tools actually do is more valuable than having better tools. Match your histogram to the scene, not to a default setting. Use what you have and learn its specific behavior. Build instincts through documentation and repetition.
Watch the full tutorial on YouTube to hear Aaron work through all ten questions, including topics this breakdown doesn’t cover. The Q&A format moves quickly, so having these notes as a reference alongside it should help the concepts land more firmly.
Comments (2)
This is going in my reference folder. Incredibly useful.
I tried this on a client project yesterday and the results were way better than expected.
Leave a Comment