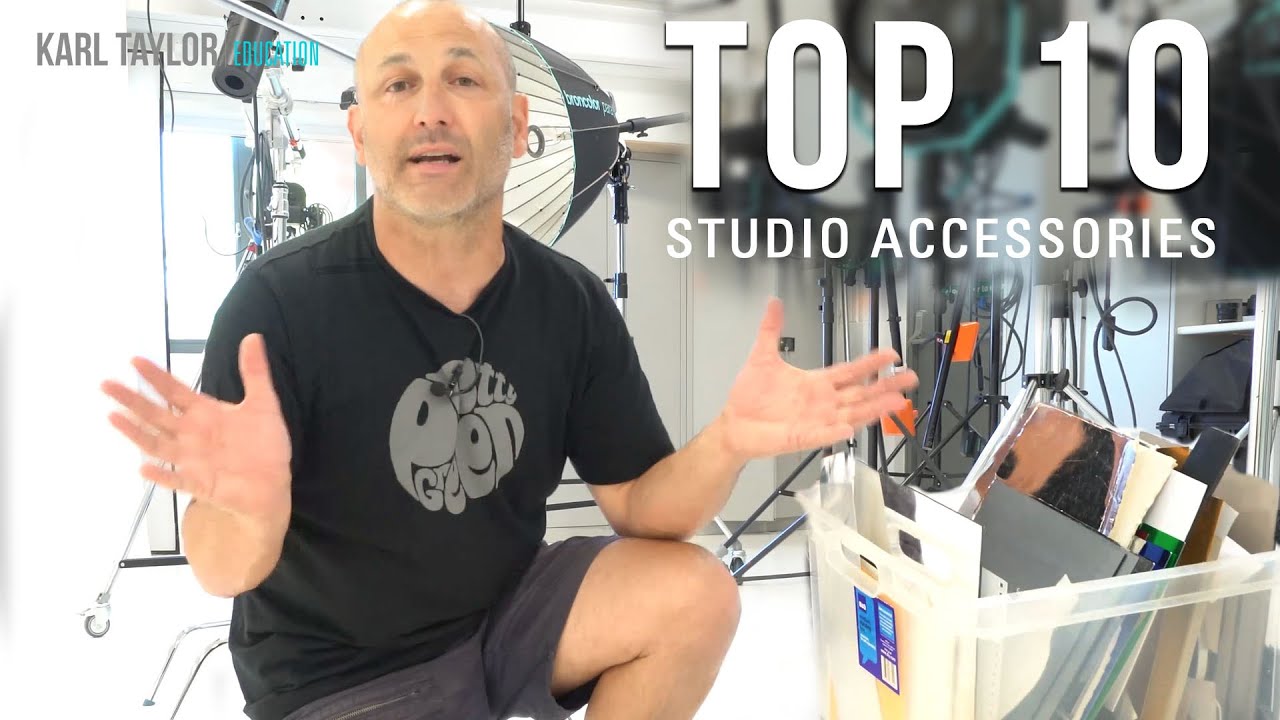
There is a category of photography problem that has nothing to do with lenses or lighting ratios. It is the shoot that grinds to a halt because you have nothing to hold a background flat, or the product that collects fingerprints between every frame, or the light that needs to come in at an angle no standard stand can reach. These are logistics problems, and they will eat a shoot alive. I have been shooting commercial and editorial work in Los Angeles long enough to know that a well-stocked studio accessory kit is just as important as the strobe sitting next to it.
When I came across this tutorial by Carl Taylor from Visual Education, I recognized someone solving the same problems I solve every week. Watch the full tutorial on YouTube. What Carl has done is put together a compact, practical list that reflects how a working studio actually operates, not how a gear review website thinks it operates. I want to walk through each item, add some context from my own practice, and give you something you can act on immediately.
Step 1: Clamps
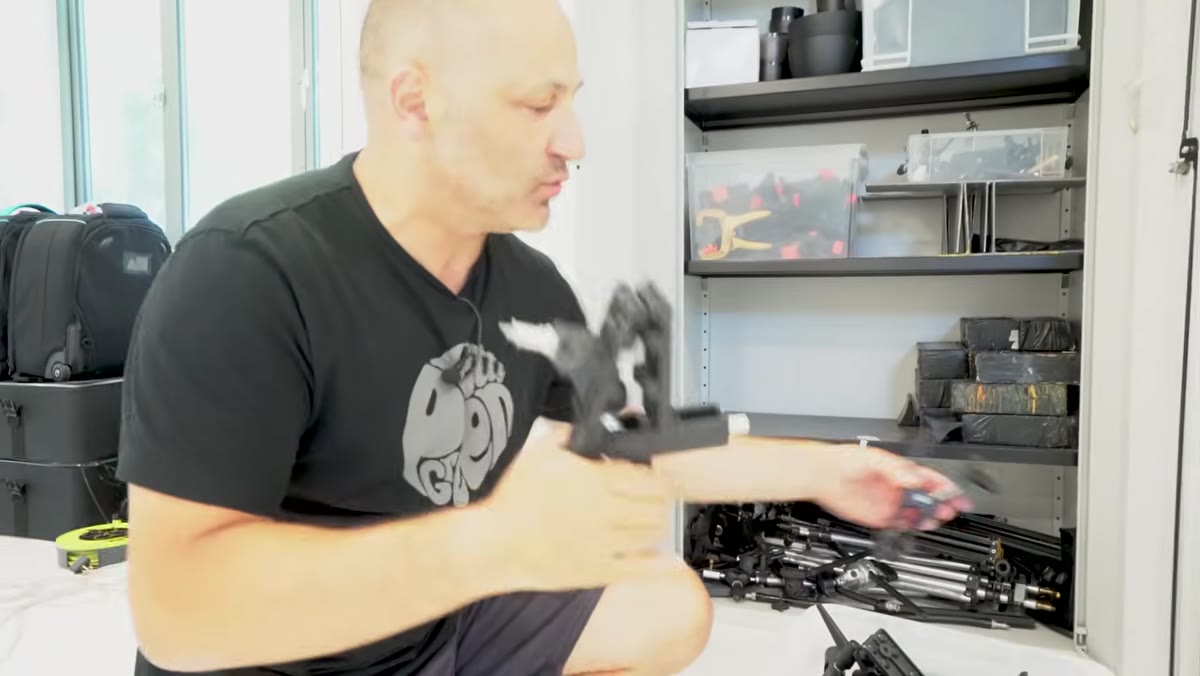 Variety of clamps in different sizes and strengths
Buy more clamps than you think you need, then buy more. Carl is right that size and strength both matter. I keep three categories on hand: small spring clamps for securing gel to a barndoor, medium C-clamps for holding a background seamless taut when it starts to curl, and heavy-duty grip clamps rated for real weight when I need to anchor something overhead. The moment you try to improvise with gaffer tape when a clamp is the correct tool, you lose ten minutes and your set looks like a craft project.
Variety of clamps in different sizes and strengths
Buy more clamps than you think you need, then buy more. Carl is right that size and strength both matter. I keep three categories on hand: small spring clamps for securing gel to a barndoor, medium C-clamps for holding a background seamless taut when it starts to curl, and heavy-duty grip clamps rated for real weight when I need to anchor something overhead. The moment you try to improvise with gaffer tape when a clamp is the correct tool, you lose ten minutes and your set looks like a craft project.
Step 2: Lighting Gels
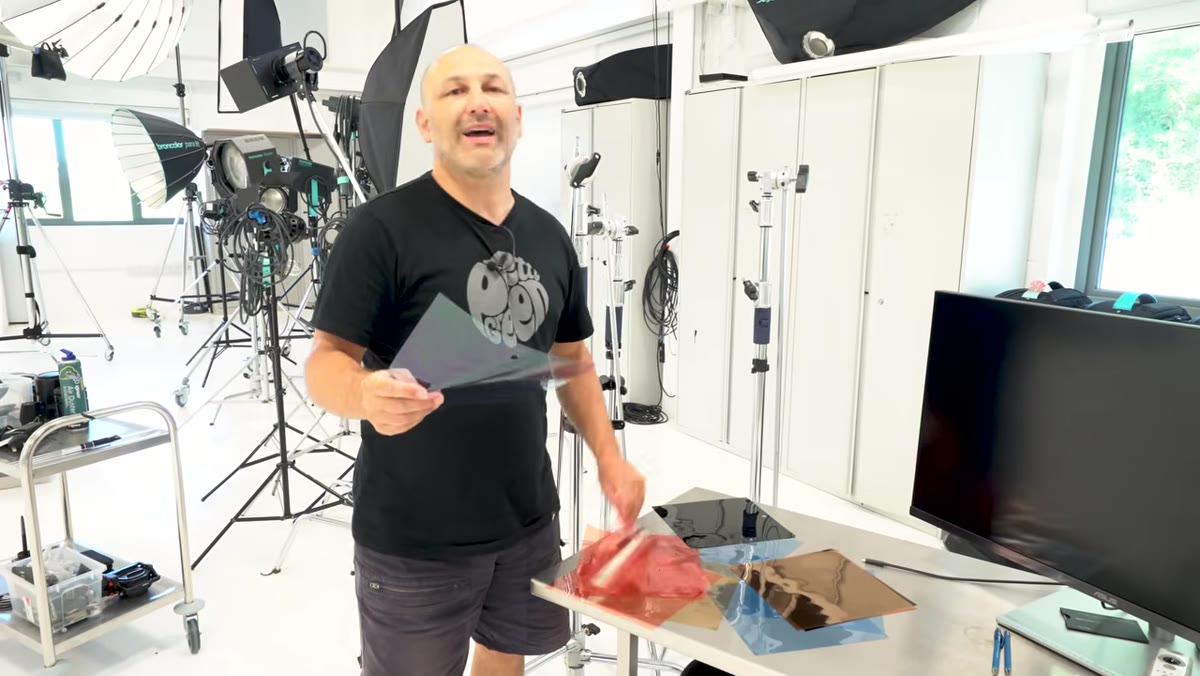 Collection of colored and neutral density gels in various sizes
Gels are not just for color effects. Carl mentions neutral density gels and polarizing gels, and those two get used on my set constantly. ND gels let you reduce output on a specific head without changing your power settings globally, which matters when you have one light doing delicate fill work and you need it quieter without touching the modifier. Polarizing gels, placed over your light source and paired with a polarizing filter on the lens, kill reflections on glass and glossy packaging entirely. If you shoot beauty or product, this combination is not optional. Keep your gels organized by type and color in labeled sleeves. Loose gels in a bin become a mess inside of one month.
Collection of colored and neutral density gels in various sizes
Gels are not just for color effects. Carl mentions neutral density gels and polarizing gels, and those two get used on my set constantly. ND gels let you reduce output on a specific head without changing your power settings globally, which matters when you have one light doing delicate fill work and you need it quieter without touching the modifier. Polarizing gels, placed over your light source and paired with a polarizing filter on the lens, kill reflections on glass and glossy packaging entirely. If you shoot beauty or product, this combination is not optional. Keep your gels organized by type and color in labeled sleeves. Loose gels in a bin become a mess inside of one month.
Step 3: Acrylic Rods
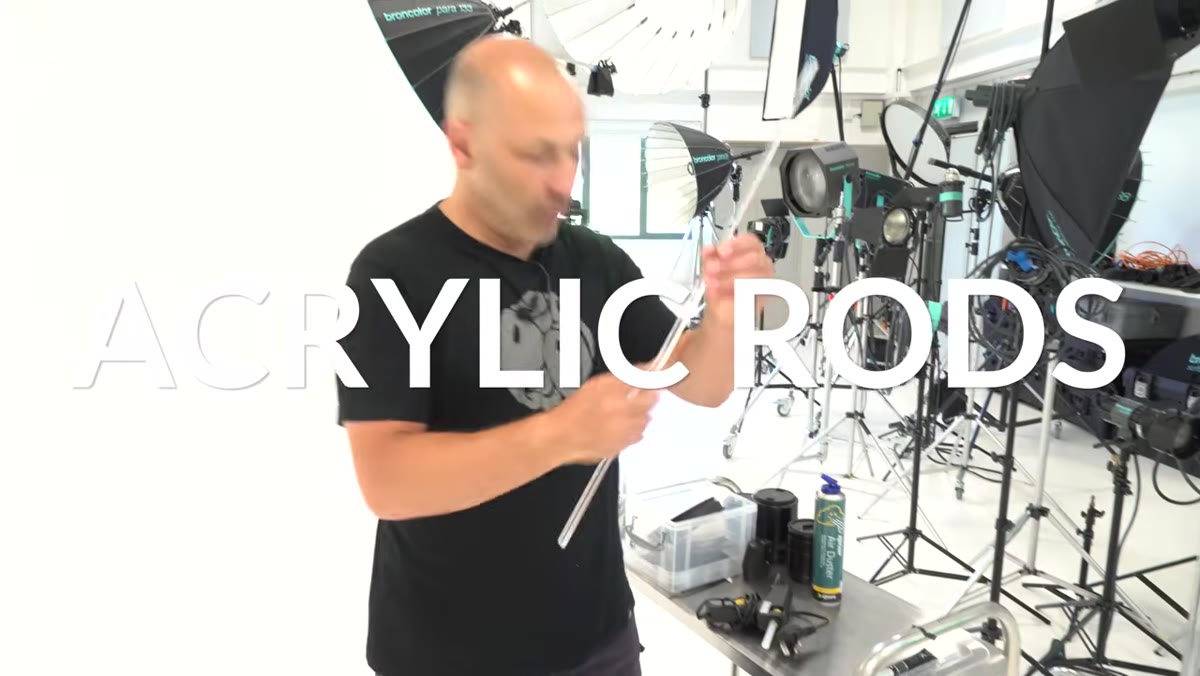 Acrylic rods in various sizes for product levitation
The floating product effect looks complicated until you understand the mechanics. A clear acrylic rod, attached to the base of a product with hot glue, holds the item at whatever angle or height you need. The rod disappears against most backgrounds and is simple to clone out in post when it does catch light. Carl shows several rod sizes, and that variety matters. A small perfume bottle needs a thin rod so the contact point stays minimal. A heavier item needs a thicker rod with more glue surface. Have at least four or five diameters on hand.
Acrylic rods in various sizes for product levitation
The floating product effect looks complicated until you understand the mechanics. A clear acrylic rod, attached to the base of a product with hot glue, holds the item at whatever angle or height you need. The rod disappears against most backgrounds and is simple to clone out in post when it does catch light. Carl shows several rod sizes, and that variety matters. A small perfume bottle needs a thin rod so the contact point stays minimal. A heavier item needs a thicker rod with more glue surface. Have at least four or five diameters on hand.
Step 4: Hot Glue Gun
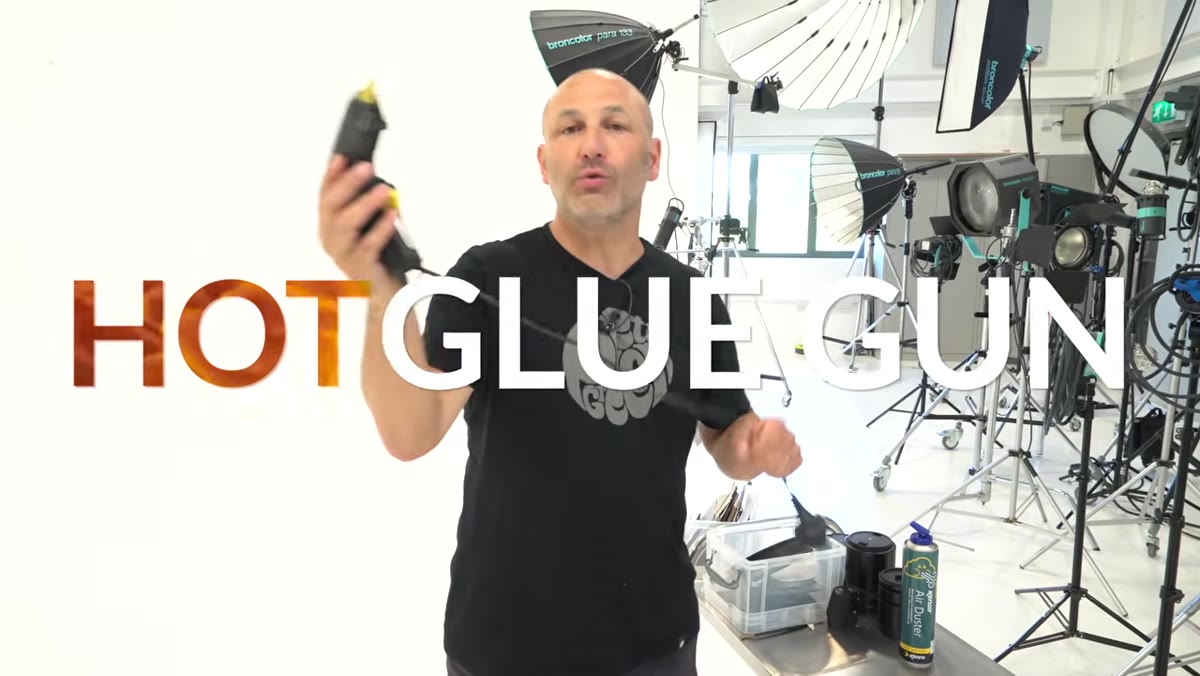 Hot glue gun used to attach products to acrylic rods
The reason this works as a studio tool and not just a craft store item is that the glue bonds firmly during the shot and releases cleanly without damaging the product. Carl makes a point of calling out that it breaks away easily, and in my experience that is accurate as long as you let the glue cool fully before applying any stress to the bond. Pull the product straight off rather than twisting it. If residue stays on the product, a quick pass with a heat gun softens it and it wipes clean. Do not use industrial adhesives for this. The whole system depends on the reversibility.
Hot glue gun used to attach products to acrylic rods
The reason this works as a studio tool and not just a craft store item is that the glue bonds firmly during the shot and releases cleanly without damaging the product. Carl makes a point of calling out that it breaks away easily, and in my experience that is accurate as long as you let the glue cool fully before applying any stress to the bond. Pull the product straight off rather than twisting it. If residue stays on the product, a quick pass with a heat gun softens it and it wipes clean. Do not use industrial adhesives for this. The whole system depends on the reversibility.
Step 5: Compressed Air
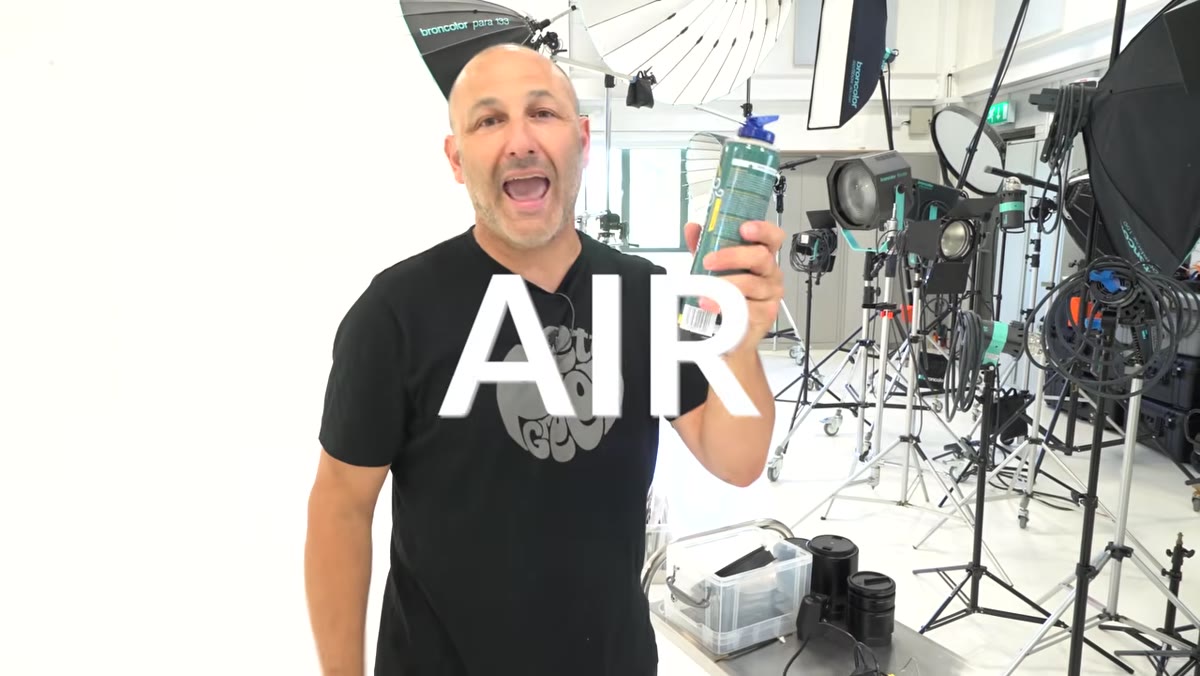 Compressed air canister for pre-shoot product cleaning
Dust and lint are invisible to the eye under ambient light and catastrophic under a focused strobe. I clean every product before it goes in front of the camera, and I clean it again after handling. Compressed air handles the areas that a cloth cannot reach, threads, labels, textured surfaces, cap edges. Keep a can within arm’s reach of the shooting position, not across the studio. The two-second reach for it before each frame will save significant retouching time.
Compressed air canister for pre-shoot product cleaning
Dust and lint are invisible to the eye under ambient light and catastrophic under a focused strobe. I clean every product before it goes in front of the camera, and I clean it again after handling. Compressed air handles the areas that a cloth cannot reach, threads, labels, textured surfaces, cap edges. Keep a can within arm’s reach of the shooting position, not across the studio. The two-second reach for it before each frame will save significant retouching time.
Step 6: Reflective and Acrylic Surfaces
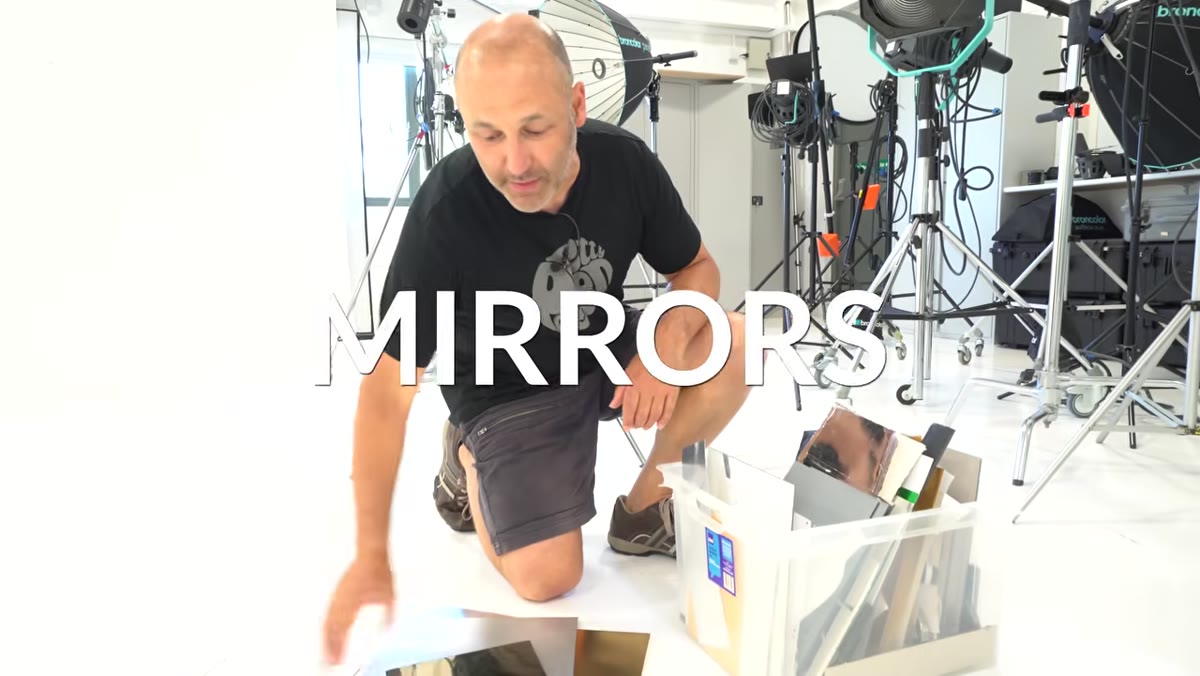 Assorted mirrored cards, matte silvers, golds, and colored reflective materials
Carl’s collection here covers a real range: mirrored acrylic, matte silver card, gold card, gloss silver, and colored reflective materials. Each one does something different to the light bouncing back into the product. Gold warms shadow detail. Matte silver fills without adding a hard secondary highlight. A colored reflective card can inject a subtle complementary tone into the shadow side that makes a product read as richer without any additional lighting. I keep a set of these cut to consistent sizes so I can swap them quickly during a shoot. The difference between a flat-looking shot and one with dimension is often a four-inch piece of gold card held just below frame.
Assorted mirrored cards, matte silvers, golds, and colored reflective materials
Carl’s collection here covers a real range: mirrored acrylic, matte silver card, gold card, gloss silver, and colored reflective materials. Each one does something different to the light bouncing back into the product. Gold warms shadow detail. Matte silver fills without adding a hard secondary highlight. A colored reflective card can inject a subtle complementary tone into the shadow side that makes a product read as richer without any additional lighting. I keep a set of these cut to consistent sizes so I can swap them quickly during a shoot. The difference between a flat-looking shot and one with dimension is often a four-inch piece of gold card held just below frame.
Step 7: C-Stands and Grip Arms
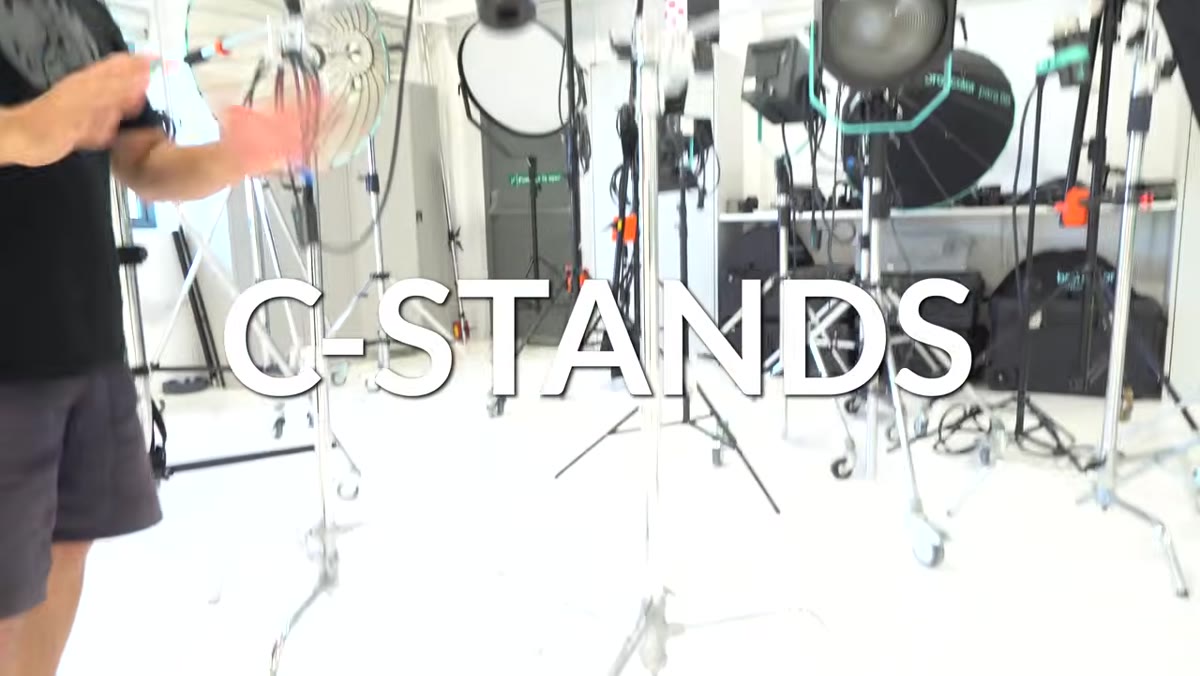 C-stand with grip arm and mini boom arm attachment
A C-stand is not a lighting stand with a different name. The weight, the base geometry, and the grip head mechanism make it a completely different piece of infrastructure. The grip arm, which attaches to the top of the stand, can hold a flag, a reflector card, a small light, or a diffusion frame, and it positions them precisely with a single knuckle tighten. Carl also mentions the mini boom arm configuration, which I use regularly when I need a light coming directly from above a product without a stand leg showing in a wide shot.
C-stand with grip arm and mini boom arm attachment
A C-stand is not a lighting stand with a different name. The weight, the base geometry, and the grip head mechanism make it a completely different piece of infrastructure. The grip arm, which attaches to the top of the stand, can hold a flag, a reflector card, a small light, or a diffusion frame, and it positions them precisely with a single knuckle tighten. Carl also mentions the mini boom arm configuration, which I use regularly when I need a light coming directly from above a product without a stand leg showing in a wide shot.
Step 8: Diffusion Scrims, Foam Board, and Tape
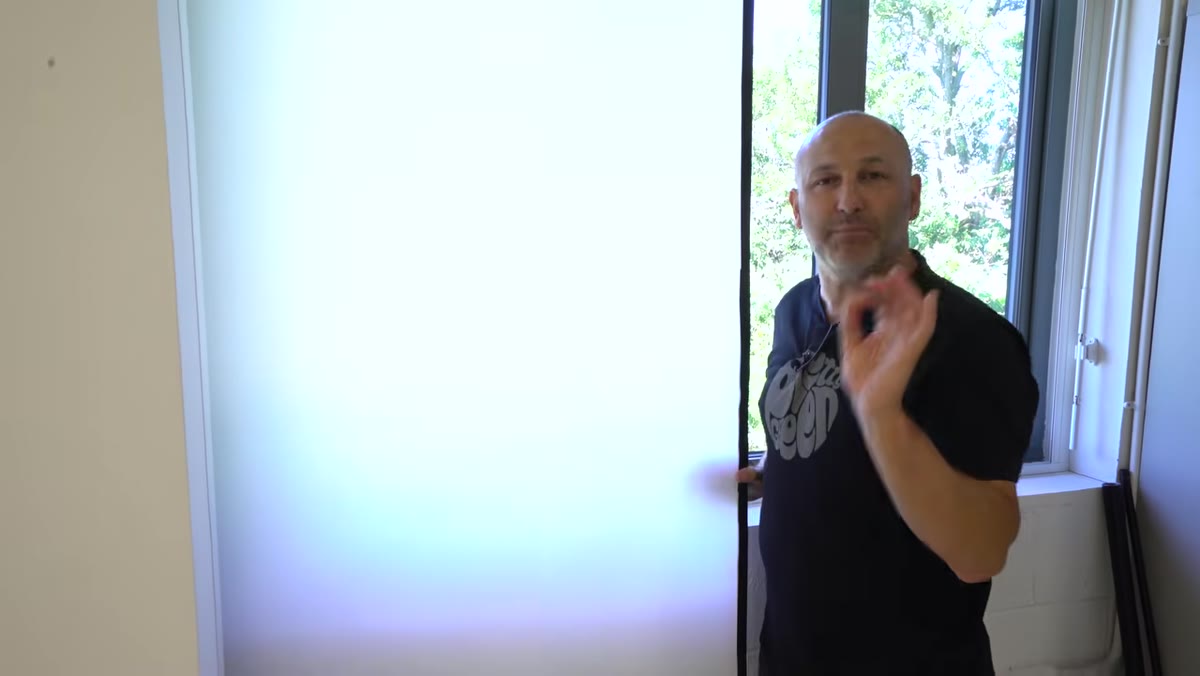 Diffusion scrim material mounted in a frame
These three belong together because they all shape and control light rather than create it. Diffusion material placed between a hard source and the subject stretches the effective size of the light and softens the gradient from highlight to shadow. White foam board bounces fill back into the shadow side. Black foam board does the opposite, pulling light away from a surface to increase contrast and separate an edge. Black electrical tape marks floor positions for talent and lights, so a setup that took two hours to build can be rebuilt in twenty minutes on a re-shoot day. I also use gaffer tape for everything structural. If you buy one roll, buy the two-inch black.
Diffusion scrim material mounted in a frame
These three belong together because they all shape and control light rather than create it. Diffusion material placed between a hard source and the subject stretches the effective size of the light and softens the gradient from highlight to shadow. White foam board bounces fill back into the shadow side. Black foam board does the opposite, pulling light away from a surface to increase contrast and separate an edge. Black electrical tape marks floor positions for talent and lights, so a setup that took two hours to build can be rebuilt in twenty minutes on a re-shoot day. I also use gaffer tape for everything structural. If you buy one roll, buy the two-inch black.
What I Would Add From My Own Practice
Carl’s list is tight and I would not remove anything from it. What I would add is a lighting journal. After every shoot, I sketch the setup on paper or in the diagram app I use on my phone, and I note which accessories were in play and where. An acrylic mirror at forty-five degrees to the subject does something specific that I want to be able to replicate in six months. The accessories only pay off if you understand what each one contributed. Track your setups the same way you track your exposures.
The single most important idea in this tutorial is that studio control comes from preparation, not improvisation. Every one of these accessories exists to solve a specific problem before it becomes a problem on set. Carl Taylor’s list is the starting inventory. Build from there.
Watch the full tutorial on YouTube and see each item demonstrated in context.
Comments (4)
Quality content like this is rare. Keep it up.
Tried this technique this morning. Game changer for real.
This is the kind of content that keeps me coming back.
Excellent tutorial. I'd add that from a business standpoint, this technique is incredibly versatile.
Leave a Comment