White on White Without Losing Your Mind: LED Packshot Lighting That Actually Works

White on White Without Losing Your Mind: LED Packshot Lighting That Actually Works

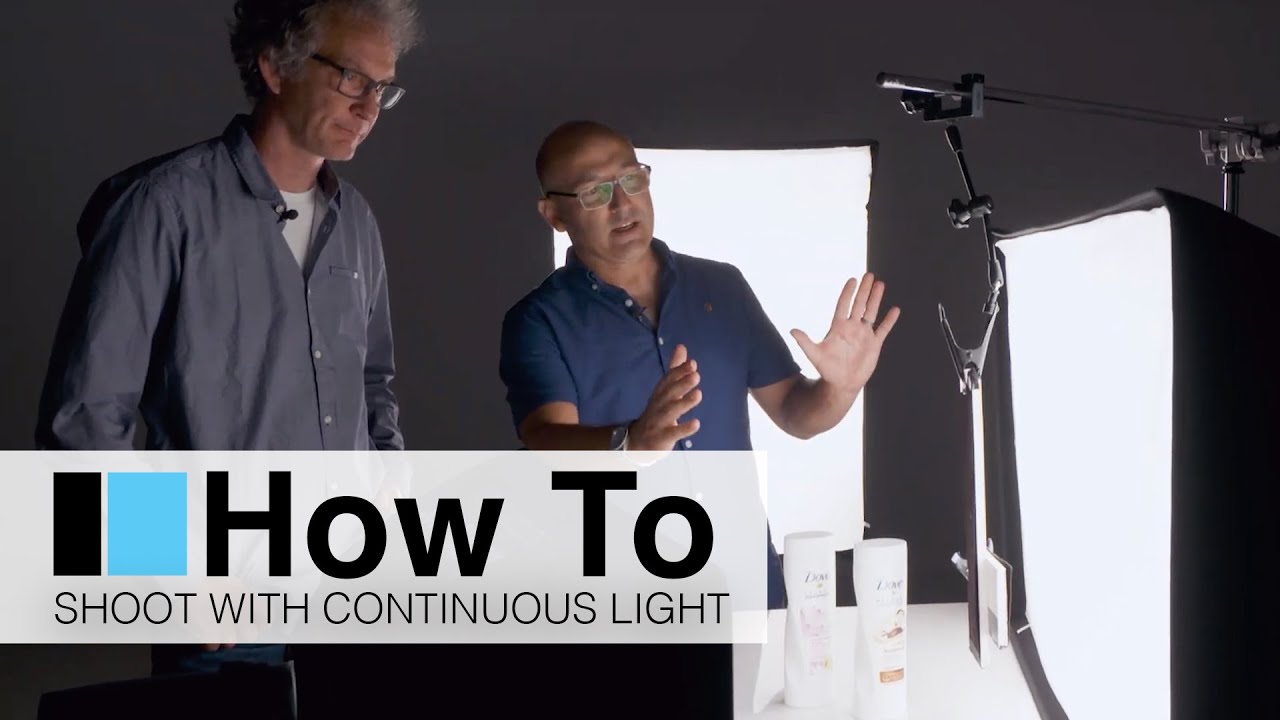
White products on white backgrounds. If you shoot e-commerce or commercial product work with any regularity, that sentence probably makes your eye twitch a little. It’s the kind of brief that sounds straightforward until you’re forty-five minutes into a shoot and your white bottle has completely dissolved into your white background. The edges are gone, the label looks flat, and the client is waiting. I’ve been working through a lot of the broncolor LED material lately because I’ve been fielding more requests from smaller e-commerce clients who also want short video clips alongside their stills.
Why Understanding Materials Is the Real Foundation of Studio Lighting

Why Understanding Materials Is the Real Foundation of Studio Lighting

Every time I walk into a studio with a new product to shoot, the first thing I do is hold it under a bare work light and rotate it slowly. Not to set up a shot. Just to watch. I’m looking at how the surface catches and releases light, where reflections pool, where they scatter, whether the material has any depth to it. I learned to do this after years of jumping straight to the gear and then spending the rest of the session correcting mistakes that should never have happened.

Flash Duration, Not Shutter Speed: How to Freeze a Liquid Pour in the Studio

Flash Duration, Not Shutter Speed: How to Freeze a Liquid Pour in the Studio

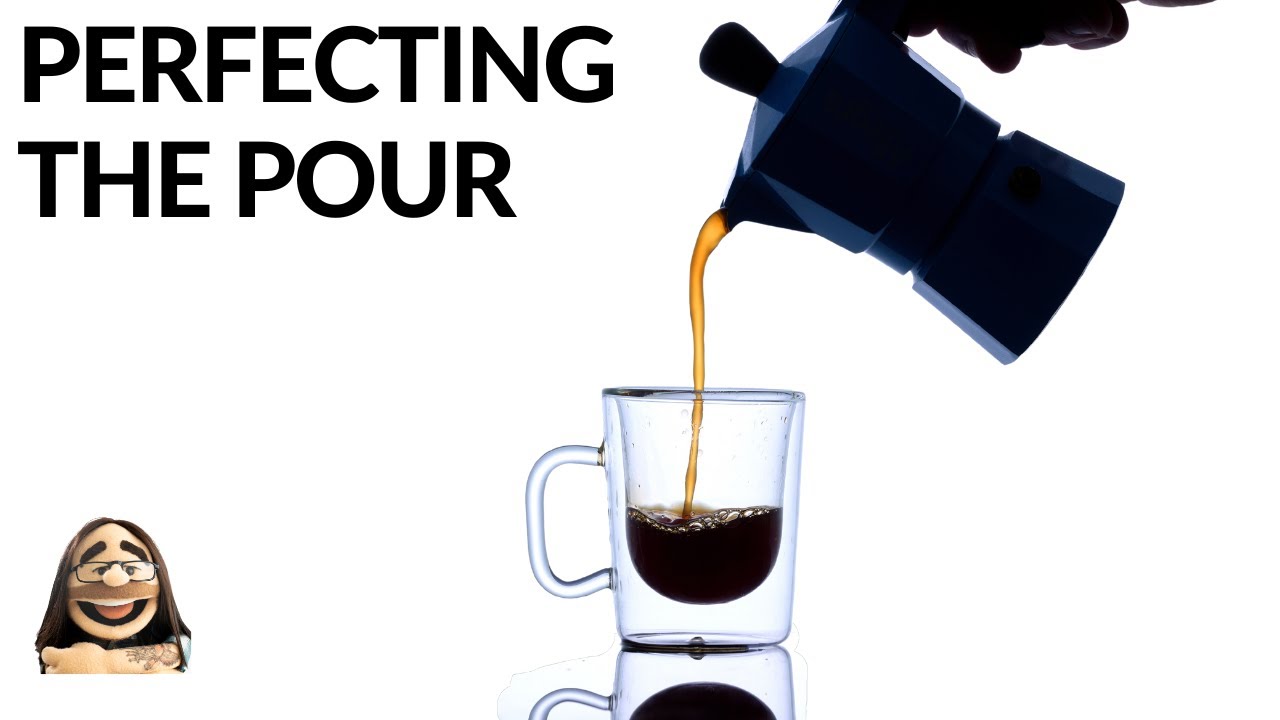
Every few months a client sends me a brief with a liquid shot in it. Coffee pouring into a cup. Whiskey splashing over ice. A serum drop hitting a surface. And every time, I watch junior photographers on set reach for the shutter speed dial as if that’s what’s going to save them. It isn’t. In studio conditions with flash, your shutter speed is nearly irrelevant to motion blur. What actually freezes the liquid is the duration of the flash itself, and if you don’t understand that distinction, you’ll keep getting soft, ghosted pours no matter how fast you shoot.

Kitchen Light: How to Photograph a Bottle with Zero Studio Gear

Kitchen Light: How to Photograph a Bottle with Zero Studio Gear

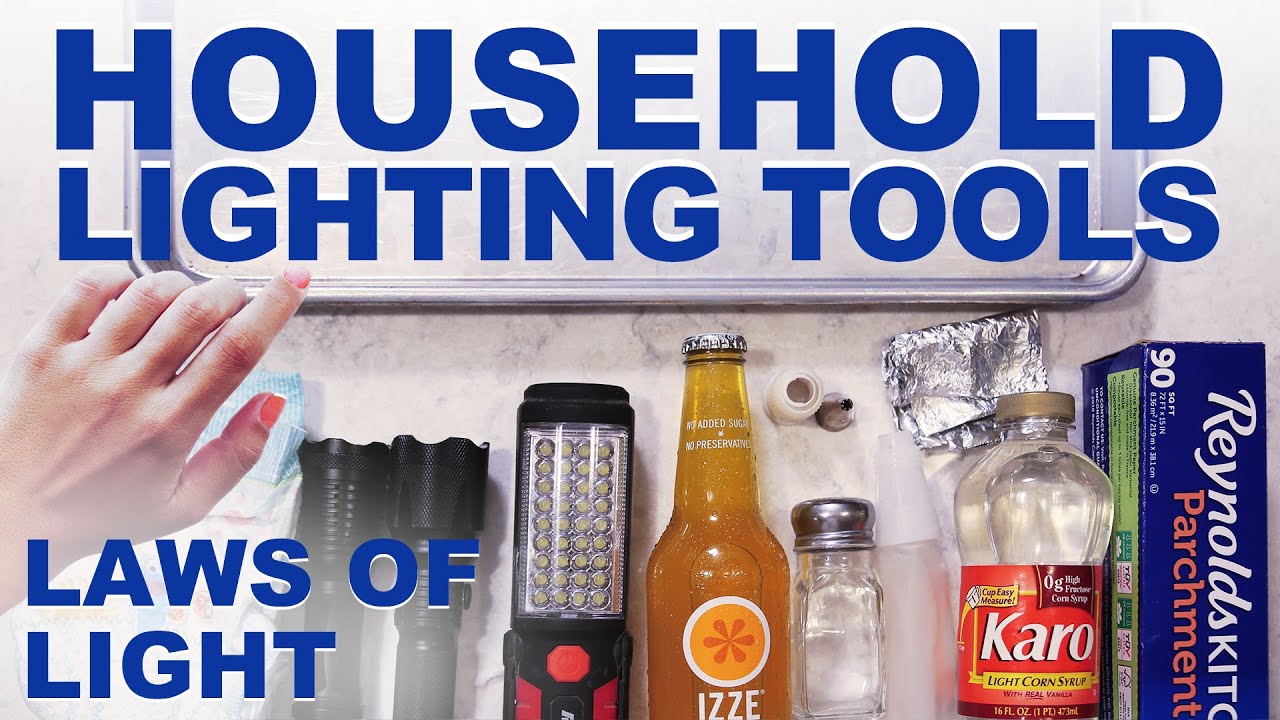
Every commercial photographer hits the same wall at some point: a client wants a polished product shot, you’re not in your studio, and the gear list you’d normally pull from is nowhere within reach. I’ve been in that position more than once, and it has a way of clarifying what you actually understand about light versus what you’ve been leaning on your equipment to solve. That’s why I keep coming back to constraint-based tutorials whenever I want to sharpen my eye.

Your Camera Doesn't Make the Shot. Your Light Does.

Your Camera Doesn't Make the Shot. Your Light Does.

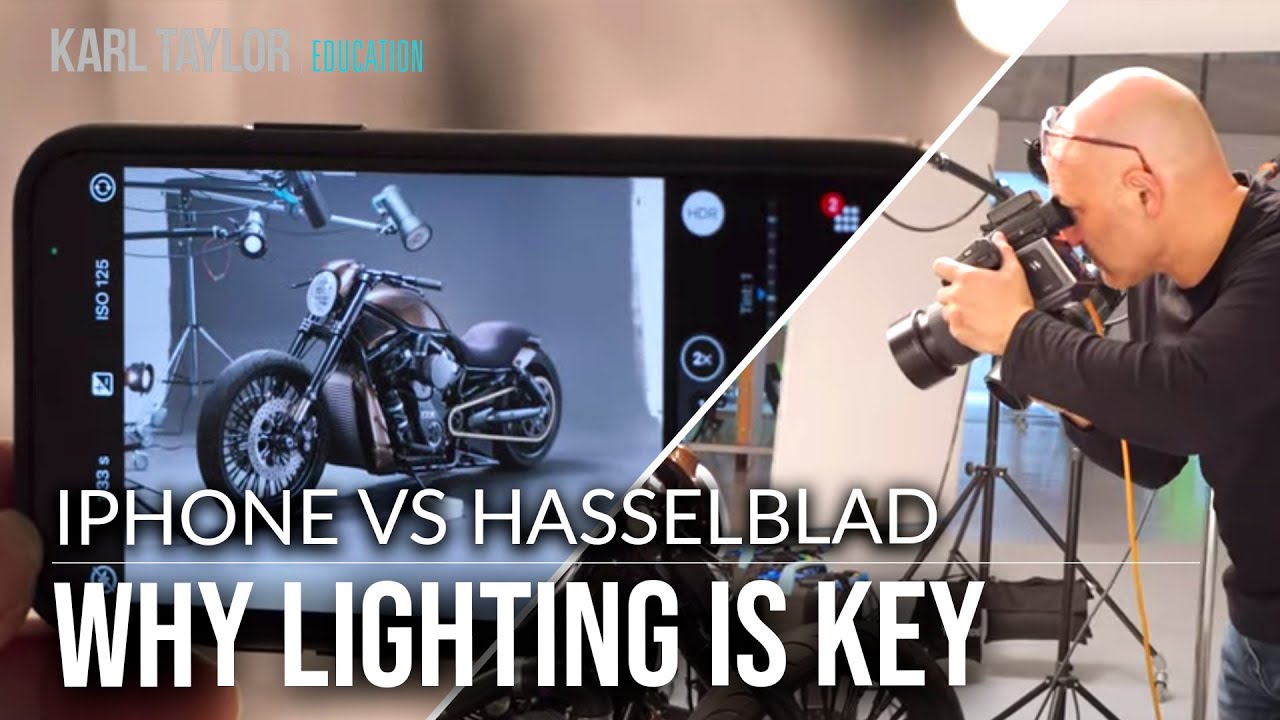
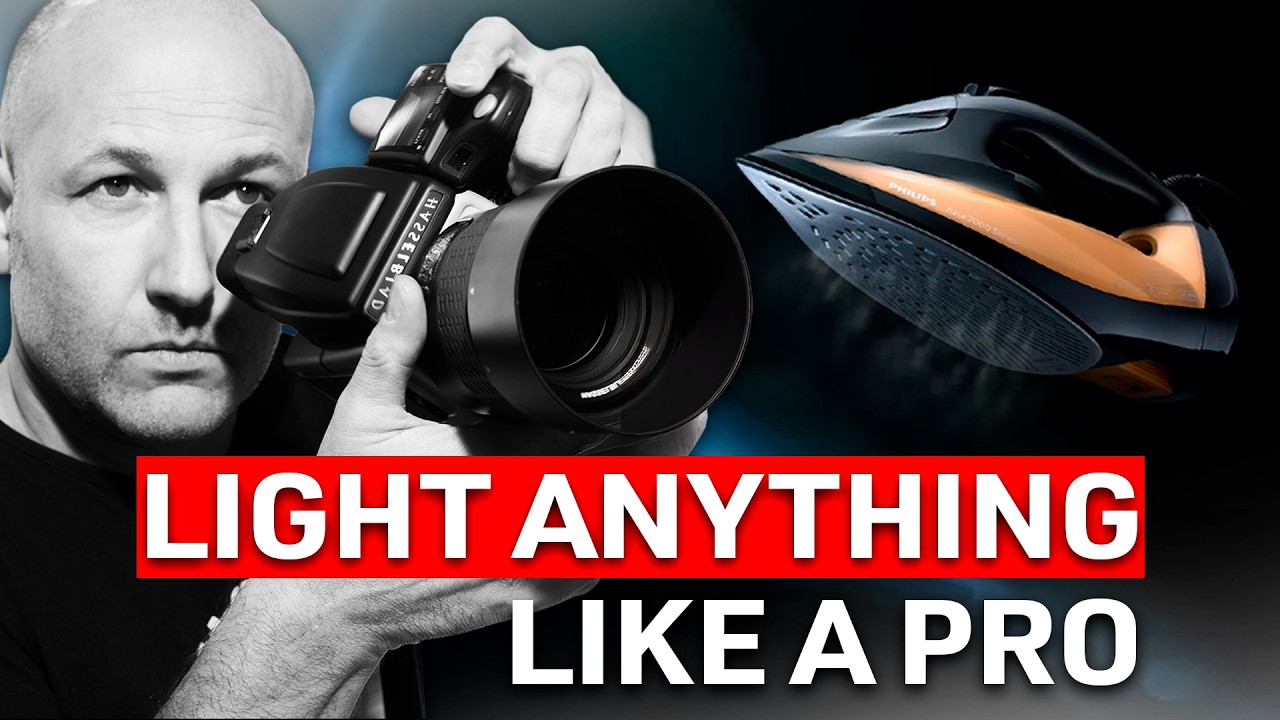
Clients ask me about my camera constantly. At commercial shoots, someone from the brand’s marketing team almost always wanders over and says something like, “Is that a Hasselblad? That must be why the shots look so good.” I’ve stopped arguing about it. But the truth is, the camera is the last thing determining whether your studio image succeeds or falls apart. The first thing is always the light. That’s why a recent Visual Education tutorial stopped me mid-scroll.

10 Studio Accessories Every Professional Photographer Actually Needs (And Why I Reach for Each One)

10 Studio Accessories Every Professional Photographer Actually Needs (And Why I Reach for Each One)

There is a category of photography problem that has nothing to do with lenses or lighting ratios. It is the shoot that grinds to a halt because you have nothing to hold a background flat, or the product that collects fingerprints between every frame, or the light that needs to come in at an angle no standard stand can reach. These are logistics problems, and they will eat a shoot alive.

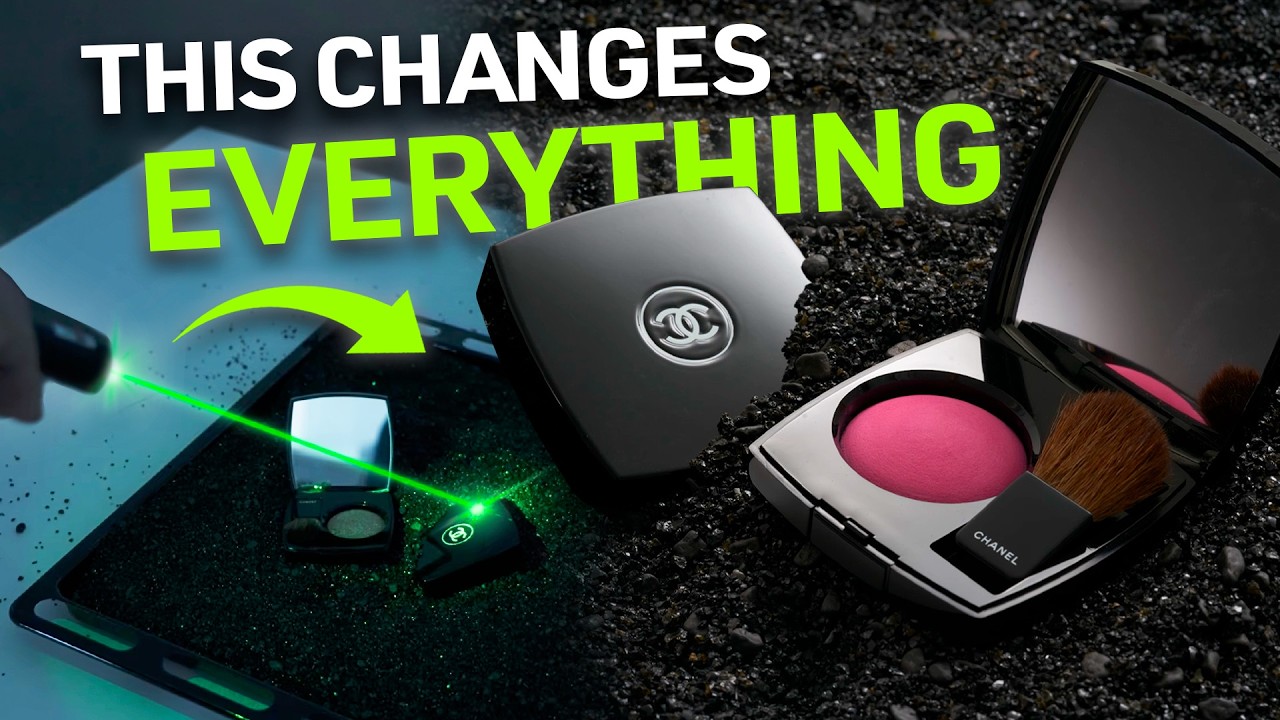
The Laser Trick That Tells You Exactly Where to Put Your Light

The Laser Trick That Tells You Exactly Where to Put Your Light

Product photography has a way of humbling you fast. You can nail the composition, dial in a clean background, get the focus exactly where you want it, and still end up with a shot that looks flat, cheap, or just wrong in some way you can’t immediately name. Nine times out of ten, when I pull up a disappointing product frame on my tethered monitor, the culprit is the reflection sitting in exactly the wrong place on the surface.

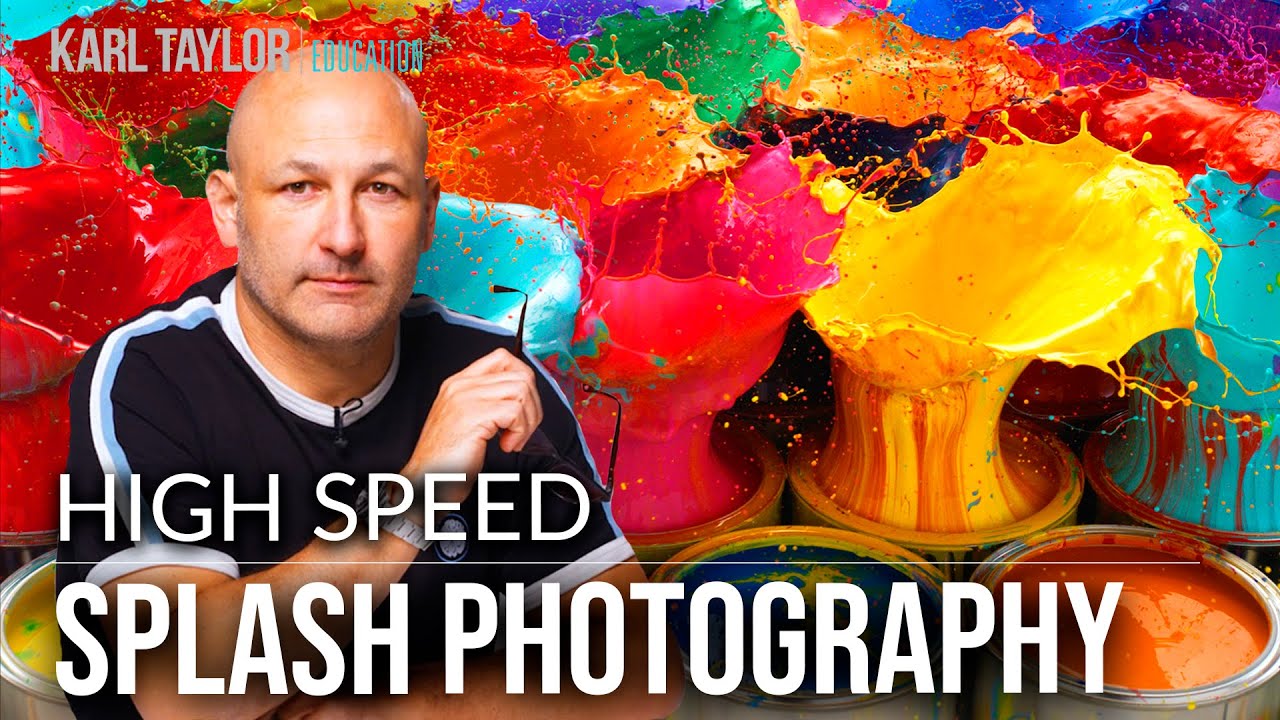
How to Photograph Exploding Paint Using Fast Flash: A Studio Breakdown

How to Photograph Exploding Paint Using Fast Flash: A Studio Breakdown

Client inquiries come in waves, and every few years a category of image starts showing up on mood boards constantly. Explosive product shots, the kind where paint or powder or liquid appears to detonate off a surface, have been on those boards for years. Every time I get a brief that gestures at that aesthetic, I go back to basics: how do you actually freeze motion that fast, how do you light something chaotic and reflective, and how do you rig a repeatable trigger mechanism without rigging anything dangerous?

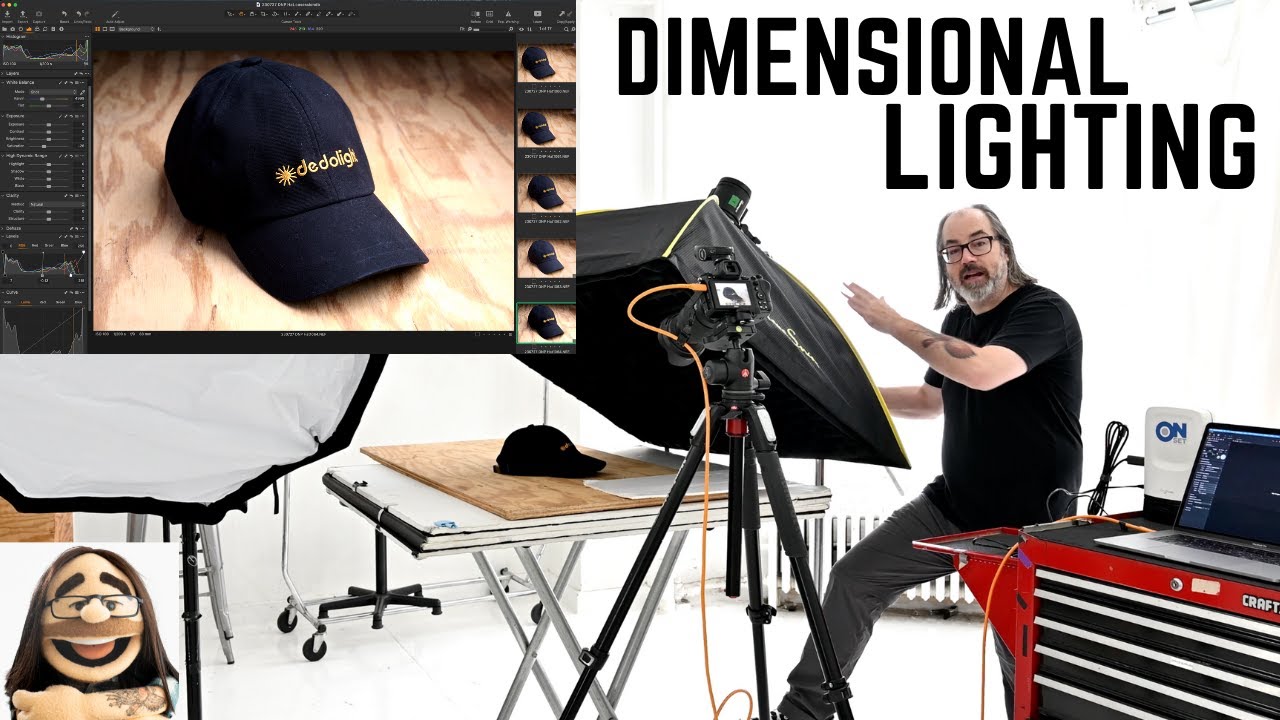
How to Light Still Life with Real Depth: A Breakdown of Daniel Norton's Two-Light Setup

How to Light Still Life with Real Depth: A Breakdown of Daniel Norton's Two-Light Setup

Still life and product work has a reputation for being straightforward. One light, white background, done. And sure, that approach gets the job done for basic e-commerce. But the moment a client wants something that feels tactile, something that makes a viewer want to reach out and pick up the object, flat lighting becomes the enemy. I run into this constantly. A beauty brand will ask for a shot that “pops off the page,” and what they’re really asking for is dimensionality, shadow, a sense that the product exists in physical space rather than floating in a void.

Pro Product Photography in Tight Spaces: What Karl Taylor's Budget Shoot Actually Teaches You

Pro Product Photography in Tight Spaces: What Karl Taylor's Budget Shoot Actually Teaches You

I shoot commercial work out of a studio in Los Angeles that I’ve spent years optimizing. The right modifiers, the right power packs, enough ceiling height to do almost anything. And yet some of my most technically instructive moments have come from watching experienced photographers deliberately strip all of that away. There’s a specific kind of clarity that comes from constraints, and it’s something I try to remind myself of every time a client assumes that the quality of the final image scales directly with the size of the equipment rental invoice.

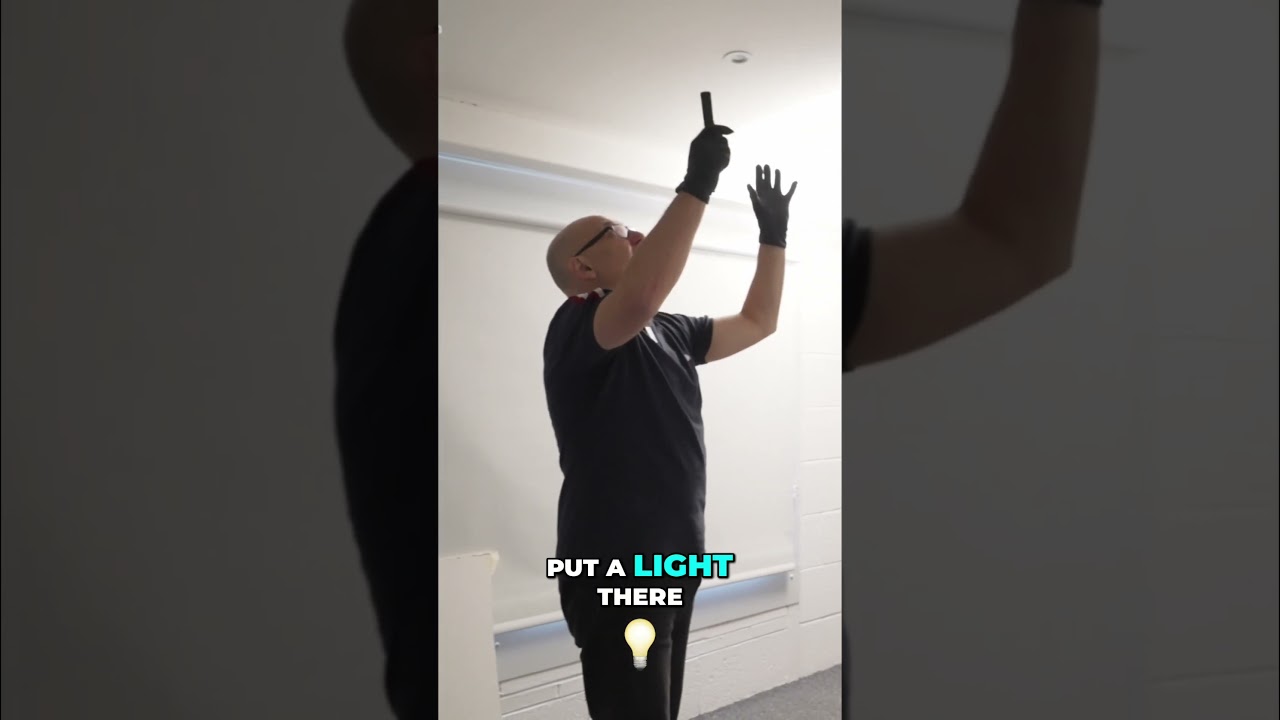
The Laser Trick That Changed How I Position Lights for Reflective Product Shots

The Laser Trick That Changed How I Position Lights for Reflective Product Shots

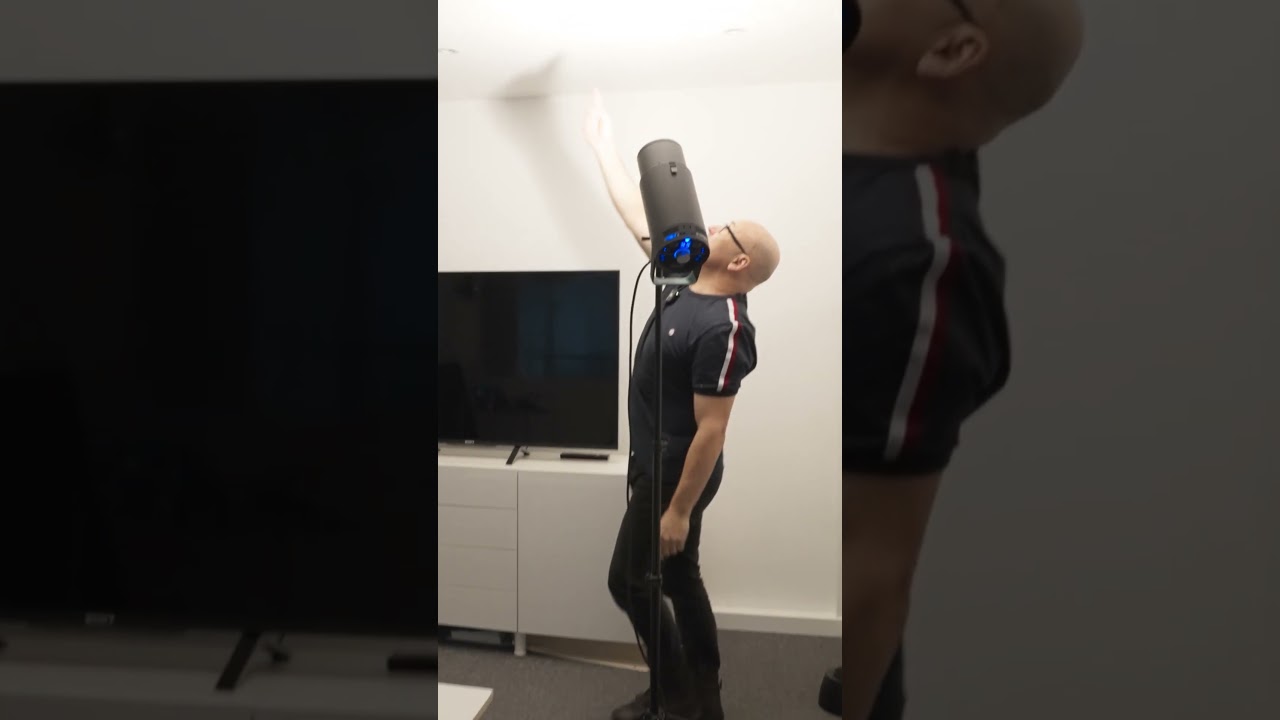
There’s a specific kind of frustration that comes from lighting a product with a glossy surface. You dial in what looks like a clean, controlled setup, take the shot, and the whole face of the product is a blown-out white rectangle. The name is gone. The color is gone. What you have is essentially a very expensive photograph of a reflection. I’ve been there more times than I want to admit, and it took me a long time to develop a reliable system for predicting where that reflection would land before I ever fired a strobe.

Your Glossy Products Are Mirrors. Start Lighting Them That Way.

Your Glossy Products Are Mirrors. Start Lighting Them That Way.

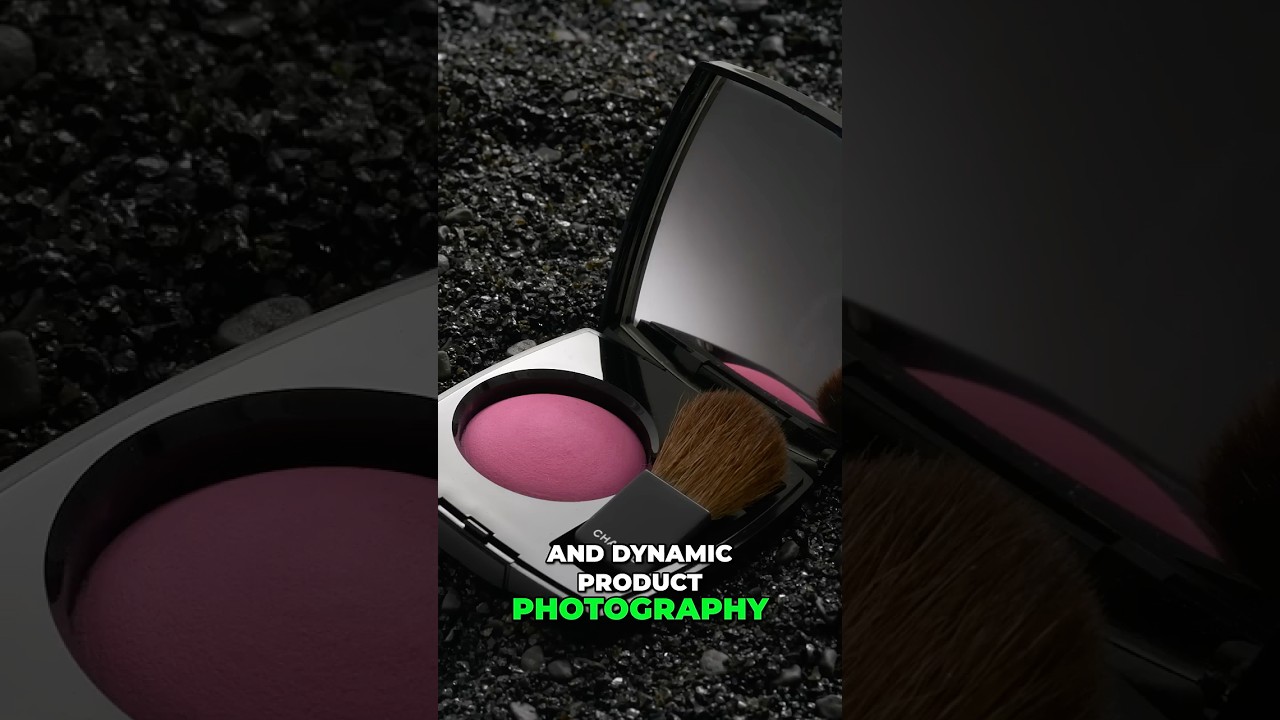
Every commercial photographer has a version of this story. A client sends over a cosmetics product, something small and impossibly shiny, and you set up what feels like a reasonable light position and fire a test shot. The result looks like a snapshot from a drugstore circular. The surface is either blowing out in a hot white blob or reading as a flat, lifeless panel with no dimension whatsoever. I have a lighting journal where I sketch every setup from every shoot, and I can flip back through dozens of pages where a note in the margin reads some version of “glossy surfaces are the enemy.