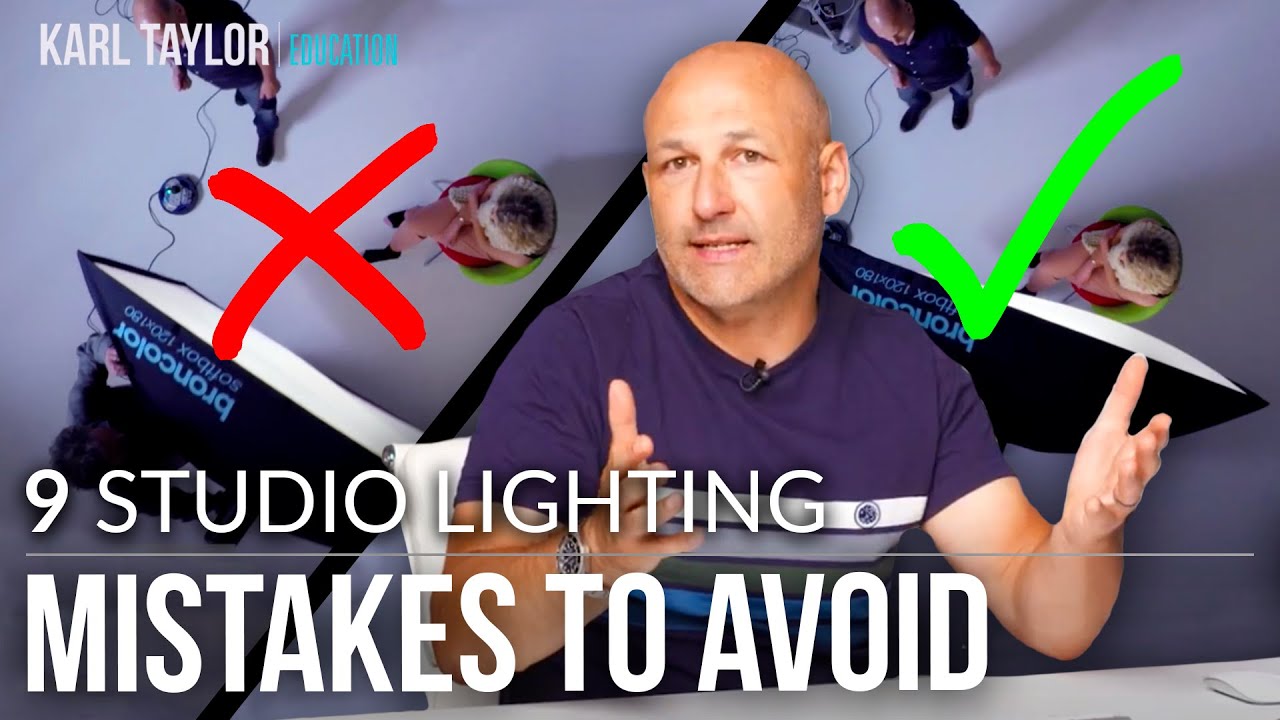
Every time I bring a photographer into my studio for the first time, I watch the same sequence unfold. They position the light directly in front of the subject, chimp the back of the camera, and then look up at me with this deflated expression. “Why does it look so flat?” That question tells me everything about where they are in their studio lighting education. It also tells me they haven’t yet wrestled with the fundamentals, not because they’re incapable, but because nobody sat them down and explained what actually matters before they touched the gear.
That’s exactly why I keep coming back to this tutorial from Visual Education. Watch the full tutorial on YouTube – it’s one of the clearest breakdowns of studio flash fundamentals I’ve seen, built around nine specific, avoidable mistakes. The instructor brings nearly three decades of professional experience to the list, and it shows. These aren’t abstract warnings. They’re the exact errors that separate a photographer who struggles with studio work from one who commands it.
What I want to do here is walk through each mistake as a concrete action step – something you can correct before your next session. I’ve added my own field notes where I think the real-world application goes deeper than the tutorial has time to cover.
Step 1: Learn the Physics, Even the Uncomfortable Parts
 Instructor explaining physics of light as foundation
You don’t need a physics degree, but you do need to understand a handful of principles that govern how light behaves in a studio. The inverse square law tells you why moving a light two feet closer to your subject has a dramatically larger effect than moving it two feet farther away. Angle of incidence and angle of reflectance explain why a reflector positioned at the wrong angle does almost nothing. Hard light versus soft light, diffusion, specularity, color theory – these aren’t optional extras. They’re the grammar of studio lighting, and without them you’re just guessing.
Instructor explaining physics of light as foundation
You don’t need a physics degree, but you do need to understand a handful of principles that govern how light behaves in a studio. The inverse square law tells you why moving a light two feet closer to your subject has a dramatically larger effect than moving it two feet farther away. Angle of incidence and angle of reflectance explain why a reflector positioned at the wrong angle does almost nothing. Hard light versus soft light, diffusion, specularity, color theory – these aren’t optional extras. They’re the grammar of studio lighting, and without them you’re just guessing.
I keep a lighting journal. Every setup from every shoot gets a sketch with distances, modifier choices, and power ratios noted. When I started doing this, I noticed patterns in what worked and what didn’t, and those patterns all traced back to basic physics. Spend an afternoon with the inverse square law alone and your understanding of light placement will shift permanently.
Step 2: Stop Chasing Formulas – Start Experimenting
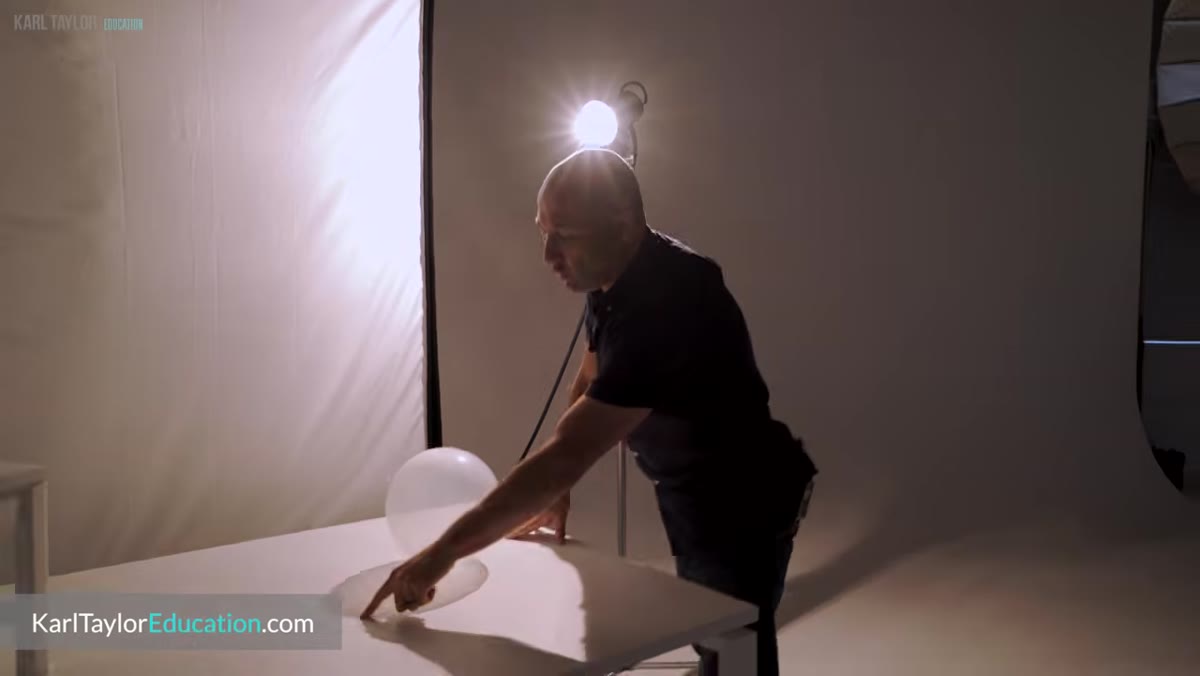 Instructor discussing the impulse to seek exact settings
One of the most common messages I get from photographers goes something like: “What power setting were you running? Can you send me the lighting diagram?” I understand the impulse, but here’s the problem. My power settings are calibrated to my room, my modifiers, the reflectivity of my studio walls, the distance I’m shooting from, and the subject in front of me. None of those variables will match yours.
Instructor discussing the impulse to seek exact settings
One of the most common messages I get from photographers goes something like: “What power setting were you running? Can you send me the lighting diagram?” I understand the impulse, but here’s the problem. My power settings are calibrated to my room, my modifiers, the reflectivity of my studio walls, the distance I’m shooting from, and the subject in front of me. None of those variables will match yours.
Digital photography costs you nothing per frame. Use that. Move a light six inches. Raise it, drop it, tilt it. Take a shot after each adjustment and look at what changes. The photographers who develop real lighting instincts are the ones who let themselves fail in practice before they need to perform on a job. I test every new modifier the day it arrives – not on a real shoot, just experimenting with placement and distance until I understand how that specific tool shapes light.
Step 3: Put Down the Light Meter
 Instructor making the case against relying on a light meter
A light meter will tell you what f-stop and ISO combination produces a technically correct exposure. What it won’t tell you is whether that exposure serves your creative intention. If you want a moodier image with shadow detail that falls away faster, or a high-key look where highlights are intentionally pushed, a meter actively works against you by pointing you toward neutral.
Instructor making the case against relying on a light meter
A light meter will tell you what f-stop and ISO combination produces a technically correct exposure. What it won’t tell you is whether that exposure serves your creative intention. If you want a moodier image with shadow detail that falls away faster, or a high-key look where highlights are intentionally pushed, a meter actively works against you by pointing you toward neutral.
Train your eye instead. Look at your histogram. Look at the image on the back of the camera. Adjust and shoot again. After a few months of working this way, exposure decisions become fast and intuitive. The instructor in this tutorial mentions he stopped using a light meter about fifteen years ago when he moved away from film – and the reasoning is sound. In the digital era, the feedback loop is immediate. You can see the result of every adjustment in seconds.
Step 4: Move the Light Off-Axis
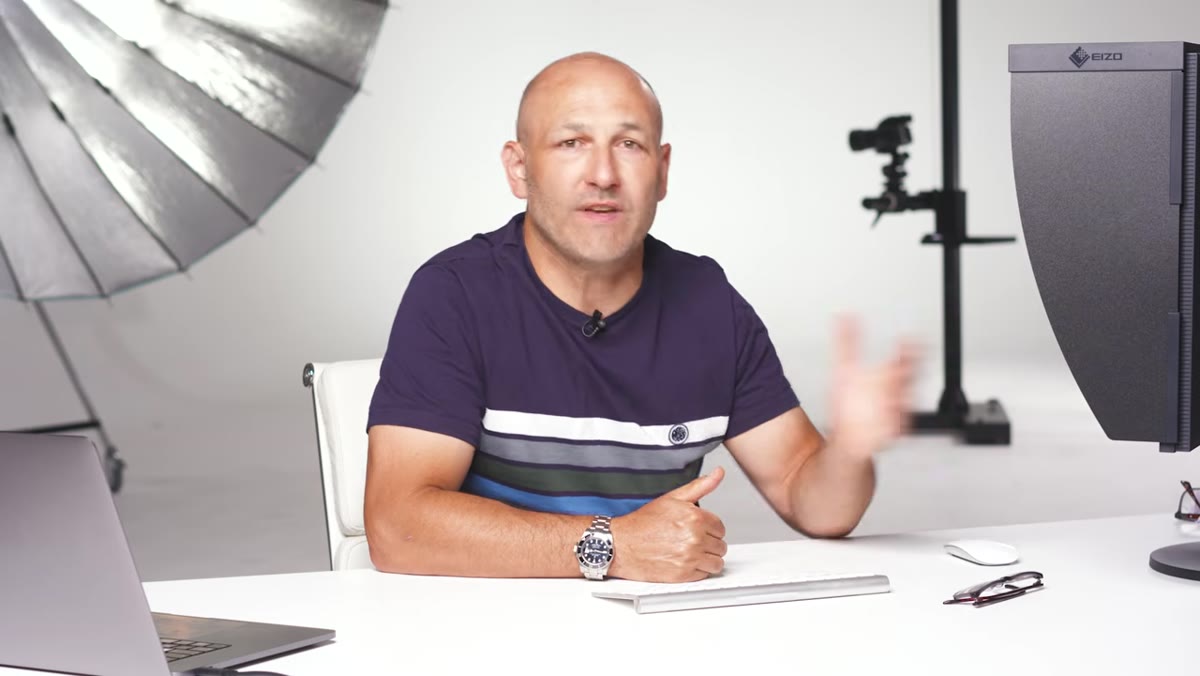 Instructor positioning a light to the side of a subject
Front lighting is the studio equivalent of using your camera’s built-in flash. It eliminates shadow, which sounds like a benefit until you realize that shadow is what creates dimension, texture, and the impression of three-dimensional form. When you place a light directly in front of your subject, you’re flattening everything that makes a face or a product visually interesting.
Instructor positioning a light to the side of a subject
Front lighting is the studio equivalent of using your camera’s built-in flash. It eliminates shadow, which sounds like a benefit until you realize that shadow is what creates dimension, texture, and the impression of three-dimensional form. When you place a light directly in front of your subject, you’re flattening everything that makes a face or a product visually interesting.
Side lighting is where things start to get compelling. Position your key light at 45 degrees from the subject and watch how the shadow falls across the face. Raise it above eye level and notice how the cheekbones catch light differently. Even a modest shift off-axis transforms a flat, documentary-style image into something with genuine depth. This single adjustment – moving the light off the front plane – will improve more of your studio work than any piece of gear you could buy.
What I’d Add From My Own Studio Work
The tutorial doesn’t dig into color temperature calibration, and I’d argue it belongs on this list. Early in my career I ruined an editorial shoot by mixing my flash output with ambient tungsten light and never checking how it rendered on skin. The images came back with an orange cast through the shadows that couldn’t be corrected without destroying the highlights. Now I use a color checker card on every job, first frame, every time. It takes thirty seconds and it has saved me from that particular mistake more times than I’d like to admit.
I’d also add this: label your lights. I put masking tape on every head in my studio with the modifier, the watt-second rating, and any notes from previous shoots. When you’re in the middle of a job and a client is waiting, you don’t want to be guessing which head is your fill and which is your rim. Small operational habits like that remove friction from the creative process and let you focus on what actually matters – the light, the subject, and the shot.
The single most important thing this tutorial communicates is that studio lighting is a learnable system, not a mystery. The photographers who struggle with it are usually the ones who want the answer before they’ve put in the experimental work to understand the question. Start with the physics, embrace the failed frames, and keep your eyes on the image rather than the meter.
Watch the full tutorial on YouTube – the Visual Education team covers all nine mistakes in full, and there’s enough depth in the second half to make a second watch worthwhile once you’ve had time to apply the first few steps in the studio.
Comments (3)
Applied this to my portfolio shots and the improvement is noticeable.
I've watched a dozen tutorials on this and yours is the clearest by far.
Couldn't agree more. I've seen this make a huge difference in compositing work specifically.
Leave a Comment