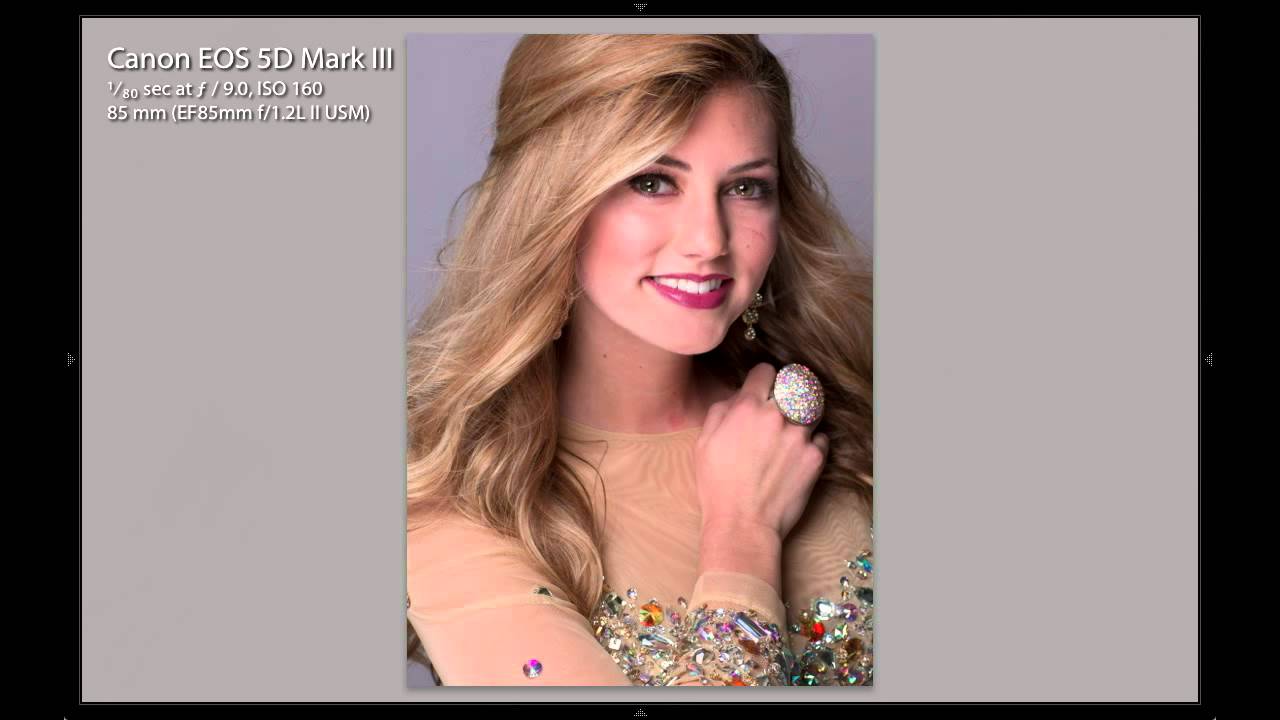
Headshots are the shoot I get called for most often that I also see done worst most often. Not because photographers don’t understand light, but because they treat headshots like portraits. They’re not the same thing. A portrait can afford to be atmospheric. A headshot has one job: make this person look like the most commanding version of themselves. That requires a completely different posing vocabulary and a lighting setup precise enough to be repeatable.
I keep a lighting journal where I sketch every setup from every shoot. When I watched Lou Freeman’s tutorial on Watch the full tutorial on YouTube, I filled two pages. What looks like a simple beauty dish setup in this CreativeLive session carries a lot of embedded logic that’s easy to miss if you’re just watching the gear. Freeman is working fast, narrating decisions in real time, and making adjustments most photographers would make silently. That transparency is what makes this worth studying closely.
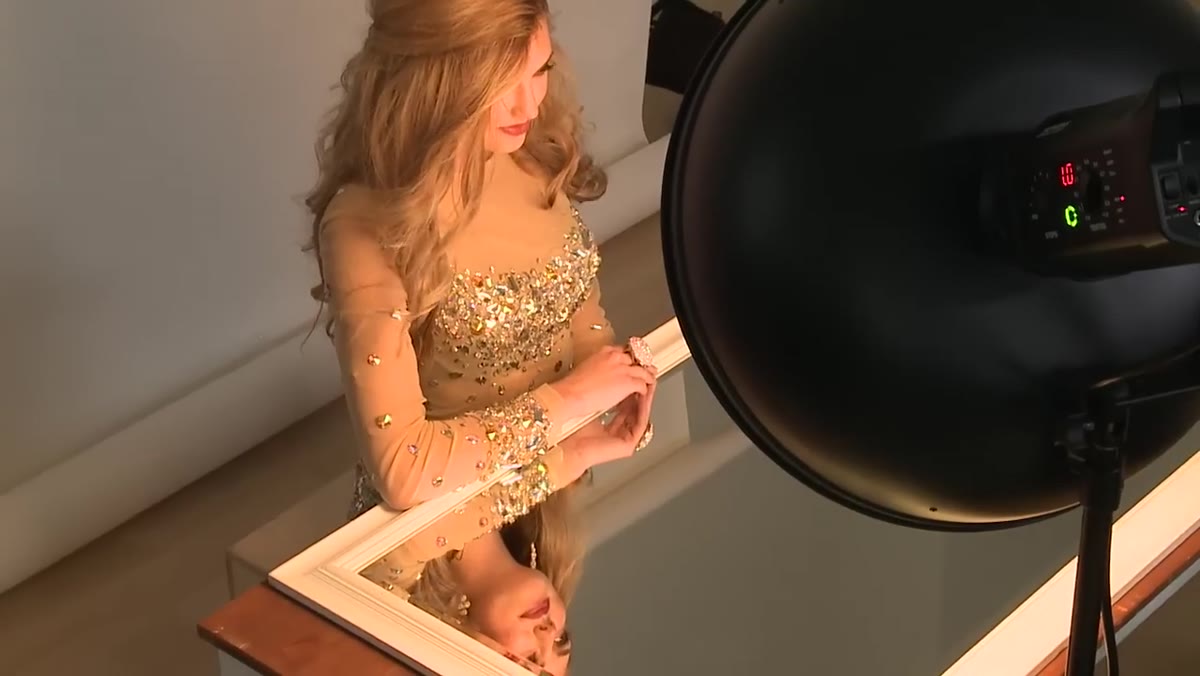
The setup itself is stripped down. A beauty dish, a sock diffuser, and a fill card. No elaborate multi-light rigs. What Freeman is demonstrating is that the quality of light matters more than the quantity of sources, and that posing is not a separate skill from lighting. The two decisions are made together.
Step 1: Establish the Posing Foundation Before You Touch a Light
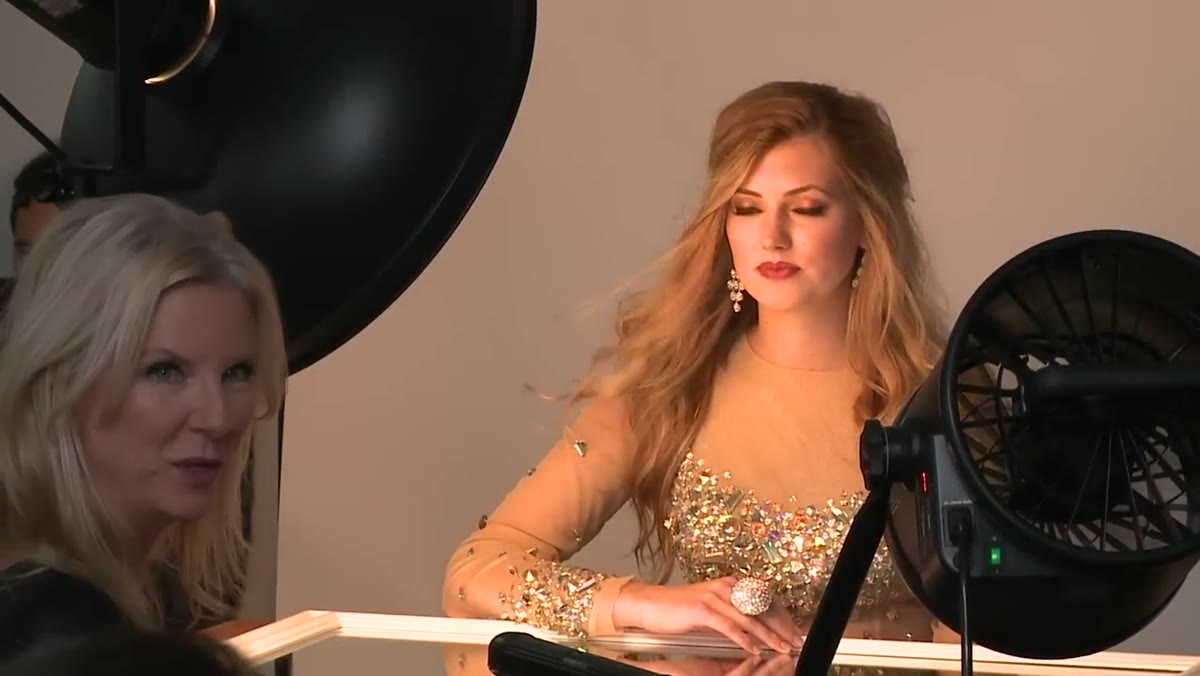 Photographer demonstrating body posture contrast for strong female subject
Freeman’s first move isn’t with a light meter. It’s a posing correction. He makes a direct distinction between a collapsed, passive stance and a projected, active one. The cue he uses is precise and physical: imagine being lifted by the torso, so the ribcage rises and the spine lengthens. That single adjustment changes how the subject occupies the frame.
Photographer demonstrating body posture contrast for strong female subject
Freeman’s first move isn’t with a light meter. It’s a posing correction. He makes a direct distinction between a collapsed, passive stance and a projected, active one. The cue he uses is precise and physical: imagine being lifted by the torso, so the ribcage rises and the spine lengthens. That single adjustment changes how the subject occupies the frame.
For female subjects especially, strength reads through posture before it reads through expression. A slightly forward lean from the waist, shoulders back and settled rather than raised, does more for a headshot than any modifier will. Get this right before you fire a test shot. A great light on a collapsed posture is still a bad headshot.
Step 2: Direct Expression Toward Allure, Not Approachability
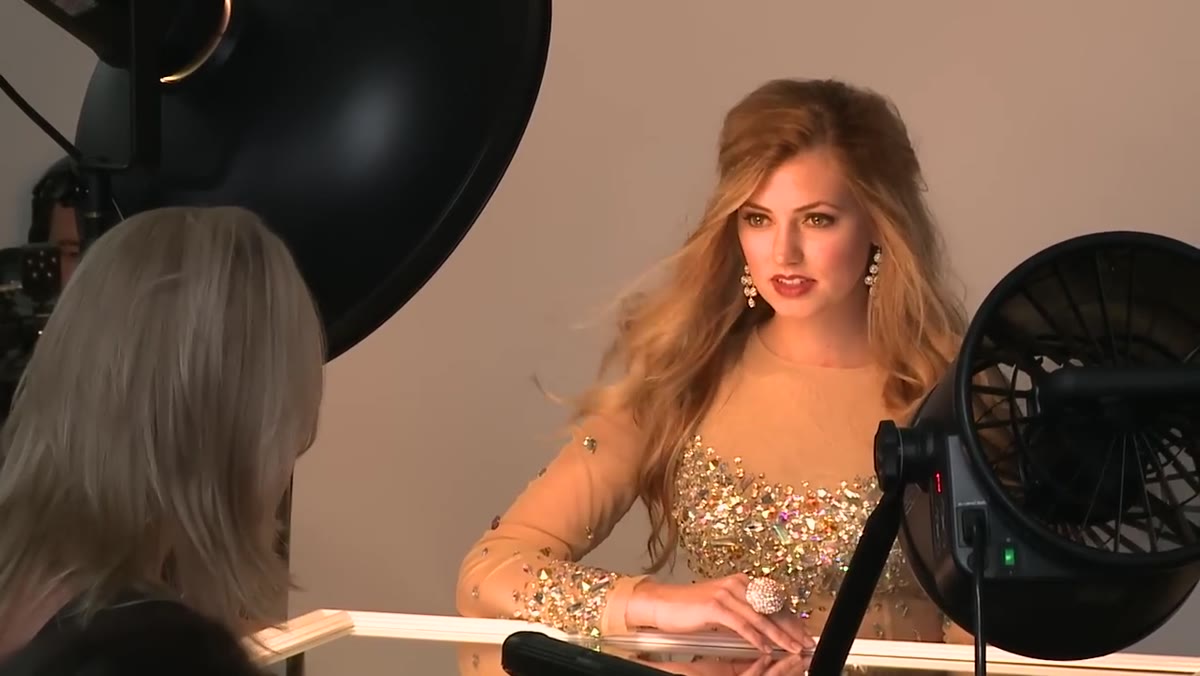 Subject demonstrating strong, slightly smirking expression with direct eye contact
Once posture is set, Freeman addresses expression with equal specificity. He’s not asking for a smile. He’s asking for presence. A slight squint in the eyes, a controlled smirk rather than a full smile. This combination reads as confident and magnetic rather than friendly and eager.
Subject demonstrating strong, slightly smirking expression with direct eye contact
Once posture is set, Freeman addresses expression with equal specificity. He’s not asking for a smile. He’s asking for presence. A slight squint in the eyes, a controlled smirk rather than a full smile. This combination reads as confident and magnetic rather than friendly and eager.
This matters because the instinct of most subjects, and most photographers directing them, is to go for warmth. Warm works for real estate agents and pediatricians. For executives, performers, and brand founders, alluring is almost always the stronger choice. The technical direction here is to have the subject bring their forehead toward the lens slightly, chin angled down, which both sharpens the jawline and increases the intensity of eye contact.
Step 3: Track the Focus Point to the Face, Not the Frame
 Camera following subject’s movement, focus point repositioning to face
Freeman flags something that gets overlooked in headshot tutorials: as the subject moves, the focus point should follow the face rather than staying locked to a fixed composition. He’s reacquiring focus continuously as she shifts, turns, and laughs.
Camera following subject’s movement, focus point repositioning to face
Freeman flags something that gets overlooked in headshot tutorials: as the subject moves, the focus point should follow the face rather than staying locked to a fixed composition. He’s reacquiring focus continuously as she shifts, turns, and laughs.
This is especially relevant when shooting at the apertures that headshots typically require, f/2.8 to f/4 to compress the background while keeping the face sharp. Micro-movements shift the focal plane. If you set focus and leave it, you’ll end up with sharp ears and soft eyes. Use continuous autofocus or reacquire manually between bursts. I have a piece of masking tape on every light in my studio labeled with its distance, and I treat focus the same way. Precision isn’t optional at the distances and apertures headshots demand.
Step 4: Start with the Beauty Dish Bare, Then Evaluate Contrast
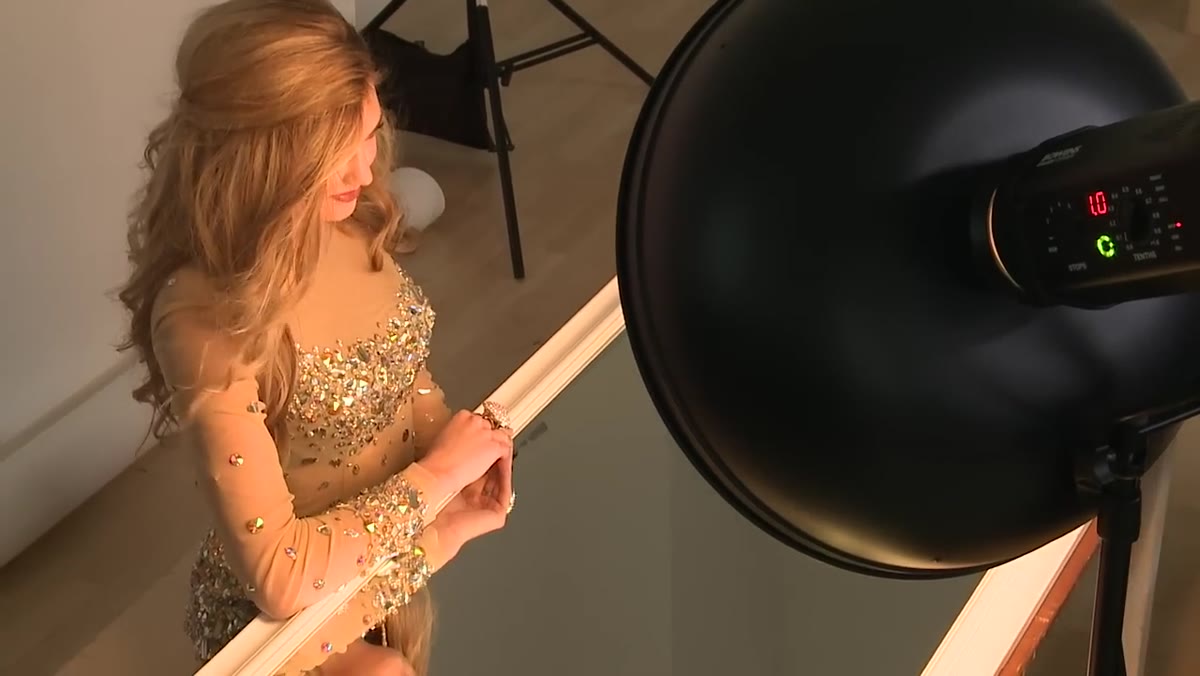 Bare beauty dish illuminating subject, showing harder contrast on skin
Before Freeman adds the sock diffuser, he’s working with the bare beauty dish. This produces a slightly harder light, more contrast, more defined shadow transitions. He uses this as a baseline, not a mistake to correct.
Bare beauty dish illuminating subject, showing harder contrast on skin
Before Freeman adds the sock diffuser, he’s working with the bare beauty dish. This produces a slightly harder light, more contrast, more defined shadow transitions. He uses this as a baseline, not a mistake to correct.
The bare dish is worth shooting for a few frames. It shows you how the modifier is shaping the light on that specific face. High cheekbones and strong bone structure often look excellent under a slightly harder source. Softer, rounder faces benefit more from diffusion. Making this evaluation before you add the sock means your decision to diffuse is deliberate, not reflexive.
Step 5: Add the Sock Diffuser and Adjust Power
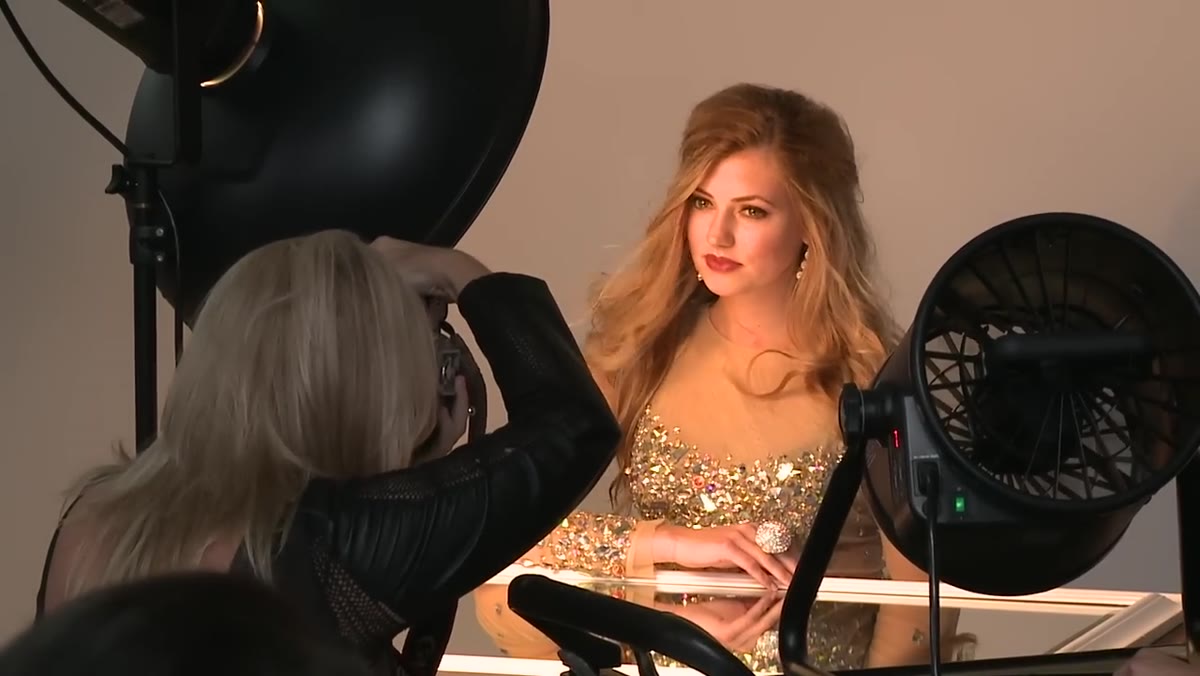 Sock diffuser being placed over beauty dish, power being increased
With the sock on, Freeman increases the power of the light to compensate for the output lost through the diffusion material. This is a step that beginners frequently skip, and the result is an underexposed frame that looks like the setup failed rather than a simple power correction.
Sock diffuser being placed over beauty dish, power being increased
With the sock on, Freeman increases the power of the light to compensate for the output lost through the diffusion material. This is a step that beginners frequently skip, and the result is an underexposed frame that looks like the setup failed rather than a simple power correction.
The sock wraps the beauty dish and scatters the output, producing a softer falloff at the edge of shadows and a more flattering wrap around the face. It doesn’t eliminate the shaping quality of the dish. It refines it. Think of the bare dish as a sharp knife and the sock as that same knife with slightly more forgiveness. You’re still cutting, just with more control on curved surfaces.
Step 6: Use the Histogram to Protect Highlights on Skin
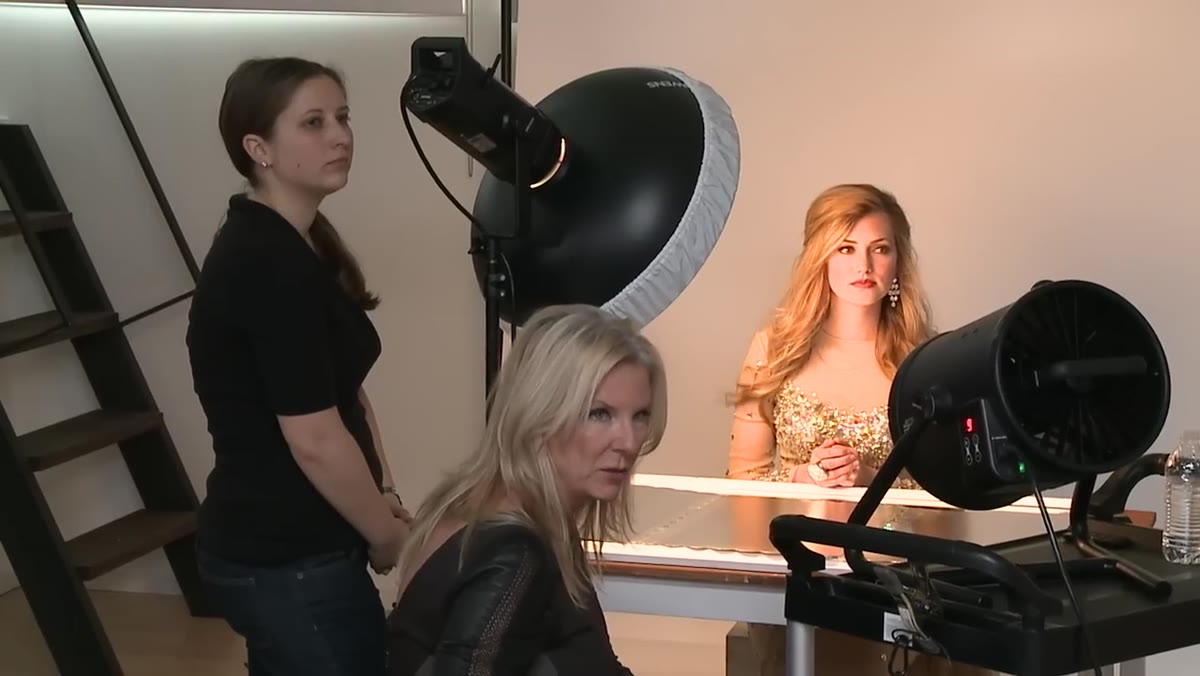 Histogram displaying exposure data for bright, clean skin tones
Freeman makes a comment that is easy to pass over but is actually the technical core of his processing philosophy: the image may look bright on the back of the camera, but the histogram is the authority, not the LCD. He’s exposing for clean, bright skin and verifying that nothing is blown out.
Histogram displaying exposure data for bright, clean skin tones
Freeman makes a comment that is easy to pass over but is actually the technical core of his processing philosophy: the image may look bright on the back of the camera, but the histogram is the authority, not the LCD. He’s exposing for clean, bright skin and verifying that nothing is blown out.
His post-processing notes follow directly from this: boost contrast slightly, reduce saturation modestly, and lift the blacks after a global lighten. This is a workflow designed around a high-key base exposure that preserves skin texture. It’s not an aggressive edit. It’s a correction that restores dimensionality to a deliberately light exposure. I use the same approach on product beauty work. Expose bright, protect the highlights, and add the contrast back in post rather than baking it into the capture.
What I’d Add from My Own Practice
Freeman’s setup assumes a controlled studio environment with a fill card handling the shadow side. When I’m shooting headshots in locations with ambient light leaking in from windows or overhead practicals, that fill card becomes unreliable because the ambient is competing with it. In those situations, I close the ambient source first, then add the fill. Otherwise I end up with uneven color temperature across the shadow side, which is exactly the kind of mistake that costs hours in post.
I learned this the hard way on an editorial shoot early in my career. The room looked controllable. The images disagreed. Now I meter the ambient separately before I set any strobe, and I don’t trust my LCD for color temperature at all. I calibrate with a gray card at the start of every session, period.
The single most important idea in Freeman’s tutorial is that posing and lighting are one decision, not two. The way a subject stands changes how light lands on them. Adjust one and you’ve changed the other. Get the posture, get the expression, then shape the light around what you’ve built.
Watch the full tutorial on YouTube to see Freeman’s real-time adjustments and the actual results on the back of the camera.
Comments (2)
Just used this on a wedding shoot edit. Client was thrilled.
Really solid breakdown. This pairs perfectly with the compositing work I've been writing about.
Leave a Comment