Every few years I talk to a photographer who signed a lease too fast and spent the next twelve months figuring out how to fill a space that was either too big, too far from clients, or both. I’ve been lucky. I’ve made most of my studio mistakes in small, low-stakes ways rather than expensive ones. But I’ve watched enough colleagues get burned that when I came across this Visual Education tutorial on finding the right photography studio, I paid close attention. Watch the full tutorial on YouTube
The video draws on 25 years of real studio experience and moves through the decision in a logical, unsentimental way. What I appreciated was that it doesn’t try to sell you on the romance of having your own space. It asks harder questions first. That’s the right order.
For anyone shooting commercial work in a rented studio right now and wondering whether it’s time to commit to something permanent, this breakdown is worth your time. Here’s how the decision-making process actually unfolds.
Step 1: Ask Whether a Studio Actually Adds Value to Your Business
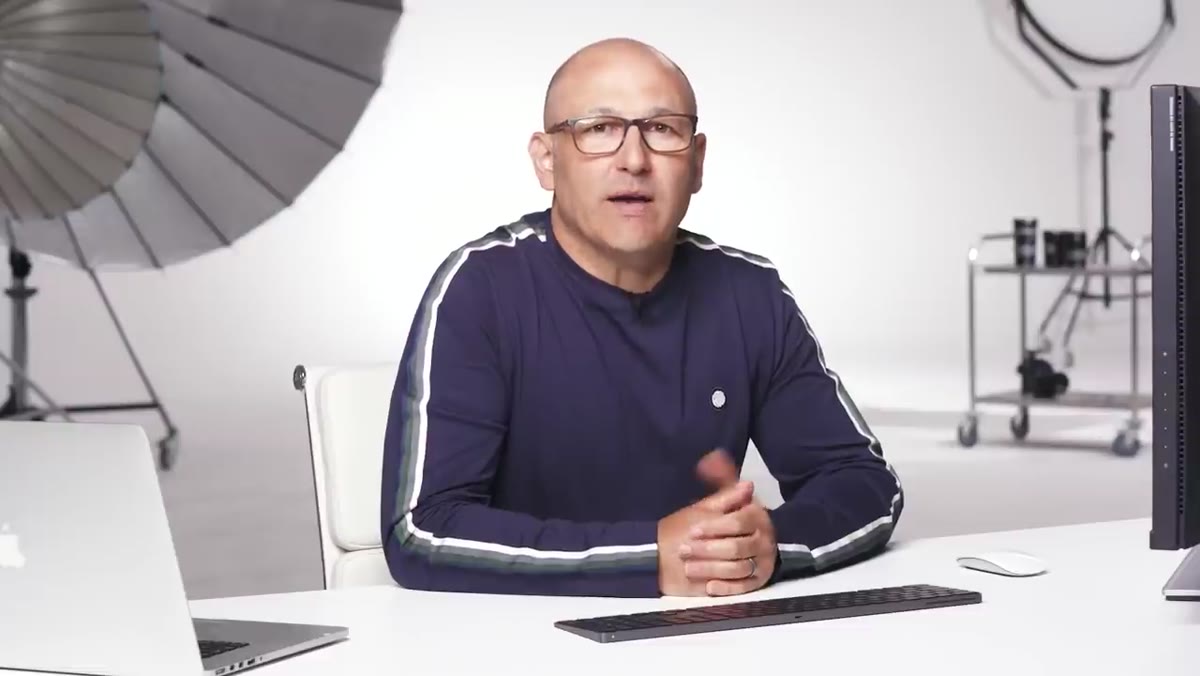 caption: Photographer considering cost and value of owning a studio
Before you look at a single listing, the tutorial pushes you to answer one honest question: will you use it enough to justify what it costs? This isn’t about enthusiasm, it’s about shoot frequency. Count your actual studio days over the last year. If you’re renting space two or three days a month, you’re already spending money. The real question is whether your own studio would cost more or less than that rental spend when you factor in rent, utilities, and insurance.
caption: Photographer considering cost and value of owning a studio
Before you look at a single listing, the tutorial pushes you to answer one honest question: will you use it enough to justify what it costs? This isn’t about enthusiasm, it’s about shoot frequency. Count your actual studio days over the last year. If you’re renting space two or three days a month, you’re already spending money. The real question is whether your own studio would cost more or less than that rental spend when you factor in rent, utilities, and insurance.
If the numbers are close but not clearly in your favor, the tutorial raises a smart option: offset costs by renting your space to other photographers or production companies on your off days. I know photographers in Los Angeles who cover a third of their annual rent this way. It requires some scheduling discipline, but it’s a legitimate business model, not a workaround.
Step 2: Choose a Location That Works for Your Clients, Not Just for You
A studio that’s convenient for you but hard for clients to reach will quietly cost you work. The tutorial is direct about this: parking matters. Off-street or nearby parking for clients isn’t a luxury consideration, it’s a professional one. If someone is hauling wardrobe, equipment, or product samples to your space, they need to be able to get close to the door.
Accessibility extends to the building itself. If you photograph large products, cars, or anything that doesn’t fit in a freight elevator, you need ground-floor access or a loading dock. A fourth-floor studio with a small lift might look great in the listing photos but become a logistical problem the first time a client shows up with a pallet.
Step 3: Match the Space to Your Actual Shooting Needs
Bigger is not better when you’re paying for square footage you don’t use. The tutorial makes this point cleanly: find the balance between what your work genuinely requires and what you can afford. Start with your target market. If you shoot headshots and small product, you don’t need 3,000 square feet. If you shoot full-length fashion or automotive, you do.
Beyond the shooting floor, think through the supporting spaces. Do you meet clients there? You need a place to sit with them that isn’t a corner of the set. Do you shoot beauty or fashion? A dedicated makeup area and a proper changing room convey professionalism in a way that an improvised curtain does not. These aren’t cosmetic details. They shape how clients experience working with you.
Step 4: Understand the Difference Between Renting and Owning
The tutorial is honest about how most photographers actually build into studio ownership: slowly. A first studio of 200 square feet is normal. Growing from there over multiple studios across years is a realistic path. Ownership gives you the freedom to modify the space, which renting typically does not.
The ability to customize matters more than it sounds. If you want to install an infinity cove, run dedicated electrical for high-draw strobes, paint walls a specific neutral gray, or hang a rail system from the ceiling, you generally can’t do that in a rented space. Owning or holding a long-term lease with modification rights changes what’s possible. Factor that into the comparison, not just the monthly number.
Step 5: Plan for the Space to Earn Its Keep
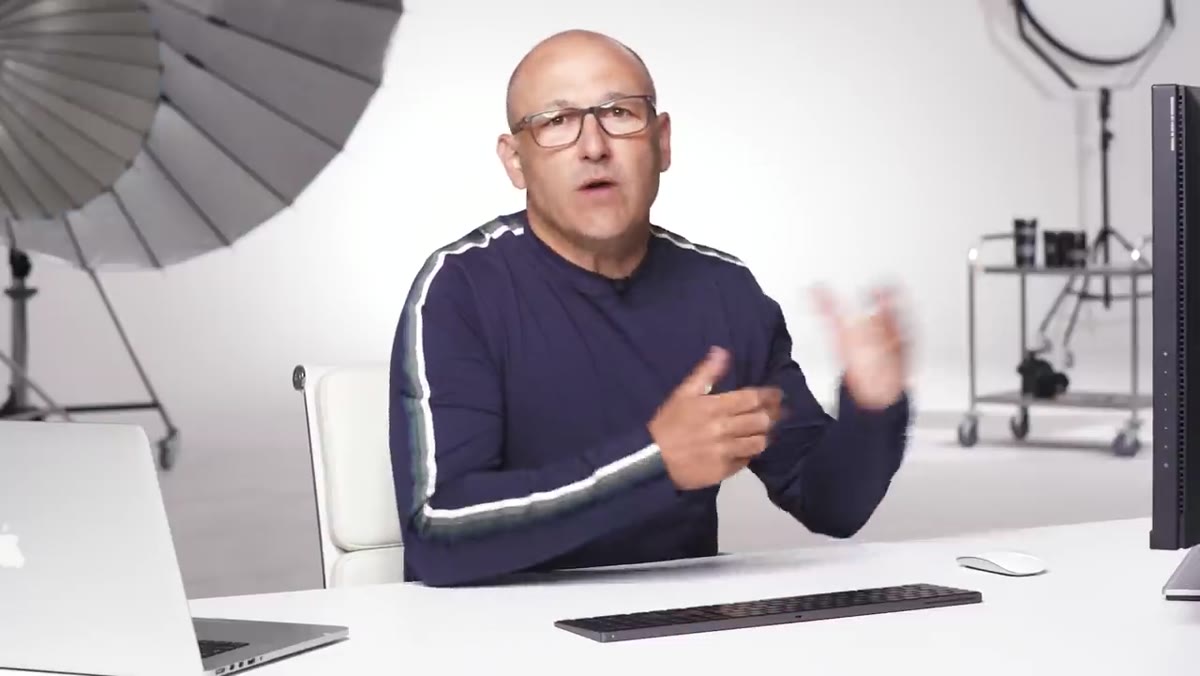 caption: Studio rental income helping to subsidize annual costs
A studio that only serves one revenue stream is carrying dead weight for the hours it sits empty. The tutorial describes using studio space for filming, events, and workshops as a way to generate income that offsets rent. This is a business decision as much as a photography one.
caption: Studio rental income helping to subsidize annual costs
A studio that only serves one revenue stream is carrying dead weight for the hours it sits empty. The tutorial describes using studio space for filming, events, and workshops as a way to generate income that offsets rent. This is a business decision as much as a photography one.
Think about what else your space could do. Training days, podcast recordings, brand activations, showroom events, hired-out production days. If your studio has good bones, good light, and accessible location, it has value to people outside your specific niche. Building that into your financial plan from day one gives you more room to take the initial risk.
Step 6: Get Involved Before the Build Is Finished If You Can
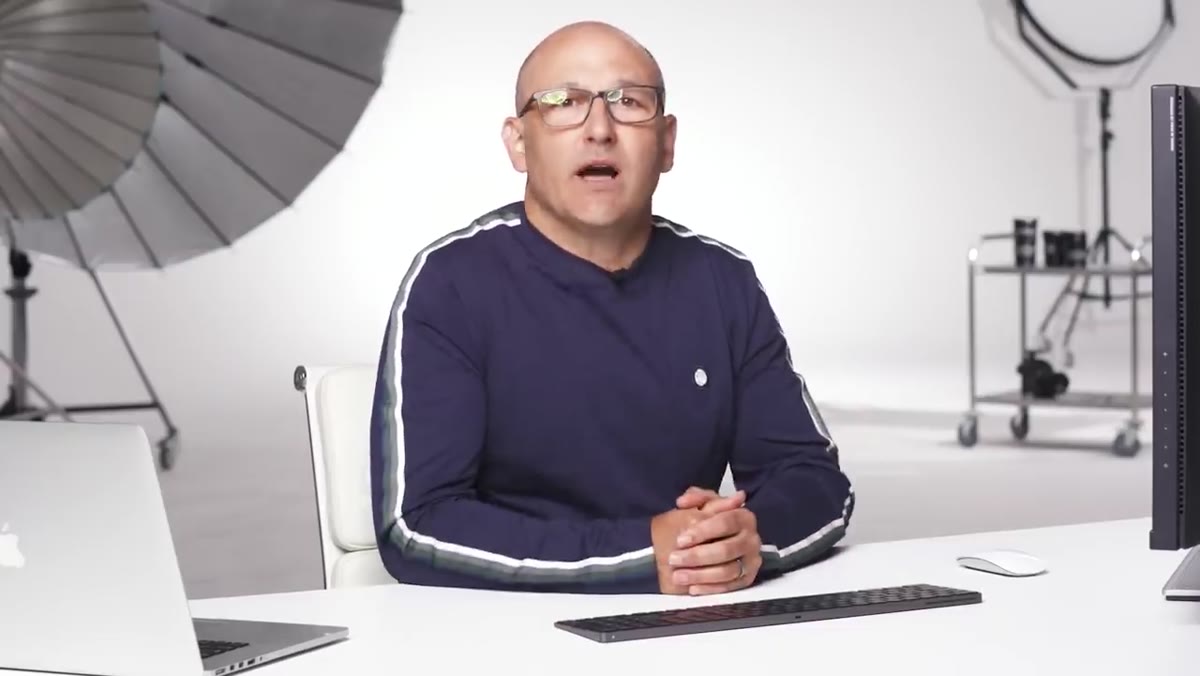 caption: Studio found during construction allowing custom modifications
One of the most useful pieces of advice in the tutorial is to look for spaces that are still in the construction phase. If you can get involved before walls go up or finishes go in, you can make requests that would be expensive or impossible to add later. Ceiling height, window placement, power supply locations, floor drains, door widths for loading – these are the structural details that determine whether a space actually works for your shooting style.
caption: Studio found during construction allowing custom modifications
One of the most useful pieces of advice in the tutorial is to look for spaces that are still in the construction phase. If you can get involved before walls go up or finishes go in, you can make requests that would be expensive or impossible to add later. Ceiling height, window placement, power supply locations, floor drains, door widths for loading – these are the structural details that determine whether a space actually works for your shooting style.
This isn’t always possible, but it’s worth asking when you’re viewing commercial properties. Developers and landlords often have more flexibility early in a project than photographers assume.
What I’d Add From My Own Experience
The tutorial covers the practical framework well. What I’d layer on top of it is this: visit the space at different times of day before you commit, especially if it has windows. Natural light will behave completely differently at 8am versus 2pm, and in a city like Los Angeles, the angle and intensity of sunlight through an uncontrolled window can wreck a shoot if you haven’t planned for it.
I label every light in my studio with masking tape so I can rebuild setups quickly. That kind of systematic approach starts with knowing your space well enough to predict how light behaves in it. You can only develop that knowledge by spending time there before it matters on a client shoot.
The single most important thing the tutorial gets right is this: a studio is a business decision first and a creative decision second. Calculate the value it adds, match the space to your actual work, and build a plan for how it earns its costs beyond your own shoot days.
Watch the full tutorial on YouTube to see the full walkthrough and hear the reasoning directly from someone who has built five studios over 25 years.
Comments
Leave a Comment