The Laser Trick That Changed How I Position Lights for Reflective Product Shots

The Laser Trick That Changed How I Position Lights for Reflective Product Shots

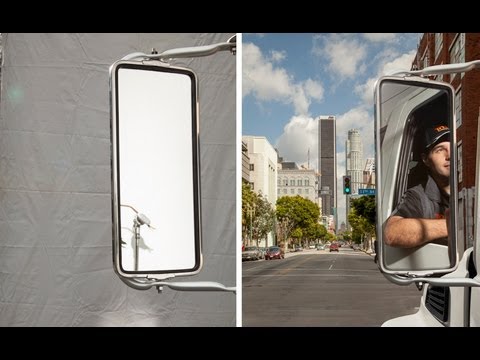
There’s a specific kind of frustration that comes from lighting a product with a glossy surface. You dial in what looks like a clean, controlled setup, take the shot, and the whole face of the product is a blown-out white rectangle. The name is gone. The color is gone. What you have is essentially a very expensive photograph of a reflection. I’ve been there more times than I want to admit, and it took me a long time to develop a reliable system for predicting where that reflection would land before I ever fired a strobe.

Why Your Studio Workflow Is Costing You an Hour Per Shoot (And How to Fix It)

Why Your Studio Workflow Is Costing You an Hour Per Shoot (And How to Fix It)

The Shoot That Made Me Rethink Everything I once showed up to a corporate headshot day with twelve subjects booked in four hours and no written lighting plan. I had the setup in my head. I’d shot similar work a hundred times. What I hadn’t accounted for was the studio assistant I’d never worked with before, a modeling session that ran over and compressed my setup window, and the fact that I’d swapped my key light modifier the night before and hadn’t re-metered the ratios.

Your Glossy Products Are Mirrors. Start Lighting Them That Way.

Your Glossy Products Are Mirrors. Start Lighting Them That Way.

Every commercial photographer has a version of this story. A client sends over a cosmetics product, something small and impossibly shiny, and you set up what feels like a reasonable light position and fire a test shot. The result looks like a snapshot from a drugstore circular. The surface is either blowing out in a hot white blob or reading as a flat, lifeless panel with no dimension whatsoever. I have a lighting journal where I sketch every setup from every shoot, and I can flip back through dozens of pages where a note in the margin reads some version of “glossy surfaces are the enemy.

The Studio Workflow That Stops You Rebuilding the Same Lighting Setup Twice

The Studio Workflow That Stops You Rebuilding the Same Lighting Setup Twice

Every strip of masking tape in my studio has a name on it. Each light, each stand, each modifier gets labeled before a single strobe fires. My assistants think it’s obsessive. I think it’s the reason I can rebuild a beauty setup from six months ago in under twelve minutes while my client is still getting coffee. I did not always work this way. Early in my career, I winged it.

Beyond Tungsten and Daylight: How Creative Gels Can Become Your Most Precise Lighting Tool

Beyond Tungsten and Daylight: How Creative Gels Can Become Your Most Precise Lighting Tool

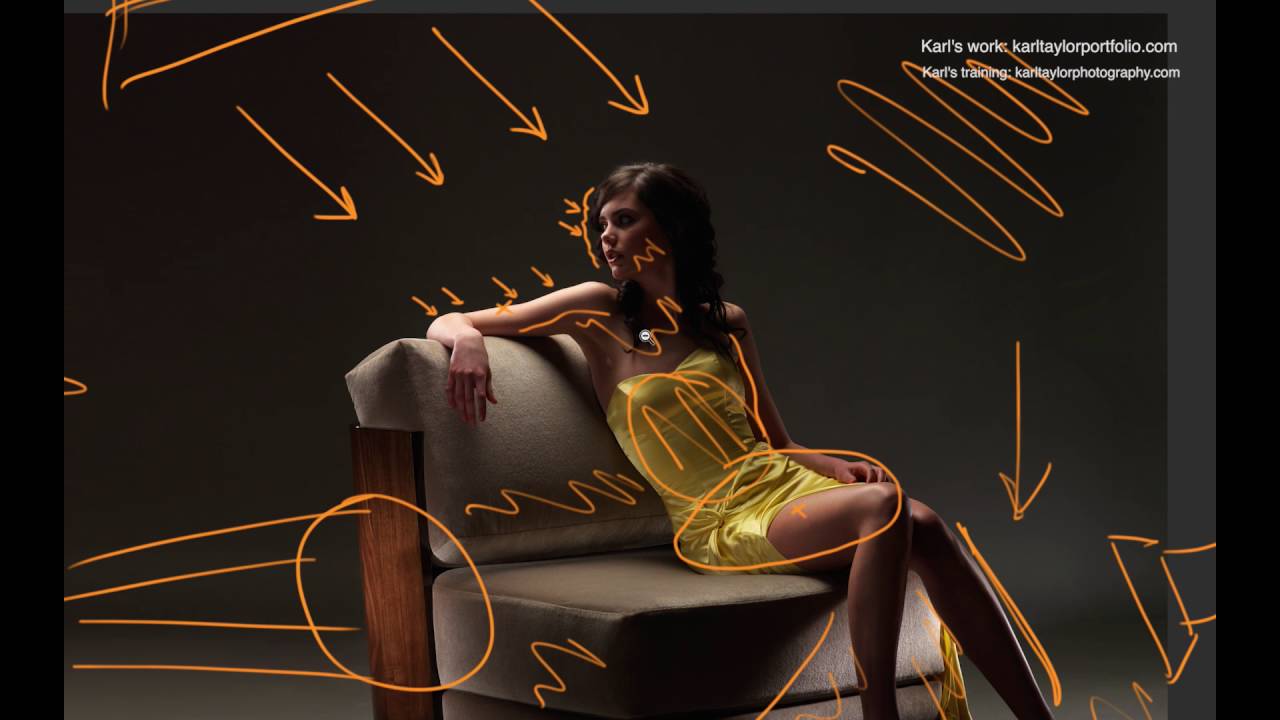
I keep a lighting journal. Every setup from every shoot gets a sketch, a note about the modifiers, the power settings, the distance from subject to light. I started it about eight years ago after a bad editorial job where my key light was running warm and I didn’t catch it until the client called. That kind of mistake teaches you to be methodical about everything, including color. Gels are where a lot of photographers stop being methodical.

Why Your Studio Workflow Is Slower Than It Needs to Be (And What My Tape Labels Have to Do With It)

Why Your Studio Workflow Is Slower Than It Needs to Be (And What My Tape Labels Have to Do With It)

The Twenty Minutes That Cost Me a Client A few years back, I was mid-shoot on a beauty campaign, three hours into a six-hour day rate, and my first assistant called out that the kicker on the hair light had drifted two stops. Not because anyone touched it. Because I hadn’t written down the output setting when I built the setup that morning, and we’d been swapping modifiers between setups. By the time we rebuilt the look, we’d burned twenty-two minutes and the client was visibly irritated.