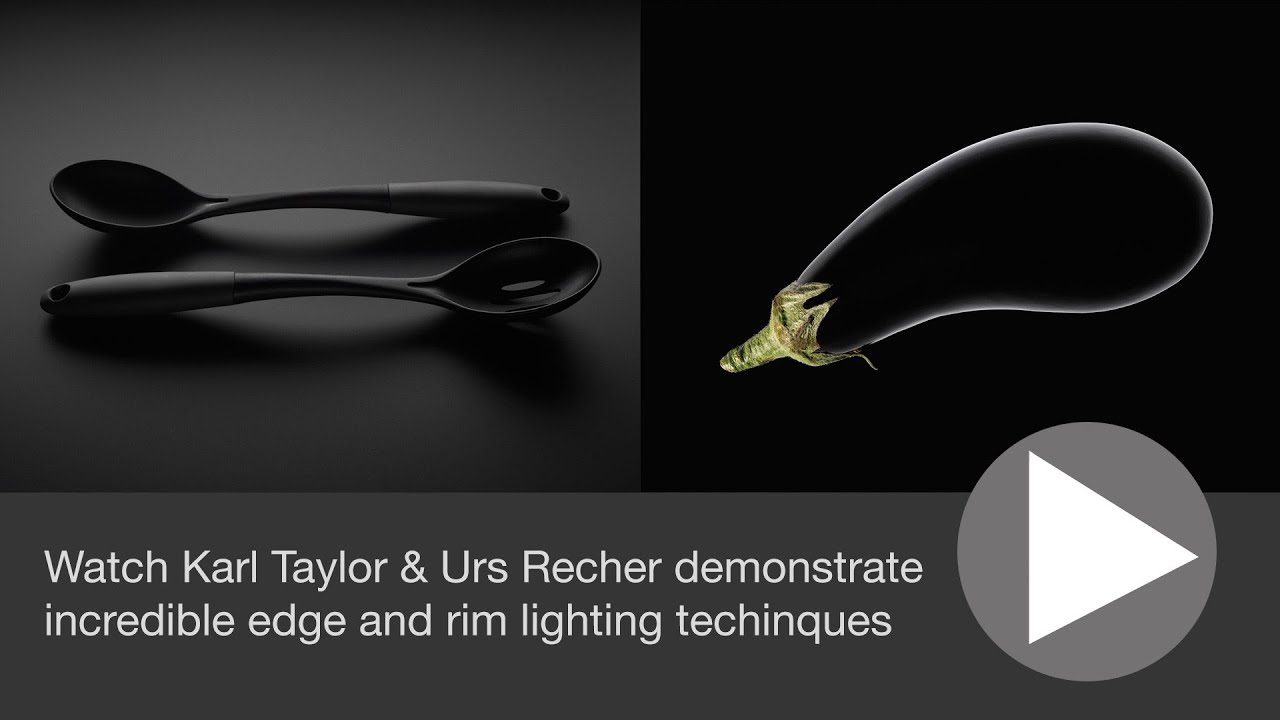
Still life work punishes sloppy lighting faster than almost any other discipline. There’s no subject to charm the camera, no personality to carry a mediocre frame. It’s just the object, the surface, and whatever light you decided to put where. I’ve shot enough product work for beauty brands to know that the shots people remember are almost always built on one or two precise light sources doing exactly what they were placed to do, not six lights fighting each other into a flat, gray mush.
That’s why I keep coming back to tutorials from photographers who think in terms of specificity rather than volume. In this Visual Education tutorial featuring broncolor’s how-to series, photographer and broncolor consultant Sven (working alongside commercial photographer Karl Taylor) walks through two deceptively simple still life setups: a black spoons-on-black-acrylic shot using a single softbox, and a rim-lit eggplant on a black background built around a bare bulb under a translucent table. Watch the full tutorial on YouTube
Both setups look minimal on paper. Neither one is. Here’s how they actually work.
Step 1: Choose Objects That Do Half the Work
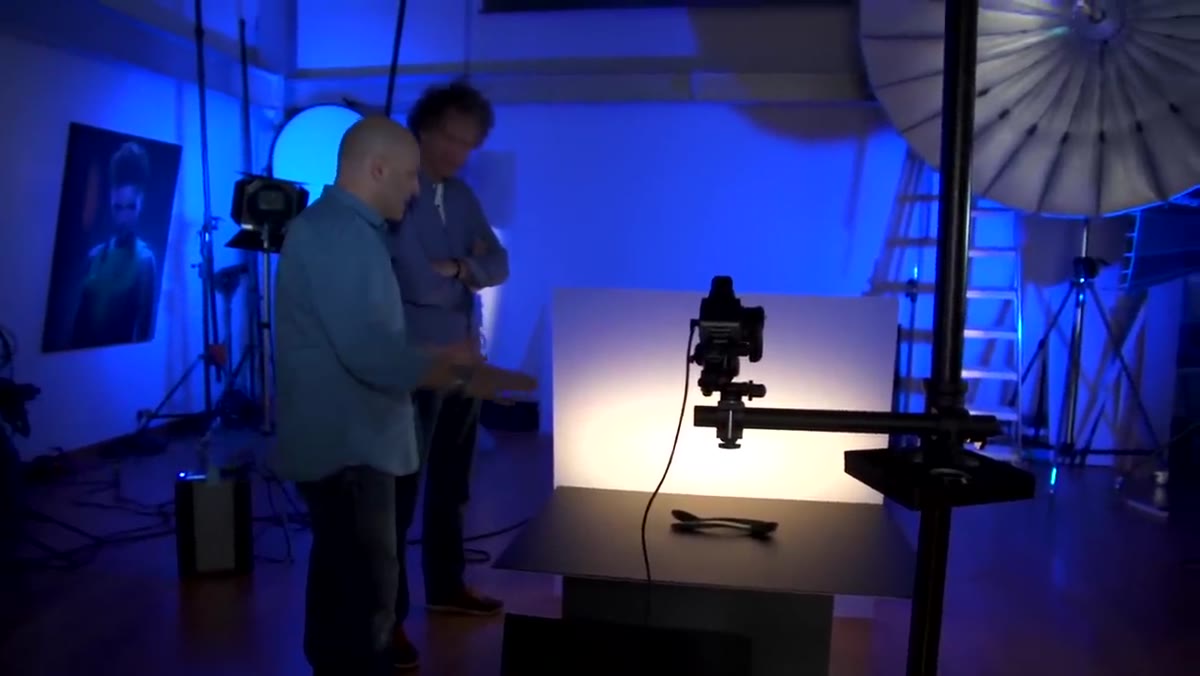 Two metallic spoons arranged on matte black acrylic surface
Before you touch a light, think about surface language. In the first setup, two silver spoons are paired with a matte black acrylic surface. The shapes echo each other and the textures create built-in contrast: one reflective, one absorptive. This isn’t styling for aesthetics alone. It’s selecting objects whose physical properties make the lighting job easier. When you’re working black on black, you need at least one element that can catch and throw light back at the camera. Metal does that. Matte acrylic doesn’t, which is exactly why it becomes the background rather than the subject.
Two metallic spoons arranged on matte black acrylic surface
Before you touch a light, think about surface language. In the first setup, two silver spoons are paired with a matte black acrylic surface. The shapes echo each other and the textures create built-in contrast: one reflective, one absorptive. This isn’t styling for aesthetics alone. It’s selecting objects whose physical properties make the lighting job easier. When you’re working black on black, you need at least one element that can catch and throw light back at the camera. Metal does that. Matte acrylic doesn’t, which is exactly why it becomes the background rather than the subject.
When I prep a still life, I actually sketch the object’s surface type in my lighting journal before I set up a single stand. Shiny, matte, translucent, or textured surfaces each call for a different approach to where your key goes and how far back you push it.
Step 2: Back-Light Through Diffusion for Clean Edge Light
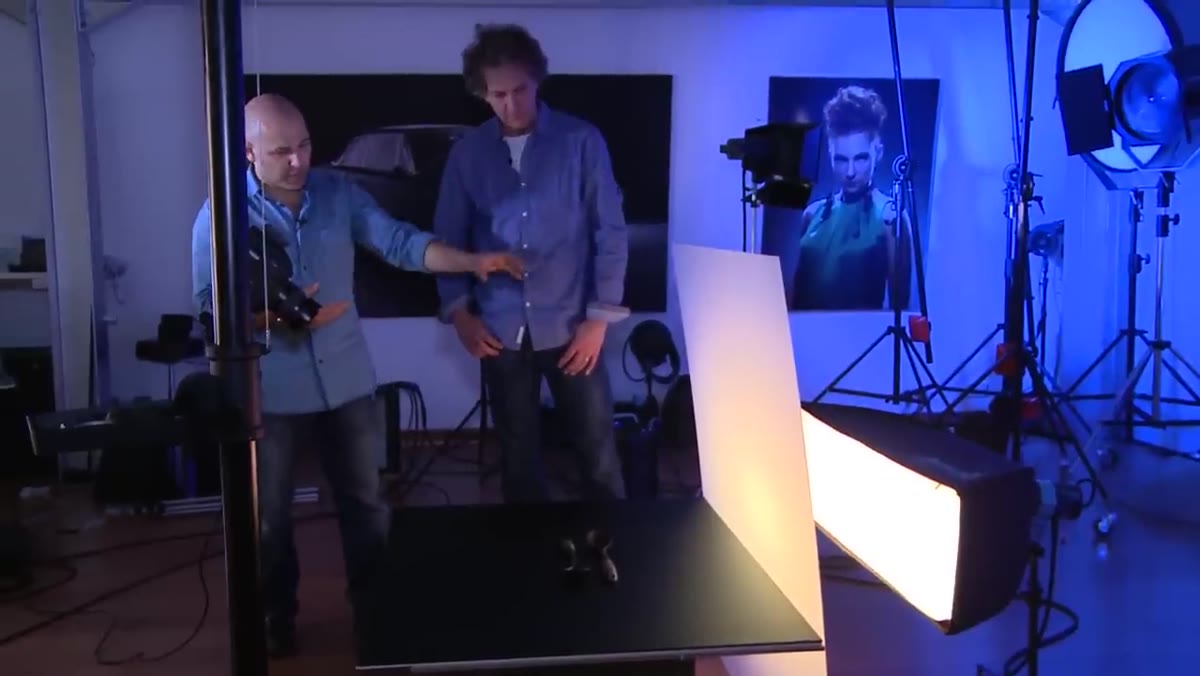 Single softbox positioned behind spoons, light firing through perspex sheet
The key light here is a single 30x120cm strip softbox, positioned behind the spoons and firing through a sheet of perspex (acrylic sheeting). The perspex acts as a secondary diffuser, softening the light further and stretching it into a smooth, continuous edge glow along the top of each spoon. Without the perspex, the light from even a softbox can have just enough directionality to create a slightly uneven edge. That extra pass through clear acrylic homogenizes it.
Single softbox positioned behind spoons, light firing through perspex sheet
The key light here is a single 30x120cm strip softbox, positioned behind the spoons and firing through a sheet of perspex (acrylic sheeting). The perspex acts as a secondary diffuser, softening the light further and stretching it into a smooth, continuous edge glow along the top of each spoon. Without the perspex, the light from even a softbox can have just enough directionality to create a slightly uneven edge. That extra pass through clear acrylic homogenizes it.
This is a one-light setup, full stop. If you’re tempted to add a second strobe for fill, resist it. The control here comes from subtraction, not addition.
Step 3: Use a Silver Reflector, Not a Second Light, for Fill
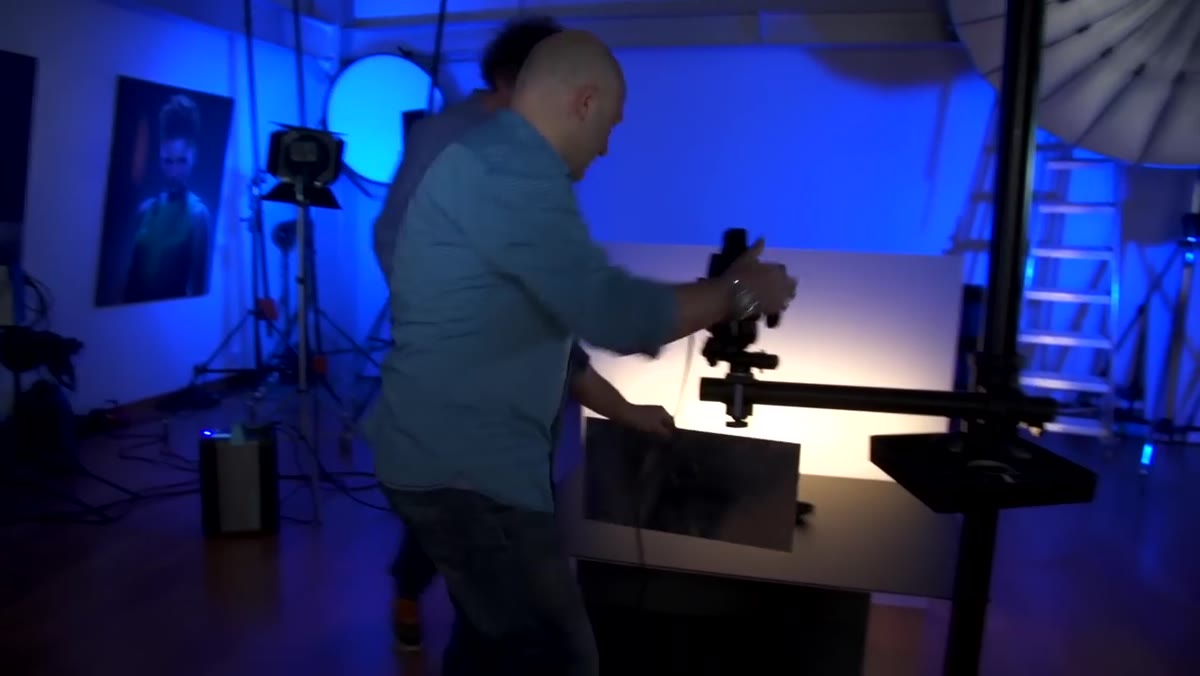 Silver reflector panel positioned at camera angle filling shadow side of spoons
Because the only strobe is behind the subject, the front of the spoons faces away from the light source entirely. The solution isn’t a second head. It’s a silver reflector panel placed at camera position, bouncing the spill from the backlight back into the front surfaces. Standing at the camera position, you can physically move the reflector in and out to watch the fill increase in real time. This gives you tactile, immediate control over the fill ratio without introducing a new light quality or color temperature into the mix.
Silver reflector panel positioned at camera angle filling shadow side of spoons
Because the only strobe is behind the subject, the front of the spoons faces away from the light source entirely. The solution isn’t a second head. It’s a silver reflector panel placed at camera position, bouncing the spill from the backlight back into the front surfaces. Standing at the camera position, you can physically move the reflector in and out to watch the fill increase in real time. This gives you tactile, immediate control over the fill ratio without introducing a new light quality or color temperature into the mix.
I label every reflector in my studio with masking tape showing the surface type: silver, white, gold, black. Grabbing the wrong one mid-shoot when you’re chasing a ratio is a real problem. Silver adds brightness without warmth. White fills without adding contrast. Know which tool you’re reaching for before the subject is sitting on the table.
Step 4: Flag the Surface Sheen With a Card
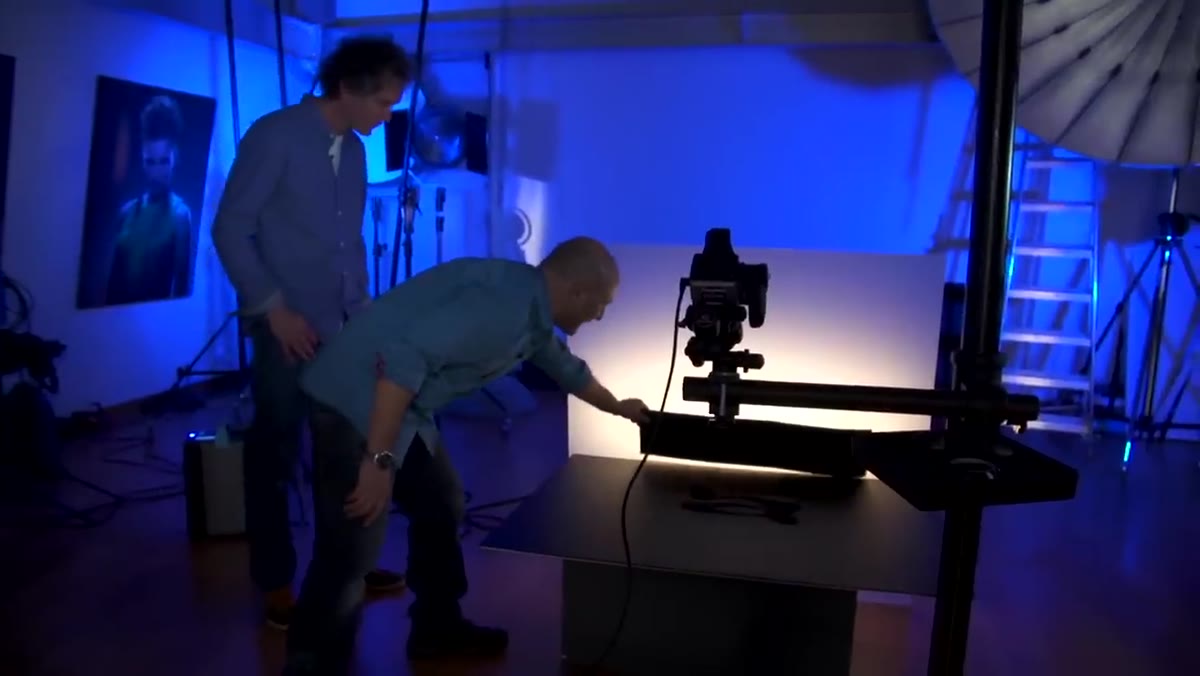 Black card being used to block excess light hitting background acrylic surface
With the backlight firing through perspex onto the spoons, some of that light inevitably spills onto the acrylic background surface and creates a hot, distracting sheen. The fix is a simple black card held or mounted between the light and the surface to block just that portion of the beam. You’re not removing light from the spoons. You’re cutting the angle of incidence that’s causing the surface reflection. This is grip work, not lighting work, but it changes the shot entirely.
Black card being used to block excess light hitting background acrylic surface
With the backlight firing through perspex onto the spoons, some of that light inevitably spills onto the acrylic background surface and creates a hot, distracting sheen. The fix is a simple black card held or mounted between the light and the surface to block just that portion of the beam. You’re not removing light from the spoons. You’re cutting the angle of incidence that’s causing the surface reflection. This is grip work, not lighting work, but it changes the shot entirely.
This is the kind of move that doesn’t show up in gear lists but lives in the working knowledge of photographers who’ve spent time fighting table surfaces under backlights.
Step 5: Use Bare Bulb Distance to Control Background Gradation
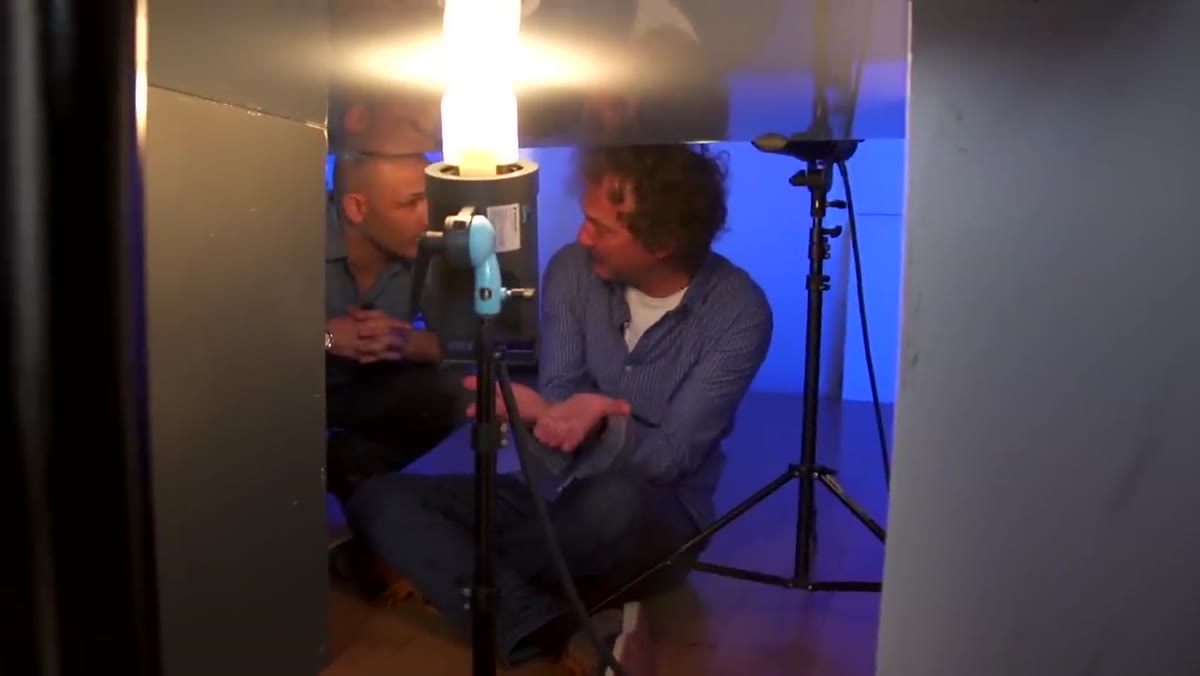 Bare bulb light positioned under translucent white acrylic table, varying distance to surface
The eggplant setup introduces a completely different approach. A bare bulb strobe fires upward through a translucent white acrylic table. No modifier. The distance between the bulb and the underside of the table controls everything. Push the bulb far down and the table lights evenly, which means the eggplant sits on a flat white surface with no sense of form. Pull the bulb up close to directly beneath the eggplant and you get a hot central spot that graduates outward. That graduation wrapping around the base of the eggplant is what creates the rim effect and defines its three-dimensional shape.
Bare bulb light positioned under translucent white acrylic table, varying distance to surface
The eggplant setup introduces a completely different approach. A bare bulb strobe fires upward through a translucent white acrylic table. No modifier. The distance between the bulb and the underside of the table controls everything. Push the bulb far down and the table lights evenly, which means the eggplant sits on a flat white surface with no sense of form. Pull the bulb up close to directly beneath the eggplant and you get a hot central spot that graduates outward. That graduation wrapping around the base of the eggplant is what creates the rim effect and defines its three-dimensional shape.
This is inverse square law being used as a creative control, not just a physics fact. I’ve tested this on glass bottles and ceramics and the principle holds across any shiny, curved object.
Step 6: Mask the Hot Spot With a Cut Paper Shape
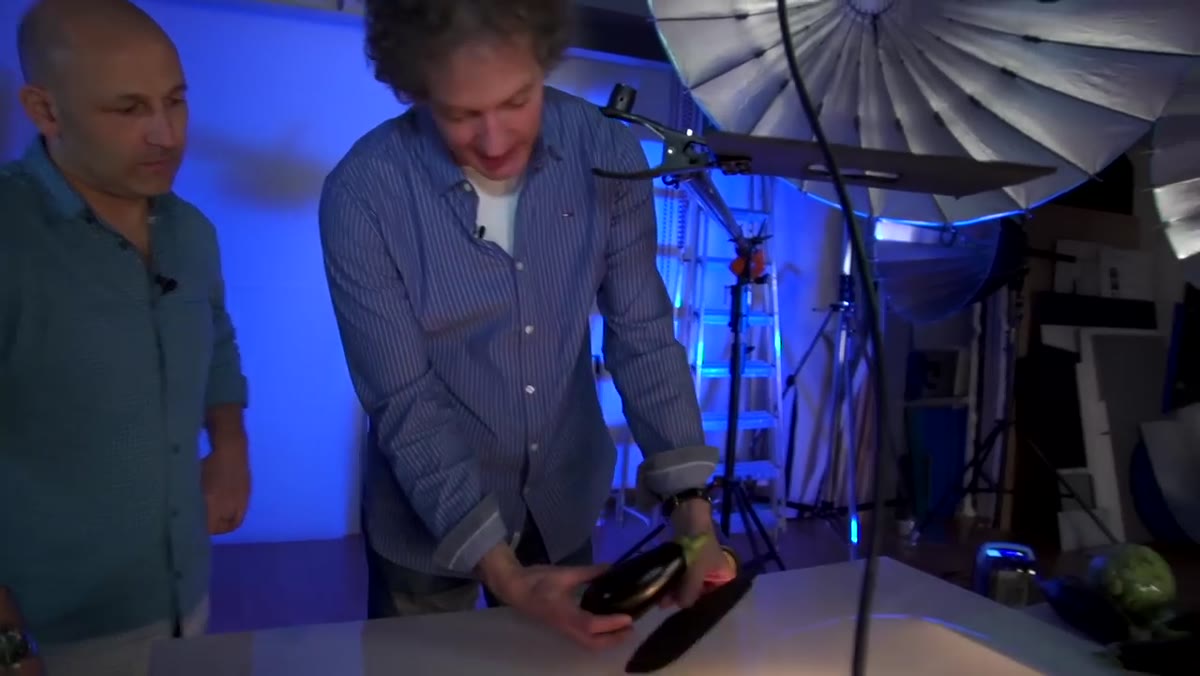 Black paper shape cut to match eggplant silhouette placed on table surface
The one problem with lighting a black, shiny eggplant on a bright table is that the table itself will photograph white, killing the black background look. The solution is precise and low-tech: cut a piece of black paper to the rough silhouette of the eggplant, slightly larger than the object, and place it directly on the table surface. The eggplant sits on top. In camera, you see a few millimeters of black border around the object, and the table’s hot spot is masked. In post, you can extend that black out to the full frame. The camera does the light, the paper does the edge, and Photoshop does the background.
Black paper shape cut to match eggplant silhouette placed on table surface
The one problem with lighting a black, shiny eggplant on a bright table is that the table itself will photograph white, killing the black background look. The solution is precise and low-tech: cut a piece of black paper to the rough silhouette of the eggplant, slightly larger than the object, and place it directly on the table surface. The eggplant sits on top. In camera, you see a few millimeters of black border around the object, and the table’s hot spot is masked. In post, you can extend that black out to the full frame. The camera does the light, the paper does the edge, and Photoshop does the background.
Step 7: Add a Narrow Grid Spot for Non-Reflective Areas
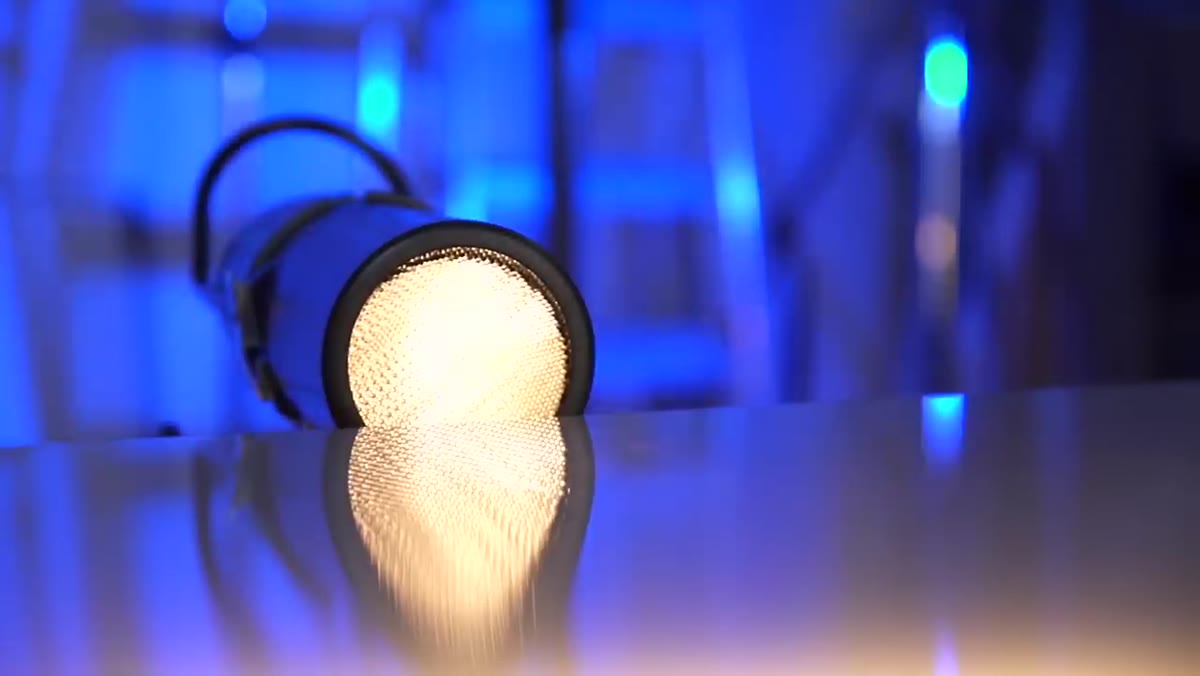 Pico light with narrow grid aimed at green stem of eggplant
The eggplant’s green stem is matte. Unlike the shiny purple skin, it doesn’t pick up the under-table light the same way, so it sits flat and dark while the rest of the shot has beautiful form lighting. The fix is a small Pico light with the narrowest available grid, positioned above and aimed specifically at the stem. It’s a surgical hit. It doesn’t affect the rest of the image. This is the kind of move that separates a good still life shot from a great one: knowing that different surface types on the same object need their own dedicated light sources.
Pico light with narrow grid aimed at green stem of eggplant
The eggplant’s green stem is matte. Unlike the shiny purple skin, it doesn’t pick up the under-table light the same way, so it sits flat and dark while the rest of the shot has beautiful form lighting. The fix is a small Pico light with the narrowest available grid, positioned above and aimed specifically at the stem. It’s a surgical hit. It doesn’t affect the rest of the image. This is the kind of move that separates a good still life shot from a great one: knowing that different surface types on the same object need their own dedicated light sources.
What I’d Do Differently in My Own Studio
Both setups in this tutorial assume you’re shooting tethered and reviewing on a calibrated monitor, but I’d add one step before any of this: shoot a test frame with a color checker card on the set surface and confirm your white balance is locked. I learned the hard way on an editorial job early in my career that mixed color temperatures between the backlight and a fill panel can shift the apparent color of metallic objects in ways that are expensive to fix in post. Lock your color temperature first. Then build the light.
The single most transferable idea from this tutorial is that precision beats quantity. One light plus a reflector plus a piece of black paper can produce a result that looks like it required a full studio crew. Every element in these setups is doing exactly one job, and nothing is there by accident. That’s the standard to aim for.
Watch the full tutorial on YouTube and follow along with broncolor’s how-to series for the lighting diagrams that accompany each setup.
Comments (2)
Finally someone explains this in a way that actually makes sense.
Printing this out and pinning it next to my monitor. That good.
Leave a Comment