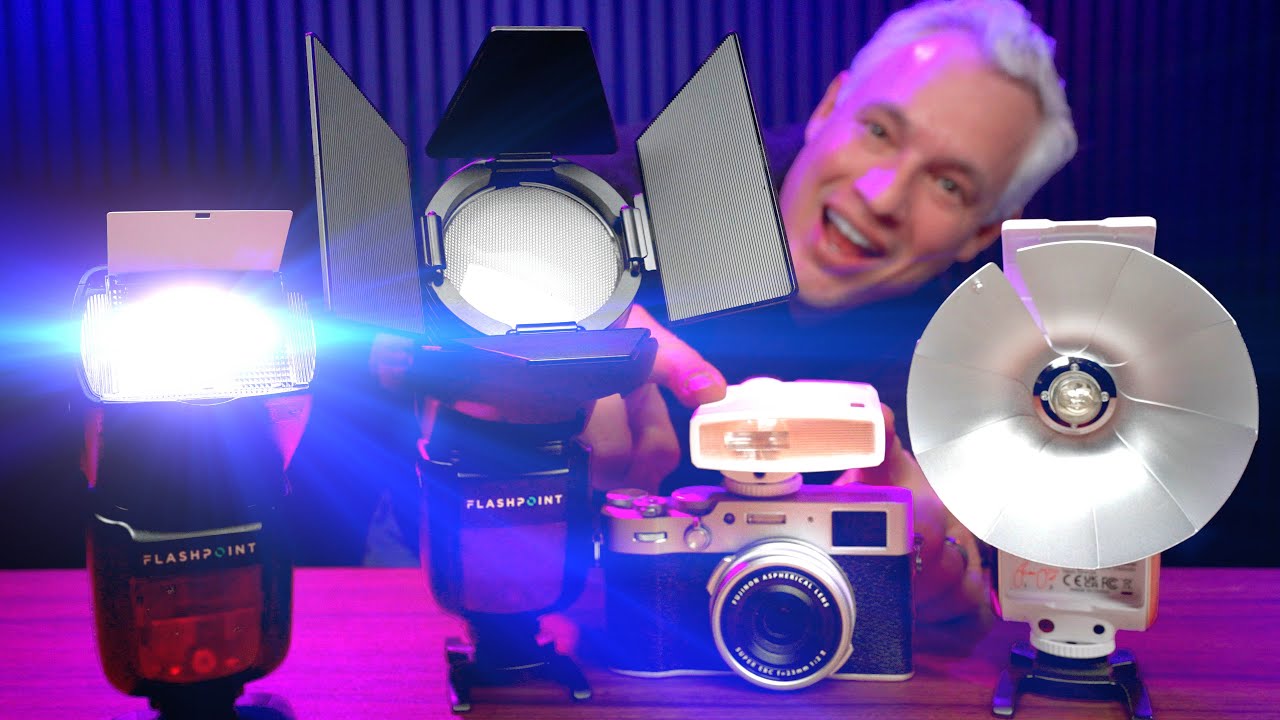
Every few months a client emails me asking what flash they should buy for behind-the-scenes shots at their events, or a photography student corners me after a workshop with the same question. I used to write long replies. Now I send them a link first and follow up with my own take second. The tutorial doing most of the heavy lifting lately is Watch the full tutorial on YouTube - Tony and Chelsea Northrup’s ultimate flash buying guide, which walks through a range of Flashpoint and Godox-system flashes from around sixty dollars into the mid-hundreds.
What I appreciate about how Tony and Chelsea frame this is that they’re not chasing the prestige of first-party brand names. They’ve used this system for the better part of a decade, which is the kind of endorsement I trust. I’ve run Godox-system gear in my own studio for years now, and I can confirm the value-to-output ratio is genuinely hard to argue with. What follows is my breakdown of the steps they walk through, with some notes on where my own experience either confirms or complicates what they’re showing.
Step 1: Understand Why Manual Entry-Level Flashes Still Deserve Respect
 Simple manual dial flash mounted on camera hotshoe
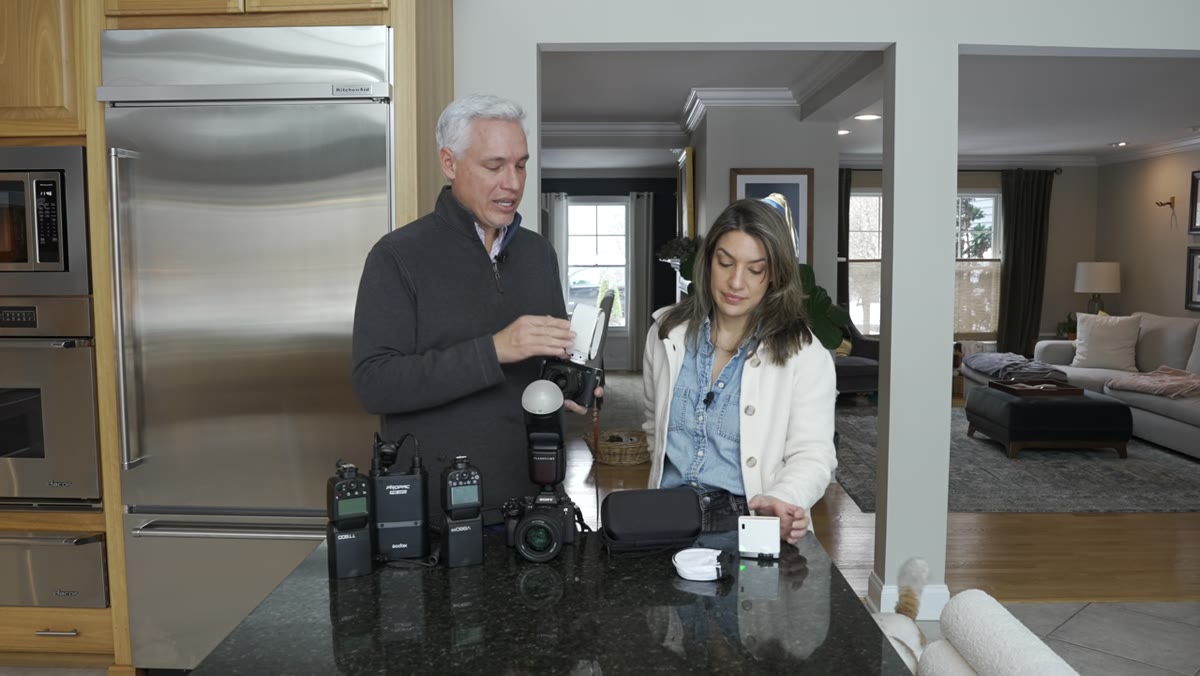
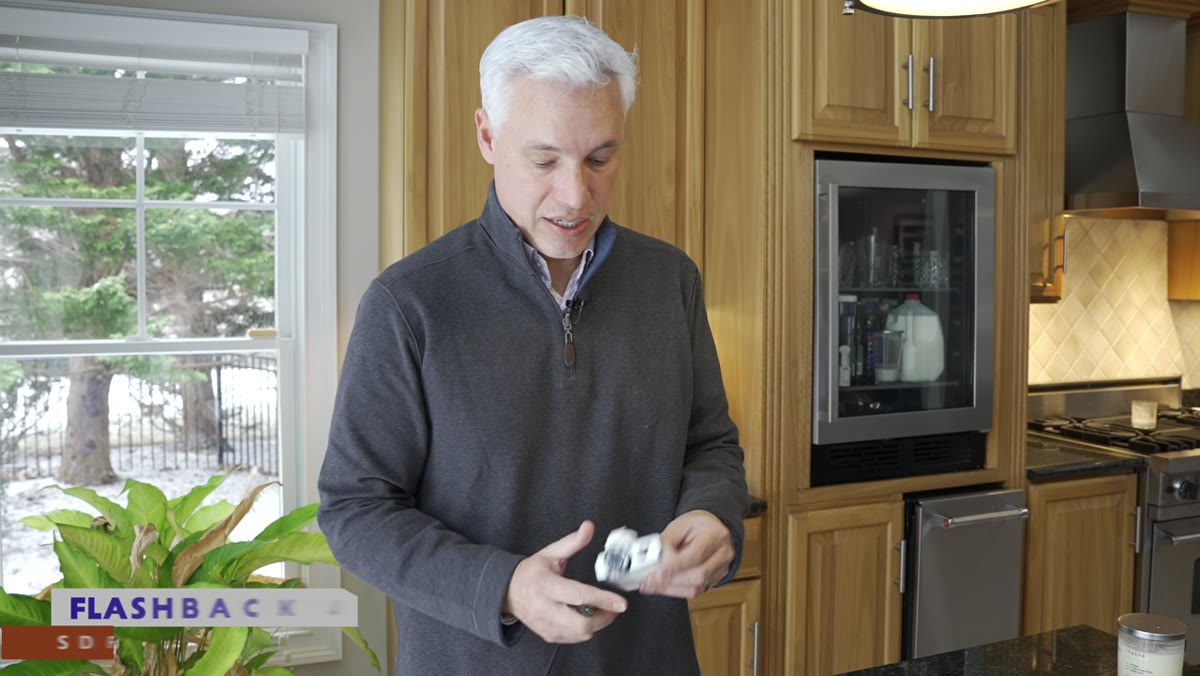
Tony starts with the most basic option: a small, fully manual flash that runs on AAA batteries and costs around sixty dollars. No TTL, no zoom head, no bounce capability. Just a fixed tube and a manual dial. His case for it is more compelling than it sounds at first. When you’re learning to control flash output, simplicity removes one layer of abstraction. You set the power, you fire, you adjust. There’s no algorithm making decisions for you, which means you actually learn what the flash is doing to your exposure.
Simple manual dial flash mounted on camera hotshoe
Tony starts with the most basic option: a small, fully manual flash that runs on AAA batteries and costs around sixty dollars. No TTL, no zoom head, no bounce capability. Just a fixed tube and a manual dial. His case for it is more compelling than it sounds at first. When you’re learning to control flash output, simplicity removes one layer of abstraction. You set the power, you fire, you adjust. There’s no algorithm making decisions for you, which means you actually learn what the flash is doing to your exposure.
For fill light in a backlit situation - he demonstrates this against bright kitchen windows - even a small pop of on-camera flash can pull a shadowed face out of the mud without blowing the background further. That’s a real-world skill. These little flashes also come in multiple color options, which is either a gimmick or a genuine personality match depending on how you feel about your gear aesthetic.
Step 2: Learn to Control Background Exposure Separately from Flash Exposure
 Dark background with flash-lit subject, high contrast moody result
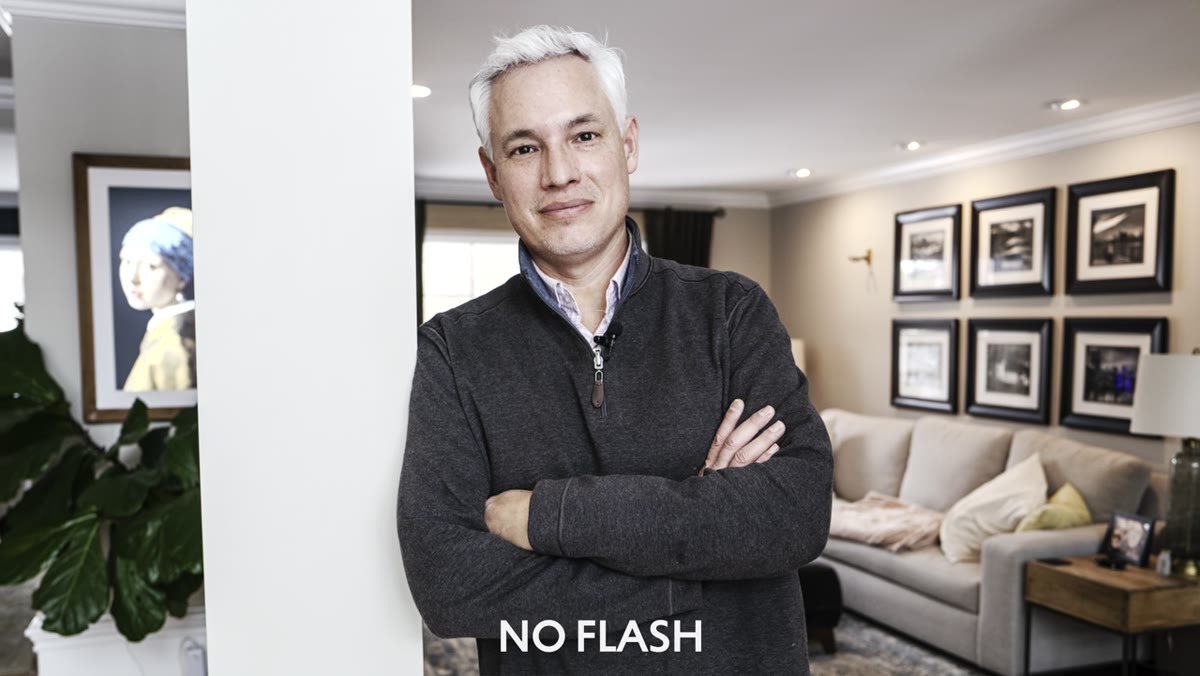
This is the concept that separates photographers who use flash from photographers who understand flash. Tony demonstrates it by dialing his camera settings to deliberately underexpose the ambient background, then using the flash to light his subject independently. The result is that moody, graphic, high-contrast look you see in a lot of contemporary fashion editorial work.
Dark background with flash-lit subject, high contrast moody result
This is the concept that separates photographers who use flash from photographers who understand flash. Tony demonstrates it by dialing his camera settings to deliberately underexpose the ambient background, then using the flash to light his subject independently. The result is that moody, graphic, high-contrast look you see in a lot of contemporary fashion editorial work.
The mechanics here: your shutter speed controls how bright the ambient light appears. Your aperture and ISO affect both ambient and flash. Your flash power controls only the strobe output. Set your shutter speed to darken the room, set your flash power to correctly expose your subject, and you’ve decoupled the two light sources. This is the foundational concept. Everything else in flash photography is a variation on it.
Step 3: Consider the Retro Flash Form Factor for Specific Aesthetic Goals
 Flashback Senior flash unfolding with bulb popping out
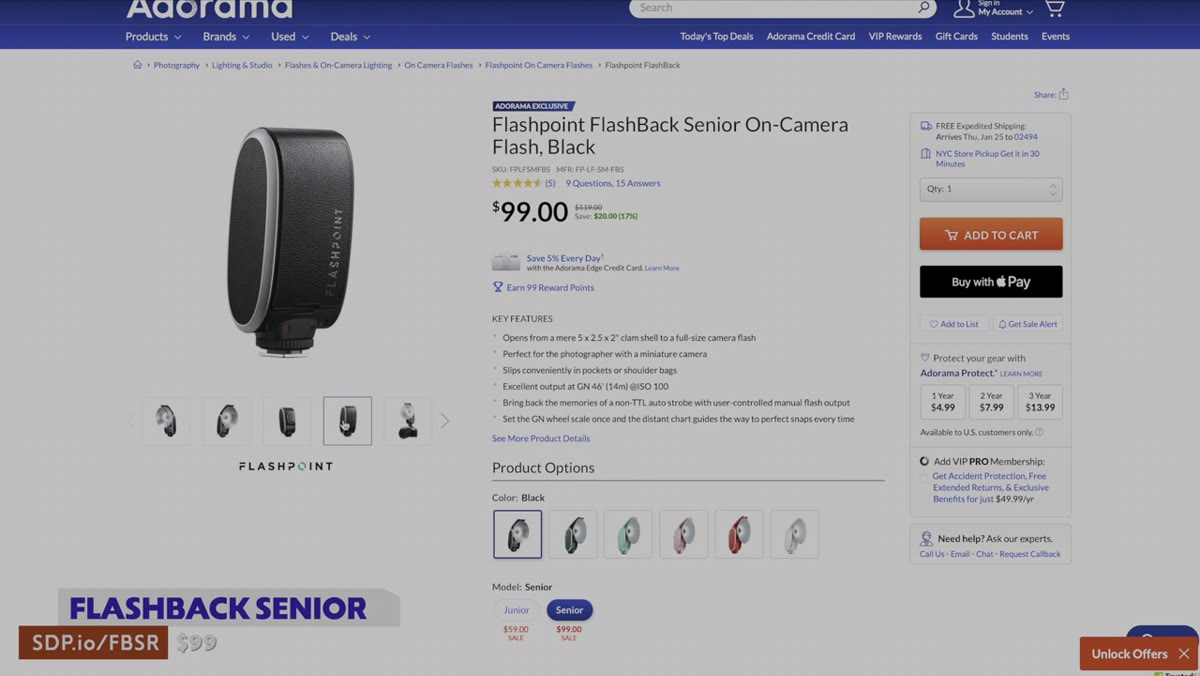
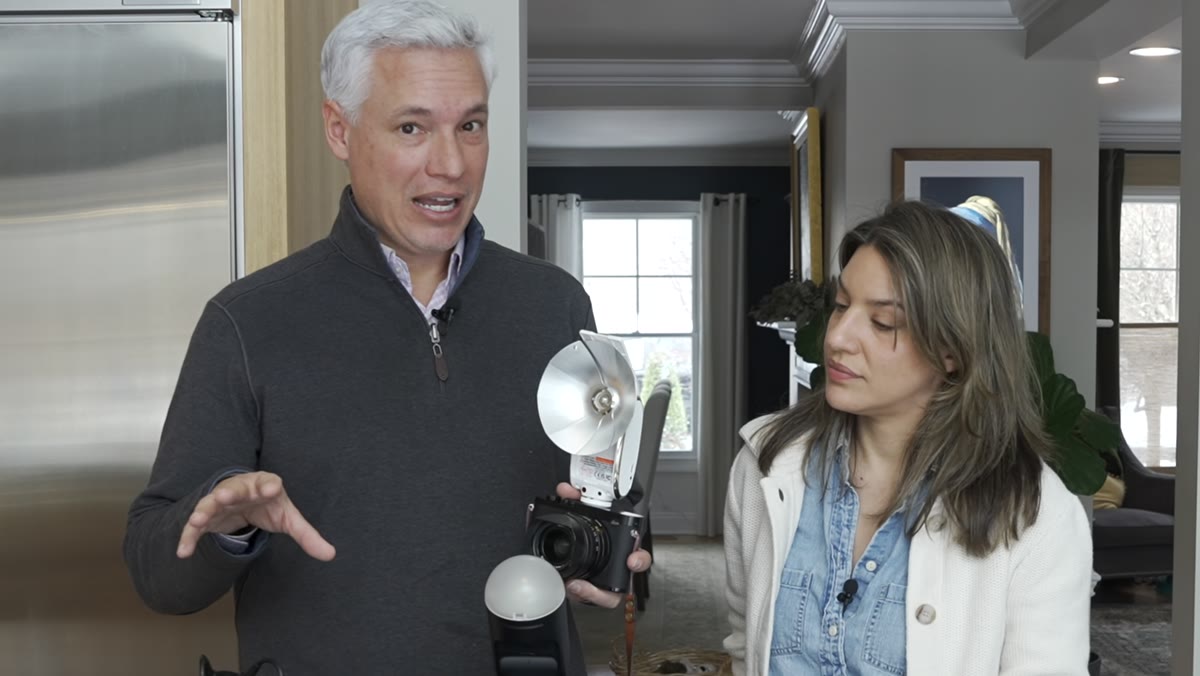
Tony introduces a second flash from the Flashpoint line - the Flashback Senior - which has a collapsible design that unfolds and deploys a bare bulb. It’s deliberately styled after the press photographer look from the mid-twentieth century. He makes a useful point here about retro cameras like the Nikon Zf, which ship without a built-in pop-up flash. If you’re shooting with that kind of body and chasing that editorial aesthetic, this flash gives you both the function and the visual reference in one package.
Flashback Senior flash unfolding with bulb popping out
Tony introduces a second flash from the Flashpoint line - the Flashback Senior - which has a collapsible design that unfolds and deploys a bare bulb. It’s deliberately styled after the press photographer look from the mid-twentieth century. He makes a useful point here about retro cameras like the Nikon Zf, which ship without a built-in pop-up flash. If you’re shooting with that kind of body and chasing that editorial aesthetic, this flash gives you both the function and the visual reference in one package.
The bare bulb design produces a slightly different quality of light than a standard reflector flash. It’s omnidirectional, which means it wraps slightly more than a forward-facing tube. Not dramatic, but noticeable. If you’re deliberately building a style around on-camera flash photography, the form factor matters as much as the output.
Step 4: Choose Your Power Source Based on How You Actually Shoot
 Comparison of AAA-battery flash versus USB-C rechargeable flash
One of the more practical distinctions Tony draws is between AAA battery-powered units and USB-C rechargeable ones. This sounds minor until you’re three hours into a shoot and your batteries are dead. AAA batteries are available everywhere. USB-C units require you to remember to charge the night before, but they eliminate the ongoing cost and waste of disposable cells.
Comparison of AAA-battery flash versus USB-C rechargeable flash
One of the more practical distinctions Tony draws is between AAA battery-powered units and USB-C rechargeable ones. This sounds minor until you’re three hours into a shoot and your batteries are dead. AAA batteries are available everywhere. USB-C units require you to remember to charge the night before, but they eliminate the ongoing cost and waste of disposable cells.
My own preference leans toward rechargeable for studio and controlled-environment work, and toward alkaline batteries as a backup in the field. The right answer depends on where you shoot most. If you’re traveling internationally and not sure what charging options you’ll have, AAA batteries keep you from being stranded. If you’re shooting in a predictable environment where you control your prep time, USB-C is cleaner.
Step 5: Recognize That Flashpoint and Godox Are the Same Ecosystem
 Godox branding visible on Flashpoint flash unit
Tony mentions this briefly but it’s worth dwelling on. Flashpoint is Adorama’s branding for what is fundamentally the Godox product line. The triggers, the receivers, the flash units - they cross-communicate. If you buy a Flashpoint trigger in the US and pick up a Godox flash overseas, they’ll work together. This matters for a few reasons.
Godox branding visible on Flashpoint flash unit
Tony mentions this briefly but it’s worth dwelling on. Flashpoint is Adorama’s branding for what is fundamentally the Godox product line. The triggers, the receivers, the flash units - they cross-communicate. If you buy a Flashpoint trigger in the US and pick up a Godox flash overseas, they’ll work together. This matters for a few reasons.
First, it means the used market for Godox gear effectively expands your options for Flashpoint gear and vice versa. Second, it means online resources, tutorials, and troubleshooting for either brand apply to both. Third, it means you’re not locked into a single retailer’s ecosystem. I have a mix of units from both labels in my kit and have never had a compatibility issue. The real differentiator Tony mentions is customer support - Flashpoint routes through Adorama for US-based service, which he finds more accessible than dealing with international Godox support directly.
What I’d Add: Test Flash at Full Power Before You Trust It
The video doesn’t cover this, but it’s the first thing I do with any new flash unit. Fire it at full power, consecutive shots, for about ten rapid cycles. Watch the recycle time. Watch whether the output stays consistent or starts to shift warm as the capacitor struggles. A flash that performs well at low and medium power can still disappoint you when you actually need full output for a large space or a group shot.
I keep a lighting journal where I sketch setups from every shoot, and over the years I’ve started adding recycle time notes next to any flash I use. It sounds obsessive. It’s saved me from deploying an underpowered unit on a job that needed reliability more than anything else.
The single most important takeaway from this tutorial is the decoupling principle: ambient exposure and flash exposure are two separate dials. Master that concept and every flash, at every price point, becomes a more useful tool. The specific unit matters less than understanding what you’re controlling and why.
Watch the full tutorial on YouTube to see the live demonstrations and the side-by-side comparisons that make the exposure concepts click visually.
Comments
Leave a Comment