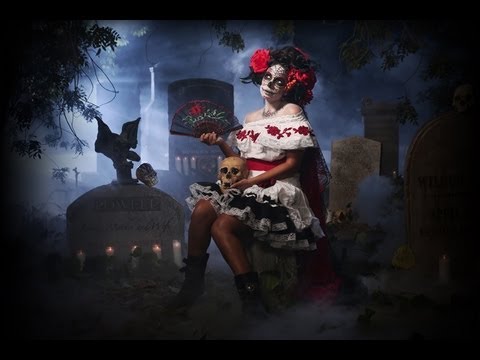
Fantasy portraits are a category where everything that can go wrong usually does, and it happens fast. The location falls through. The props don’t arrive. The smoke machine turns a controlled exposure into a moving target. I’ve pulled out of enough shoots like this mid-setup to know that the photographers worth studying are the ones who solve problems in real time, not the ones who had a perfect plan. That’s why this particular tutorial from The Slanted Lens caught my attention and stayed in my lighting journal.
Watch the full tutorial on YouTube
In this The Slanted Lens tutorial, photographer Jay P. Morgan walks through a complete Day of the Dead fantasy portrait shoot, from team assembly through final exposure. What makes it genuinely useful is that the location collapsed the night before the shoot, forcing a real-time pivot to a prop-built set. That’s not a failure story. That’s a masterclass in how working photographers actually operate.
Step 1: Build Your Team Before You Build Your Set
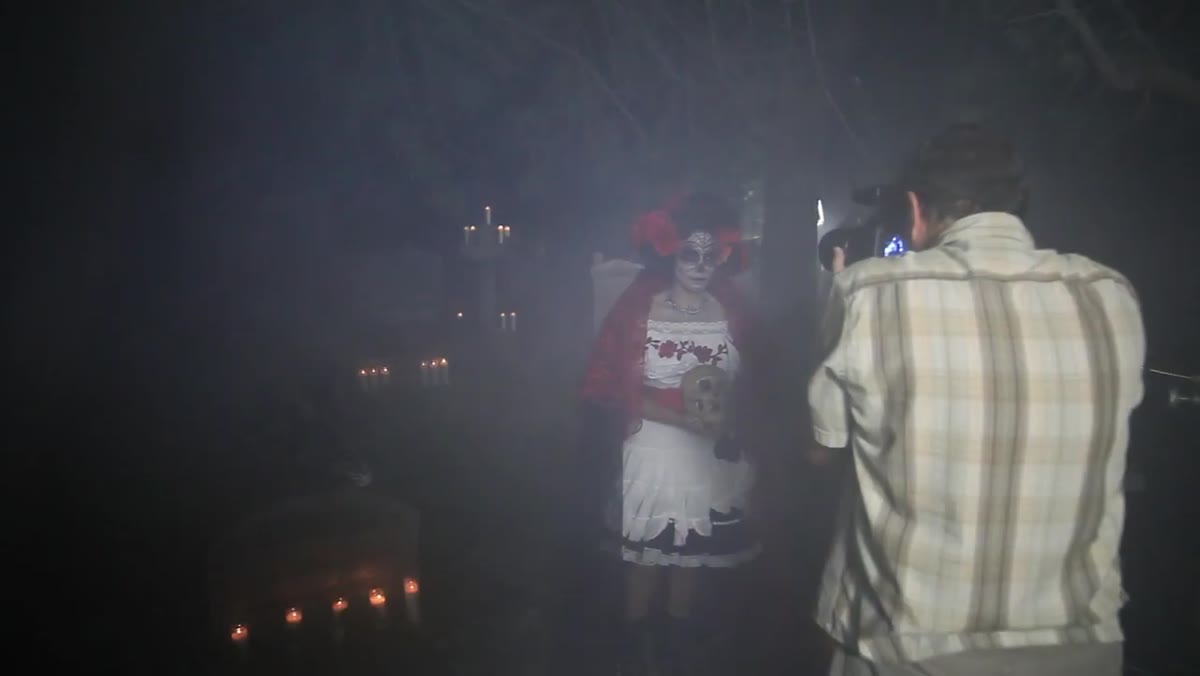 Host listing team roles for a fantasy portrait shoot
A shoot this complex requires specialization. Jay P. runs a lean crew: a makeup artist, a wardrobe stylist, a first assistant, and one additional helper. Four people besides the photographer. Every role is defined before anyone shows up on set. The makeup artist owned the Day of the Dead look entirely. The stylist sourced a light-colored dress specifically chosen to read against a dark background. Neither of those decisions is accidental.
The lesson here is that creative control starts with delegation. If you’re trying to do hair, wardrobe, and lighting yourself, one of those things will suffer. For this kind of portrait, the costume and makeup are half the image. Staff them accordingly.
Step 2: When the Location Falls Through, Build the Location
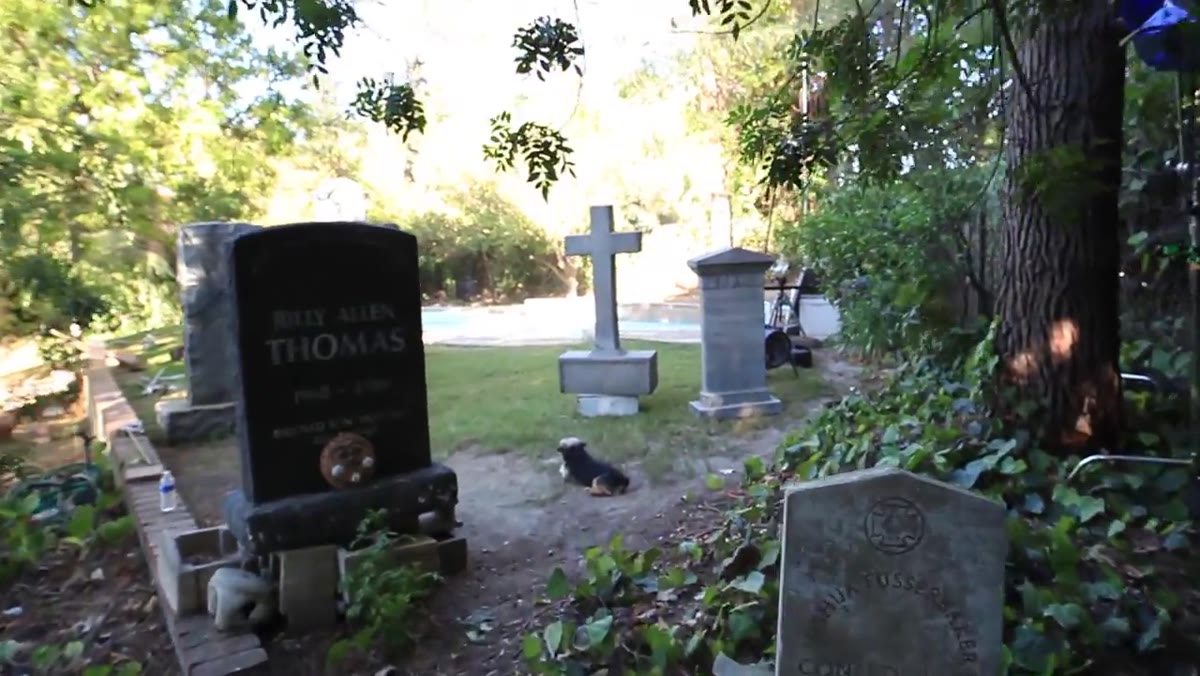 Discussing the last-minute cemetery location cancellation
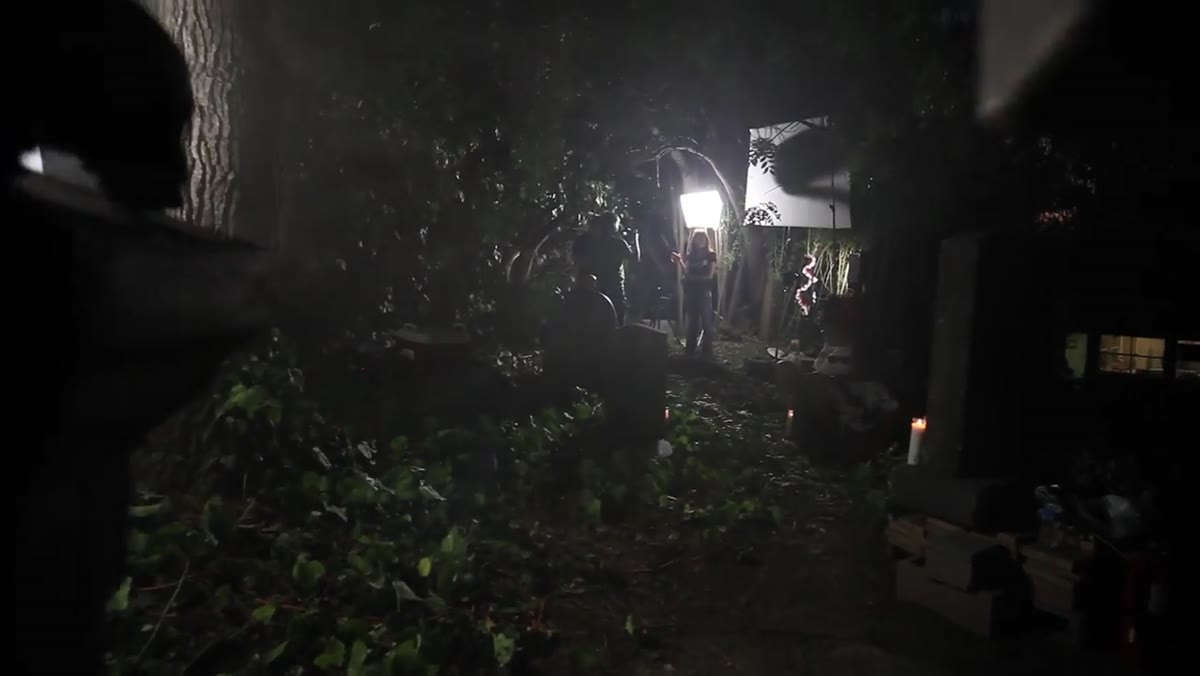
The planned cemetery shoot was canceled the evening before because of an unpermitted government agency requirement. Instead of rescheduling, Jay P. sourced tombstones from two prop houses, Premier Props and Green Set, had them delivered, and built a cemetery in his own outdoor space within a few hours. The camera was positioned at the edge of the property looking back through the tombstones, with overhanging trees creating a natural frame around the foreground subject.
This is a problem-solving approach I keep coming back to in my own commercial work. When an exterior location becomes unavailable, the instinct is to reschedule. The better instinct is to ask what physical elements made that location work and whether you can construct them. Tombstones are just shaped foam and paint. Trees are trees. The atmosphere is in the lighting.
Step 3: Use Two Smoke Sources With Purpose, Not Just Atmosphere
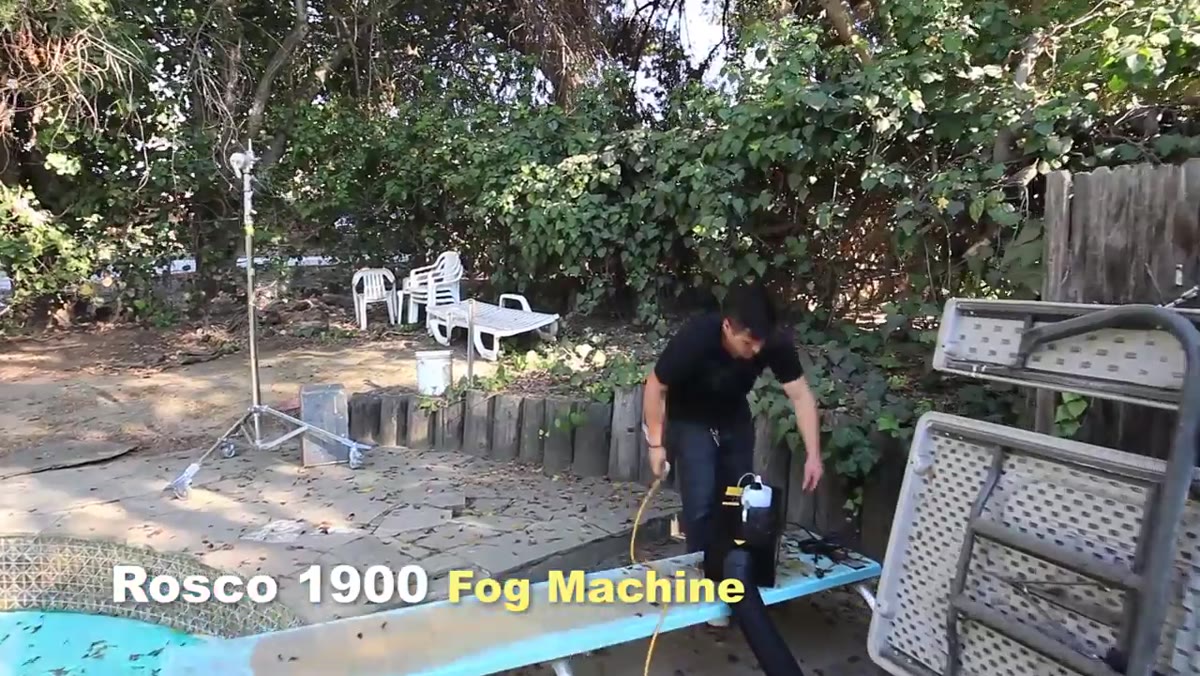 Two Rosco smoke machines positioned around the set
Jay P. runs two separate smoke machines simultaneously. A Rosco 1900 sits to the right of the camera, allowing smoke to drift back through the tombstones and into the tree canopy. A Rosco 1700 in the foreground is fed through a cooler, which chills the smoke and causes it to hug the ground rather than rising. That low-crawling fog effect is a separate technique from standard atmospheric haze.
The important technical detail here is that smoke density directly affects your exposure. Denser smoke reflects more light, which brightens the background. When the smoke thins, the background darkens because there’s nothing in the air for the light to bounce off. That means your background is constantly shifting as long as the machines are running, and you have to account for that in how you set and monitor your exposure throughout the shoot.
Step 4: Set Your Exposure to Anchor the Ambient Elements
 Camera settings displayed: ISO 320, 1/30s, f/5.6
With two smoke machines creating exposure drift, a stable camera setting is essential. Jay P. lands on ISO 320, a shutter speed of 1/30 second, and an aperture of f/5.6. The slower shutter speed is deliberate: it keeps candle flames visible in the frame as warm light sources without letting them overpower the scene or wash out the makeup detail. The f/5.6 aperture provides enough depth of field to keep the tombstone background readable while still allowing him to balance the flash-lit foreground subject against the ambient background.
The core principle is that you’re solving two exposure problems at once. The background and its ambient elements, candles and atmospheric smoke, need to read at a specific brightness. The subject in the foreground is lit by strobe, so you control that separately through flash power. The shutter speed and aperture set the baseline for everything the flash doesn’t touch.
Step 5: Balance Strobe Power Against a Moving Ambient
 Photographer adjusting flash power while reviewing the subject
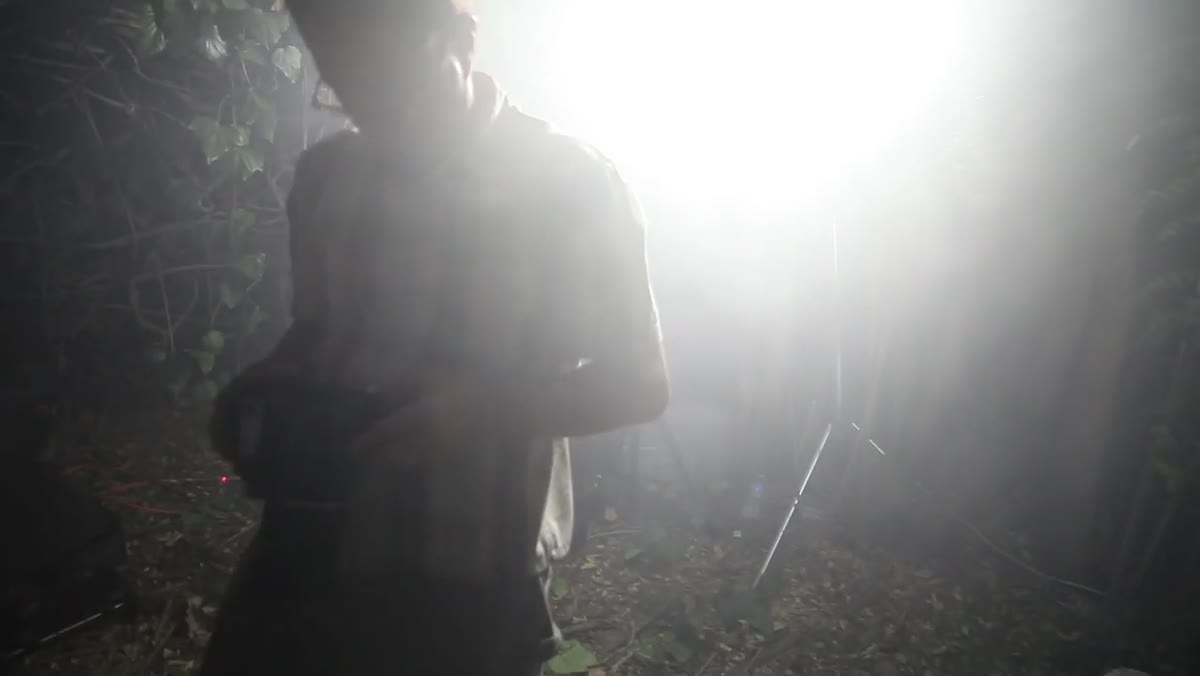
Once the ambient baseline is locked, the strobe output is dialed to match. The subject in the foreground is lit with a key light, and the power is adjusted until her exposure aligns with the background’s ambient level. This is where two-source smoke management gets complicated: because the background brightness is fluctuating, you may need to make small flash adjustments mid-shoot or wait for the smoke to stabilize before taking your hero frames.
The practical approach is to establish your “standard smoke density” by letting the machines run for several minutes before you start shooting seriously. Once the set reaches a consistent level of haze, your exposure math becomes more reliable. If you try to shoot during the buildup phase while density is still changing, your keeper rate drops significantly.
What I’d Do Differently on a Studio Version of This Shot
Building this setup indoors is entirely doable, and in some ways easier to control. Interior smoke stays where you put it because there’s no wind, but it also accumulates faster, which creates its own problems if your space doesn’t ventilate well. In my studio I’d run the Rosco 1700 with a cooler on a timer rather than continuous output, letting the effect pulse in between takes so I can stabilize the exposure between each frame.
I’d also flag the background lights more aggressively than Jay P. needed to outdoors. In a studio, there’s no sky to absorb stray light, so anything not aimed precisely tends to bounce off walls and kill the darkness of the background. For a fantasy portrait that depends on contrast between a light subject and a dark environment, controlling spill is critical. This is the kind of shoot where I’d tape every modifier label before we started and shoot a reference frame for each light position before the model steps in.
The single most important takeaway from this tutorial is that a great fantasy portrait is a logistics problem before it’s a lighting problem. The makeup, the wardrobe, the props, the smoke, the team roles, all of that has to be solved before you touch a light stand. When the location fell through, Jay P. had the relationships and the problem-solving instinct to rebuild the scene from scratch in hours. That’s not luck. That’s preparation applied under pressure.
Watch the full tutorial on YouTube
Comments
Leave a Comment