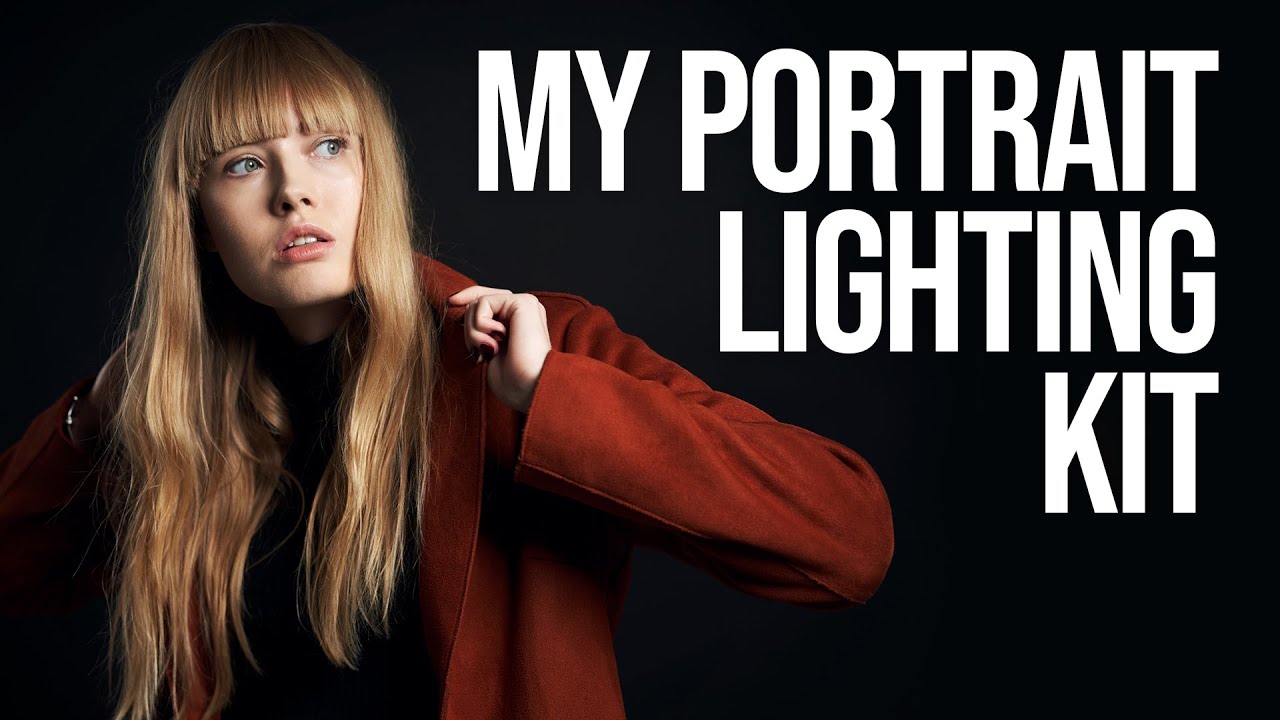
For years, my commercial work meant hauling a rolling bag that weighed nearly as much as I do. Big monolights, extension cables, a separate power pack the size of a shoebox. I kept it all organized with masking tape labels and a lighting journal I’ve maintained since my first editorial job, but none of that organization made the bag lighter. The turning point came after I started looking seriously at battery-powered compact strobes, and the questions I was asking myself were exactly the ones Sean Tucker works through in this tutorial. Watch the full tutorial on YouTube
In this Sean Tucker tutorial, he documents how he moved away from heavy studio monolights, through a brief stint with an AlienBees setup and external battery pack, and finally landed on building an entire portrait lighting system around a single compact unit: the Godox AD200. What makes his approach worth studying isn’t just the gear list. It’s the thinking behind each decision, specifically the trade-offs between power, portability, and versatility. That framework is directly applicable whether you’re shooting corporate headshots in a conference room or editorial portraits on a rooftop.
What Tucker demonstrates is that a truly portable lighting kit isn’t about buying the smallest lights. It’s about buying the right architecture. Every piece he carries has to justify its weight by unlocking more than one capability. That discipline is something I apply on every commercial job, and it’s the lens through which I’d encourage you to watch his breakdown.
Step 1: Audit What Your Current Kit Actually Costs You
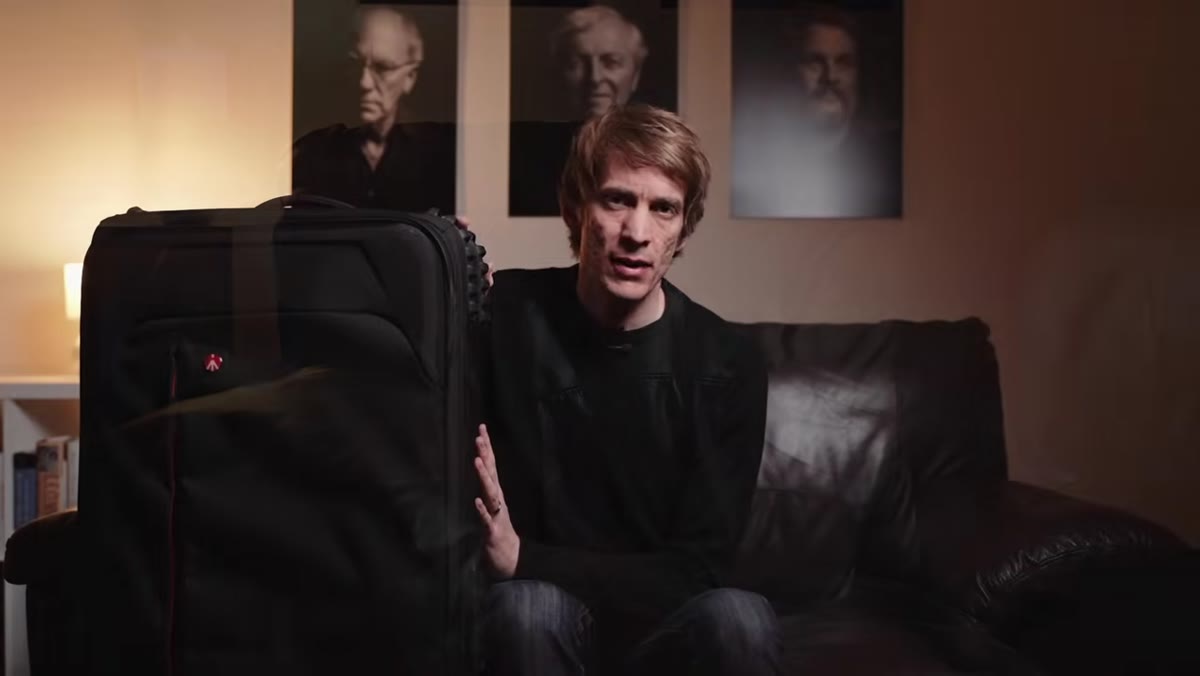 Photographer showing large heavy Bowens lights in roller bag
Before Tucker talks about a single new piece of gear, he accounts for what his old kit was costing him in time, energy, and logistics. His Bowens Gemini series lights were durable and capable, but they required mains power, lived in large roller cases, and made travel a production in itself. That honest accounting is step one.
Photographer showing large heavy Bowens lights in roller bag
Before Tucker talks about a single new piece of gear, he accounts for what his old kit was costing him in time, energy, and logistics. His Bowens Gemini series lights were durable and capable, but they required mains power, lived in large roller cases, and made travel a production in itself. That honest accounting is step one.
Pull out your own kit and ask: how many bags does a single-light portrait setup require? How long does setup and breakdown take? Are you mains-dependent? If your answers reveal a system that limits where and how fast you can work, that’s your baseline. Write it down. I literally sketch it out in my lighting journal so I have something to compare against when I’m evaluating new equipment.
Step 2: Understand Why the Compact Strobe Category Changed the Equation
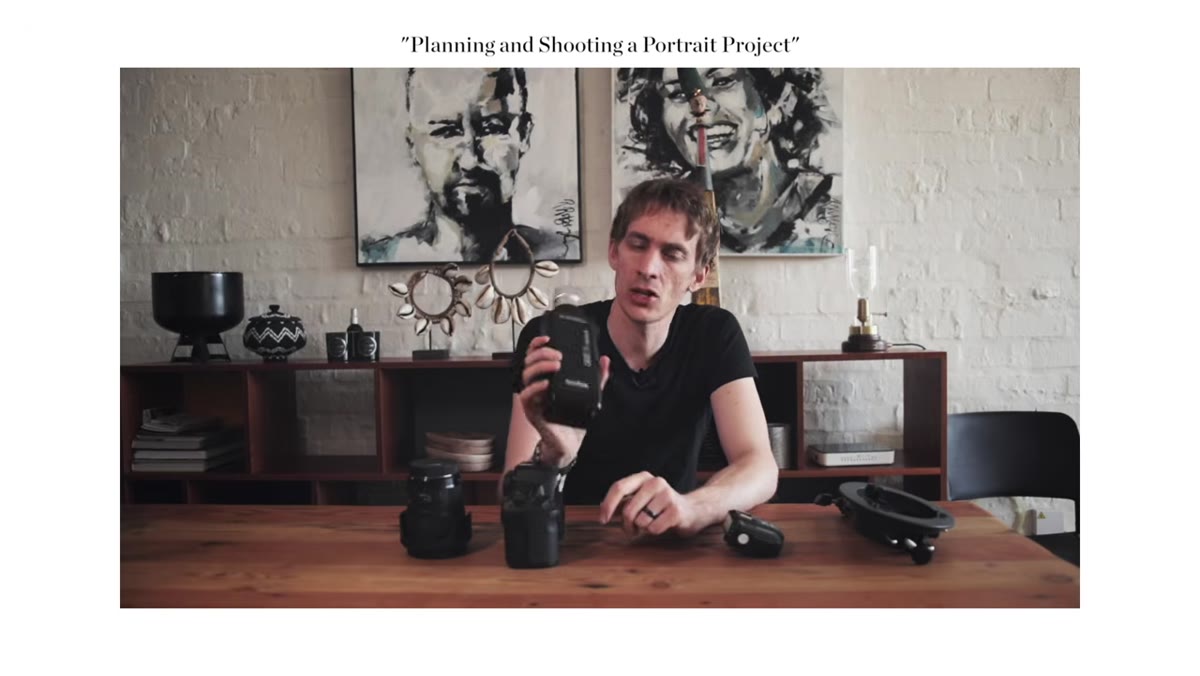 Godox AD200 unit shown in hand, compared to earlier AlienBees setup
Tucker used an AlienBees AB800 with a Vagabond Mini battery pack for a trip to Namibia, which got him battery-powered but still required a separate dedicated bag just for that one-light setup. The Godox AD200 solved a different problem: the entire unit, battery included, is compact enough to fit inside a camera bag alongside bodies and lenses.
Godox AD200 unit shown in hand, compared to earlier AlienBees setup
Tucker used an AlienBees AB800 with a Vagabond Mini battery pack for a trip to Namibia, which got him battery-powered but still required a separate dedicated bag just for that one-light setup. The Godox AD200 solved a different problem: the entire unit, battery included, is compact enough to fit inside a camera bag alongside bodies and lenses.
The AD200 outputs 200Ws of power, which is enough for most portrait scenarios when you’re working with a decent modifier. It’s a fraction of the size of a traditional monolight and runs on a lithium battery rated for around 500 full-power flashes per charge. For location work, that runtime is the difference between a productive shoot and a frustrating one. The key specification to internalize is that 200Ws is not a compromise for most single-subject portrait work. It becomes a limitation only when you’re trying to overpower direct midday sun at distance, and that’s a specific and avoidable scenario.
Step 3: Choose a Case That Protects and Organizes Without Adding Dead Weight
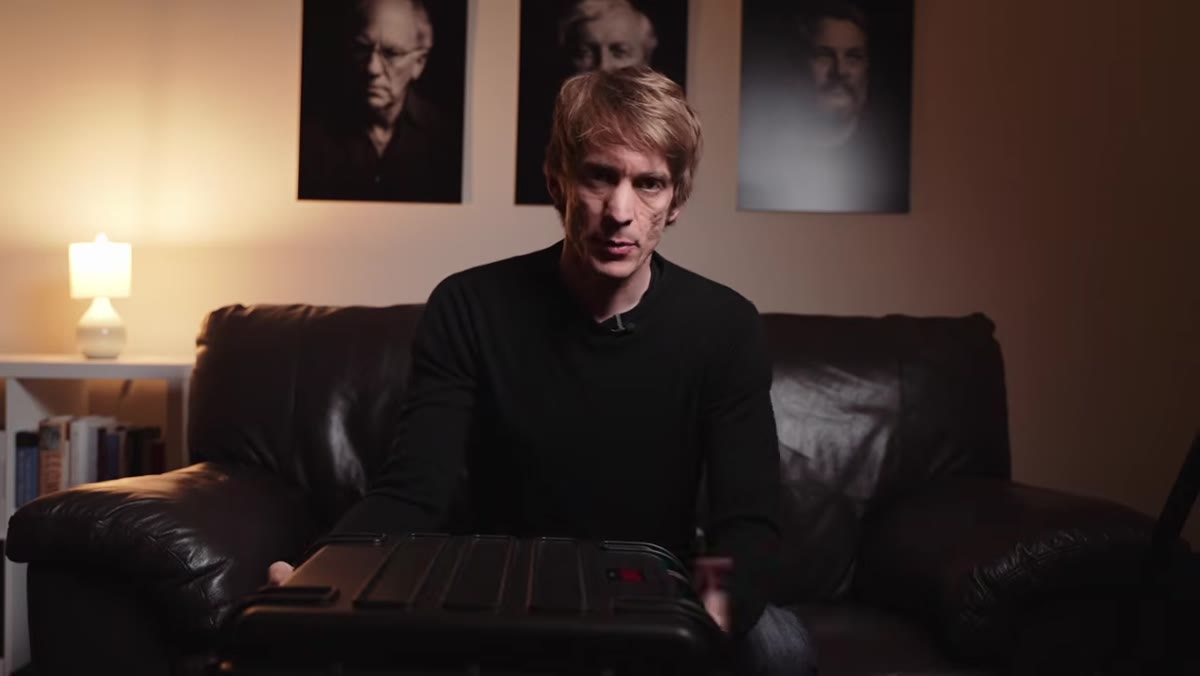 Calumet hard case with foam interior and gear laid out
Tucker uses a Calumet hard case (model WT-1106) with pre-diced foam interior. The foam squares pull out individually, so you configure the interior around your actual gear rather than packing around a fixed layout. This matters more than photographers usually admit.
Calumet hard case with foam interior and gear laid out
Tucker uses a Calumet hard case (model WT-1106) with pre-diced foam interior. The foam squares pull out individually, so you configure the interior around your actual gear rather than packing around a fixed layout. This matters more than photographers usually admit.
A case that forces you to improvise packing under pressure is a case that leads to damaged gear. The Pelican-style hard case format is worth the investment specifically because it protects expensive compact strobes from the kind of incidental impacts that happen constantly on location. Look for a case where the foam density is firm enough to hold a light head without compressing fully. Too soft and the gear shifts; too hard and the foam won’t conform to odd shapes. The diced foam format Tucker uses is a practical middle ground.
Step 4: Build Around One Core Unit and Let It Determine Everything Else
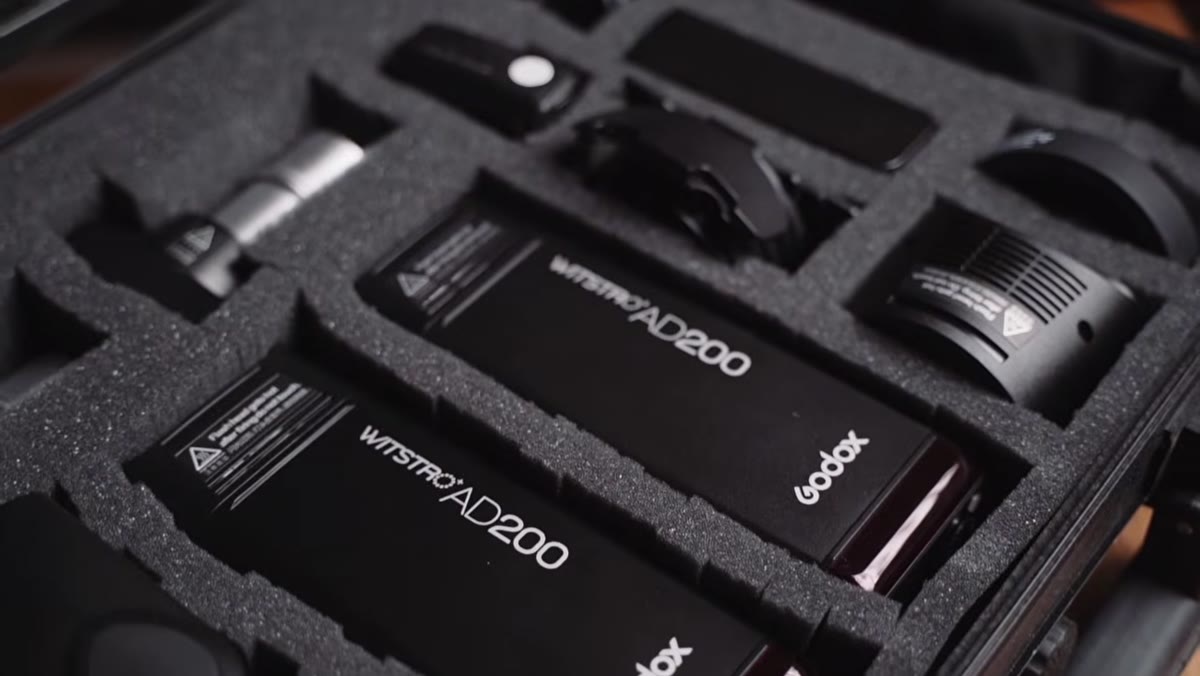 Full kit contents laid out beside the open case
Everything else in Tucker’s kit exists to extend what the AD200 can do. This is the architectural principle I mentioned earlier. The core unit is not chosen to fit the accessories. The accessories are chosen to fit the unit. That sequence matters because it forces discipline.
Full kit contents laid out beside the open case
Everything else in Tucker’s kit exists to extend what the AD200 can do. This is the architectural principle I mentioned earlier. The core unit is not chosen to fit the accessories. The accessories are chosen to fit the unit. That sequence matters because it forces discipline.
When I tested my AD200 the day it arrived (I test every new piece of gear immediately, no exceptions), I ran through its full power range with a bare bulb, then with a small softbox, then outdoors against open shade. That single session told me exactly what modifiers I’d need and what power settings I’d be working at in common scenarios. That information went directly into my lighting journal. By the time I started adding modifiers and triggers to the kit, I knew what I actually needed rather than buying speculatively.
Step 5: Prioritize the Godox Ecosystem for Trigger Compatibility
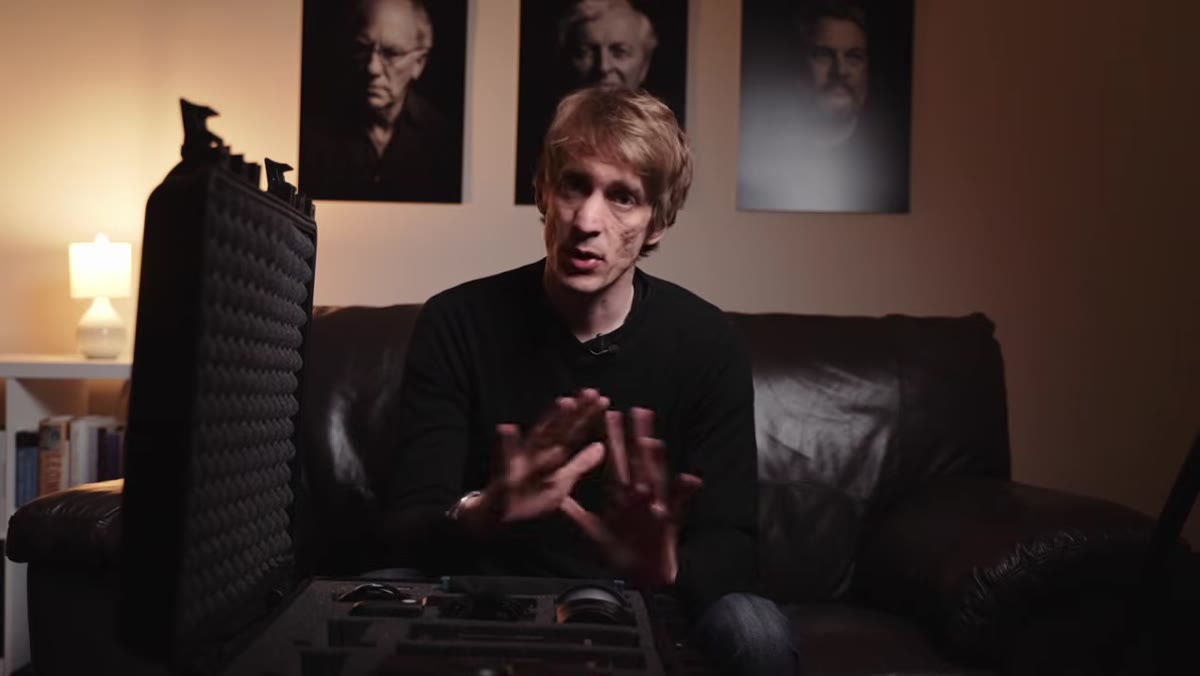 Godox trigger and receiver units shown alongside AD200
Tucker’s kit uses Godox triggers, and the reason is practical rather than brand loyalty. Godox has built one of the most coherent wireless triggering ecosystems in the mid-market segment. Their triggers communicate reliably across their own units, and TTL plus manual remote power adjustment works consistently without the fiddling that third-party triggering often requires.
Godox trigger and receiver units shown alongside AD200
Tucker’s kit uses Godox triggers, and the reason is practical rather than brand loyalty. Godox has built one of the most coherent wireless triggering ecosystems in the mid-market segment. Their triggers communicate reliably across their own units, and TTL plus manual remote power adjustment works consistently without the fiddling that third-party triggering often requires.
If you’re building a new kit from scratch, staying within one trigger ecosystem is worth paying a small premium for. Cross-brand triggering can work, but you’ll lose remote power control, and adjusting power manually on the unit itself while keeping a subject engaged is a workflow killer. I set my trigger groups before a subject walks in, and I never touch the light during a session. That’s only possible with reliable remote control.
What I’d Add From My Own Commercial Work
Tucker’s kit as he describes it is optimized for single-light portrait setups, which covers a huge percentage of location and travel work. Where I’d extend it for commercial and editorial use is with a second AD200 and a small collapsible reflector as a fill source.
The second unit doesn’t have to be rigged every time. I carry it as an option. On beauty and fashion jobs, a second light gives me a hair light or a rim, which separates the subject from the background cleanly, and that separation is often the difference between an image that reads well in print and one that goes flat. The reflector handles fill on jobs where setup time is tight. Those two additions take my AD200 kit from a strong travel setup to a fully capable commercial rig, and the whole thing still fits in a single carry-on-sized case.
The single most important idea in Tucker’s tutorial is that portability is not a quality compromise. It’s a system design challenge. The Godox AD200 has enough power for professional portrait work. The question is whether the rest of your kit is built to match its compact format or whether you’re dragging legacy bulk around a light that no longer requires it.
Watch the full tutorial on YouTube to see Tucker’s complete kit breakdown and hear his reasoning for each piece he carries.
Comments
Leave a Comment