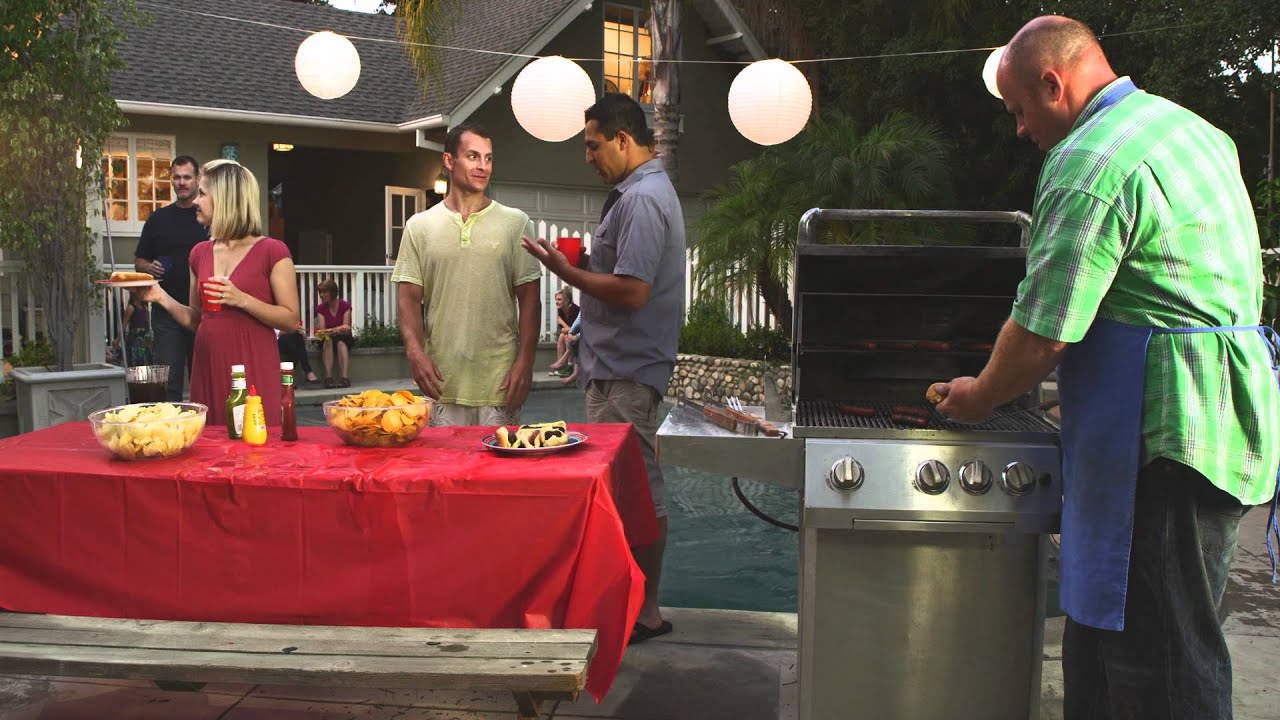
Fire on set is one of those techniques that separates photographers who shoot commercials from photographers who wish they did. I’ve lit everything from beauty campaigns to corporate portraits, and the question I get least prepared for is always some variation of: “Can we have something burning in the frame?” The answer should be yes, but only if you understand what you’re actually dealing with. Burn bars, which are the industry tool for creating controlled flame effects, are not something you improvise. They demand specific equipment, a methodical setup sequence, and a deep respect for what happens when combustion meets a camera crew.
In this The Slanted Lens tutorial, Jay P. Morgan walks through a full commercial production for a fictional catering brand called Green Ghost Locos, built around a backyard party that erupts into chaos and flame. Watch the full tutorial on YouTube before diving in here, because what I’m offering is a layer underneath the video: the decisions, the values, and the logic that makes each step work. My notes from this one took up two pages in my lighting journal.
Step 1: Understand the Camera Choice Before You Touch a Light
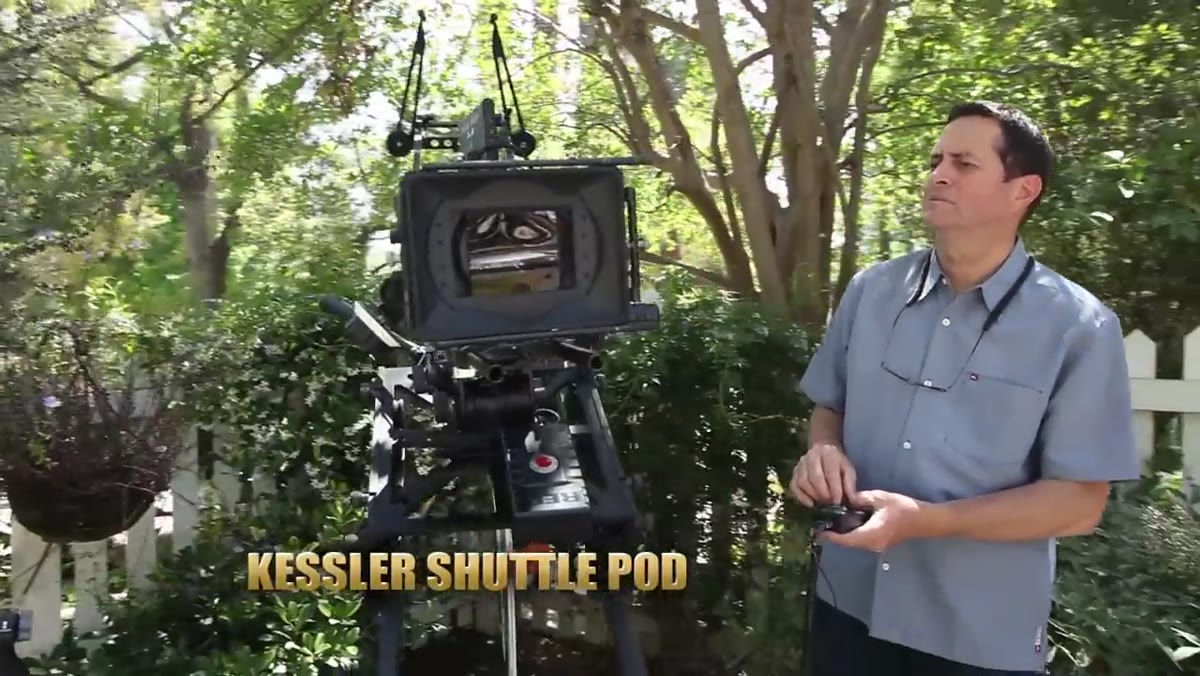
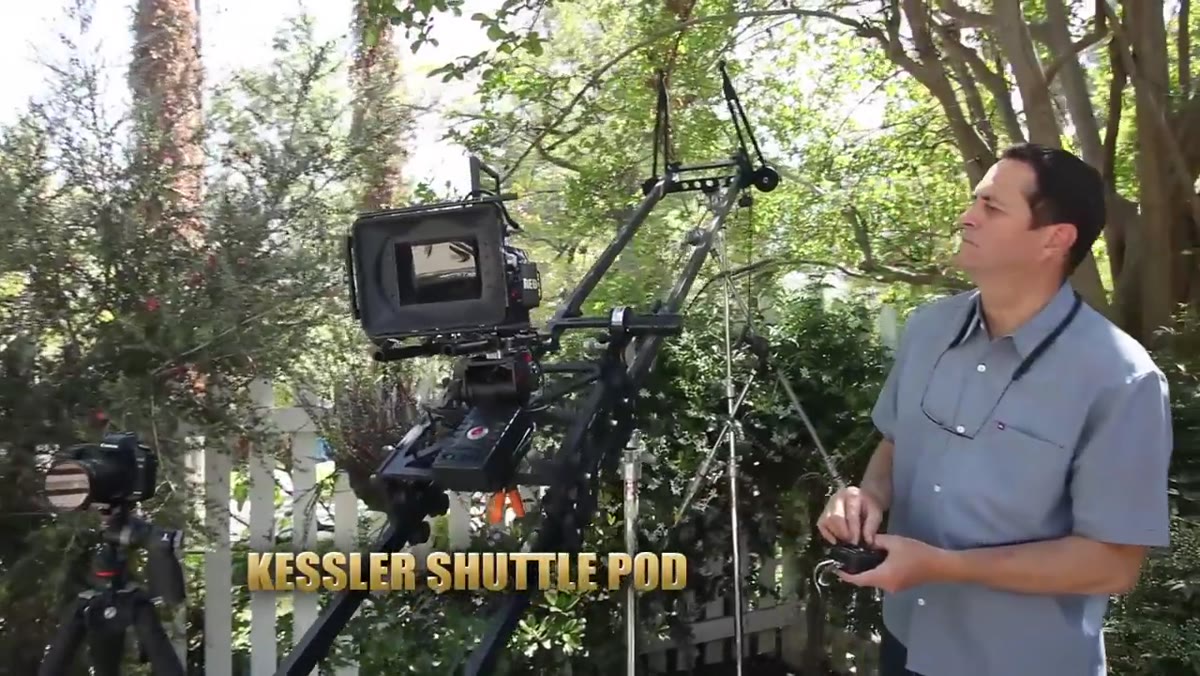 Red Epic camera being positioned near the grill scene
The first decision on a fire shoot isn’t lighting, it’s camera. Morgan chose the Red Epic specifically for its 13-and-a-half-stop dynamic range, and that choice ripples through every lighting decision that follows. Flame is brutal on dynamic range. It blows out instantly while your shadows go black, and you lose detail at both ends. A camera with genuine latitude gives you shadow information and flame texture in a single exposure without relying on composites.
Red Epic camera being positioned near the grill scene
The first decision on a fire shoot isn’t lighting, it’s camera. Morgan chose the Red Epic specifically for its 13-and-a-half-stop dynamic range, and that choice ripples through every lighting decision that follows. Flame is brutal on dynamic range. It blows out instantly while your shadows go black, and you lose detail at both ends. A camera with genuine latitude gives you shadow information and flame texture in a single exposure without relying on composites.
He also shot 5K resolution, not for the resolution itself, but for post flexibility. When you’re shooting a one-take commercial with live fire, you want room to reframe in edit if the action drifts. If you’re doing a fire shoot on a DSLR or mirrorless body, shoot RAW and test your exposure on a stand-in flame well before talent is on set. Know exactly where your highlights clip before the burn bars are lit.
Step 2: Build Your Burn Bars and Understand the Safety Baseline
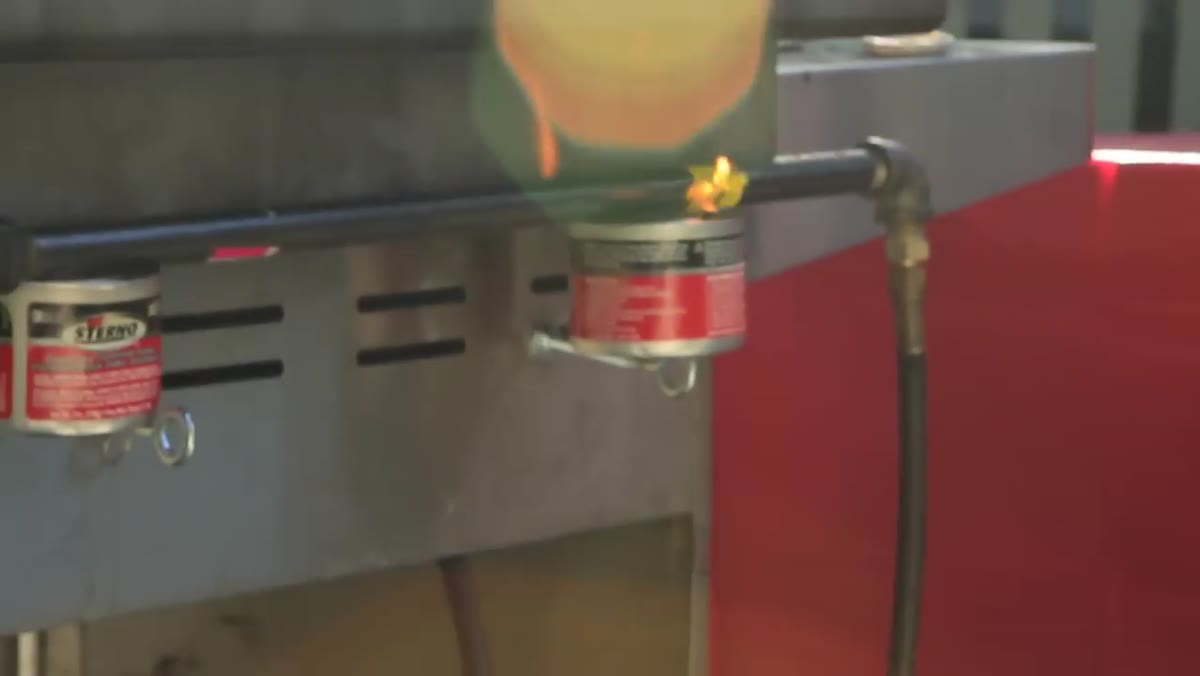 Sterno canister being placed beneath a burn bar on set
Morgan starts to show the construction of burn bars before pulling back, noting the liability involved. What he does explain is the non-negotiable safety setup: a lit Sterno canister must always be placed directly beneath an active burn bar. The Sterno acts as a pilot light. If the gas flow drops or the bar momentarily loses ignition, the Sterno re-ignites it before unburned propane builds up. Without it, you have a delay-ignition risk that can cause a flash flare.
Sterno canister being placed beneath a burn bar on set
Morgan starts to show the construction of burn bars before pulling back, noting the liability involved. What he does explain is the non-negotiable safety setup: a lit Sterno canister must always be placed directly beneath an active burn bar. The Sterno acts as a pilot light. If the gas flow drops or the bar momentarily loses ignition, the Sterno re-ignites it before unburned propane builds up. Without it, you have a delay-ignition risk that can cause a flash flare.
He also specifies using a regulator with three essential features: a pressure gauge, an adjustable pressure valve, and a cut-off valve. The cut-off valve is the one I’d call non-negotiable. You need the ability to kill gas flow instantly without touching the bar itself. If you’re sourcing this equipment, don’t substitute a basic camping regulator. Purpose-built regulators for pyrotechnic effects are the correct tool, and they’re available through theatrical supply companies.
Step 3: Stage Your Burn Bars for Sequential Ignition
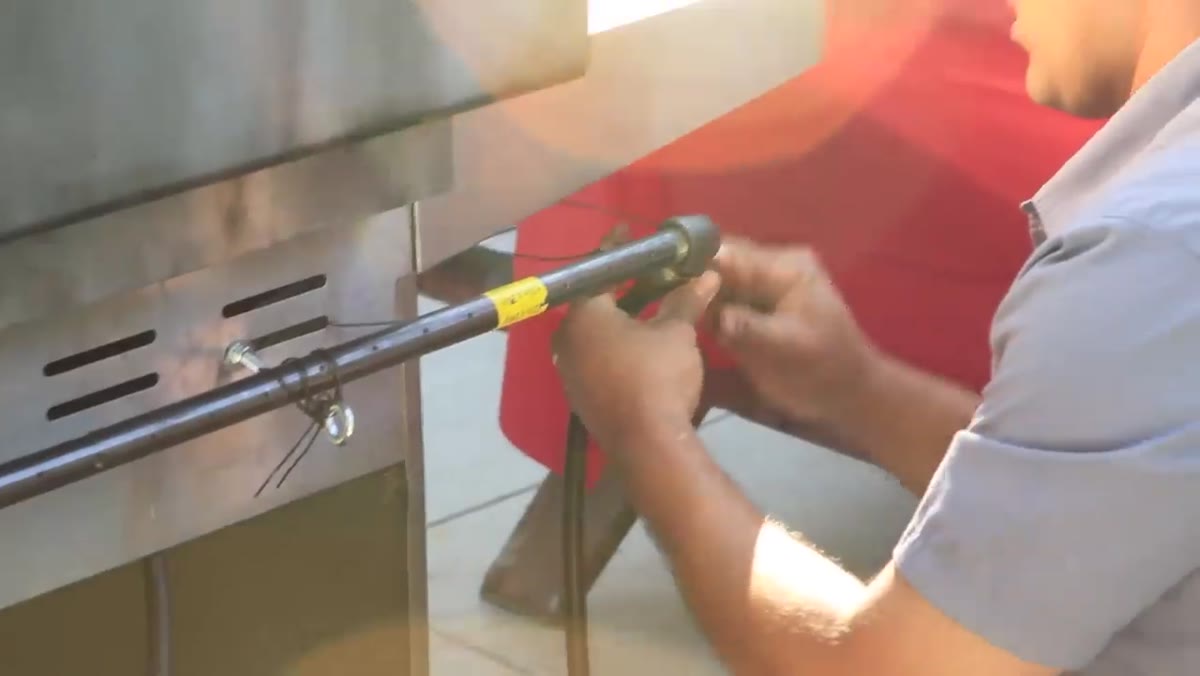 Three burn bars positioned at grill and picnic table
Morgan’s setup uses three burn bars total: two positioned inside the grill and one hidden behind the picnic table. The sequencing is deliberate. The grill bars ignite first, establishing the central fire. Then a practical China ball light fixture falls into frame, selling the narrative that the table itself catches. Only then does the third bar, behind the table, fire simultaneously with the existing flames.
Three burn bars positioned at grill and picnic table
Morgan’s setup uses three burn bars total: two positioned inside the grill and one hidden behind the picnic table. The sequencing is deliberate. The grill bars ignite first, establishing the central fire. Then a practical China ball light fixture falls into frame, selling the narrative that the table itself catches. Only then does the third bar, behind the table, fire simultaneously with the existing flames.
This sequential approach is what separates a believable fire effect from a staged one. Real fire spreads. It doesn’t appear everywhere at once. Choreographing your bar ignitions to match a cause-and-effect story makes the effect read as genuine, even to an audience that’s never consciously analyzed it. Build a cue sheet. Know which bar fires when, who triggers it, and what the signal is.
Step 4: Lay Down Your Ambient and Practical Foundation
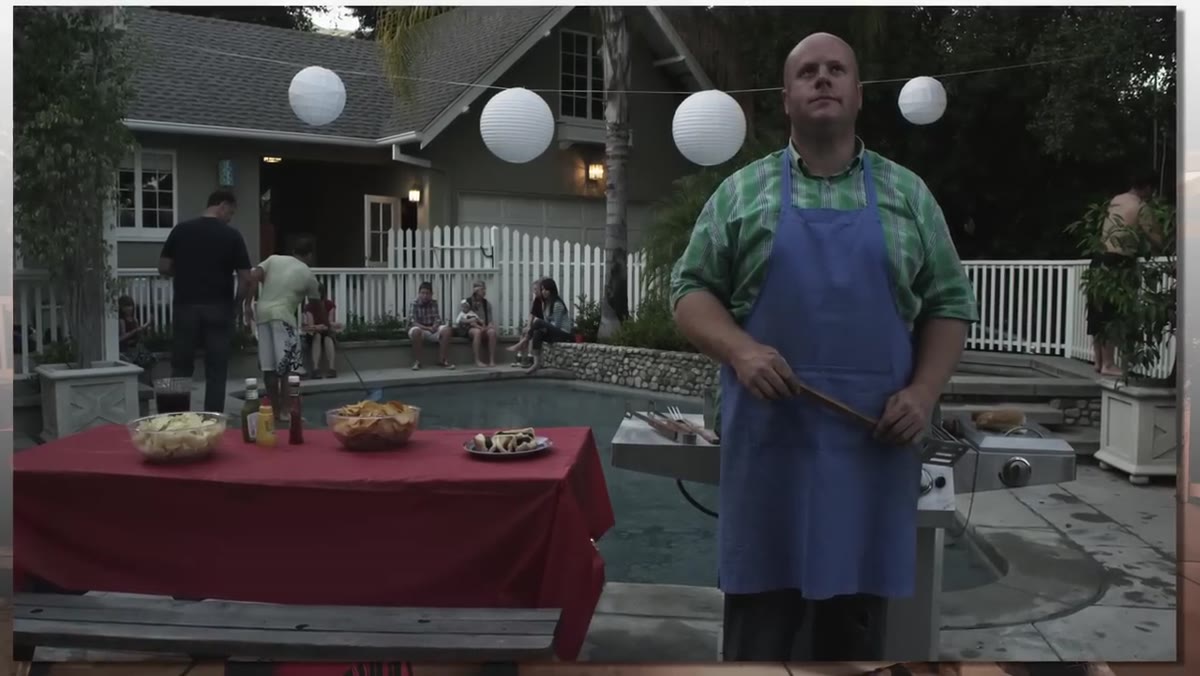 Wide scene with party lanterns and practicals glowing in background
Before any dedicated photographic light goes up, Morgan establishes an ambient base using practical light sources, specifically the party lanterns strung in the background, each running a 71-watt bulb. This matters enormously for a fire scene. You want the environment to feel self-illuminating before you add anything artificial, because fire reads best when it appears to be the dominant light source rather than one of several competing sources.
Wide scene with party lanterns and practicals glowing in background
Before any dedicated photographic light goes up, Morgan establishes an ambient base using practical light sources, specifically the party lanterns strung in the background, each running a 71-watt bulb. This matters enormously for a fire scene. You want the environment to feel self-illuminating before you add anything artificial, because fire reads best when it appears to be the dominant light source rather than one of several competing sources.
Getting that ambient foundation right also gives you a reference point. Every additional light you add should justify itself against the ambient exposure. If a modifier is visible in the scene but not explainable by the story, it kills the illusion.
Step 5: Build the Rim and Fill Structure with Constant Lights
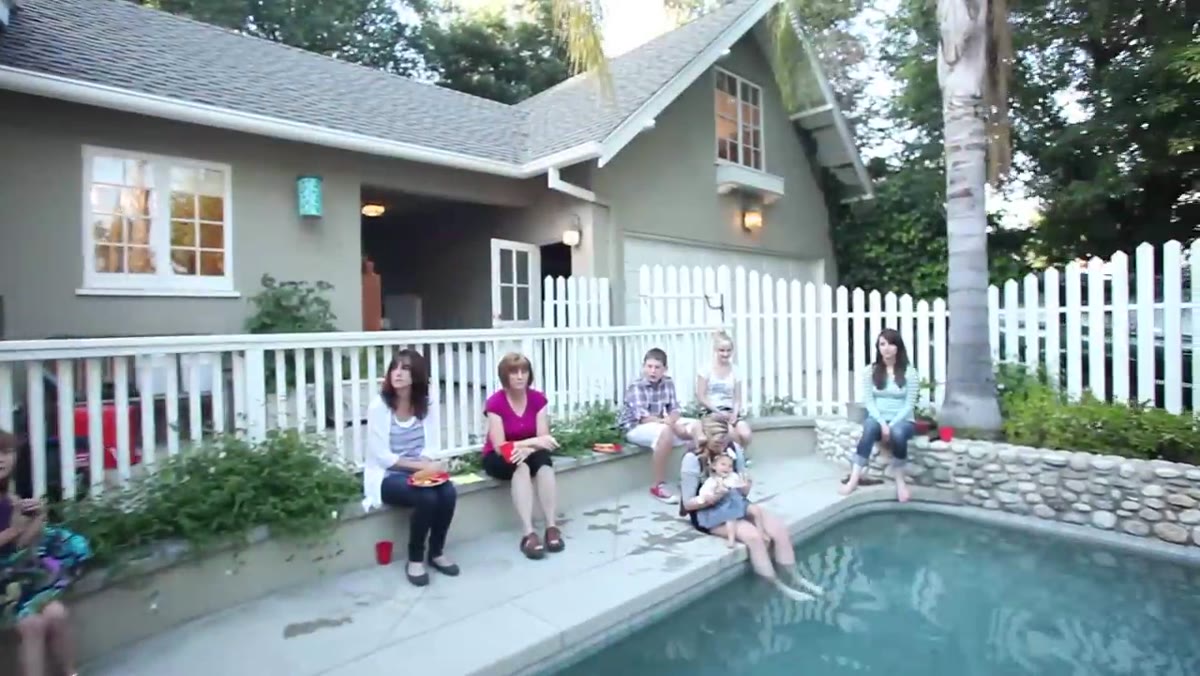 1K light placed behind window to rim seated subjects
Morgan’s layered light build is worth studying closely. He places a 1,000-watt tungsten through a window on camera left, which does double duty: it motivates that window as a light source and creates a rim on the subjects near the pool. Then he adds a dedicated D-Light head with a reflector running 650 watts of constant output as a secondary rim on camera left.
1K light placed behind window to rim seated subjects
Morgan’s layered light build is worth studying closely. He places a 1,000-watt tungsten through a window on camera left, which does double duty: it motivates that window as a light source and creates a rim on the subjects near the pool. Then he adds a dedicated D-Light head with a reflector running 650 watts of constant output as a secondary rim on camera left.
His reason for choosing constant lights over strobes here is one I’ve adopted myself: when you’re shooting both video and stills on the same production, one set of continuous lights serves both cameras. I’ve started labeling my constant heads by color temperature with masking tape before every multi-camera shoot, because tungsten, LED, and daylight-balanced sources look identical on a stand and they absolutely do not mix cleanly. A 2,000-watt tungsten on the roof for upper rim, plus a 1,000-watt LED on the table for front fill and a 500-watt LED on camera right for face separation rounds out the full setup. Each light has a specific job and a specific subject.
Step 6: Balance Your Exposure for Fire, Not for People
 Camera monitor showing grill flame with shadow detail retained
The exposure target on a fire shoot is the flame, not the face. Set your exposure so the flame retains texture and color gradient, then use your lights to bring the scene up around it. If you expose for skin first and let the flame do what it wants, you’ll clip the highlights and the fire will read as a blown-out white blob with no depth.
Camera monitor showing grill flame with shadow detail retained
The exposure target on a fire shoot is the flame, not the face. Set your exposure so the flame retains texture and color gradient, then use your lights to bring the scene up around it. If you expose for skin first and let the flame do what it wants, you’ll clip the highlights and the fire will read as a blown-out white blob with no depth.
Morgan’s choice of the Red Epic’s wide dynamic range is doing heavy lifting here, but the principle applies at any budget. Underexpose slightly relative to your ambient and use your constant light sources to push faces back into a workable range. Check your histogram. A fire frame should show highlight information near the right edge but not clipping.
What I’d Add from My Own Experience
Dynamic range decisions aside, the variable that trips up most photographers on a first fire shoot is color temperature mixing. Flame is roughly 1,800 to 2,000 Kelvin. Tungsten is 3,200. LEDs vary. If your fill and rim lights are daylight-balanced and your flame is orange, you’ll spend hours in post trying to make skin tones look coherent across a sequence where subjects move between light zones. I learned a version of this the hard way on a beauty editorial, and it cost me hours in grade. Lock your white balance to tungsten or set a manual Kelvin that splits the difference, and make sure every light on set is gelled or balanced to match before the first test frame.
The single most important thing this tutorial demonstrates is that fire effects are a lighting problem before they are a pyrotechnics problem. The flame is just one source in a layered setup, and it only works when every other source in the scene is designed around it. Morgan’s methodical build, practical foundation first, rim lights second, fill last, is a framework that applies to any practical light source you’re integrating into a setup.
Watch the full tutorial on YouTube to see the complete commercial shoot and the fire sequence in action.
Comments (3)
This should be required reading for anyone starting out.
Great breakdown. The step-by-step approach really helps.
Well explained. I think my audience would really benefit from this — mind if I link to it?
Leave a Comment