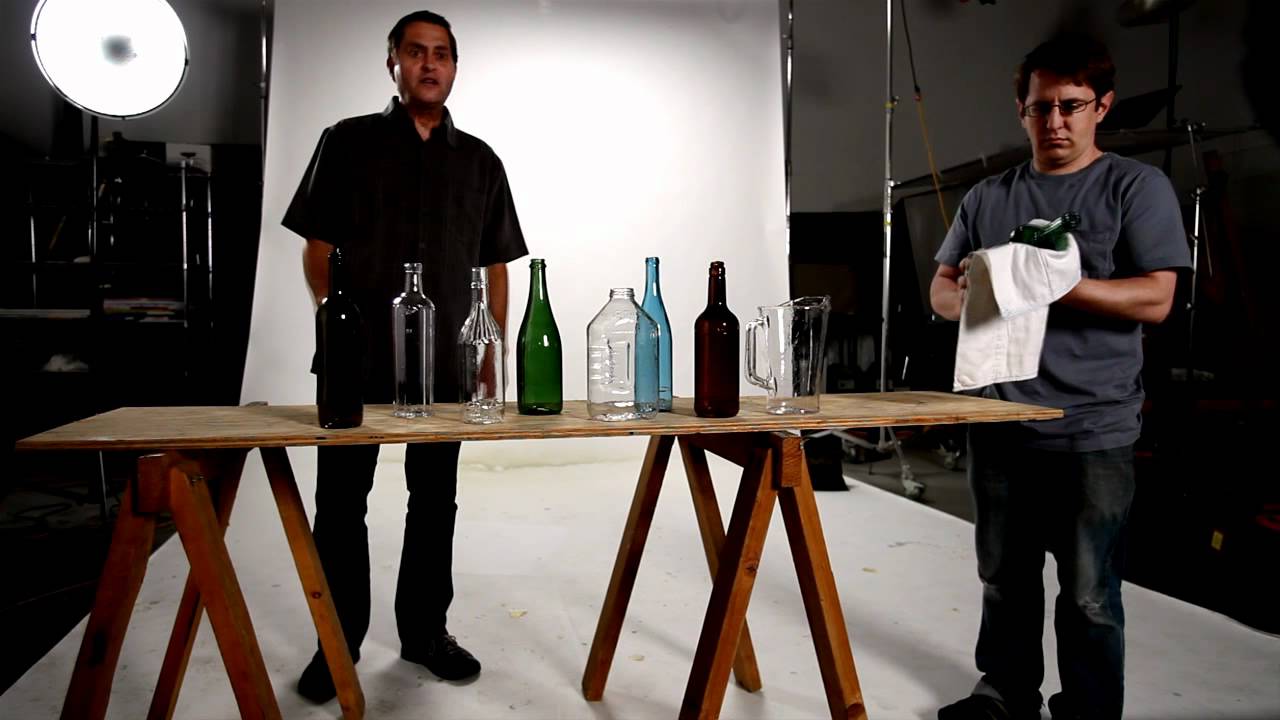
There are tutorials that teach you a technique, and then there are tutorials that accidentally teach you three techniques while pretending to teach you one. In this The Slanted Lens tutorial by JP Morgan, the stated subject is how to make breakaway candy glass, the kind Hollywood prop departments have been fabricating since the early days of film. But if you pay attention past the candy thermometer and the corn syrup, there’s a complete multi-light scene setup buried in the second half, and that’s the part I keep coming back to. Watch the full tutorial on YouTube
I shoot commercial and editorial work here in Los Angeles, and “breakable” props come up more than people expect. A beauty brand wants a shattered compact. A fashion editorial wants a figure crashing through a frosted pane. Sourcing real stunt glass is expensive and slow. Knowing how to fabricate candy glass, or at least knowing that acrylic breakaway suppliers exist, is the kind of practical knowledge that makes a studio photographer more useful to a client than someone who only knows how to set up a beauty dish. This tutorial covers both the fabrication and the scene lighting that made the resulting footage actually usable. That combination is rare.
Step 1: Gather Your Materials Before You Touch the Stove
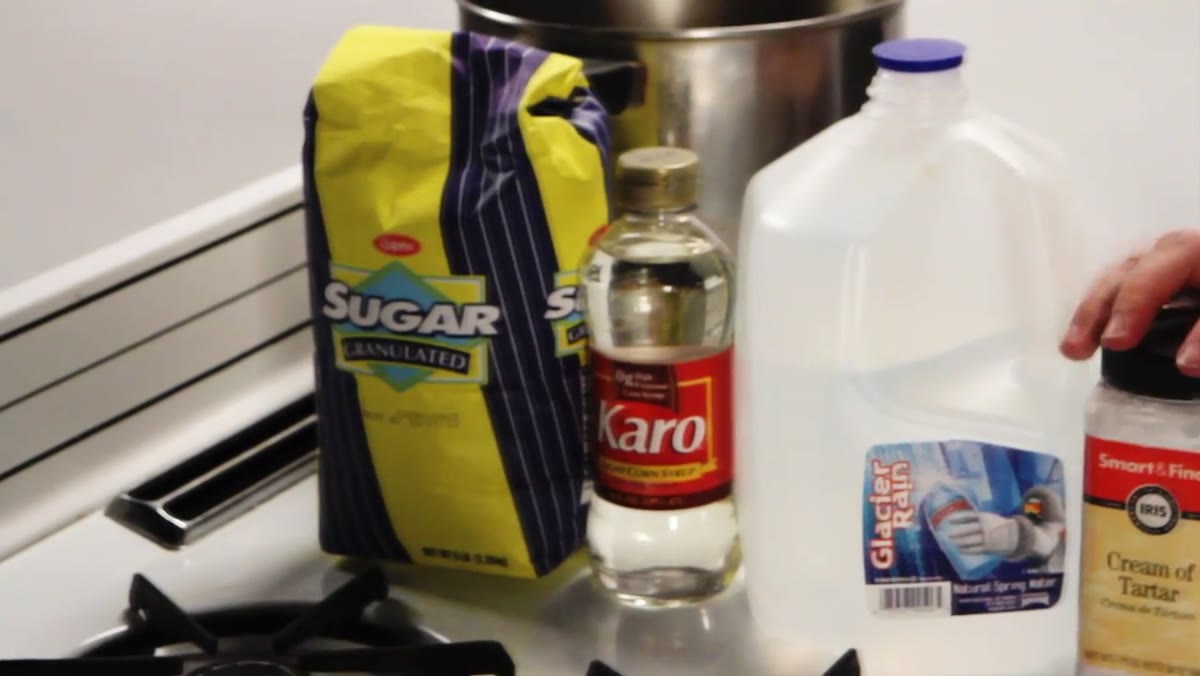 Ingredients and tools laid out on a counter
The recipe requires two cups of distilled water, one cup of light corn syrup, three and a half cups of sugar, and a small amount of cream of tartar. The emphasis on distilled water is not a suggestion. Tap water contains minerals that will cloud your finished glass and turn what should be a clean, transparent pane into something that looks frosted and dull. That matters enormously if your glass is going to catch and transmit light in the frame. You also need a candy thermometer, a large pot, and a metal spoon. Wood will discolor the mixture as it heats. Spray your cookie sheet with a neutral cooking oil before you start, because that sheet is your mold and the finished glass needs to release cleanly.
Ingredients and tools laid out on a counter
The recipe requires two cups of distilled water, one cup of light corn syrup, three and a half cups of sugar, and a small amount of cream of tartar. The emphasis on distilled water is not a suggestion. Tap water contains minerals that will cloud your finished glass and turn what should be a clean, transparent pane into something that looks frosted and dull. That matters enormously if your glass is going to catch and transmit light in the frame. You also need a candy thermometer, a large pot, and a metal spoon. Wood will discolor the mixture as it heats. Spray your cookie sheet with a neutral cooking oil before you start, because that sheet is your mold and the finished glass needs to release cleanly.
Step 2: Cook the Mixture to Exactly 300 Degrees
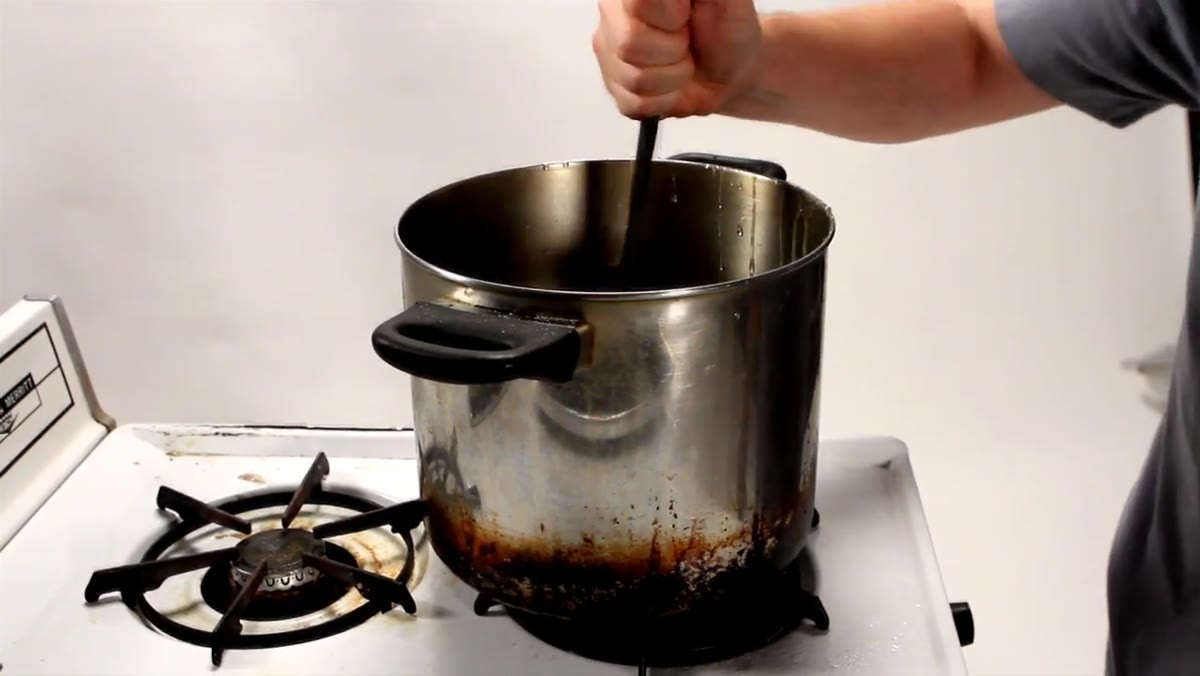 Mixture boiling in pot with thermometer visible
Combine all ingredients and bring the mixture to a full boil, stirring constantly. The target temperature is 300 degrees Fahrenheit, which is the hard crack stage in candy making. Below that, the finished product will be sticky and flexible rather than brittle. Above it, the mixture begins to brown and you lose clarity. JP notes they may have cooked theirs slightly past the mark, but the result was still usable. My read on that: for prop glass that gets destroyed in a single take, a little amber tint might actually read well on camera. For a product shot where clarity matters, pull it at exactly 300.
Mixture boiling in pot with thermometer visible
Combine all ingredients and bring the mixture to a full boil, stirring constantly. The target temperature is 300 degrees Fahrenheit, which is the hard crack stage in candy making. Below that, the finished product will be sticky and flexible rather than brittle. Above it, the mixture begins to brown and you lose clarity. JP notes they may have cooked theirs slightly past the mark, but the result was still usable. My read on that: for prop glass that gets destroyed in a single take, a little amber tint might actually read well on camera. For a product shot where clarity matters, pull it at exactly 300.
Step 3: Pour Onto a Prepared Sheet and Let It Set
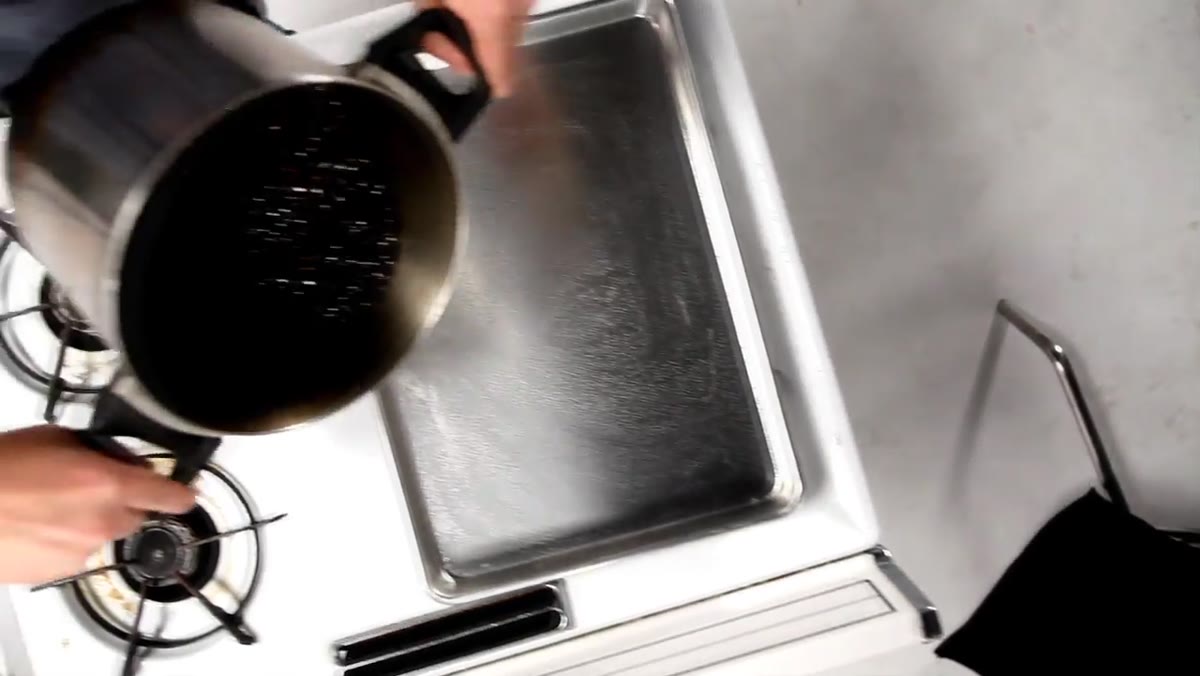 Mixture being poured onto sprayed cookie sheet
Once the mixture hits temperature, pour it immediately onto the sprayed cookie sheet. The shape and thickness of the sheet determine the shape and thickness of your glass pane. Let it cool for at least one hour without disturbing it. The tutorial is straightforward here: the cookie sheet is your only mold, so if you need a specific dimension, plan your sheet size in advance. A standard half-sheet pan gives you roughly a 13 by 18 inch pane, which is a workable window size for most close-range stunt shots.
Mixture being poured onto sprayed cookie sheet
Once the mixture hits temperature, pour it immediately onto the sprayed cookie sheet. The shape and thickness of the sheet determine the shape and thickness of your glass pane. Let it cool for at least one hour without disturbing it. The tutorial is straightforward here: the cookie sheet is your only mold, so if you need a specific dimension, plan your sheet size in advance. A standard half-sheet pan gives you roughly a 13 by 18 inch pane, which is a workable window size for most close-range stunt shots.
Step 4: Consider Sourcing Acrylic Breakaway Glass for Complex Projects
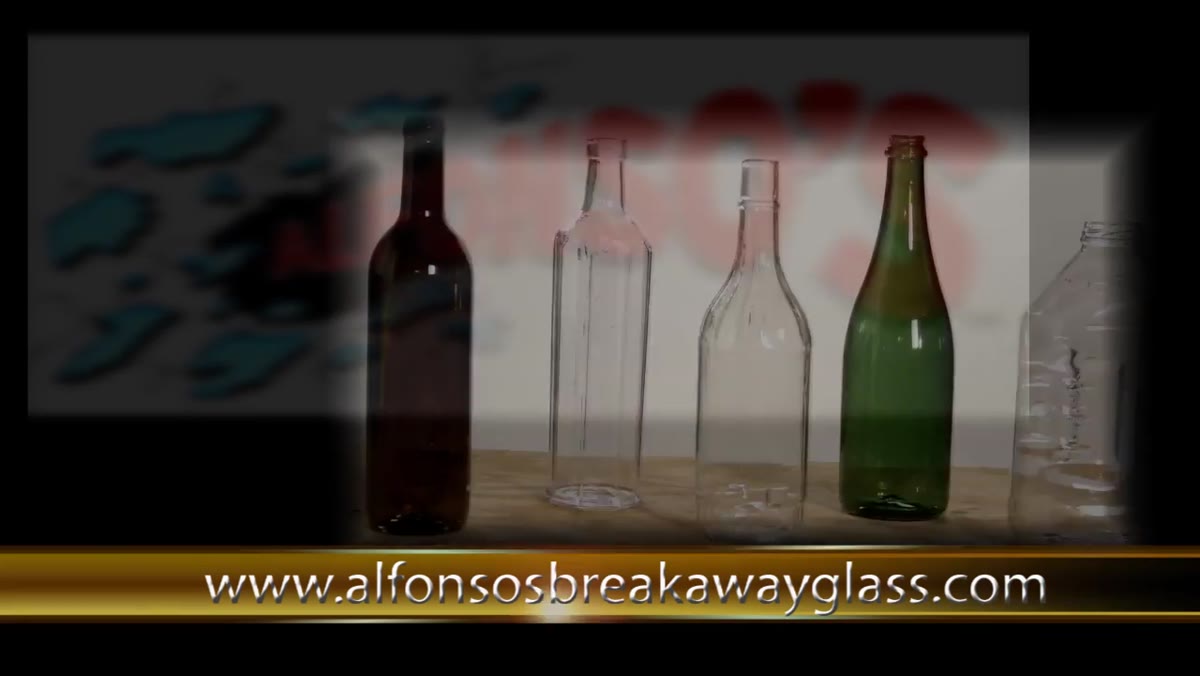 Acrylic breakaway bottles and figurines on display
After walking through the candy glass process, JP pivots to Alfonso’s Breakaway Glass, a supplier that fabricates props from acrylic rather than sugar. The advantage is consistency and variety. Acrylic breakaway props include bottles, jugs, figurines, and colored pieces that would be difficult to replicate with a home candy recipe. For a one-off shoot where you need a single pane shattered once, the homemade version is perfectly viable. For a multi-take production, or for props with complex geometry, a purpose-built acrylic piece reduces variables and keeps the set safer. Knowing both options exist is more useful than being committed to only one.
Acrylic breakaway bottles and figurines on display
After walking through the candy glass process, JP pivots to Alfonso’s Breakaway Glass, a supplier that fabricates props from acrylic rather than sugar. The advantage is consistency and variety. Acrylic breakaway props include bottles, jugs, figurines, and colored pieces that would be difficult to replicate with a home candy recipe. For a one-off shoot where you need a single pane shattered once, the homemade version is perfectly viable. For a multi-take production, or for props with complex geometry, a purpose-built acrylic piece reduces variables and keeps the set safer. Knowing both options exist is more useful than being committed to only one.
Step 5: Build the Scene With a Bounce Fill First
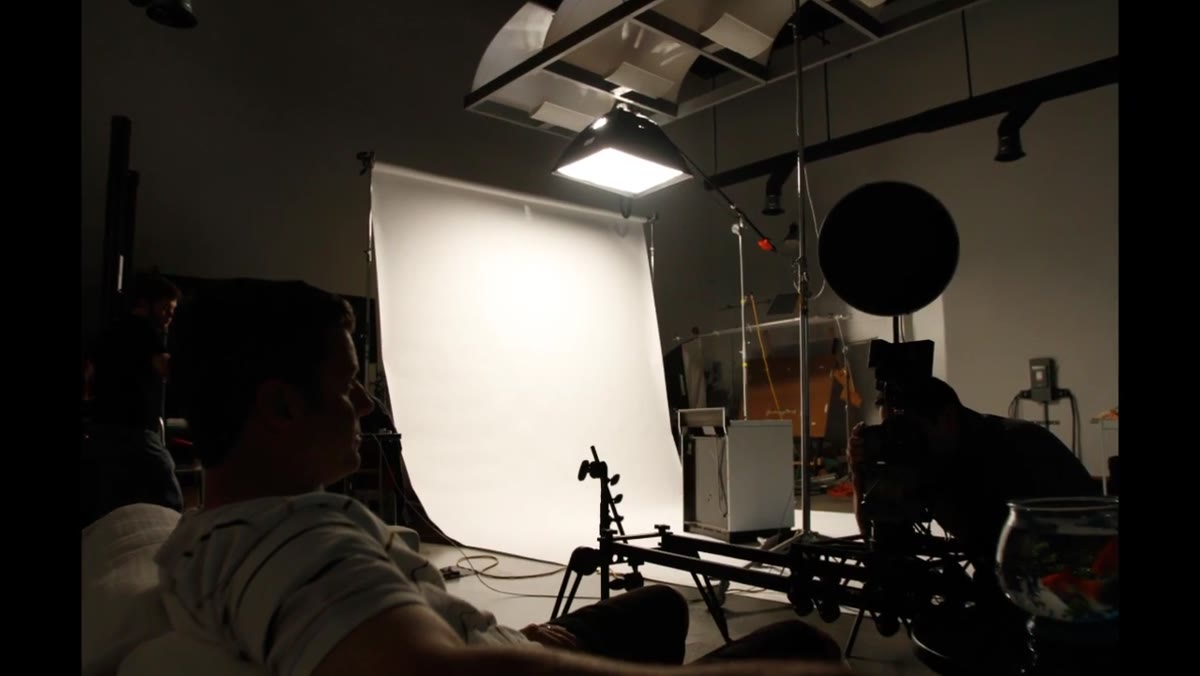 Overhead softbox bouncing into white seamless off camera right
Here is where the tutorial quietly shifts into lighting instruction. The set is described as simple: two tables, a couch, a white wall. The first light placed is a fill, and the approach is worth noting. Rather than pointing a softbox directly at the talent, they bounced an overhead softbox into a piece of white seamless off camera right. That gives you a large, directionless, non-motivating fill. It opens shadows without creating a secondary shadow. I use a similar approach when I need to keep a set reading as ambient without any visible light source competing with the key. The fill should be invisible as a source but present in the image.
Overhead softbox bouncing into white seamless off camera right
Here is where the tutorial quietly shifts into lighting instruction. The set is described as simple: two tables, a couch, a white wall. The first light placed is a fill, and the approach is worth noting. Rather than pointing a softbox directly at the talent, they bounced an overhead softbox into a piece of white seamless off camera right. That gives you a large, directionless, non-motivating fill. It opens shadows without creating a secondary shadow. I use a similar approach when I need to keep a set reading as ambient without any visible light source competing with the key. The fill should be invisible as a source but present in the image.
Step 6: Add a Background Light to Separate Your Subject From the Wall
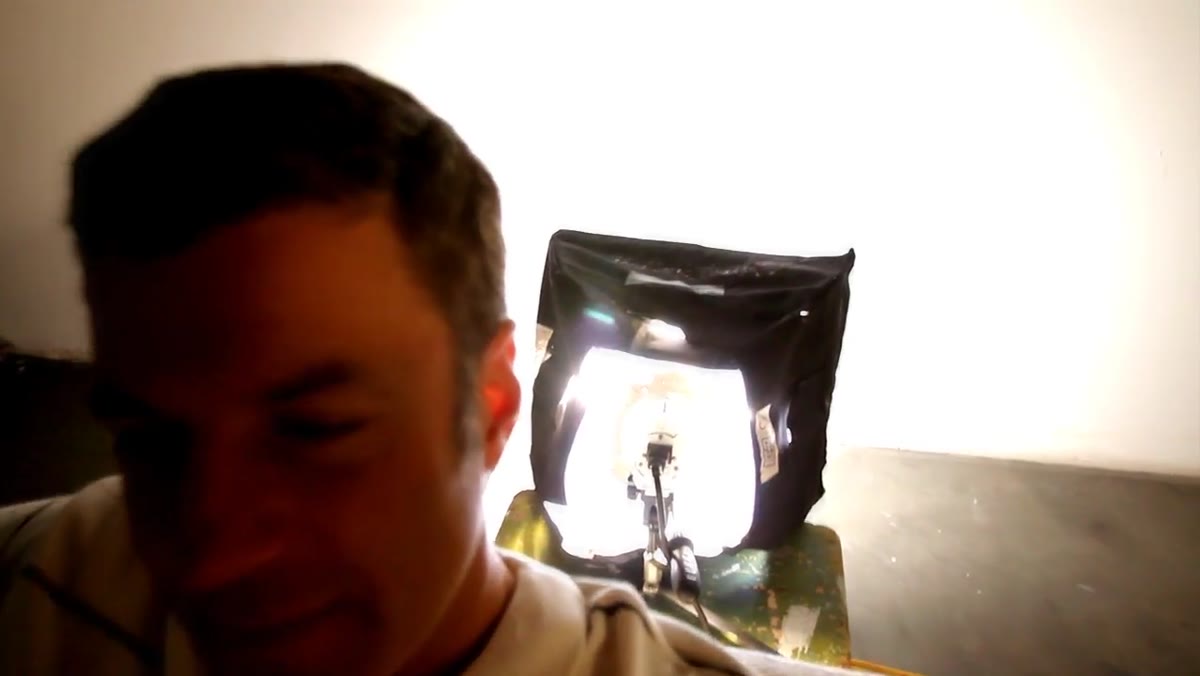 500W light in small softbox pointed and tilted toward wall behind couch
A 500-watt light in a small softbox was aimed at the wall and tilted downward to create a soft glow behind the couch rather than an even wash. That slight graduation, brighter near center and falling off toward the edges, gives the background depth without competing with the talent. A flat-lit white wall reads as a cyclorama. A wall with one graduated hot spot reads as a room. That distinction matters when you are trying to make a simple set feel like a real environment.
500W light in small softbox pointed and tilted toward wall behind couch
A 500-watt light in a small softbox was aimed at the wall and tilted downward to create a soft glow behind the couch rather than an even wash. That slight graduation, brighter near center and falling off toward the edges, gives the background depth without competing with the talent. A flat-lit white wall reads as a cyclorama. A wall with one graduated hot spot reads as a room. That distinction matters when you are trying to make a simple set feel like a real environment.
Step 7: Add a Rim Light and Key Light to Complete the Setup
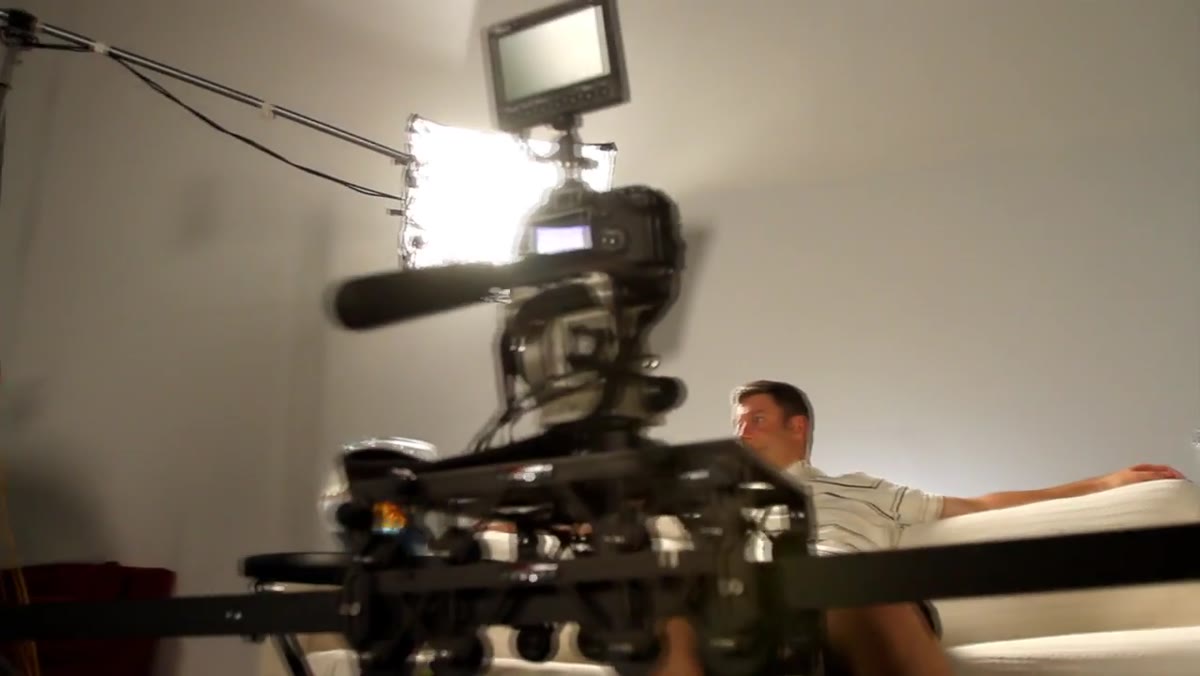 Rim light positioned off camera left, beauty dish on key light
The rim light came from camera left, using a 3K light they could adjust in one-kilowatt increments. That kind of control is useful when your rim is competing with a background glow. The key light on the talent was a beauty dish on a continuous hot light, specifically a Hansel unit. JP points out that Hansel hot lights use the same modifier mount as their strobe heads, which means the same beauty dish, the same grids, the same softboxes work across both systems. For a studio that runs mixed setups, that kind of cross-compatibility saves real money. Finally, a small LED with a rheostat and a blue gel was used off-screen to simulate the flickering light of a television, adding an environmental element that grounded the scene.
Rim light positioned off camera left, beauty dish on key light
The rim light came from camera left, using a 3K light they could adjust in one-kilowatt increments. That kind of control is useful when your rim is competing with a background glow. The key light on the talent was a beauty dish on a continuous hot light, specifically a Hansel unit. JP points out that Hansel hot lights use the same modifier mount as their strobe heads, which means the same beauty dish, the same grids, the same softboxes work across both systems. For a studio that runs mixed setups, that kind of cross-compatibility saves real money. Finally, a small LED with a rheostat and a blue gel was used off-screen to simulate the flickering light of a television, adding an environmental element that grounded the scene.
What I Would Do Differently in My Own Studio
The bounce fill approach is something I now use almost reflexively on small commercial sets, but I want to be specific about material choice. The video mentions white seamless as the bounce surface, and that is a good starting point. In my space, I have run tests between seamless, foamcore, and a silver bounce, and the difference in fill quality is significant. White seamless gives the softest, most neutral result. If your talent has warm skin tones and you are shooting with daylight-balanced continuous lights, even a slightly warm bounce surface can shift the fill into territory that needs correcting in post. I keep a piece of matte white foamcore labeled with masking tape on the back noting which shoots I’ve used it on, mostly so I remember to check it for dents and warping that can create uneven bounce. Small details, but they compound.
The single thing I took away from this tutorial is that the most useful lighting setups are the ones built from a clear understanding of what each light is doing and what it is not doing. Every light in this scene has a defined job: fill, background separation, rim, key, and practical effect. None of them are doing double duty or compensating for another light that isn’t working. That kind of intentional, layered approach is what separates a flat set from one that reads as three-dimensional.
Watch the full tutorial on YouTube and pay particular attention to the lighting breakdown in the second half. The candy glass recipe is useful. The scene construction that follows it is the part worth studying twice.
Comments (2)
Just subscribed. If the rest of your content is this good, I'm in.
Love how you break down complex stuff into manageable steps.
Leave a Comment