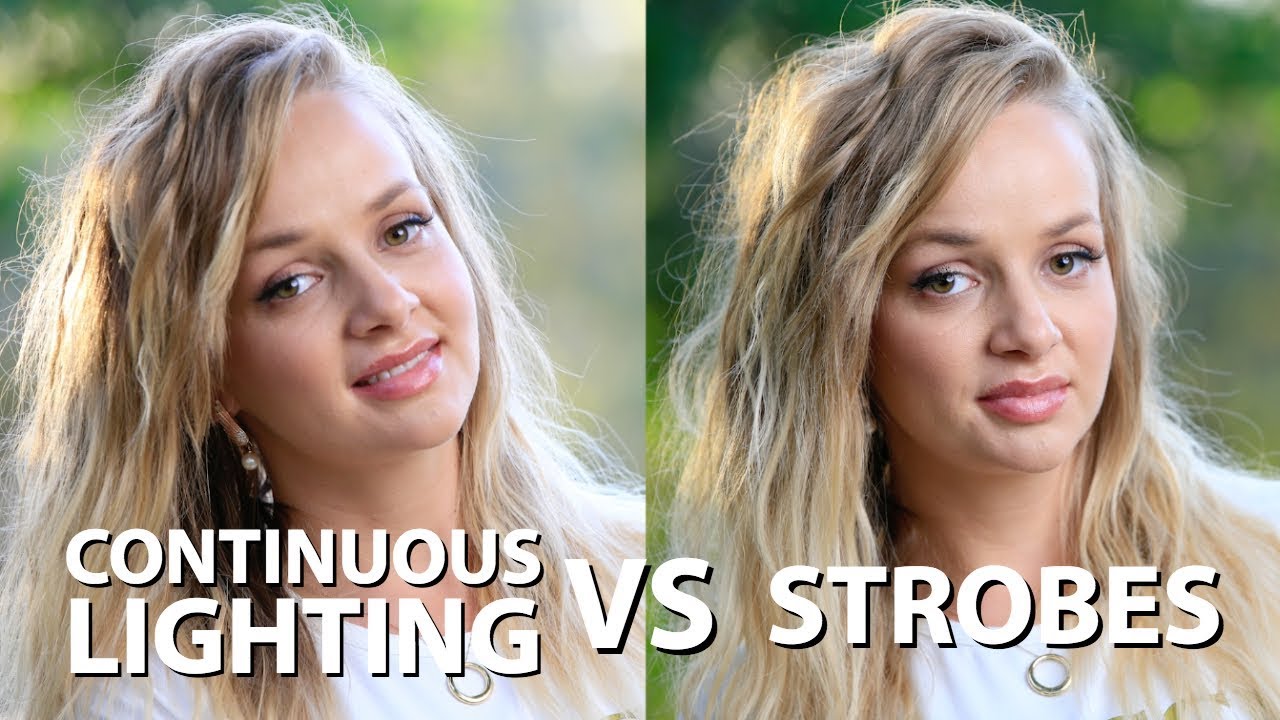
Every photographer working in a studio eventually hits the same wall: someone asks whether they shoot with continuous lights or strobes, and suddenly the conversation turns into a loyalty test. I’ve been on both sides of that conversation for years. I shoot commercial and editorial work out of Los Angeles, and the honest answer is that the question itself is often the wrong one. The better question is what you’re trying to accomplish on a given shoot, and whether your light source actually serves that goal.
JP Morgan from The Slanted Lens cuts straight to that distinction in a way I haven’t heard many educators do cleanly. Watch the full tutorial on YouTube - it’s direct, opinionated, and skips the hedging that makes most gear comparison videos useless. What follows is my breakdown of the tutorial’s core points, with some notes from my own studio practice layered in.
I keep a lighting journal where I sketch every setup from every shoot. Looking back through it, I can trace exactly when I started taking continuous lights seriously as a tool for still work, not just video. JP’s framing of this decision helped crystallize something I’d been doing intuitively for years without a clean way to articulate it.
Step 1: Understand What “Continuous Light” Actually Means
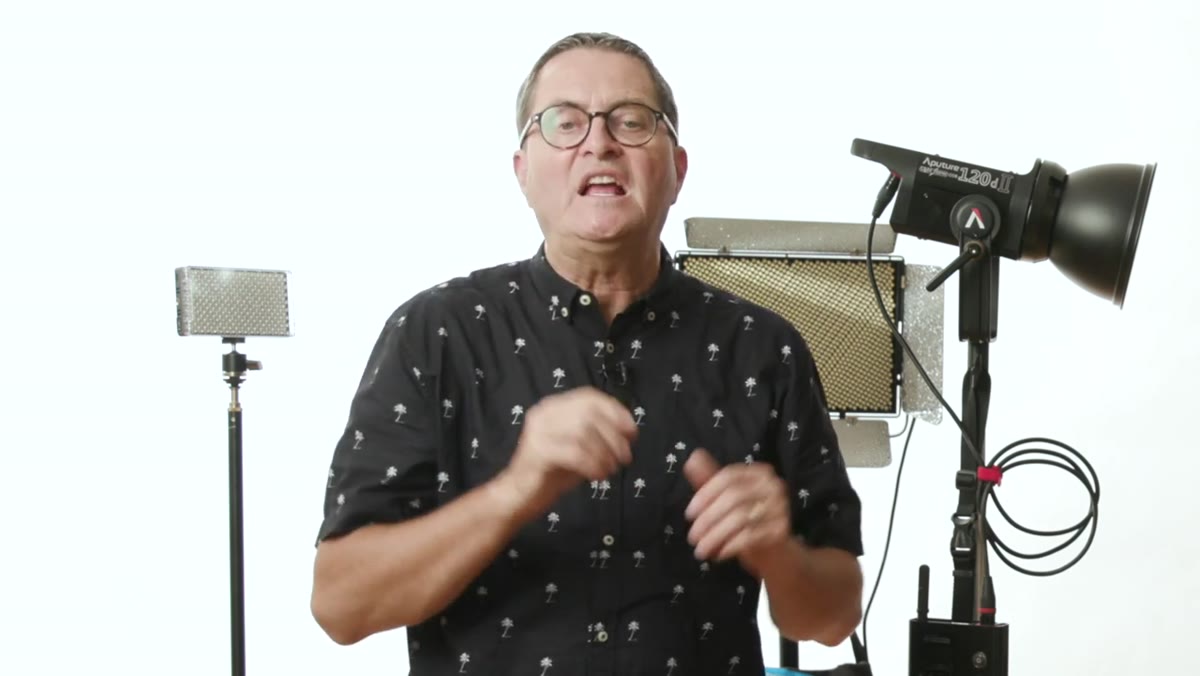 Tungsten and LED continuous light sources on studio stands
Continuous light is any source that stays on once you switch it on. Tungsten fixtures, LEDs, fluorescents - if it’s burning while you work, it qualifies. JP points out that for years, film and video sets ran on a rotating cast of specialized continuous fixtures, each built for a particular job. What’s changed is the Bowens mount becoming a near-universal standard on continuous LED heads. That single hardware shift means you can now throw the same softbox, beauty dish, or grid you use with your strobes onto a continuous source and get comparable shaping control. One light, fully modifiable. The economics of a hybrid kit changed entirely once that happened.
Tungsten and LED continuous light sources on studio stands
Continuous light is any source that stays on once you switch it on. Tungsten fixtures, LEDs, fluorescents - if it’s burning while you work, it qualifies. JP points out that for years, film and video sets ran on a rotating cast of specialized continuous fixtures, each built for a particular job. What’s changed is the Bowens mount becoming a near-universal standard on continuous LED heads. That single hardware shift means you can now throw the same softbox, beauty dish, or grid you use with your strobes onto a continuous source and get comparable shaping control. One light, fully modifiable. The economics of a hybrid kit changed entirely once that happened.
Step 2: Recognize the Core Advantage - You See Exactly What You Get
 Photographer adjusting light position and observing shadow fall
The most immediate benefit of continuous light is visual feedback in real time. Move the head three inches and you watch the shadow on your subject’s face shift as you do it. There’s no test-fire cycle, no chimping, no “let me fire another frame and check the histogram.” You place the light where it looks right, and it looks right because you can literally see it. JP frames this as the reason most photographers who are new to studio work are drawn to continuous sources first, and I think that’s accurate. It removes one layer of abstraction from the learning process. When I’m teaching assistants on set, I’ll sometimes switch to continuous just to show how a key light’s angle changes the shadow under the nose or along the jawline, because they can see the cause and effect in real time.
Photographer adjusting light position and observing shadow fall
The most immediate benefit of continuous light is visual feedback in real time. Move the head three inches and you watch the shadow on your subject’s face shift as you do it. There’s no test-fire cycle, no chimping, no “let me fire another frame and check the histogram.” You place the light where it looks right, and it looks right because you can literally see it. JP frames this as the reason most photographers who are new to studio work are drawn to continuous sources first, and I think that’s accurate. It removes one layer of abstraction from the learning process. When I’m teaching assistants on set, I’ll sometimes switch to continuous just to show how a key light’s angle changes the shadow under the nose or along the jawline, because they can see the cause and effect in real time.
Step 3: Use Continuous Light Strategically for Motion and Mixed-Media Shoots
 Model with dress in motion, continuous light setup visible
One application that gets undersold is using continuous light to let selective motion blur happen. Your subject holds still. A dress moves in a fan’s breeze, or hair lifts slightly. With a continuous source and a shutter speed that isn’t completely frozen, the face stays sharp and the fabric shows movement. JP describes this as a cinematic quality, and he’s right, it’s the kind of thing that separates a still image from looking like a frame pulled from video. The other obvious use case is when you’re producing both stills and video in the same session. Set the light once, shoot your stills, roll video, adjust your camera settings between formats. You’re not tearing down a strobe setup and rebuilding it. One setup, two deliverables.
Model with dress in motion, continuous light setup visible
One application that gets undersold is using continuous light to let selective motion blur happen. Your subject holds still. A dress moves in a fan’s breeze, or hair lifts slightly. With a continuous source and a shutter speed that isn’t completely frozen, the face stays sharp and the fabric shows movement. JP describes this as a cinematic quality, and he’s right, it’s the kind of thing that separates a still image from looking like a frame pulled from video. The other obvious use case is when you’re producing both stills and video in the same session. Set the light once, shoot your stills, roll video, adjust your camera settings between formats. You’re not tearing down a strobe setup and rebuilding it. One setup, two deliverables.
Step 4: Know Your Strobe Types Before You Invest
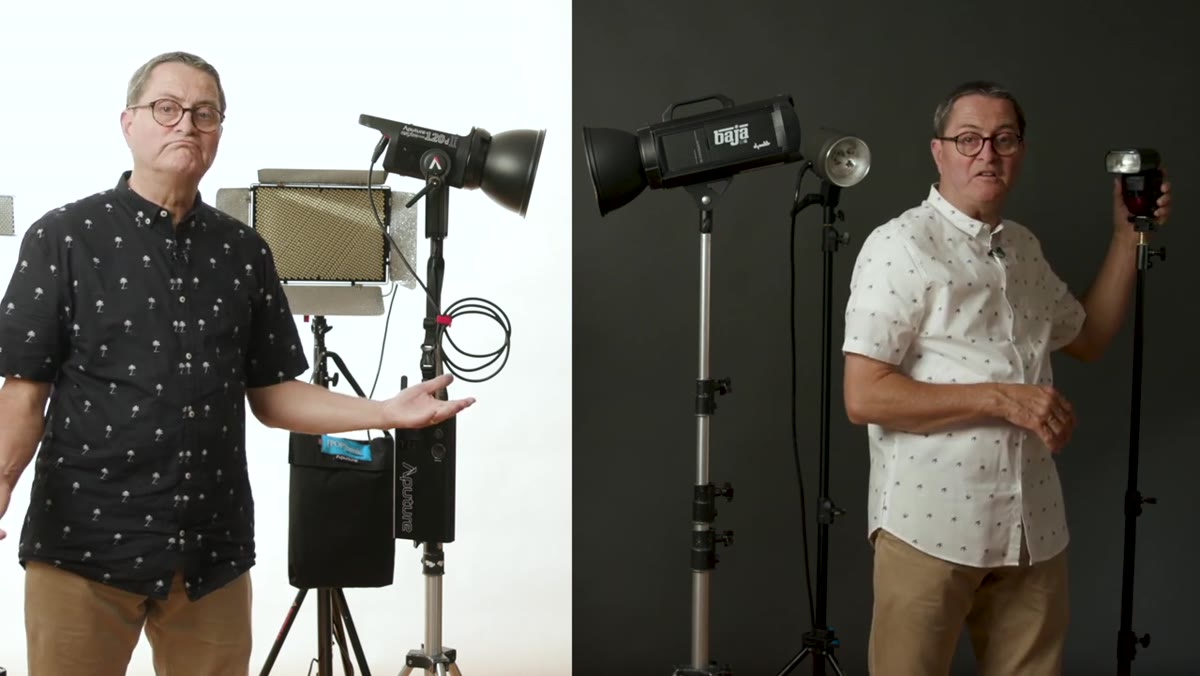 Side-by-side of speedlight, pack-and-head system, and monoblock
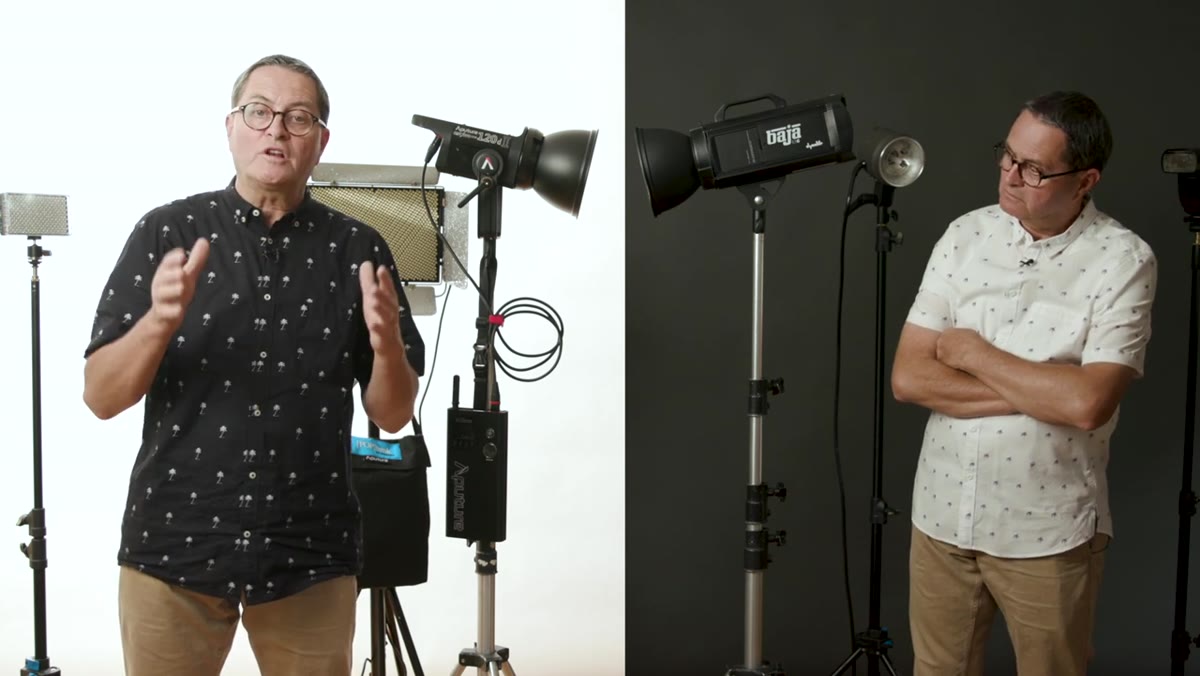
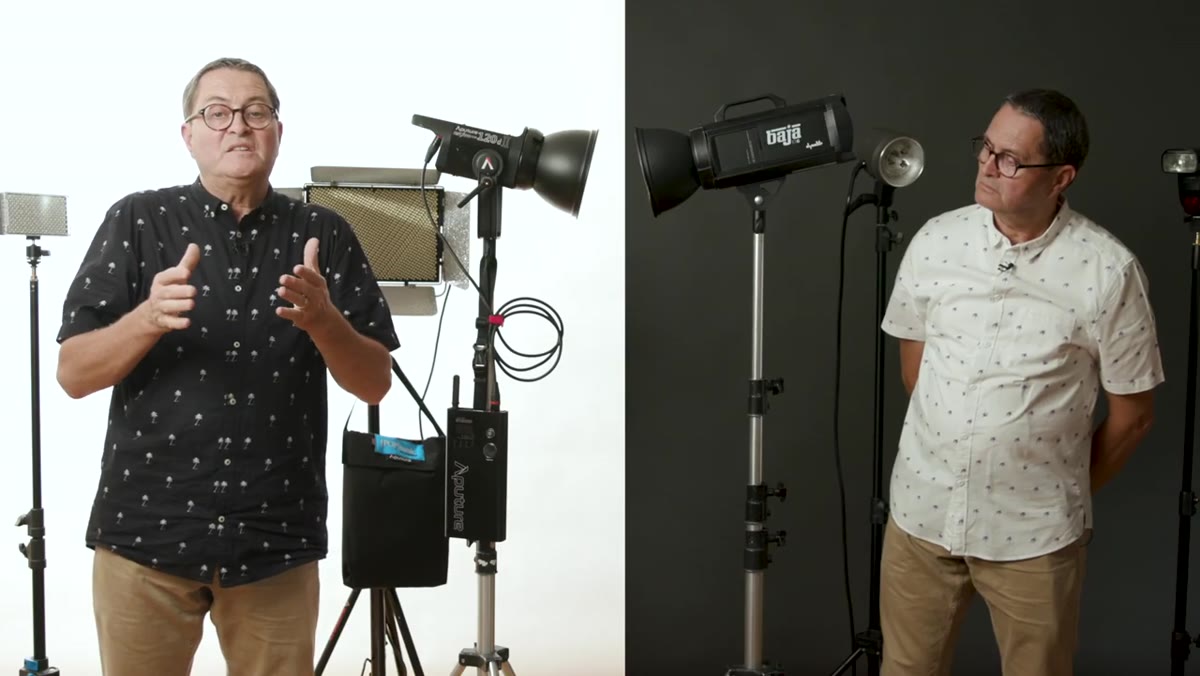
JP walks through the three main strobe categories without getting unnecessarily deep into specs, which I appreciate. Speedlights sit on your hot shoe and fire from there - simple, portable, limited in power and modifier compatibility. Pack-and-head systems separate the power source from the flash head, which used to be the professional standard and still makes sense for high-volume work where you need a lot of heads running off centralized power. Monoblocks combine the power pack and flash head into one unit and add a lithium-ion battery, which means you can take them on location without a power source. For most working photographers shooting in a controlled studio environment, a set of monoblocks is the practical choice. They’re modular, they travel, and the modifier ecosystem around them is deep.
Side-by-side of speedlight, pack-and-head system, and monoblock
JP walks through the three main strobe categories without getting unnecessarily deep into specs, which I appreciate. Speedlights sit on your hot shoe and fire from there - simple, portable, limited in power and modifier compatibility. Pack-and-head systems separate the power source from the flash head, which used to be the professional standard and still makes sense for high-volume work where you need a lot of heads running off centralized power. Monoblocks combine the power pack and flash head into one unit and add a lithium-ion battery, which means you can take them on location without a power source. For most working photographers shooting in a controlled studio environment, a set of monoblocks is the practical choice. They’re modular, they travel, and the modifier ecosystem around them is deep.
Step 5: Understand Why Strobes Freeze Action Cleaner Than Continuous Sources
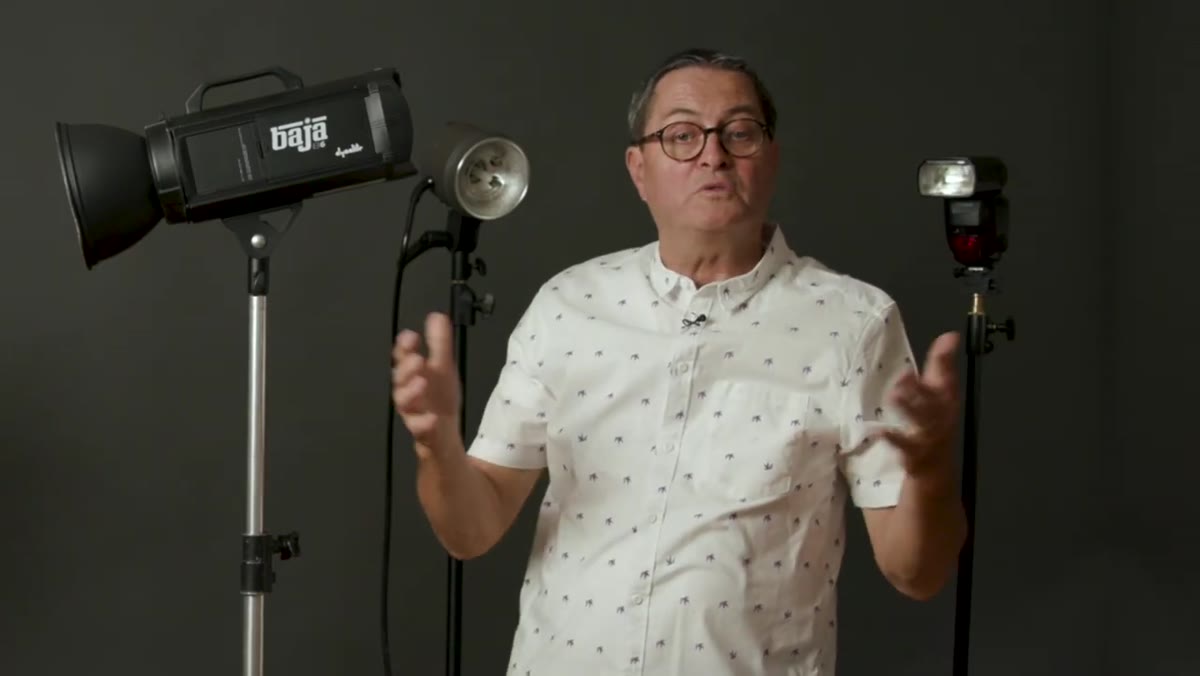 Action shot demonstrating motion-frozen strobe exposure
The flash duration on a studio strobe is doing the real work when it comes to stopping motion, not your shutter speed. A strobe firing at a short duration - say, 1/2000th of a second or faster depending on the unit and power setting - will freeze movement that your shutter alone couldn’t catch cleanly. This matters for anything involving fast motion: splashing liquids, jumping subjects, fabric mid-throw. If your shot depends on sharpness in a moving element, continuous light puts all the freeze-work on your shutter, which limits your ISO and aperture flexibility. Strobes decouple that constraint.
Action shot demonstrating motion-frozen strobe exposure
The flash duration on a studio strobe is doing the real work when it comes to stopping motion, not your shutter speed. A strobe firing at a short duration - say, 1/2000th of a second or faster depending on the unit and power setting - will freeze movement that your shutter alone couldn’t catch cleanly. This matters for anything involving fast motion: splashing liquids, jumping subjects, fabric mid-throw. If your shot depends on sharpness in a moving element, continuous light puts all the freeze-work on your shutter, which limits your ISO and aperture flexibility. Strobes decouple that constraint.
Step 6: Use Strobes to Overpower Ambient Light
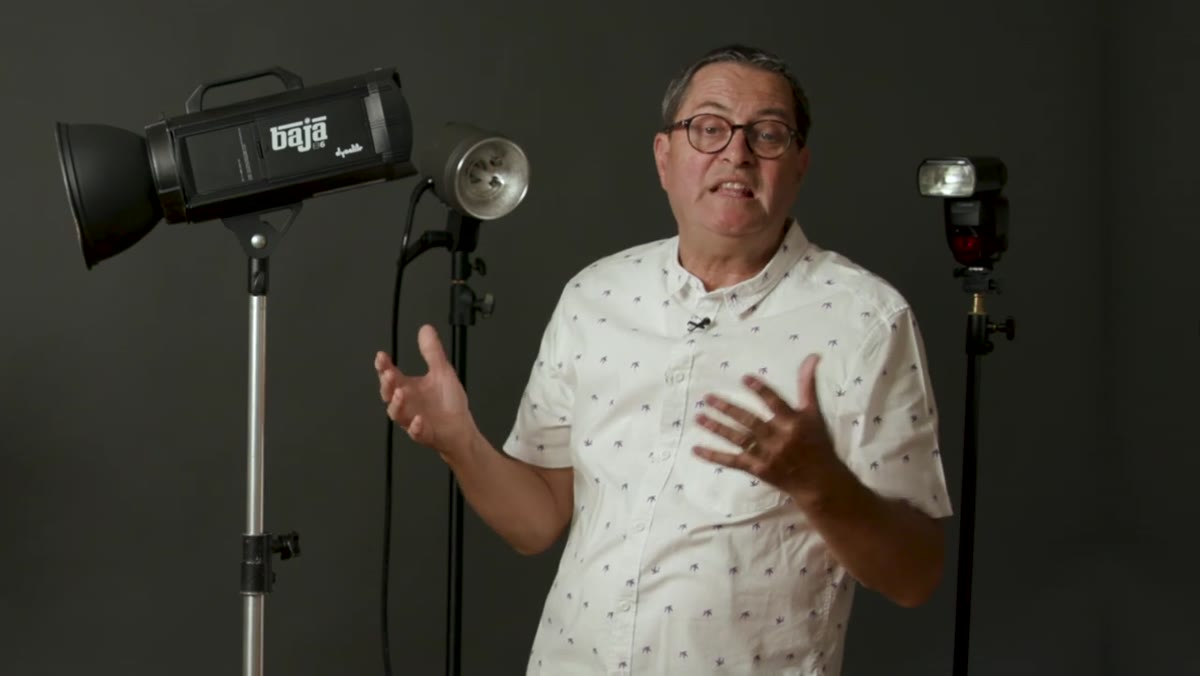 Studio with bright ambient light crushed by strobe exposure
This is where strobes genuinely have no competition from continuous sources in the power department. In a room flooded with daylight coming through large windows, you can close your aperture, drop your ISO, and push your strobe power until the ambient light becomes irrelevant to the exposure. Your subject is lit entirely by what you control. JP describes this as crushing the ambient, and it’s one of the first techniques I’d recommend any studio photographer learn - because it means you can create a consistent, repeatable look regardless of what the light is doing outside. Continuous lights can’t realistically compete at the power levels you need to do this in bright conditions.
Studio with bright ambient light crushed by strobe exposure
This is where strobes genuinely have no competition from continuous sources in the power department. In a room flooded with daylight coming through large windows, you can close your aperture, drop your ISO, and push your strobe power until the ambient light becomes irrelevant to the exposure. Your subject is lit entirely by what you control. JP describes this as crushing the ambient, and it’s one of the first techniques I’d recommend any studio photographer learn - because it means you can create a consistent, repeatable look regardless of what the light is doing outside. Continuous lights can’t realistically compete at the power levels you need to do this in bright conditions.
One Thing the Tutorial Doesn’t Cover - Color Temperature Consistency
I learned about color temperature problems the hard way, through a failed editorial shoot early in my career where I mixed sources without calibrating. Continuous lights, especially tungsten-based ones, have a fixed and often warm color temperature. LEDs vary wildly by manufacturer, and some shift color as they heat up over the course of a long session. Strobes tend to be more consistent but still drift slightly at the edges of their power range. Whatever source you’re using, set a custom white balance at the start of the shoot using a gray card or color checker, and verify it again if you change power settings significantly or if the room’s ambient light shifts. The modifier, the power level, and the ambient balance are all variables that interact. None of this makes continuous lights worse than strobes or vice versa, it just means you need to account for it deliberately in your workflow.
The single most useful thing JP establishes in this tutorial is that the continuous-versus-strobe question isn’t a values question or a quality question. It’s a workflow question. Match your light source to what the shoot actually demands. If you’re doing motion-heavy fashion stills or working in bright ambient conditions, strobes earn their place. If you’re producing hybrid content or want real-time visual feedback while you’re still developing your lighting instincts, continuous sources are genuinely capable tools and not a compromise.
Watch the full tutorial on YouTube for JP’s complete breakdown, including his hands-on comparisons with specific gear setups.
Comments
Leave a Comment