
Every modifier purchase I make goes through the same test: I unbox it, mount it, fire a strobe through it, and write down exactly what I see before I shoot a single frame with it. I’ve been burned too many times by gear that looks impressive in a product photo but produces muddy, unflattering light on a real subject. So when the deep focus parabolic-style umbrella kept coming up in conversations with other commercial shooters, I went looking for a rigorous comparison, not a marketing demo. That’s what led me to KL Taylor’s breakdown in this Watch the full tutorial on YouTube from the Visual Education channel, part of their ongoing studio lighting and modifiers series.
What Taylor does well is strip away the vocabulary inflation around these tools. “Parabolic-shaped” and “true parabolic” are not the same thing, and if you’re spending $250 on a modifier, you should understand exactly which one you’re buying. The tutorial walks through the deep focus 110 umbrella, specifically the Broncolor version, comparing it against both a standard silver umbrella and a 70cm beauty dish. The conclusions are direct, backed by visible evidence, and occasionally inconvenient for the people selling these things.
For anyone working in fashion, beauty, or editorial, the promise of controllable, collimated light from a parabolic shape is genuinely appealing. The question is whether the deep focus umbrella delivers enough of that promise to justify its cost. Here’s how Taylor’s tutorial breaks it down, step by step.
Step 1: Understand What “Deep Focus” Actually Means
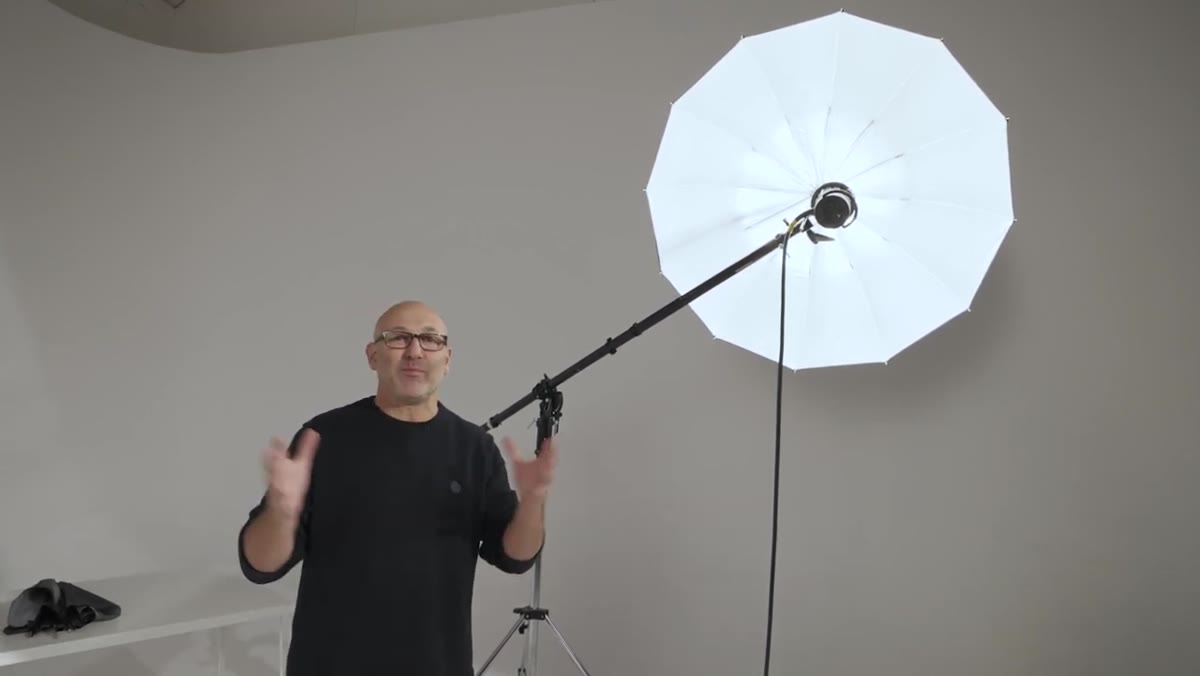 Side profile of deep focus umbrella showing its curved parabolic shape
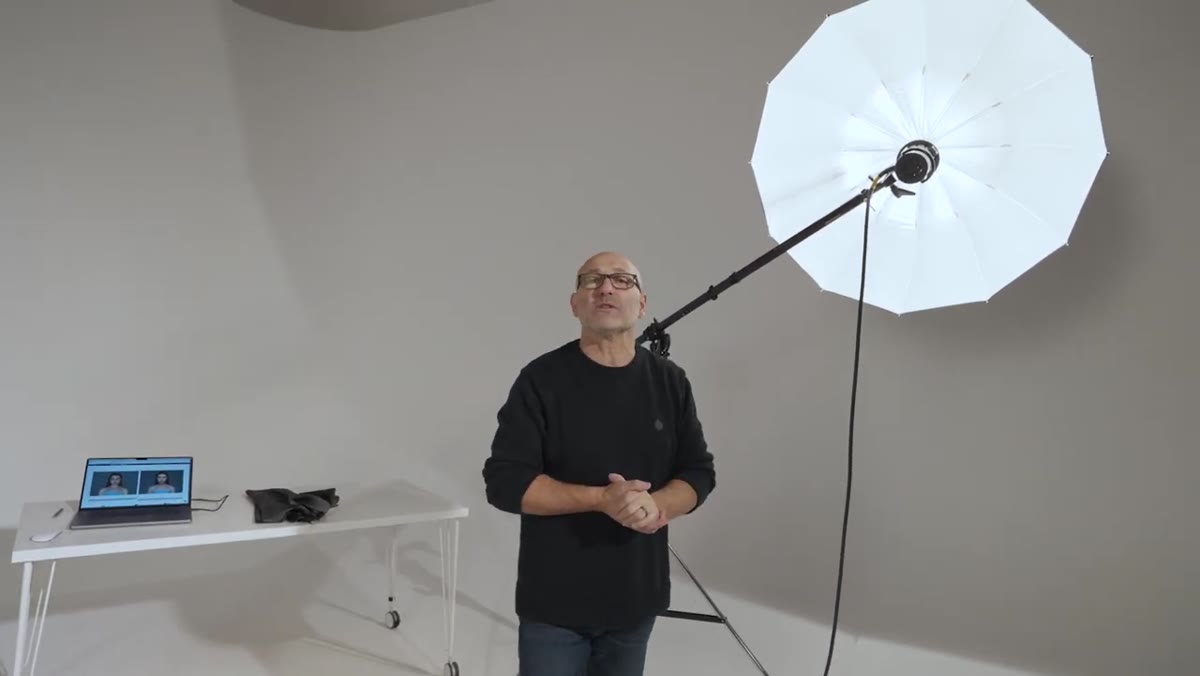
The deep focus umbrella borrows the visual language of a true parabolic reflector but isn’t built to the same optical standard. In a real parabolic system, the light source sits precisely at the focal point, and the curved surface redirects light into a parallel beam. With the deep focus umbrella, the axis mounting puts the strobe head slightly off that ideal position, and the curve of the canopy itself isn’t a mathematically true parabola. That combination means you don’t get the precise collimation that makes a dedicated parabolic reflector worth its much higher price. What you do get is a deeper, more directional shape than a standard umbrella, which produces noticeably different light distribution.
Side profile of deep focus umbrella showing its curved parabolic shape
The deep focus umbrella borrows the visual language of a true parabolic reflector but isn’t built to the same optical standard. In a real parabolic system, the light source sits precisely at the focal point, and the curved surface redirects light into a parallel beam. With the deep focus umbrella, the axis mounting puts the strobe head slightly off that ideal position, and the curve of the canopy itself isn’t a mathematically true parabola. That combination means you don’t get the precise collimation that makes a dedicated parabolic reflector worth its much higher price. What you do get is a deeper, more directional shape than a standard umbrella, which produces noticeably different light distribution.
Step 2: Compare the Interior Light Distribution Against a Standard Silver Umbrella
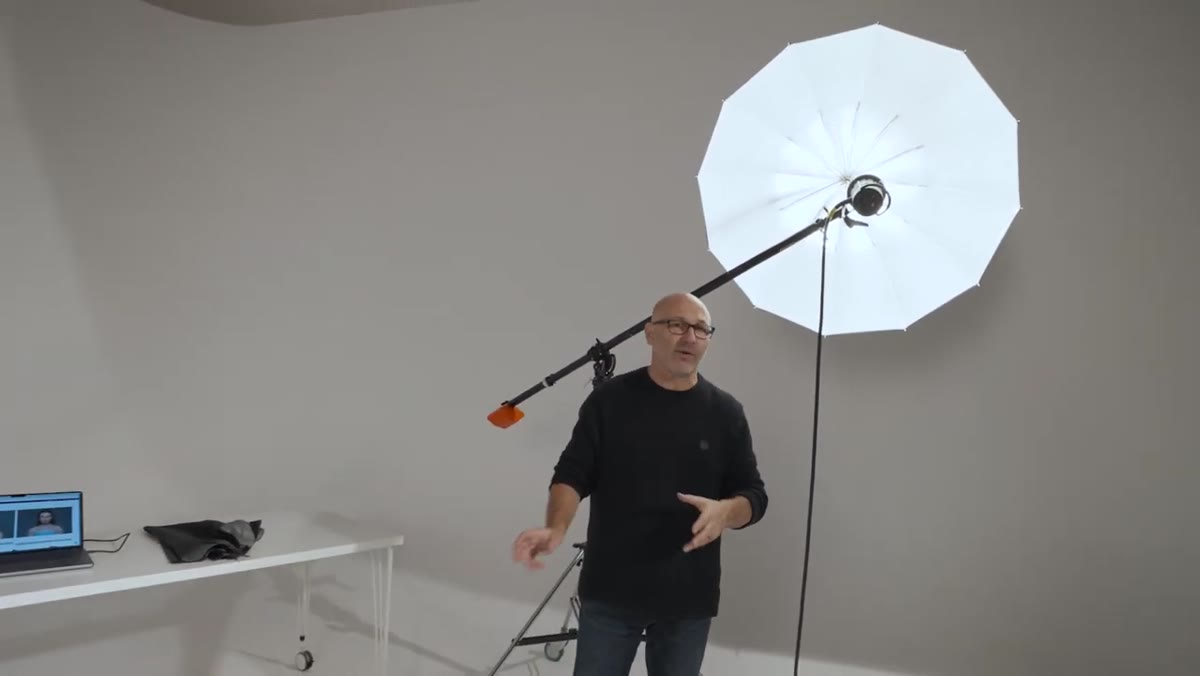 Interior of deep focus umbrella showing centrally brighter, even illumination
Taylor shows the interior of both umbrellas side by side, and this is where the difference earns its keep. A standard silver umbrella scatters light unevenly across its surface, creating brighter and darker bands that translate into pockets of harder, higher-contrast light on your subject. The deep focus 110 shows a centrally brighter zone that falls off more gradually and evenly toward the edges. That even distribution matters because it determines how predictable and repeatable your lighting will be across a session. When I’m four hours into an editorial shoot and need consistent light on skin tones across twenty selects, “predictable” is doing real work.
Interior of deep focus umbrella showing centrally brighter, even illumination
Taylor shows the interior of both umbrellas side by side, and this is where the difference earns its keep. A standard silver umbrella scatters light unevenly across its surface, creating brighter and darker bands that translate into pockets of harder, higher-contrast light on your subject. The deep focus 110 shows a centrally brighter zone that falls off more gradually and evenly toward the edges. That even distribution matters because it determines how predictable and repeatable your lighting will be across a session. When I’m four hours into an editorial shoot and need consistent light on skin tones across twenty selects, “predictable” is doing real work.
Step 3: Adjust the Strobe Distance to Modify Light Hardness
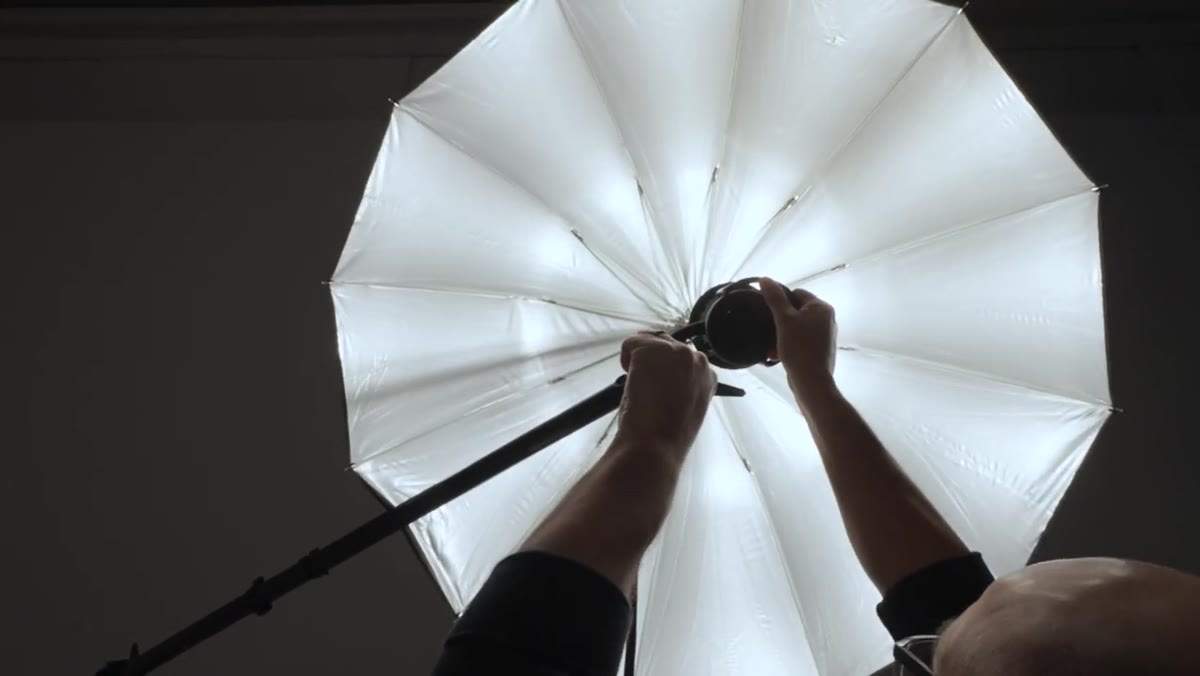 Demonstrating umbrella position adjustment relative to strobe head
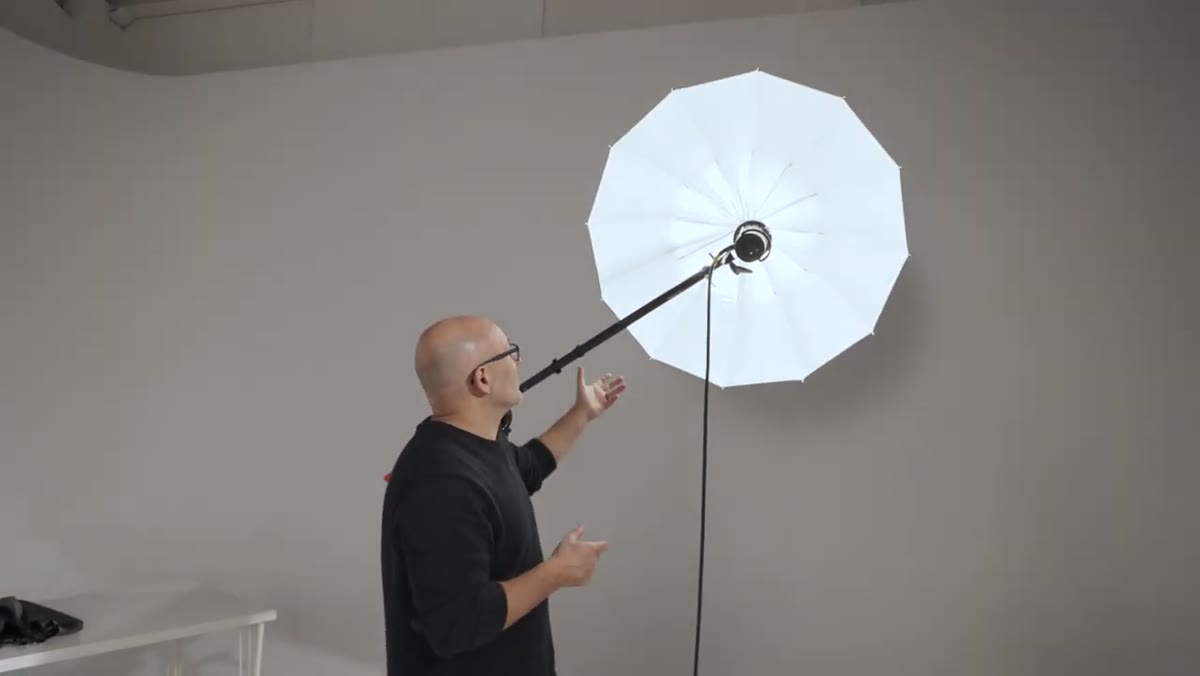
One of the genuine advantages the deep focus shape gives you is the ability to change the quality of the light by sliding the strobe head closer to or farther from the umbrella canopy. Pulling the head back softens the output because more of the canopy becomes the effective light source. Pushing it forward concentrates the beam and increases apparent hardness. This is a scaled-down version of the focus control you get on a true parabolic, without the precision, but functional enough to give you two or three meaningfully different looks from a single modifier. Note the position with your tape measure when you land on something you like, because a difference of five or six centimeters is enough to shift the look.
Demonstrating umbrella position adjustment relative to strobe head
One of the genuine advantages the deep focus shape gives you is the ability to change the quality of the light by sliding the strobe head closer to or farther from the umbrella canopy. Pulling the head back softens the output because more of the canopy becomes the effective light source. Pushing it forward concentrates the beam and increases apparent hardness. This is a scaled-down version of the focus control you get on a true parabolic, without the precision, but functional enough to give you two or three meaningfully different looks from a single modifier. Note the position with your tape measure when you land on something you like, because a difference of five or six centimeters is enough to shift the look.
Step 4: Evaluate the Three-Dimensionality on a Subject
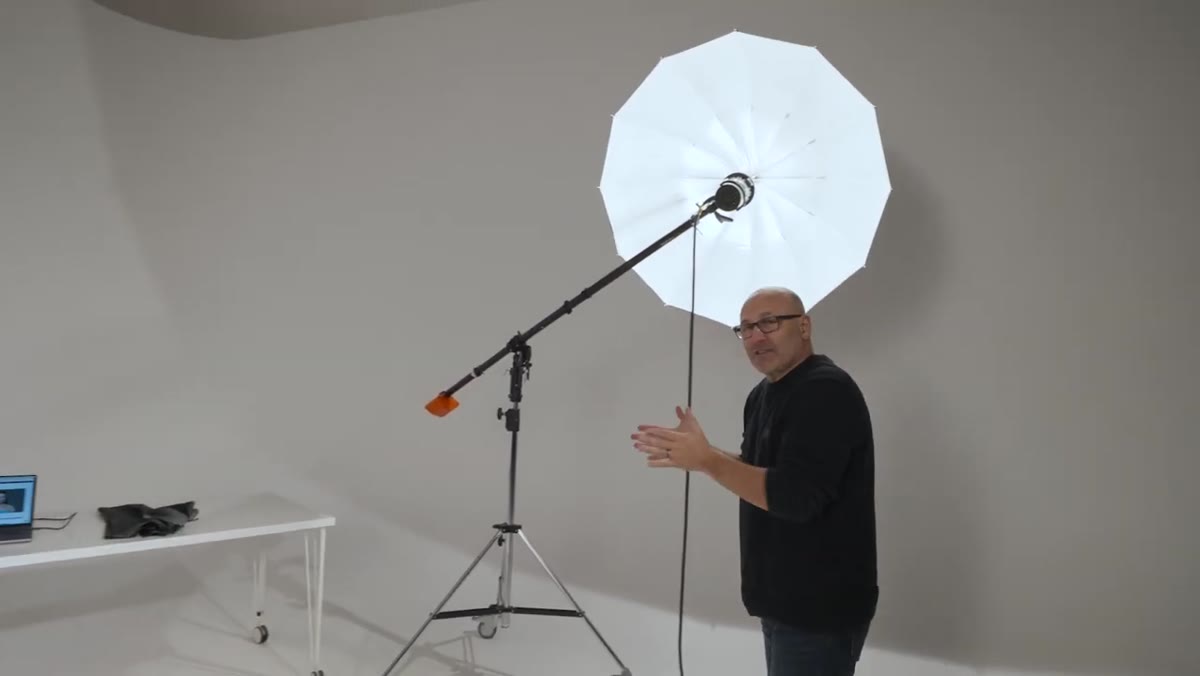 Demonstrating where subject would be positioned under the umbrella
Taylor positions the umbrella overhead and slightly forward, simulating a beauty or portrait setup where the photographer shoots from beneath. In this configuration, the collimated character of the deep focus shape creates some dimensionality on facial structure, meaning you get shadow definition in the eye sockets and along the nose rather than the flat, even wash you’d get from a large softbox. It’s not the same pop of specular light and shadow sculpting you get from a beauty dish, but it’s more structured than a conventional shoot-through or standard reflected umbrella. For beauty work specifically, that structure matters.
Demonstrating where subject would be positioned under the umbrella
Taylor positions the umbrella overhead and slightly forward, simulating a beauty or portrait setup where the photographer shoots from beneath. In this configuration, the collimated character of the deep focus shape creates some dimensionality on facial structure, meaning you get shadow definition in the eye sockets and along the nose rather than the flat, even wash you’d get from a large softbox. It’s not the same pop of specular light and shadow sculpting you get from a beauty dish, but it’s more structured than a conventional shoot-through or standard reflected umbrella. For beauty work specifically, that structure matters.
Step 5: Run the Side-by-Side Against a 70cm Beauty Dish
 Lighting comparison visualizer showing beauty dish versus deep focus umbrella
This is where Taylor’s tutorial gets genuinely useful for purchasing decisions. Using a lighting comparison visualizer on Visual Education’s platform, he pulls up portraits shot with both the deep focus 110 and a 70cm silver beauty dish under identical conditions. The results are close enough that the more important number is the price: $250 to $300 for the deep focus umbrella versus around $150 for the 70cm beauty dish. Taylor states plainly that he prefers the beauty dish output, and when I looked at the comparison myself, the beauty dish produced cleaner specular highlights and tighter shadow transitions on facial planes. For portrait and beauty work, that’s the metric that matters most to me.
Lighting comparison visualizer showing beauty dish versus deep focus umbrella
This is where Taylor’s tutorial gets genuinely useful for purchasing decisions. Using a lighting comparison visualizer on Visual Education’s platform, he pulls up portraits shot with both the deep focus 110 and a 70cm silver beauty dish under identical conditions. The results are close enough that the more important number is the price: $250 to $300 for the deep focus umbrella versus around $150 for the 70cm beauty dish. Taylor states plainly that he prefers the beauty dish output, and when I looked at the comparison myself, the beauty dish produced cleaner specular highlights and tighter shadow transitions on facial planes. For portrait and beauty work, that’s the metric that matters most to me.
Step 6: Factor in the Honest Price Assessment
 Presenter comparing pricing of deep focus umbrella to standard silver umbrella
A standard 105cm silver umbrella can be had for $20. The deep focus 110 runs $250 and up. Taylor questions whether the additional ribs and deeper shape construction justify a 10x or 12x price multiplier, and it’s a fair challenge. The light quality improvement over a standard silver umbrella is real but incremental. If you’re already invested in a beauty dish and a solid softbox, the deep focus umbrella is unlikely to dramatically change what you can produce. If you don’t own a beauty dish yet and you’re trying to decide between the two, the beauty dish almost certainly wins on value.
Presenter comparing pricing of deep focus umbrella to standard silver umbrella
A standard 105cm silver umbrella can be had for $20. The deep focus 110 runs $250 and up. Taylor questions whether the additional ribs and deeper shape construction justify a 10x or 12x price multiplier, and it’s a fair challenge. The light quality improvement over a standard silver umbrella is real but incremental. If you’re already invested in a beauty dish and a solid softbox, the deep focus umbrella is unlikely to dramatically change what you can produce. If you don’t own a beauty dish yet and you’re trying to decide between the two, the beauty dish almost certainly wins on value.
My Take After Running My Own Comparison
I pulled out my own 70cm silver beauty dish the afternoon after watching this tutorial and shot the same face with both modifiers, same strobe power, same distance. Taylor’s read is accurate. The beauty dish gives you crisper micro-contrast on skin texture, which reads better in retouching and prints more cleanly for editorial use. The deep focus umbrella produces softer, more flattering light with a slightly commercial quality, better for corporate headshots or situations where the subject isn’t comfortable with dramatic shadow. I’d reach for it for a CEO headshot or a product campaign where the brief says “approachable.” I’d reach for the beauty dish for anything in a fashion or beauty context where the light needs to do visible work on the subject’s features.
The single most important thing this tutorial clarifies is that “parabolic-shaped” on a product listing is a description of geometry, not a guarantee of optical performance. Before spending $250 on a modifier, know exactly what you’re paying for, and know whether a $150 alternative already in your kit produces results you prefer. Watch KL Taylor’s full breakdown here: Watch the full tutorial on YouTube.
Comments (2)
Clear and practical. No fluff. Appreciate that.
This is going in my reference folder. Incredibly useful.
Leave a Comment