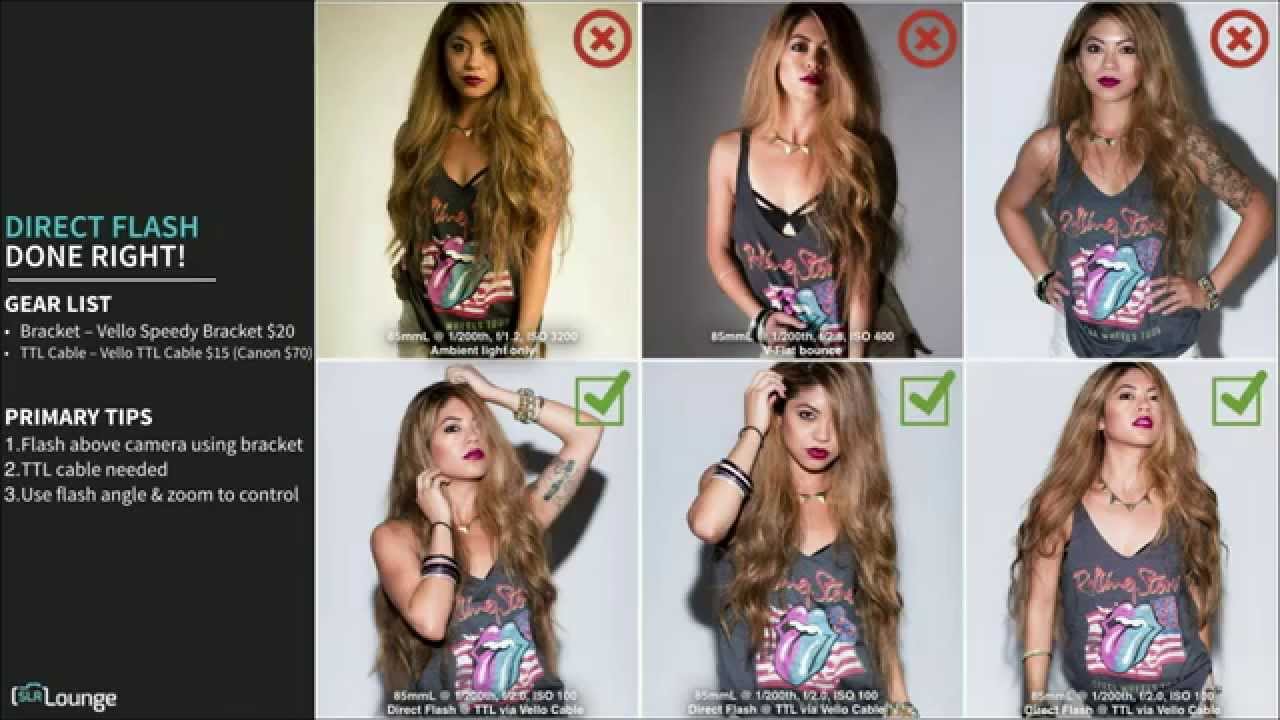
Direct flash has a reputation problem. Mention it to most photographers and they assume you mean the flat, washed-out snapshots from a disposable camera. But there is a version of direct flash that is intentional, controlled, and genuinely striking — the kind of look you see in American Apparel campaigns, celebrity punk portraits, and editorial spreads that want to feel raw and immediate. Getting there takes about two pieces of cheap gear and a clear understanding of what you are actually controlling.
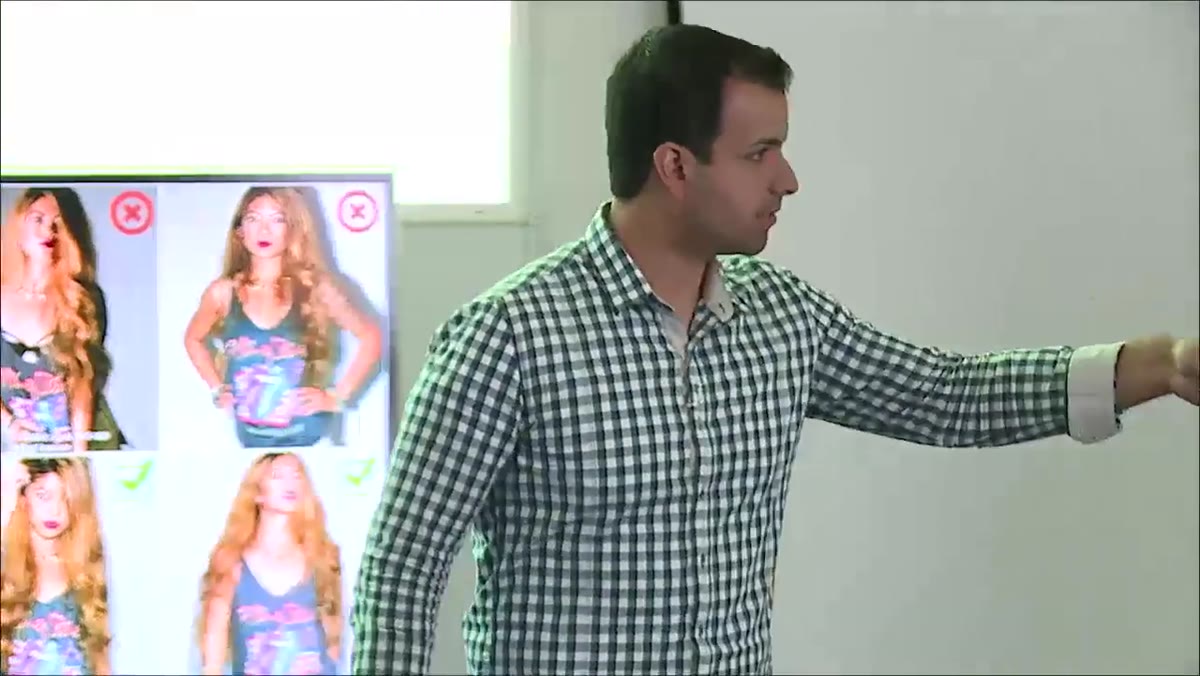
I came across this technique spelled out clearly in a CreativeLive tutorial on direct flash. Watch the full tutorial on YouTube — it is short, practical, and demonstrates something I have seen botched on set more times than I want to count. The instructor walks through a live shoot against a plain wall, and the before-and-after is immediate. Once you see what one small bracket change does to the shadow, you cannot unsee it. I have been doing commercial and editorial work for long enough that I keep a lighting journal with sketches from every shoot. Direct flash setups barely need a diagram, but they do require discipline — especially around the two variables most people ignore: ambient exposure and flash position relative to lens axis.
Here is the full walkthrough, step by step.
Step 1: Establish Your Starting Conditions
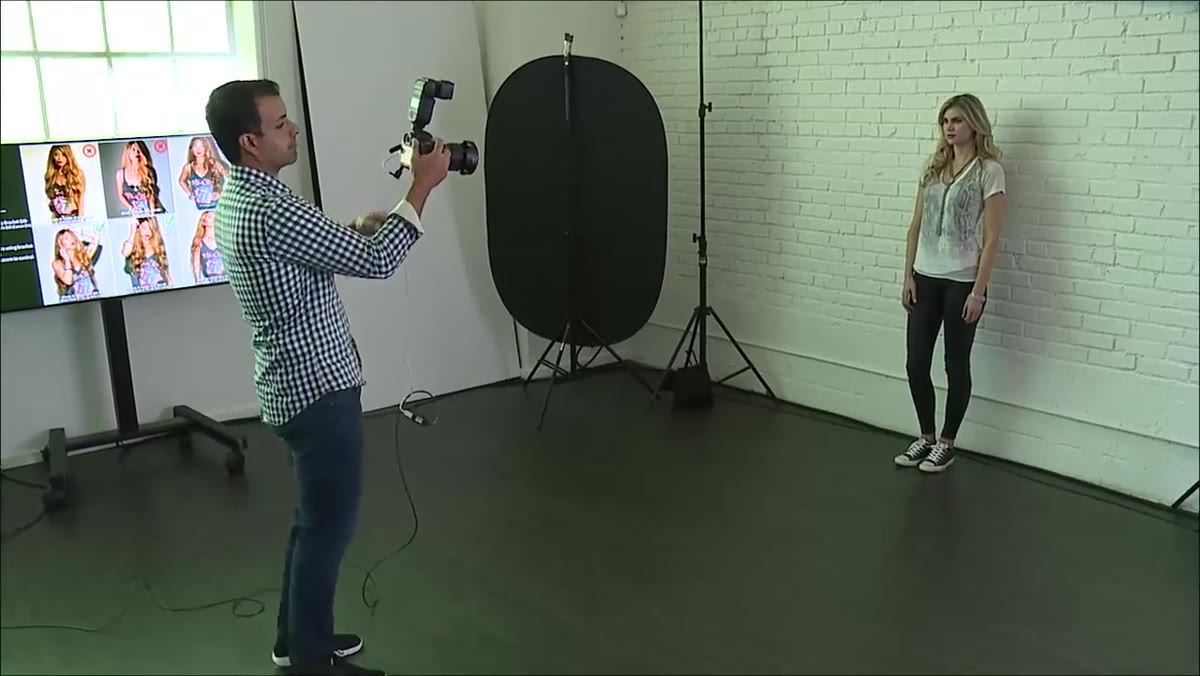
 Photographer placing subject against a plain wall
Put your subject against a flat wall. This is not arbitrary. The wall gives the direct flash shadow somewhere to land, and that shadow is part of the aesthetic. A floating subject in open space loses the graphic quality that makes this look work. Keep the distance from subject to wall tight — within a foot or two — so the shadow stays crisp and close behind them rather than stretching across the floor.
Photographer placing subject against a plain wall
Put your subject against a flat wall. This is not arbitrary. The wall gives the direct flash shadow somewhere to land, and that shadow is part of the aesthetic. A floating subject in open space loses the graphic quality that makes this look work. Keep the distance from subject to wall tight — within a foot or two — so the shadow stays crisp and close behind them rather than stretching across the floor.
Step 2: Kill the Ambient Light With Your Shutter Speed
 Camera settings adjusted, ambient light visibly darkened in frame
This is the step most photographers skip, and it is the one that matters most. Raise your shutter speed until the ambient light in your frame is essentially gone. In the tutorial, the settings land at 1/250s, f/2.8, ISO 100 — the room goes dark. Your sync speed is your ceiling here, typically 1/200s or 1/250s on most bodies. Work within that. The goal is a blacked-out frame before the flash fires. If ambient is bleeding in, the flash loses contrast and the image looks muddy rather than punchy. Think of your shutter as a dimmer for everything except the flash.
Camera settings adjusted, ambient light visibly darkened in frame
This is the step most photographers skip, and it is the one that matters most. Raise your shutter speed until the ambient light in your frame is essentially gone. In the tutorial, the settings land at 1/250s, f/2.8, ISO 100 — the room goes dark. Your sync speed is your ceiling here, typically 1/200s or 1/250s on most bodies. Work within that. The goal is a blacked-out frame before the flash fires. If ambient is bleeding in, the flash loses contrast and the image looks muddy rather than punchy. Think of your shutter as a dimmer for everything except the flash.
I always check this with a test shot before the subject is even in position. An empty dark frame confirms the ambient is handled. Then the flash becomes the only light source, which means you have complete control over the final look.
Step 3: Set Flash Power and Fire a Test Shot
 Flash mounted on hot shoe, test shot being fired at 1/8 power
Start around 1/8 power. It is a reasonable middle-ground for a subject two to four feet away at f/2.8. Fire one test shot and read the result. In the tutorial, the first shot at a higher power comes in too hot — overexposed, detail blown in the highlights. Dialing back to 1/8 brings it into the right range. The methodology here is the same one I use for any manual flash work: bracket down from your estimate rather than up from nothing. Overexposure from a speedlight at close range is aggressive. Come in conservative and add.
Flash mounted on hot shoe, test shot being fired at 1/8 power
Start around 1/8 power. It is a reasonable middle-ground for a subject two to four feet away at f/2.8. Fire one test shot and read the result. In the tutorial, the first shot at a higher power comes in too hot — overexposed, detail blown in the highlights. Dialing back to 1/8 brings it into the right range. The methodology here is the same one I use for any manual flash work: bracket down from your estimate rather than up from nothing. Overexposure from a speedlight at close range is aggressive. Come in conservative and add.
This is also why I prefer manual over TTL for this setup. TTL can work, and the tutorial acknowledges that, but manual gives you a repeatable starting point. When I am working fast with a model and the energy is right, I do not want the flash doing math. I want to know that the power I set on shot three is the same power I get on shot thirty.
Step 4: Identify the Shadow Problem When Rotating to Portrait Orientation
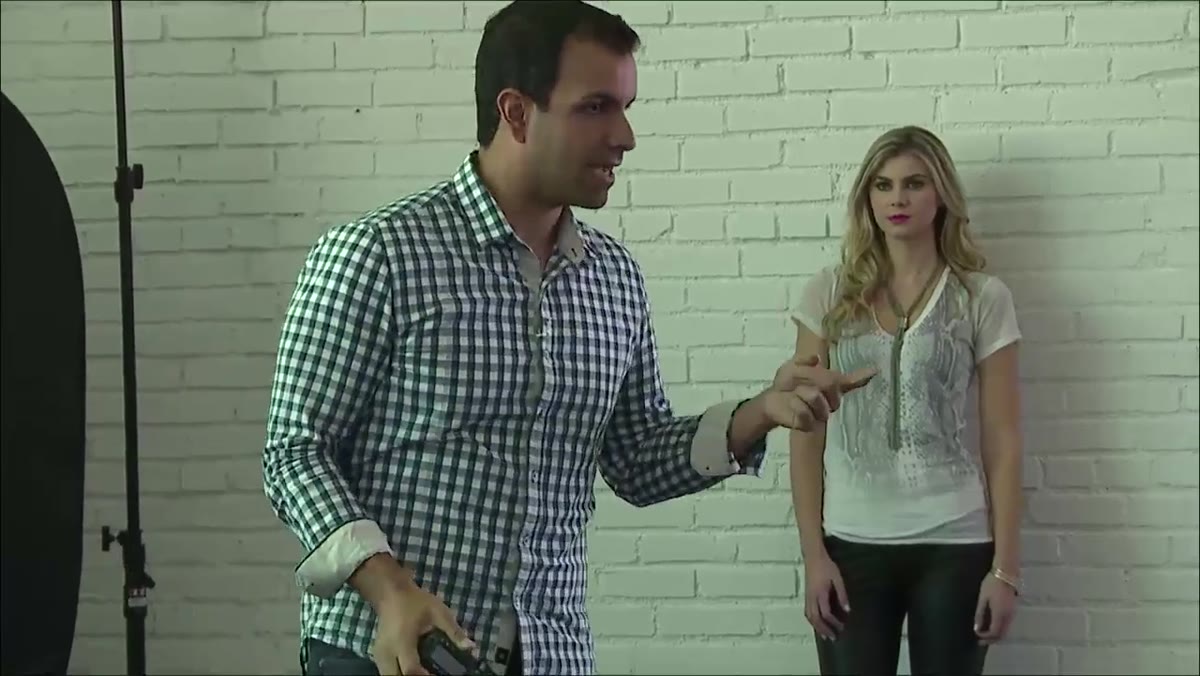 Camera rotated vertically, shadow falling to one side of subject
Here is where direct flash typically goes wrong. When you rotate your camera to portrait orientation — which you will, constantly, in editorial work — the flash rotates with it. The flash is now off to one side of the lens axis rather than above it. The result is a hard shadow that falls diagonally across the subject’s body, usually off to one side of their face or torso. It reads as wrong immediately. It is not the clean, behind-the-subject shadow you want. It looks like a mistake rather than a choice.
Camera rotated vertically, shadow falling to one side of subject
Here is where direct flash typically goes wrong. When you rotate your camera to portrait orientation — which you will, constantly, in editorial work — the flash rotates with it. The flash is now off to one side of the lens axis rather than above it. The result is a hard shadow that falls diagonally across the subject’s body, usually off to one side of their face or torso. It reads as wrong immediately. It is not the clean, behind-the-subject shadow you want. It looks like a mistake rather than a choice.
Step 5: Mount a Vertical Flash Bracket to Solve the Rotation Problem
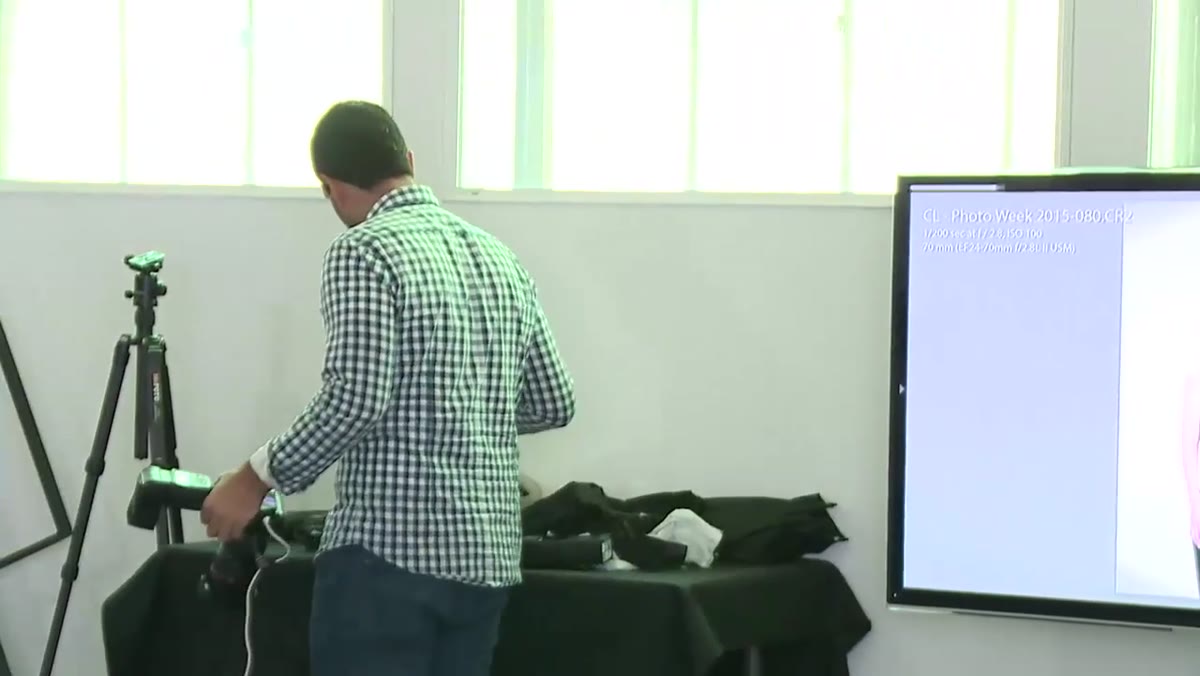 Vello bracket shown, flash being detached from hot shoe
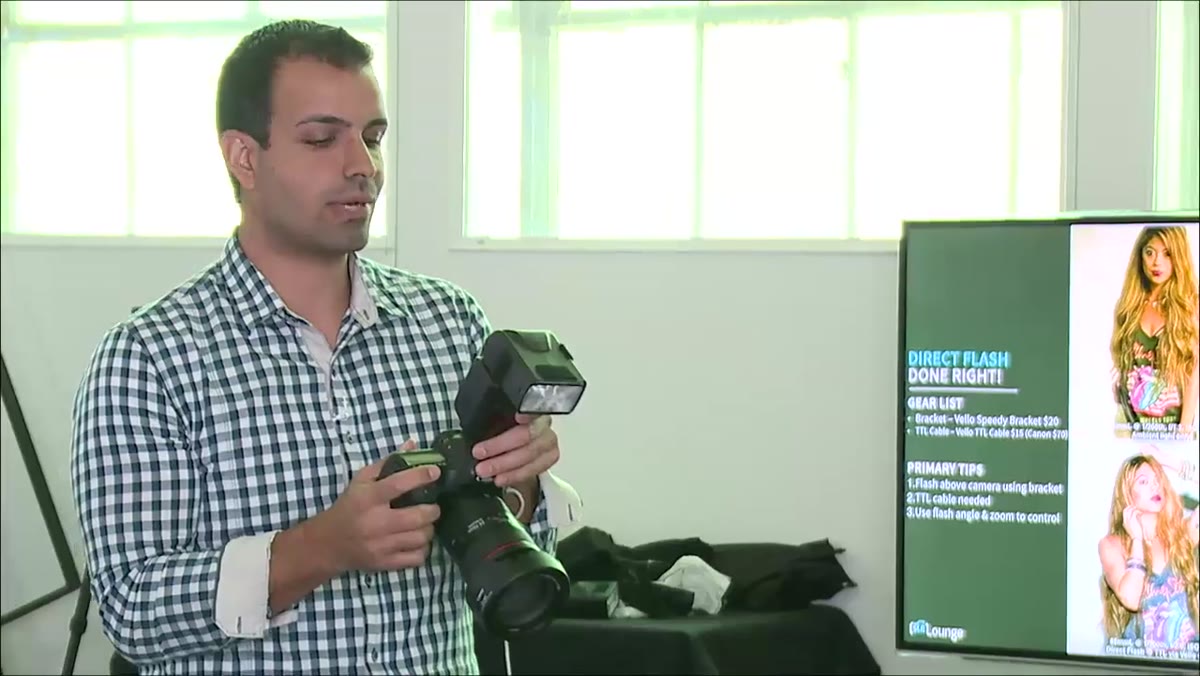
The fix is a vertical flash bracket, the tutorial uses a Vello model that costs around $20. The bracket attaches to your camera’s tripod mount and holds the flash on an arm above the lens, keeping the flash centered regardless of whether you are shooting horizontal or vertical. You will also need a short sync cord, around $30, to connect the flash to your hot shoe after removing it from the camera body itself.
Vello bracket shown, flash being detached from hot shoe
The fix is a vertical flash bracket, the tutorial uses a Vello model that costs around $20. The bracket attaches to your camera’s tripod mount and holds the flash on an arm above the lens, keeping the flash centered regardless of whether you are shooting horizontal or vertical. You will also need a short sync cord, around $30, to connect the flash to your hot shoe after removing it from the camera body itself.
The setup takes about two minutes once you have done it a few times. Flash goes on the bracket arm. Sync cord runs from flash to hot shoe. Camera rotates freely underneath. The flash stays put. This is one of those pieces of gear I tested the day it arrived and immediately added to my permanent kit. It is not glamorous, but it solves a real problem at a price point that makes excuses irrelevant.
Step 6: Shoot and Direct With Confidence
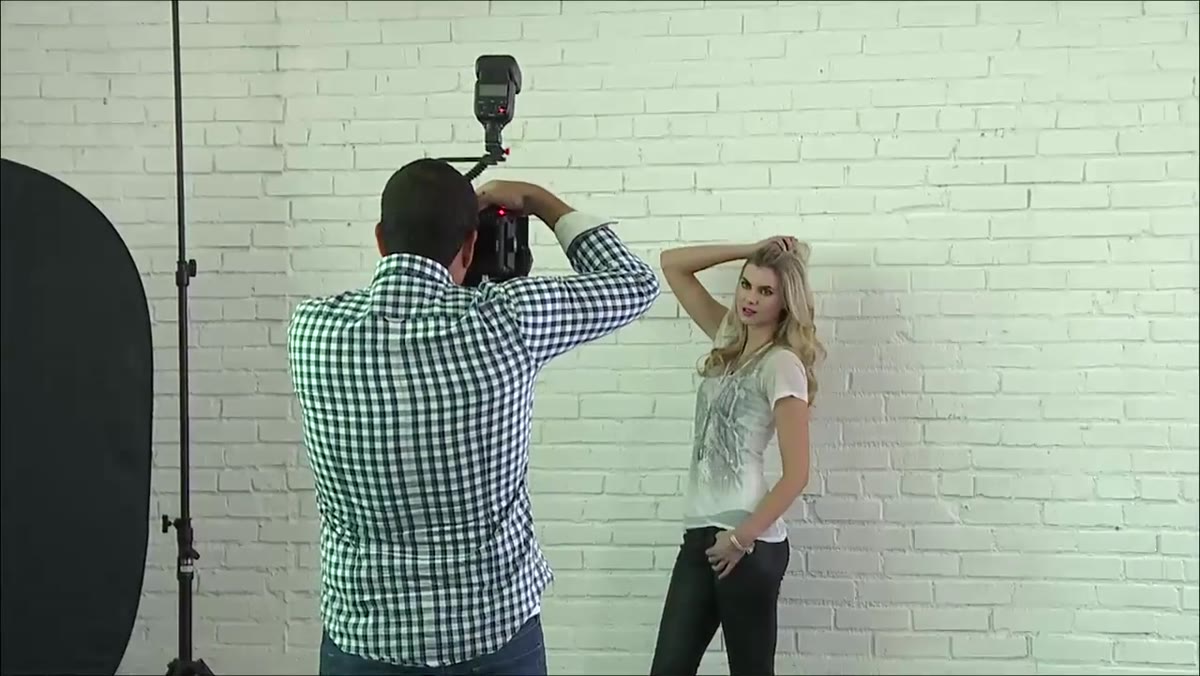 Final shots fired with bracket in place, shadow falling cleanly behind subject
With the bracket in place and power dialed to 1/8, the shadow falls cleanly straight behind the subject, parallel to their spine, tight against the wall. Now it looks like a decision. From here, direction is everything. Lean the subject against the wall, one elbow raised, hip kicked to the side. The flash flattens and hardens everything slightly, which works in favor of strong, angular posing. Soft and relaxed tends to look deflated under direct flash. Give the subject a reason to take up space.
Final shots fired with bracket in place, shadow falling cleanly behind subject
With the bracket in place and power dialed to 1/8, the shadow falls cleanly straight behind the subject, parallel to their spine, tight against the wall. Now it looks like a decision. From here, direction is everything. Lean the subject against the wall, one elbow raised, hip kicked to the side. The flash flattens and hardens everything slightly, which works in favor of strong, angular posing. Soft and relaxed tends to look deflated under direct flash. Give the subject a reason to take up space.
What I Would Add From My Own Experience
The one variable the tutorial does not address is color temperature consistency. Direct flash is daylight-balanced, around 5500K. If there is any ambient leaking in from tungsten practicals or mixed sources, you get color casts in the shadows that look accidental rather than stylistic. I learned this the hard way on an early editorial job where the shadow zones went warm orange while the flash-lit areas stayed neutral. It killed the cohesion of the entire set. Black it out completely, as the tutorial instructs, and the color stays clean throughout. If you want warmth, add a CTO gel to the flash deliberately. Do it on purpose or do not do it at all.
The single most important takeaway here is that direct flash is a controlled technique, not a lazy one. Killing ambient with your shutter speed, centering the flash above the lens axis with a bracket, and dialing power manually are three small decisions that separate the editorial aesthetic from a snapshot. The gear total is under $50. The difference in results is not subtle.
Watch the full tutorial on YouTube to see the before-and-after live, including the shadow shift that makes the bracket’s purpose immediately obvious.
Comments (3)
Just used this on a wedding shoot edit. Client was thrilled.
This is the kind of content that keeps me coming back.
This is fantastic. I've been recommending this approach to my readers too.
Leave a Comment