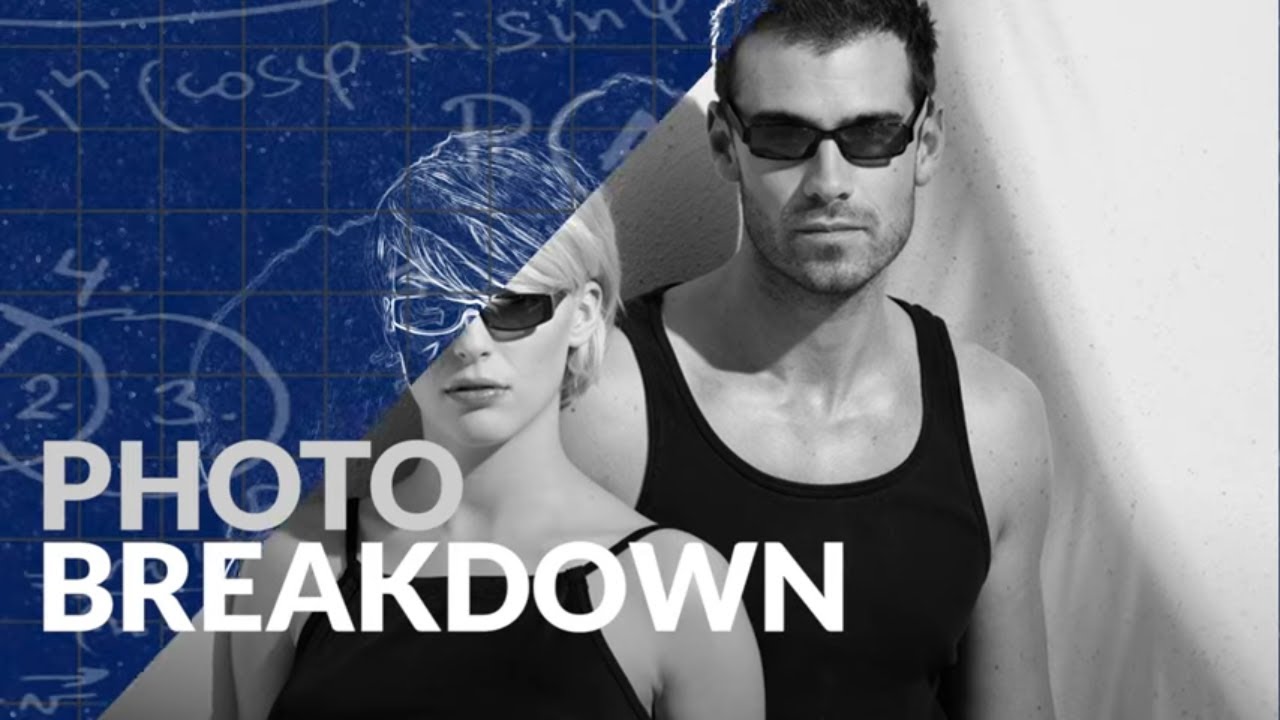
Client calls. They want sun-drenched Mediterranean models, sharp palm shadows on a textured stucco wall, and that specific quality of midday light that makes you squint just looking at it. Budget: studio only. Location: not happening. This is the kind of brief that either breaks a photographer or forces them to think harder about light. I’ve been on both ends of that equation, and every time I crack a technique like this, I sketch it into my lighting journal the same day so I don’t lose it.
In this Visual Education tutorial, Carl Taylor walks through a campaign he shot for Red or Dead sunglasses - an image that looks completely convincing as an outdoor Mediterranean location but was built entirely inside a studio. Watch the full tutorial on YouTube. The whole setup is simpler than you’d expect, which is exactly why it’s worth studying. Complexity is easy. Elegant simplicity that actually works on a client deadline - that’s the skill.
What makes this breakdown useful isn’t just the technique itself. It’s the thinking behind each decision: why the models lean against the wall, why paper palm leaves work better than real ones, why the light source needs to behave like a point. Every element serves the physics of sunlight, and once you understand that logic, you can apply it to any location-simulation brief.
Step 1: Define the Look You’re Replicating Before You Touch a Light
 Taylor describes the Mediterranean brief and shadow quality needed
Before any gear comes out, Taylor identifies the specific quality of light he needs to fake: hard, directional sunlight on a clear day. That kind of light behaves like a point source, which means it casts shadows with sharp, well-defined edges. This is the opposite of the soft, diffused light most studio photographers default to with large modifiers. Get clear on your target first. Pull reference images - in this case, Mediterranean architecture with strong midday sun - and identify the shadow characteristics. Are the edges crisp or feathered? Is the light warm or neutral? Answering those questions before you set up a single stand will save you hours of troubleshooting later.
Taylor describes the Mediterranean brief and shadow quality needed
Before any gear comes out, Taylor identifies the specific quality of light he needs to fake: hard, directional sunlight on a clear day. That kind of light behaves like a point source, which means it casts shadows with sharp, well-defined edges. This is the opposite of the soft, diffused light most studio photographers default to with large modifiers. Get clear on your target first. Pull reference images - in this case, Mediterranean architecture with strong midday sun - and identify the shadow characteristics. Are the edges crisp or feathered? Is the light warm or neutral? Answering those questions before you set up a single stand will save you hours of troubleshooting later.
Step 2: Build the Wall Practical and Textured
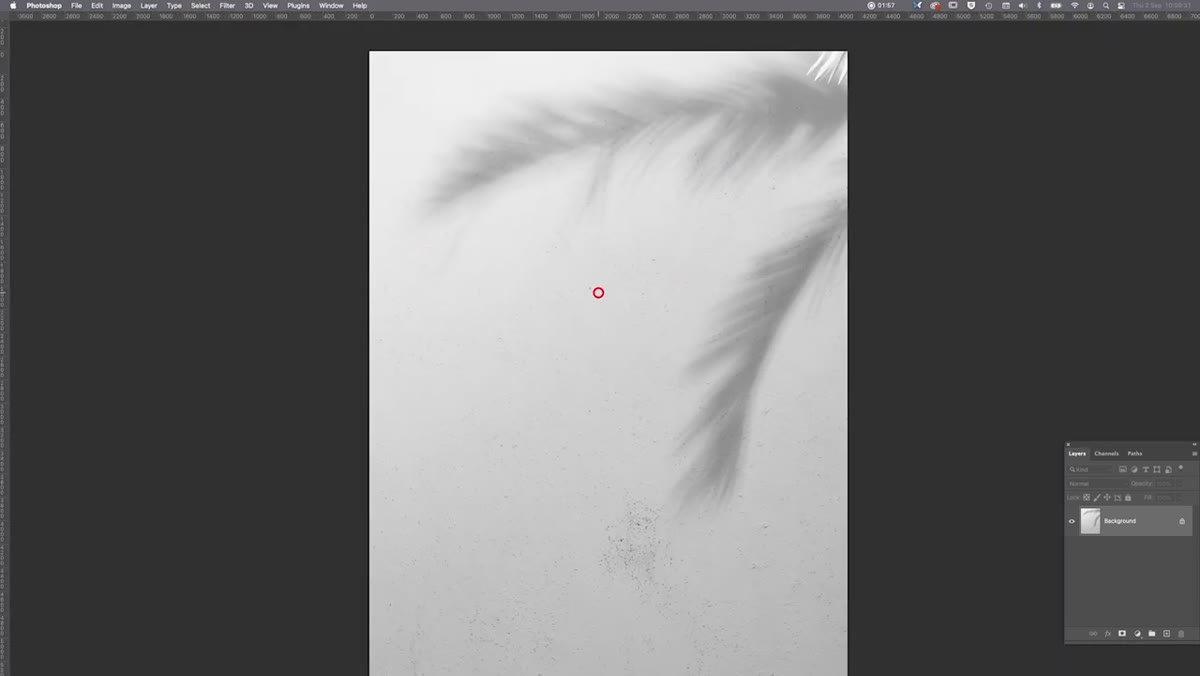 Test shot reveals the MDF wall with rough textured paint surface
Taylor’s team constructed a wall from MDF or plywood, then created a stucco-style surface by mixing grit and gravel directly into standard emulsion wall paint and applying it with large brushes. The result is a textured surface that catches raking light the way real Mediterranean render would. This is a practical build worth keeping in your kit rotation. The wall can be repainted, retextured, and reused. If you’re doing this yourself, use a coarse builder’s sand rather than gravel for more controlled results - gravel can create texture that reads as too random on camera. Apply the paint thick and let it dry fully before lighting tests, because the texture will look completely different wet versus dry, especially under a hard source.
Test shot reveals the MDF wall with rough textured paint surface
Taylor’s team constructed a wall from MDF or plywood, then created a stucco-style surface by mixing grit and gravel directly into standard emulsion wall paint and applying it with large brushes. The result is a textured surface that catches raking light the way real Mediterranean render would. This is a practical build worth keeping in your kit rotation. The wall can be repainted, retextured, and reused. If you’re doing this yourself, use a coarse builder’s sand rather than gravel for more controlled results - gravel can create texture that reads as too random on camera. Apply the paint thick and let it dry fully before lighting tests, because the texture will look completely different wet versus dry, especially under a hard source.
Step 3: Cut Your Palm Leaves From Paper
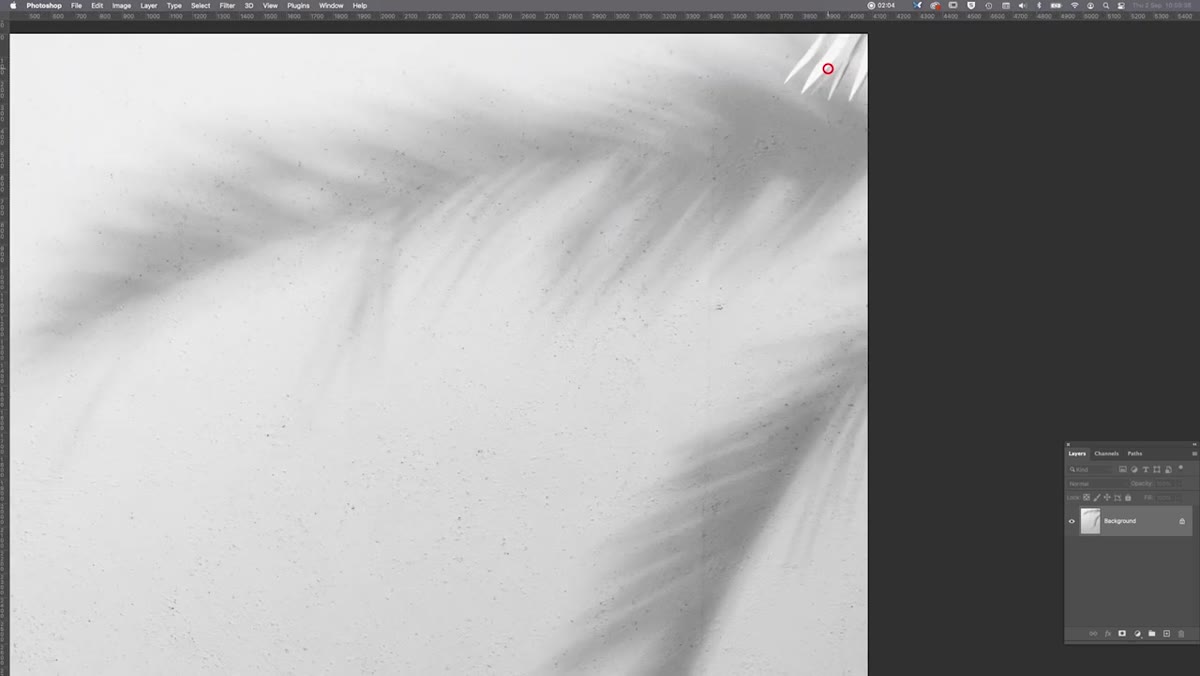 Paper palm leaf cutout visible in corner of test frame
This is the detail that makes the whole image feel like a location shoot, and it costs almost nothing. Taylor’s team cut palm leaf shapes from paper, wired them onto coat hanger stems, and held them in front of the light source to cast shadow patterns onto the wall. Real palm fronds would be unwieldy and inconsistent. Paper cutouts give you full control over the shape, size, and shadow density. Scale matters here - the leaves need to be proportional to the distance between the cutout and the wall. The closer the cutout is to the light source, the larger and softer the projected shadow. Move it toward the wall and the shadow tightens and sharpens. Test this relationship before the models are on set.
Paper palm leaf cutout visible in corner of test frame
This is the detail that makes the whole image feel like a location shoot, and it costs almost nothing. Taylor’s team cut palm leaf shapes from paper, wired them onto coat hanger stems, and held them in front of the light source to cast shadow patterns onto the wall. Real palm fronds would be unwieldy and inconsistent. Paper cutouts give you full control over the shape, size, and shadow density. Scale matters here - the leaves need to be proportional to the distance between the cutout and the wall. The closer the cutout is to the light source, the larger and softer the projected shadow. Move it toward the wall and the shadow tightens and sharpens. Test this relationship before the models are on set.
Step 4: Position Models Against the Wall to Sharpen Their Shadows
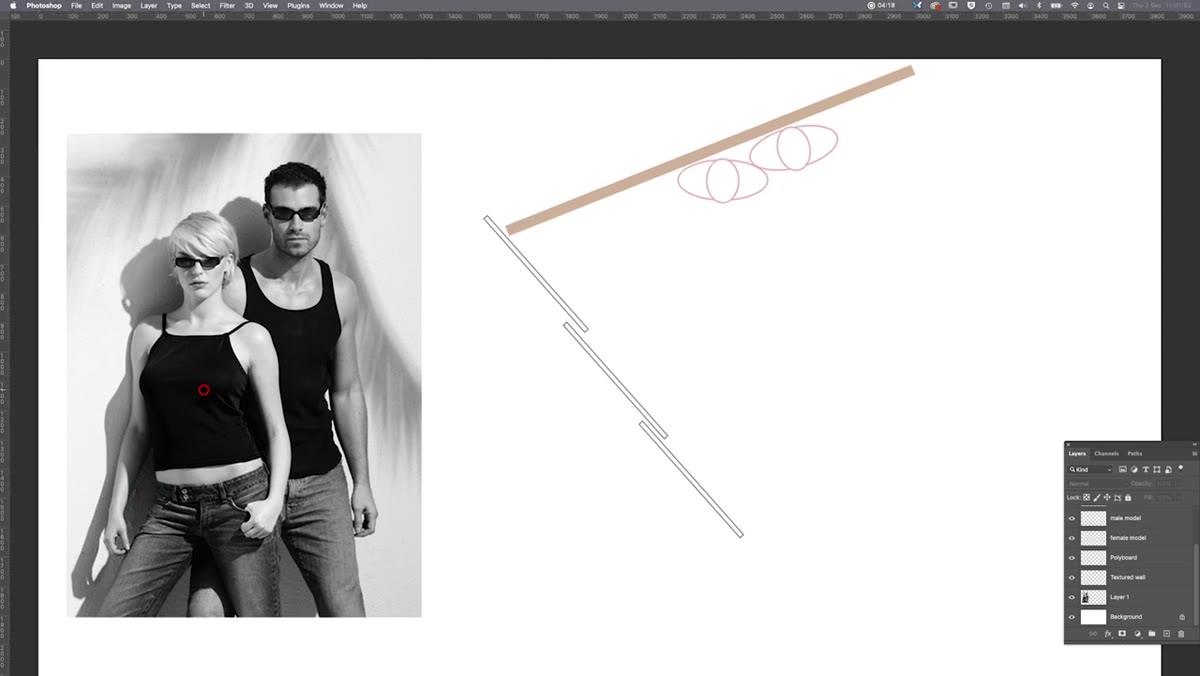 Lighting diagram showing model positions close to the textured wall
Taylor makes a point that’s easy to overlook: the models are leaning against the wall, not standing in front of it. This is a direct response to the physics of shadow formation. When a subject is close to the surface behind them, their shadow stays tight and sharp even from a small-but-not-infinitely-small light source. Move them even a foot forward and the shadow starts to soften and spread. For this kind of sunlight simulation, that sloppiness reads immediately as artificial. Brief your models before the shoot - leaning back against a painted wall for extended periods isn’t always comfortable, and you want natural-looking poses, not braced tension.
Lighting diagram showing model positions close to the textured wall
Taylor makes a point that’s easy to overlook: the models are leaning against the wall, not standing in front of it. This is a direct response to the physics of shadow formation. When a subject is close to the surface behind them, their shadow stays tight and sharp even from a small-but-not-infinitely-small light source. Move them even a foot forward and the shadow starts to soften and spread. For this kind of sunlight simulation, that sloppiness reads immediately as artificial. Brief your models before the shoot - leaning back against a painted wall for extended periods isn’t always comfortable, and you want natural-looking poses, not braced tension.
Step 5: Use a Single Hard Light Source Positioned Like the Sun
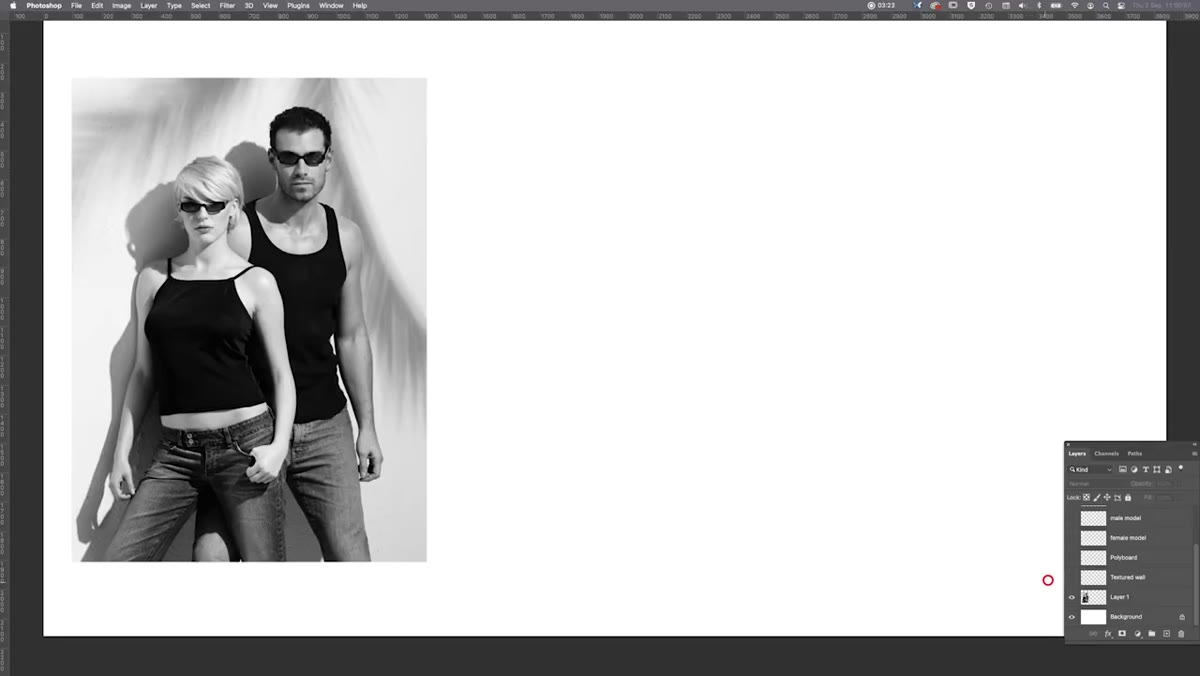 Lighting diagram shows single source angle relative to wall and models
The main light mimics the sun: a single hard source, no diffusion, positioned at an angle that rakes across the textured wall and creates shadows consistent with outdoor midday light. Taylor runs a line of poly boards - large white-sided reflector panels, roughly eight by four feet - down one side of the set to bounce light back into the shadow side of the subjects. This is the fill, and it’s doing exactly what a reflective white building or courtyard wall would do outdoors: kicking light back without softening the overall contrast or destroying the hard-light look. V-flats work as a direct substitute if you don’t have poly boards. The key is keeping the reflected fill lower in intensity than your main source so you preserve the directional feel.
Lighting diagram shows single source angle relative to wall and models
The main light mimics the sun: a single hard source, no diffusion, positioned at an angle that rakes across the textured wall and creates shadows consistent with outdoor midday light. Taylor runs a line of poly boards - large white-sided reflector panels, roughly eight by four feet - down one side of the set to bounce light back into the shadow side of the subjects. This is the fill, and it’s doing exactly what a reflective white building or courtyard wall would do outdoors: kicking light back without softening the overall contrast or destroying the hard-light look. V-flats work as a direct substitute if you don’t have poly boards. The key is keeping the reflected fill lower in intensity than your main source so you preserve the directional feel.
Step 6: Test the Palm Shadow Projection Before Models Are on Set
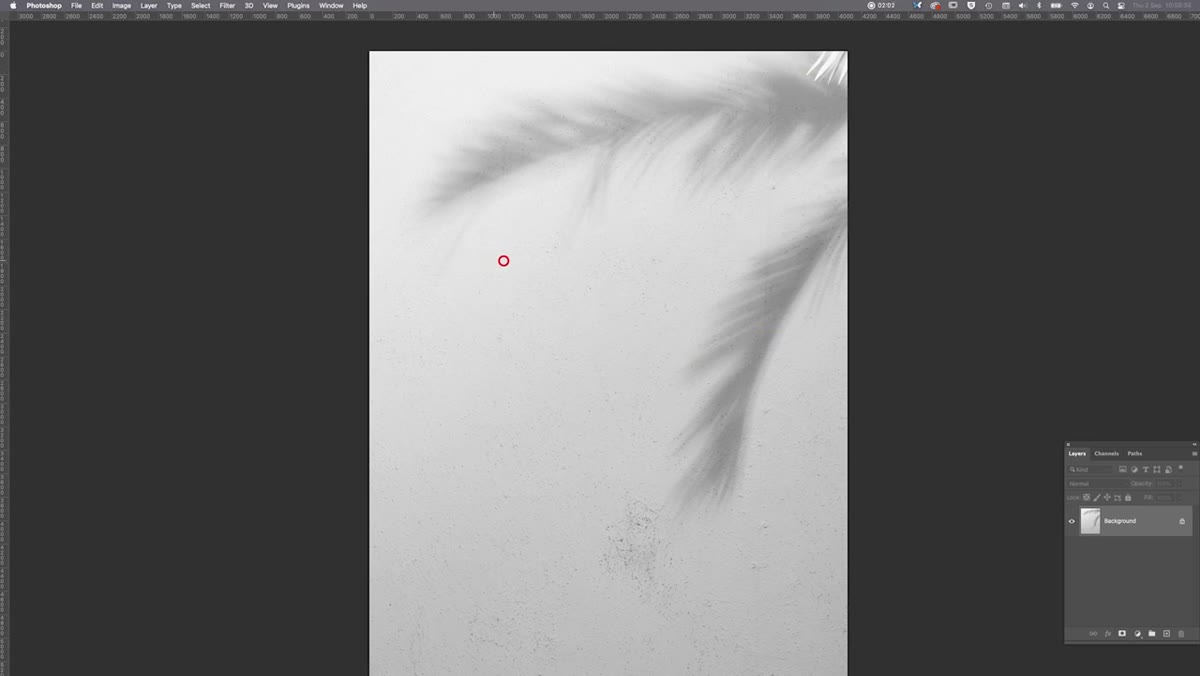 Early test shot showing shadow projection positioning on the wall
Taylor shows a test frame where the palm shadow is being positioned before the final shoot. This is the step most people skip, and it’s the one that costs the most time on set. Dial in the shadow projection separately - get the angle, the size, and the softness right before anyone is standing in front of the camera. Photograph the empty wall, review it, adjust the cutout position, shoot again. Once it’s locked, mark the light stand position with tape and don’t touch it. I label everything in my studio with masking tape anyway, but for a setup this specific, marking the cutout’s exact position relative to the light source is worth the thirty seconds it takes.
Early test shot showing shadow projection positioning on the wall
Taylor shows a test frame where the palm shadow is being positioned before the final shoot. This is the step most people skip, and it’s the one that costs the most time on set. Dial in the shadow projection separately - get the angle, the size, and the softness right before anyone is standing in front of the camera. Photograph the empty wall, review it, adjust the cutout position, shoot again. Once it’s locked, mark the light stand position with tape and don’t touch it. I label everything in my studio with masking tape anyway, but for a setup this specific, marking the cutout’s exact position relative to the light source is worth the thirty seconds it takes.
What I’d Add From My Own Practice
The one variable Taylor doesn’t detail in the breakdown is color temperature management. Sunlight is roughly 5500K, and if your studio strobes are dialed warmer - or if you’re mixing with any ambient - the “Mediterranean sun” read falls apart fast. I ruined an early editorial shoot by ignoring this, and I’ve been obsessive about it ever since. Set your strobes to daylight-balanced output if adjustable, shoot a gray card frame under your final setup, and correct in post before you review the modeling poses. A warm cast that feels cozy in a portrait context reads as wrong the moment you’re simulating a specific quality of outdoor light.
The single most important idea in this tutorial is that hard light is defined by the relationship between source size and distance - not just the modifier you choose. Once you internalize that, you can build convincing sunlight anywhere, with almost any equipment. Watch the full tutorial on YouTube to see the final image and Taylor’s lighting diagram side by side.
Comments
Leave a Comment