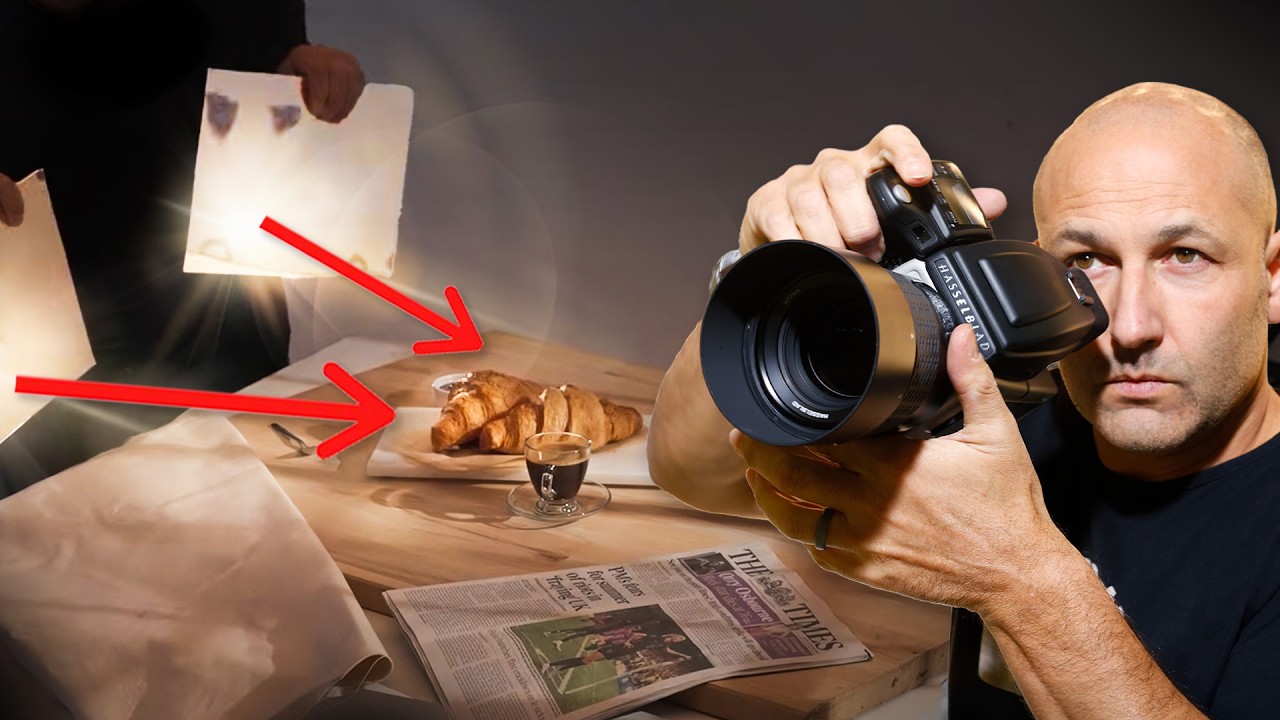
Every studio photographer eventually gets the brief that reads something like “warm, early morning, light pouring through the window.” The client has a mood board full of golden hour frames shot on location, and your job is to deliver that in a controlled environment on a Tuesday. I’ve been chasing convincing artificial sunlight for most of my commercial career, and I’ll tell you straight: most attempts fail the same way. They’re either too flat, too theatrical, or they nail the highlight but leave shadows so dense the whole scene collapses.
That’s why I kept coming back to this Visual Education tutorial on recreating natural sunlight in the studio. Watch the full tutorial on YouTube - it covers three distinct setups, each targeting a different quality of morning light, from crisp window shadows through to softer overcast fill and punchy directional sparkle. What makes it worth studying is the framework underneath the gear choices. The tutorial is clear that the specific equipment is almost secondary. The real work is understanding the qualities you’re trying to replicate: direction, hardness, contrast, and the fill behavior of reflected ambient light.
I sketched all three setups into my lighting journal the day I watched it. Below is my breakdown, written so you can follow along and build each setup without needing to pause and rewind.
Step 1: Understand What “Morning Sunlight” Actually Looks Like
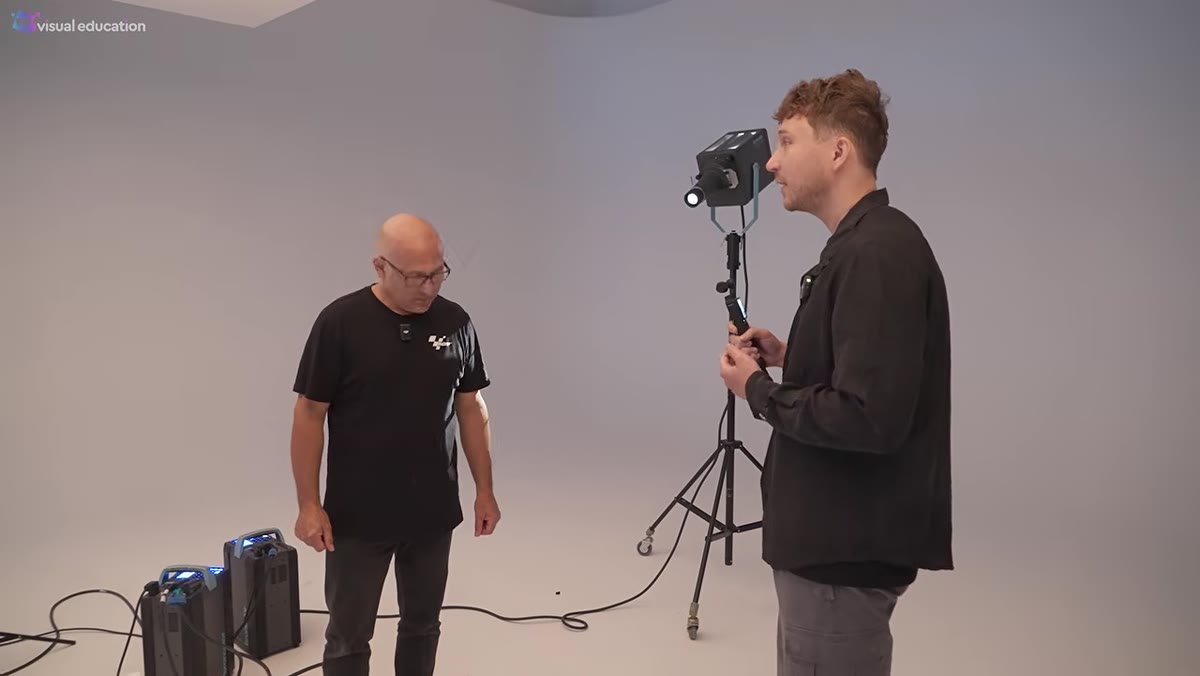 Karl describing the early morning sunlight effect to Paul
Before you touch a single light, get clear on what you’re mimicking. Early morning sunlight has a specific signature: it enters from a low angle, casts moderately hard-edged shadows, and carries warm color temperature, typically somewhere between 3200K and 4500K depending on haze and atmosphere. Crucially, it’s never traveling alone. In any real interior, that direct sun is accompanied by ambient bounce off walls, ceilings, and floors. That reflected fill is what stops shadows from going completely black. If your studio setup only recreates the direct beam, it will read as theatrical rather than real.
Karl describing the early morning sunlight effect to Paul
Before you touch a single light, get clear on what you’re mimicking. Early morning sunlight has a specific signature: it enters from a low angle, casts moderately hard-edged shadows, and carries warm color temperature, typically somewhere between 3200K and 4500K depending on haze and atmosphere. Crucially, it’s never traveling alone. In any real interior, that direct sun is accompanied by ambient bounce off walls, ceilings, and floors. That reflected fill is what stops shadows from going completely black. If your studio setup only recreates the direct beam, it will read as theatrical rather than real.
Step 2: Set Up a Projection Light with a Window Gobo
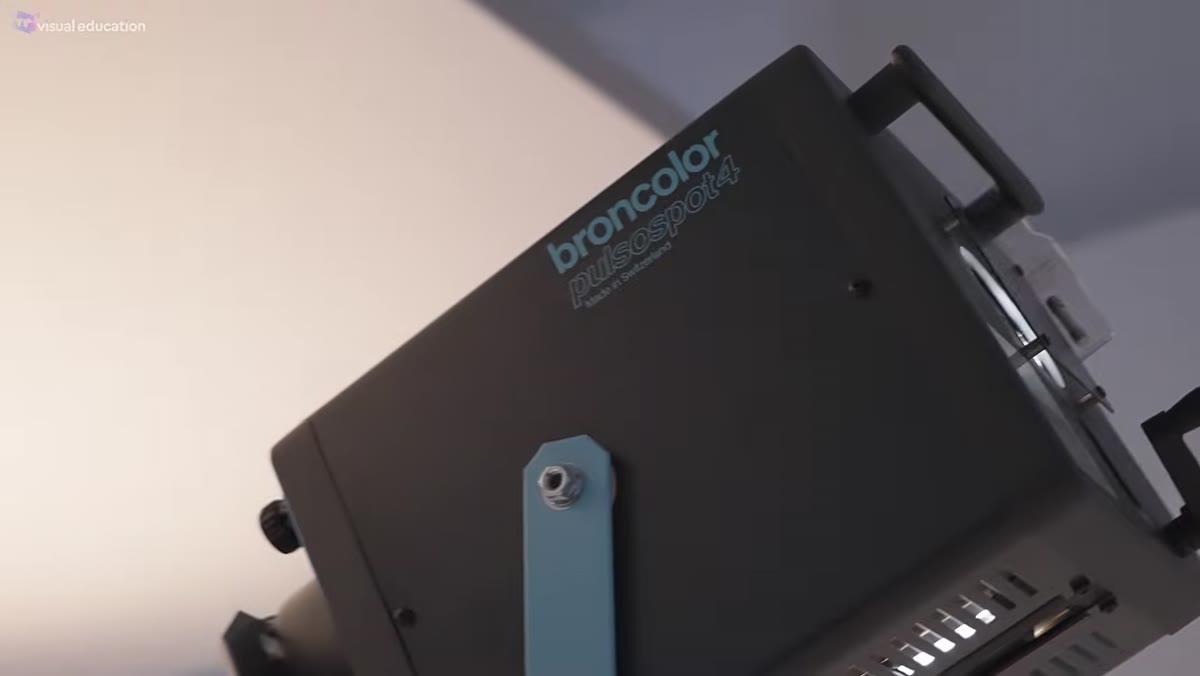 Pulso Spot 4 projection light with gobo holder shown in detail
The first setup uses a projection-style studio light, the kind that has its own focusing lens and accepts small metal gobos inside a gobo holder. Gobos for this purpose are precision-cut masks representing window frames, venetian blinds, or leaf patterns. You slot the gobo into the holder, and the light projects a sharp or softened version of that shape onto your subject and set.
Pulso Spot 4 projection light with gobo holder shown in detail
The first setup uses a projection-style studio light, the kind that has its own focusing lens and accepts small metal gobos inside a gobo holder. Gobos for this purpose are precision-cut masks representing window frames, venetian blinds, or leaf patterns. You slot the gobo into the holder, and the light projects a sharp or softened version of that shape onto your subject and set.
The critical control here is focus. By adjusting the lens on the projection unit, you can dial the projected shadow from razor-sharp to gently diffused. Fully sharp reads as direct midday sun cutting through glass. A slight defocus reads as early morning, where atmospheric haze softens the window edge without dissolving it entirely. Set it somewhere in the middle and you get a convincing result. Point the light at a low, raking angle across your set to sell the low-sun direction. If you’re working with food or product, this angle will also pick up surface texture beautifully.
Step 3: Add a Ceiling Bounce as Fill - and Learn Why It’s Non-Negotiable
 Soft overhead light filling shadows on the set, then switched off to show contrast
This is the step most people skip, and it’s where setups fall apart. Run your projection light alone and the shadows will be brutal, far darker than you’d ever see in a real room bathed in morning sun. The solution is a secondary soft light aimed at the ceiling or a large bounce surface above the set. It mimics the ambient fill that real rooms provide naturally through reflected light off walls and ceilings.
Soft overhead light filling shadows on the set, then switched off to show contrast
This is the step most people skip, and it’s where setups fall apart. Run your projection light alone and the shadows will be brutal, far darker than you’d ever see in a real room bathed in morning sun. The solution is a secondary soft light aimed at the ceiling or a large bounce surface above the set. It mimics the ambient fill that real rooms provide naturally through reflected light off walls and ceilings.
When the tutorial demonstrates toggling this fill light on and off, the difference is immediate and clarifying. Without it: high-contrast, almost noir. With it: the shadows lift into readable detail while the projected window pattern still reads as the clear key light. Keep this fill significantly dimmer than your key, somewhere around two to three stops under, so it functions as fill rather than competing as a second light source. On my shoots I’ll often tape a small piece of warm gel to the fill head to match the color character of the key.
Step 4: Evaluate Your Set for Contrast and Swap Surfaces if Needed
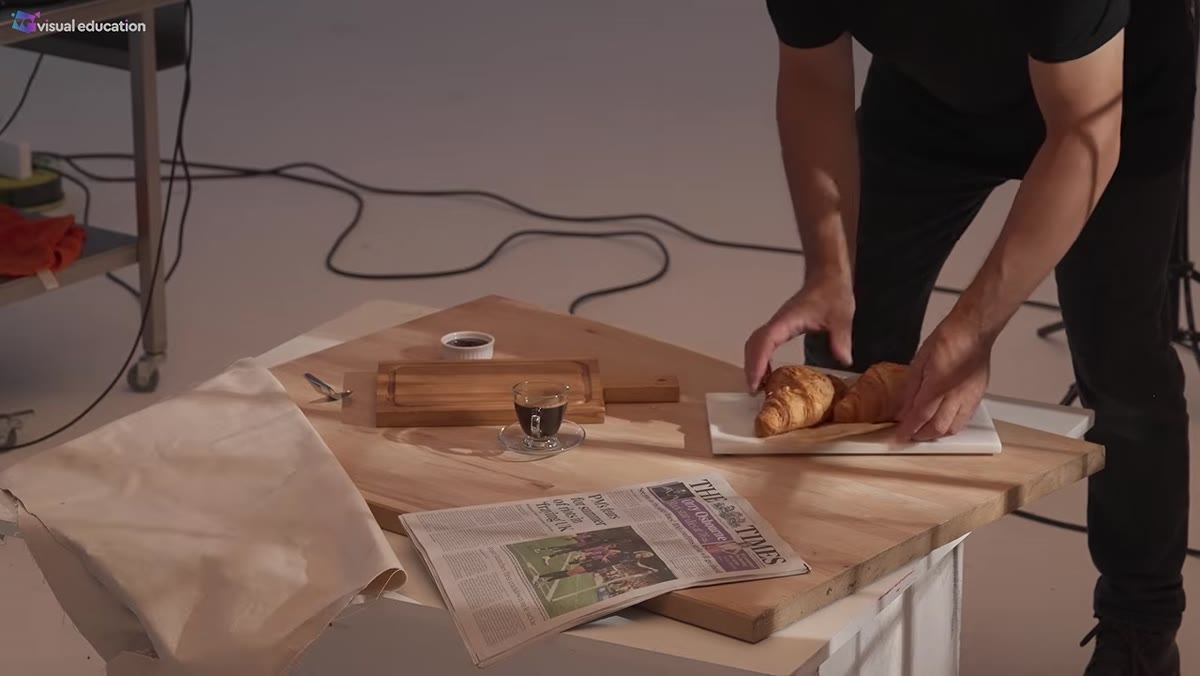 Marble slab replacing wooden cutting board on the set surface
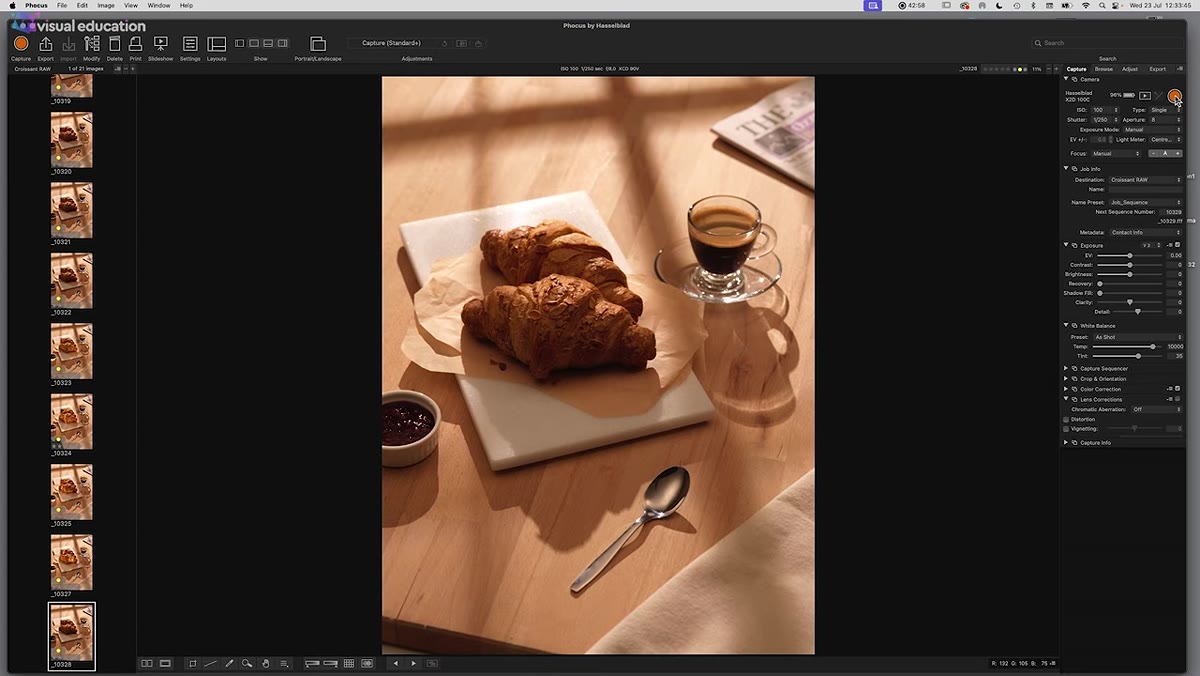
Once the lights are running, take a critical look at your surface materials. The tutorial flags this directly: a wooden cutting board didn’t provide enough contrast separation between the subject and the background, so it was swapped for a marble slab. This isn’t a minor styling detail. Surface reflectance changes how your key light travels through the frame. A matte, warm-toned surface absorbs and diffuses. A cooler, slightly reflective surface like marble will pick up the projected shadow pattern and extend the window effect naturally across the scene.
Marble slab replacing wooden cutting board on the set surface
Once the lights are running, take a critical look at your surface materials. The tutorial flags this directly: a wooden cutting board didn’t provide enough contrast separation between the subject and the background, so it was swapped for a marble slab. This isn’t a minor styling detail. Surface reflectance changes how your key light travels through the frame. A matte, warm-toned surface absorbs and diffuses. A cooler, slightly reflective surface like marble will pick up the projected shadow pattern and extend the window effect naturally across the scene.
Evaluate your surfaces the same way you evaluate your lights. Ask whether the material is helping the story or muddying it. Whenever I’m prepping a still life with this kind of directional setup, I’ll test three or four surface options before committing.
Step 5: Use a Large Octabox for a Softer, Overcast Morning Look
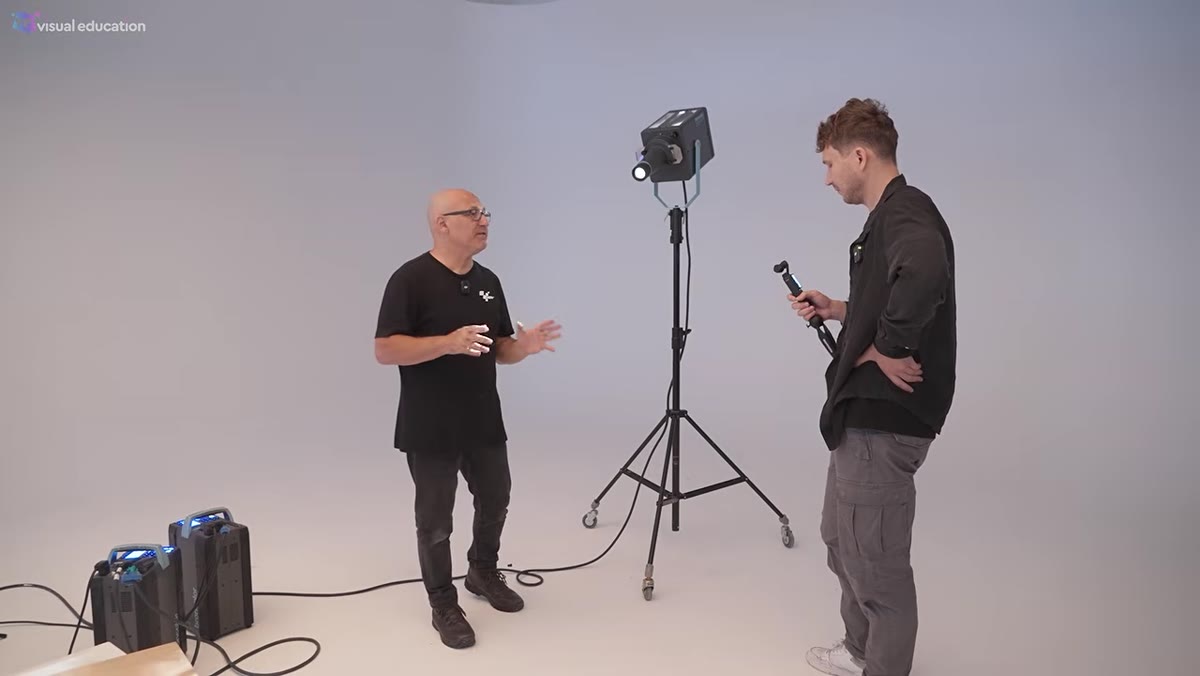 Overview of octabox 150 setup described as second scenario
The second approach replaces the projection rig entirely and uses a large octabox, roughly 150cm, positioned high and slightly to one side. This targets a different quality of morning light: an overcast or hazy day where the sun is diffused through cloud cover. The light is still directional enough to model your subject, but the shadows are soft-edged and low in contrast.
Overview of octabox 150 setup described as second scenario
The second approach replaces the projection rig entirely and uses a large octabox, roughly 150cm, positioned high and slightly to one side. This targets a different quality of morning light: an overcast or hazy day where the sun is diffused through cloud cover. The light is still directional enough to model your subject, but the shadows are soft-edged and low in contrast.
Position the octabox high and angled down at roughly 45 degrees. The size of the modifier relative to the subject is everything here. A 150cm octabox at close range wraps light around a subject in a way that reads as a large, distant diffused source. Pull it further back and the effective source size shrinks, shadows get slightly harder, and you approach something more like a hazy but present sun. Move it in close for that full overcast, shadow-free quality.
Step 6: Try a Hard PAR-Style Light for Directional Sparkle
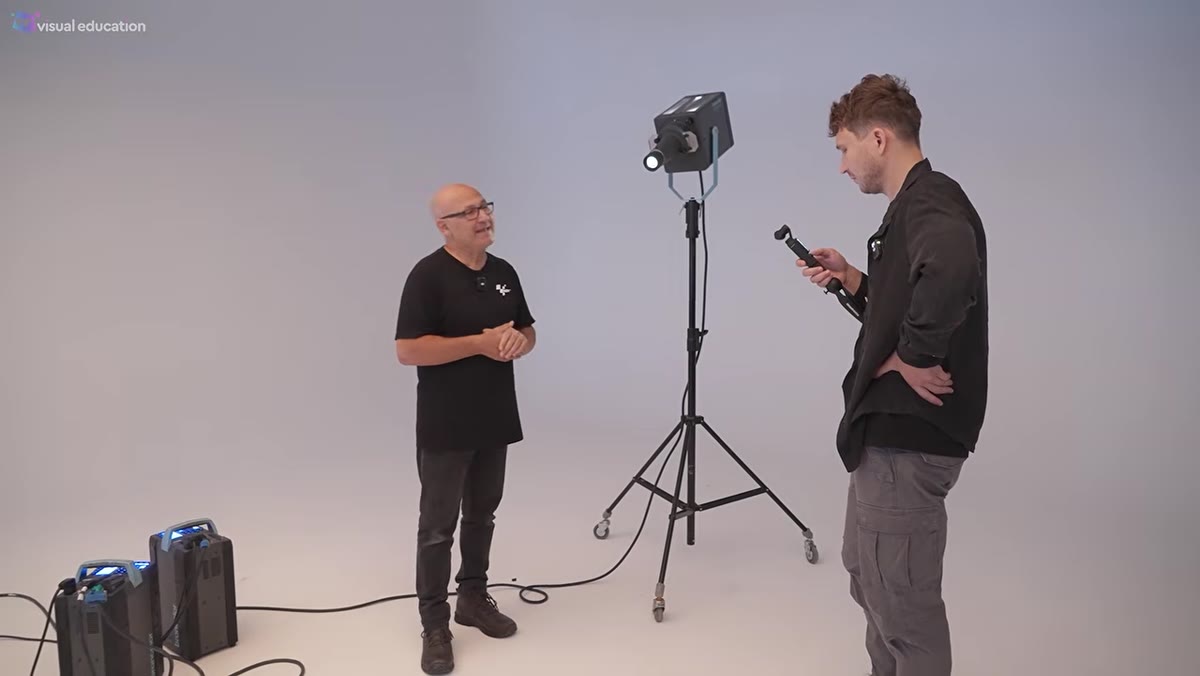 PAR 88 light described as third setup option with brighter sunlight feel
The third setup uses a PAR-style light, a source that produces a hard, concentrated beam with a defined edge. This is the highest-contrast option and the one that most aggressively suggests direct, bright sunlight. The PAR creates what the tutorial describes as “sparkle,” that quality of specular pop you see when strong directional light catches a rim or a reflective surface.
PAR 88 light described as third setup option with brighter sunlight feel
The third setup uses a PAR-style light, a source that produces a hard, concentrated beam with a defined edge. This is the highest-contrast option and the one that most aggressively suggests direct, bright sunlight. The PAR creates what the tutorial describes as “sparkle,” that quality of specular pop you see when strong directional light catches a rim or a reflective surface.
Use this one with care. Hard sources punish bad posing and messy sets instantly. But when it works, it has a convincing vitality that softboxes can’t quite match. Add a mirror or reflective card on the shadow side of your subject to bounce a controlled amount of fill back in. This keeps the setup feeling like real outdoor light rather than a spotlight on a stage.
What I’d Add from My Own Studio Experience
The tutorial doesn’t spend much time on color temperature calibration, and I’d push that further. I learned the hard way early in my career that a beautiful lighting pattern means nothing if your color temperature is mismatched between your key and your fill. Warm key with a neutral fill reads as two different light sources. Before I commit to any of these setups for a paid shoot, I run a test frame, pull it into Lightroom, and check the highlight and shadow regions separately with the color picker. They should tell a coherent color story. If they don’t, I gel the fill until they do.
The single most important thing this tutorial reinforced for me is that natural light is never just one light. It’s always a key source plus the environment’s response to that source. Every convincing studio recreation of sunlight I’ve ever seen works because the photographer built both sides of that equation. Get the quality of the key right. Then ask what the room would do with that light, and build that in too.
Watch the full tutorial on YouTube to see all three setups demonstrated live with side-by-side comparisons.
Comments
Leave a Comment