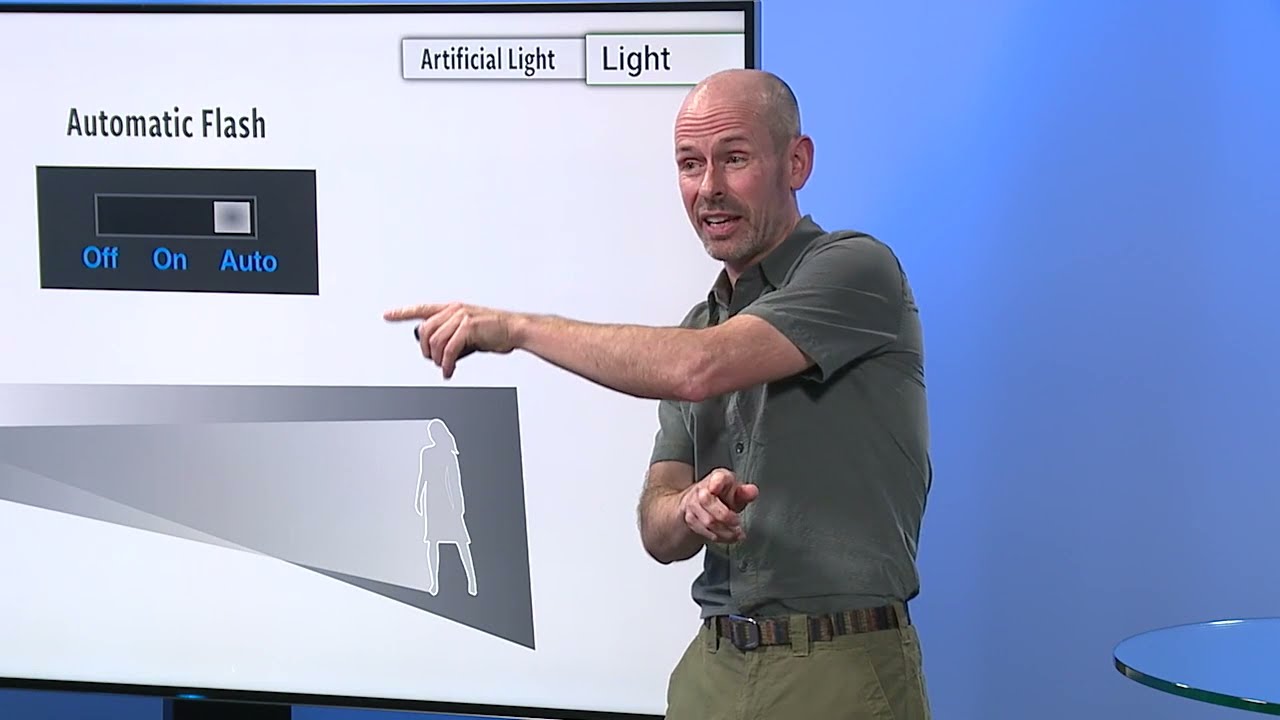
Flash is the great dividing line in photography. You can spend months getting comfortable with natural light — learning how it wraps around a face, how it changes by the hour, how to chase it and shape it – and then you pick up a speedlight and feel like you’re starting from scratch. That gap between ambient confidence and flash competence is real, and it trips up a lot of working photographers who should know better.
I came across a CreativeLive tutorial on flash photography fundamentals that does something most beginner resources don’t: it traces the technology historically so you actually understand why the controls exist, not just what they do. Watch the full tutorial on YouTube before or after reading this – the two work well together. What follows is my breakdown of the core concepts, expanded with context from my own studio work.
The tutorial makes a point early on that I think is undervalued: mixing flash with natural light is genuinely the most complex thing you can do in photography. It is not just about understanding your flash. It is about understanding two separate light sources with different behaviors, different color temperatures, and different relationships to your camera settings – simultaneously. Getting clear on the fundamentals covered here is the prerequisite for any of that more advanced work.
Step 1: Understand Where Flash Technology Started
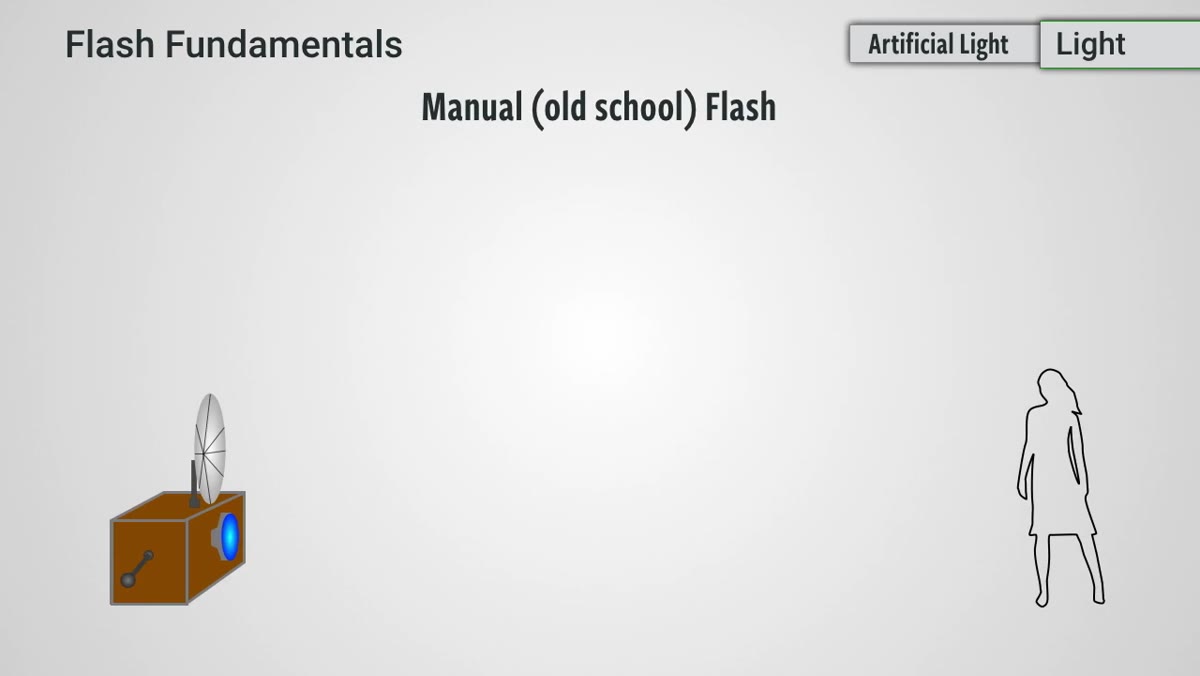 Old box camera with simple on-off flash unit attached
The earliest flash setups were binary – on or off, full power, no negotiation. If your subject was too bright or too dark, you physically moved the camera or the subject closer or farther from the light source. That was the entire toolkit. Knowing this is not just trivia. It gives you a mental model for what flash exposure actually is: a relationship between distance and power, not just a dial you twist until it looks right.
Old box camera with simple on-off flash unit attached
The earliest flash setups were binary – on or off, full power, no negotiation. If your subject was too bright or too dark, you physically moved the camera or the subject closer or farther from the light source. That was the entire toolkit. Knowing this is not just trivia. It gives you a mental model for what flash exposure actually is: a relationship between distance and power, not just a dial you twist until it looks right.
Aperture was also part of that early system. Stopping down would reduce how much of the flash output you recorded, which meant photographers could fine-tune exposure without moving anything. These two controls – distance and aperture – are still the foundation of manual flash work, and understanding them as the original primitive tools helps you respect how much they still matter.
Step 2: Learn How Automatic Flash Metering Works
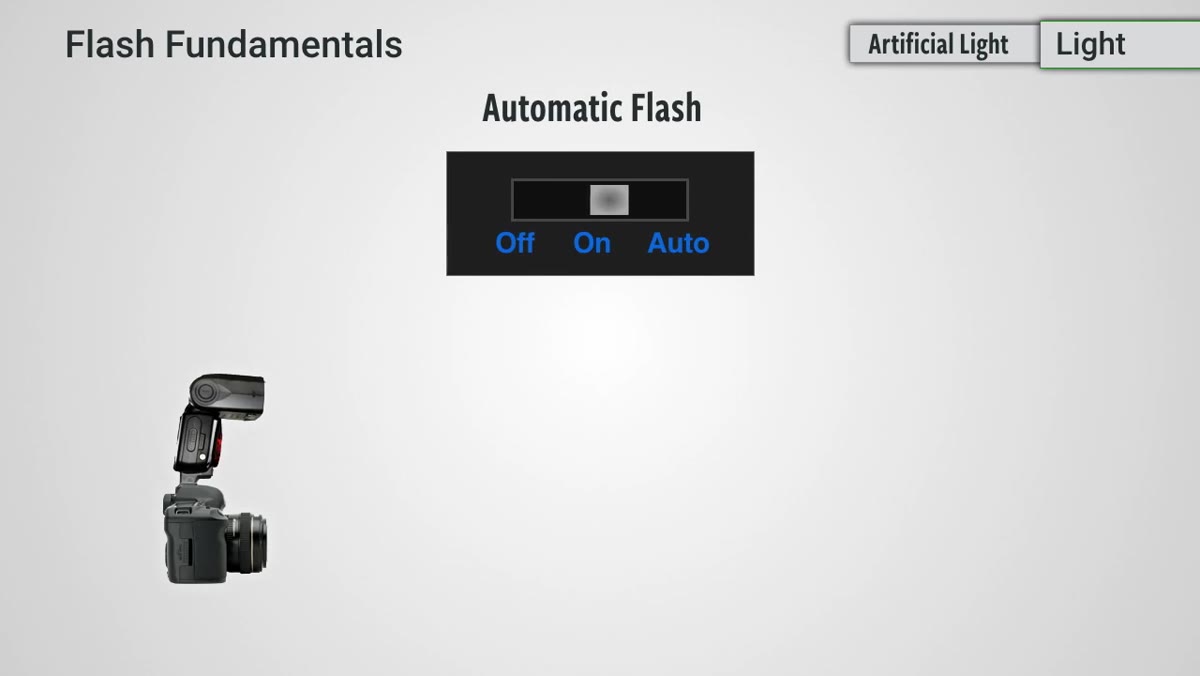 Diagram showing light leaving flash, hitting subject, bouncing back to sensor
Before TTL existed, flashes had a built-in light sensor on the unit itself. You would fire, light would travel to the subject, bounce back, and the sensor would decide whether enough had been emitted. If not, it would keep pumping out light until the reading satisfied the threshold. All of this happens at the speed of light, so it feels instantaneous – but the mechanism has a fundamental flaw.
Diagram showing light leaving flash, hitting subject, bouncing back to sensor
Before TTL existed, flashes had a built-in light sensor on the unit itself. You would fire, light would travel to the subject, bounce back, and the sensor would decide whether enough had been emitted. If not, it would keep pumping out light until the reading satisfied the threshold. All of this happens at the speed of light, so it feels instantaneous – but the mechanism has a fundamental flaw.
If your subject is small in the frame – say you’re shooting with a long telephoto lens – only a fraction of the reflected light makes it back to that sensor. The flash reads that as underexposure and overcompensates. Your subject ends up blown out. This is not a bug you can work around with technique. It is a structural limitation of sensor-on-flash metering, and it is why the system eventually had to be replaced.
Step 3: Understand TTL Flash and What It Actually Measures
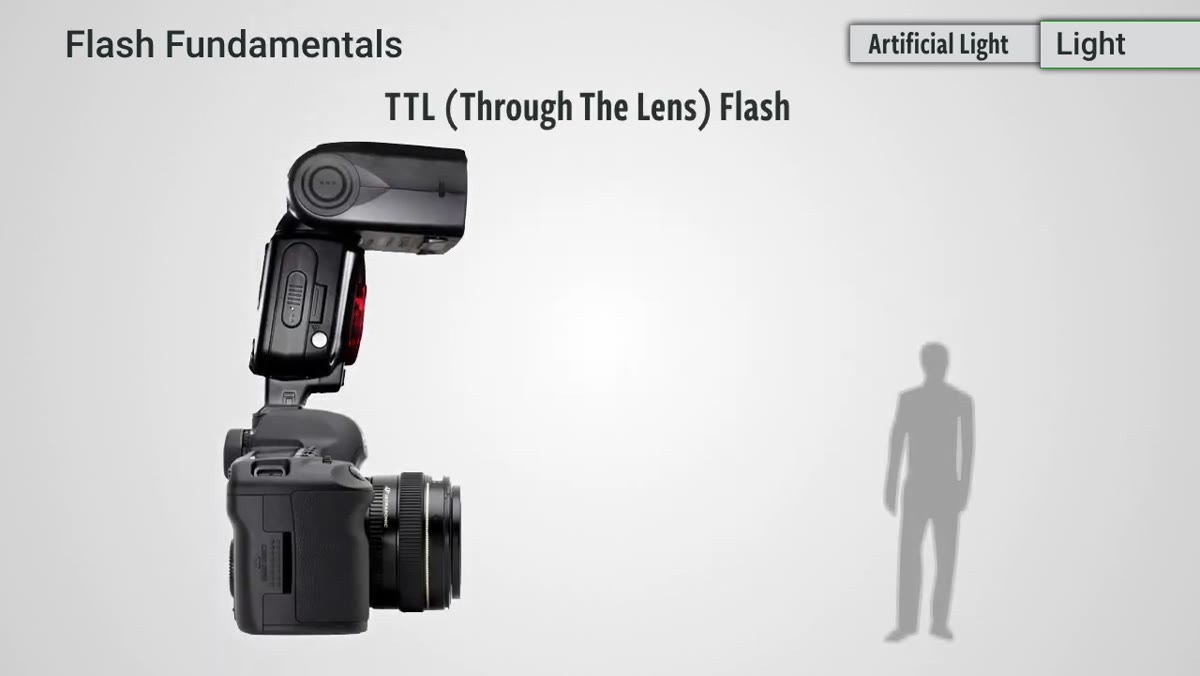 Camera firing a pre-flash before the main exposure
TTL – Through The Lens – metering solved the telephoto problem by moving the measurement point. Instead of reading light at the flash unit, the camera reads it through the lens itself, which means it sees exactly what the sensor will see. Modern TTL systems do this by firing a nearly invisible pre-flash, evaluating the result, and then firing the actual exposure flash – all faster than the human eye can register two separate events.
Camera firing a pre-flash before the main exposure
TTL – Through The Lens – metering solved the telephoto problem by moving the measurement point. Instead of reading light at the flash unit, the camera reads it through the lens itself, which means it sees exactly what the sensor will see. Modern TTL systems do this by firing a nearly invisible pre-flash, evaluating the result, and then firing the actual exposure flash – all faster than the human eye can register two separate events.
This is a genuinely clever system, and it works well in chaotic or rapidly changing environments. Social events, documentary work, run-and-gun editorial situations where you can not afford to stop and recalculate – TTL handles those cases with reasonable accuracy. The camera is doing the exposure math for you based on real light data from your actual composition.
Step 4: Know When TTL Becomes a Liability
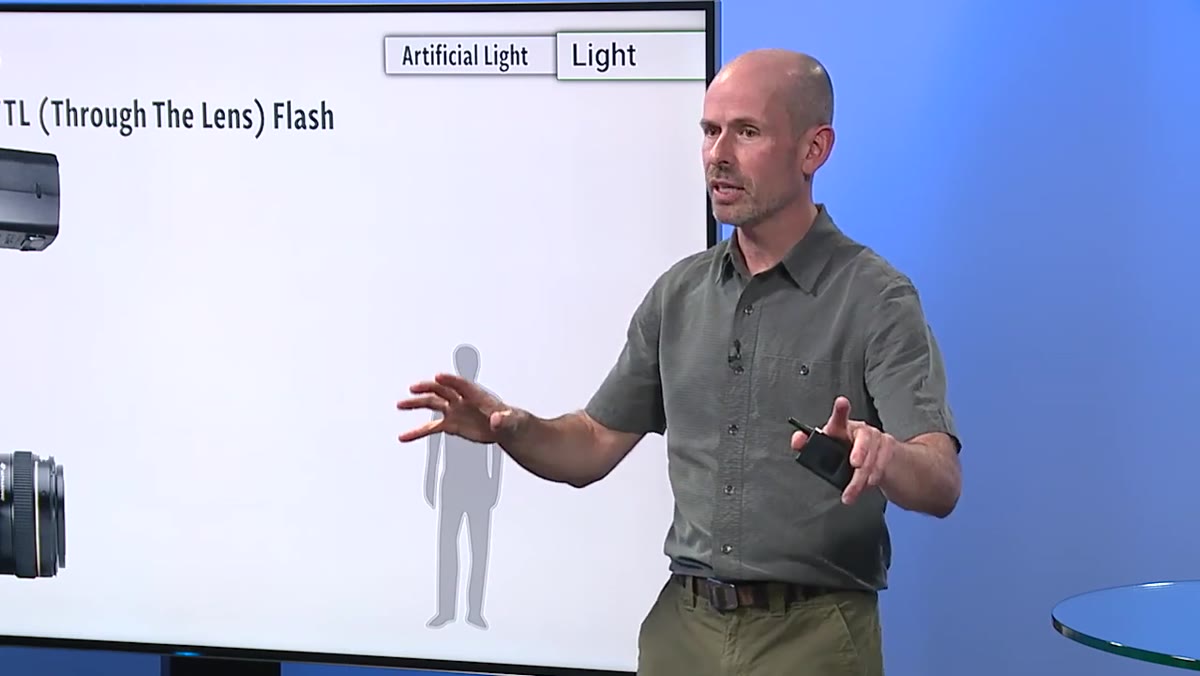 Controlled studio setup with tripod and lights in fixed positions
Here is where the tutorial shifts from explanation to opinion, and I agree completely: in a controlled studio environment, TTL is a problem. When you have a tripod down, lights placed, and a subject in a fixed position, you do not want your flash output changing between frames. TTL re-evaluates every shot. If your subject tilts their head and a brighter patch of skin becomes more prominent in the frame, the flash output shifts. Your series of images loses consistency.
Controlled studio setup with tripod and lights in fixed positions
Here is where the tutorial shifts from explanation to opinion, and I agree completely: in a controlled studio environment, TTL is a problem. When you have a tripod down, lights placed, and a subject in a fixed position, you do not want your flash output changing between frames. TTL re-evaluates every shot. If your subject tilts their head and a brighter patch of skin becomes more prominent in the frame, the flash output shifts. Your series of images loses consistency.
In studio work, consistency is the job. A fashion client comparing selects does not want to see exposure variation across a sequence shot in the same setup. For that kind of precision shooting, manual flash is the only answer – you set the power, you verify it with a meter or test shots, and it stays there until you decide to change it.
Step 5: Match Your Metering Mode to the Shooting Situation
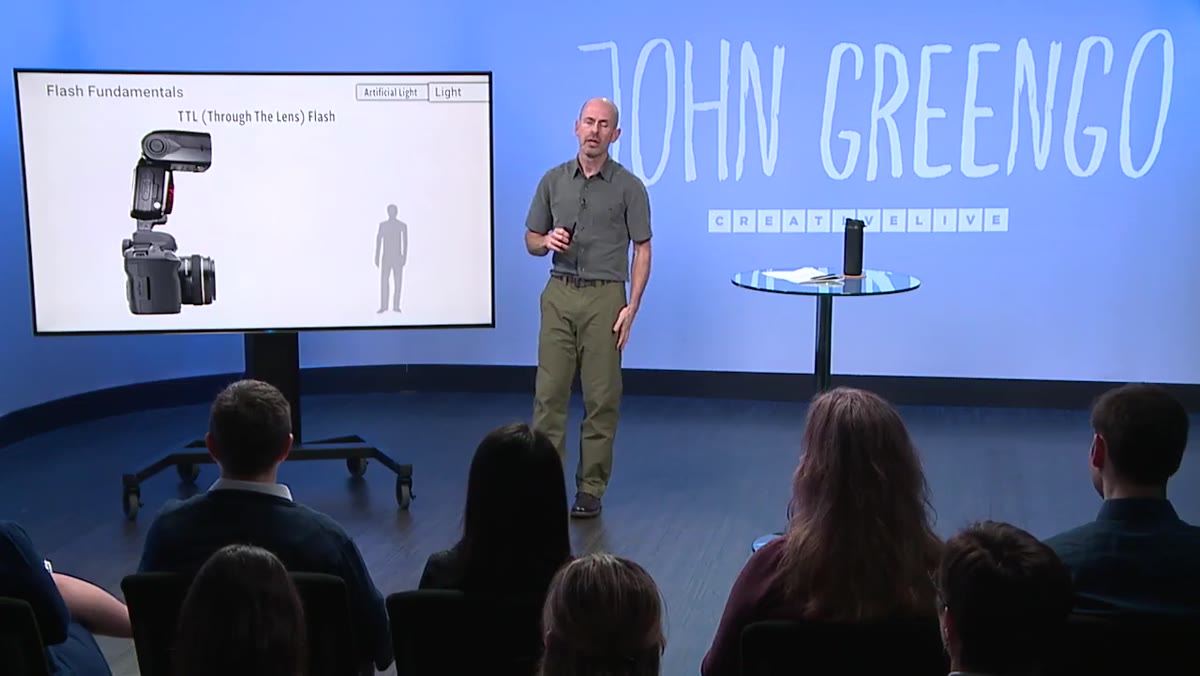 Photographer moving through event with flash, then cutting to studio setup
The practical takeaway from the tutorial’s historical arc is a simple decision tree. Ask yourself whether the situation is predictable or unpredictable. Unpredictable – changing subjects, distances, backgrounds, ambient conditions – TTL is your working tool. Predictable – fixed studio setup, controlled light ratios, repeatable results required – manual flash is the only mode that gives you what you need.
Photographer moving through event with flash, then cutting to studio setup
The practical takeaway from the tutorial’s historical arc is a simple decision tree. Ask yourself whether the situation is predictable or unpredictable. Unpredictable – changing subjects, distances, backgrounds, ambient conditions – TTL is your working tool. Predictable – fixed studio setup, controlled light ratios, repeatable results required – manual flash is the only mode that gives you what you need.
I would add a third category: learning situations. When you are first getting comfortable with flash, shoot manual even when TTL might technically be acceptable. Manual forces you to understand the relationship between power, distance, and aperture in a way that TTL metering insulates you from. You will make more mistakes, but you will understand what went wrong when you do.
What I’d Add From the Studio
The tutorial covers the mechanics cleanly, but there is one thing I have learned from years of commercial work that extends everything here: document your settings every single time. I keep a lighting journal – sketches of each setup, power settings, modifier choices, distances from subject – and I have gone back to those notes more times than I can count to rebuild a look from a previous shoot. TTL gives you a result. Manual flash, documented carefully, gives you a repeatable result. For client work, repeatability is often worth more than any individual perfect frame.
I also test every modifier the day it arrives, which means I am building intuition about how each one affects the light output and spread. When you switch from a bare bulb to a 60-inch octabox, your flash power settings need to shift significantly. Building that reference library in your own space, with your own gear, is something no tutorial can do for you – but understanding the fundamentals from resources like this one is what makes those tests meaningful.
The single most important thing this tutorial establishes is that flash mode selection is not a preference – it is a function of context. TTL for chaos, manual for control. Get that distinction locked in before worrying about any other flash variable.
Watch the full tutorial on YouTube to see the concepts demonstrated in real time – the CreativeLive format is thorough and the pacing gives you room to actually absorb each step.
Comments (1)
The tip about flash modes decoded what every was the missing piece for me. Thank you.
Leave a Comment