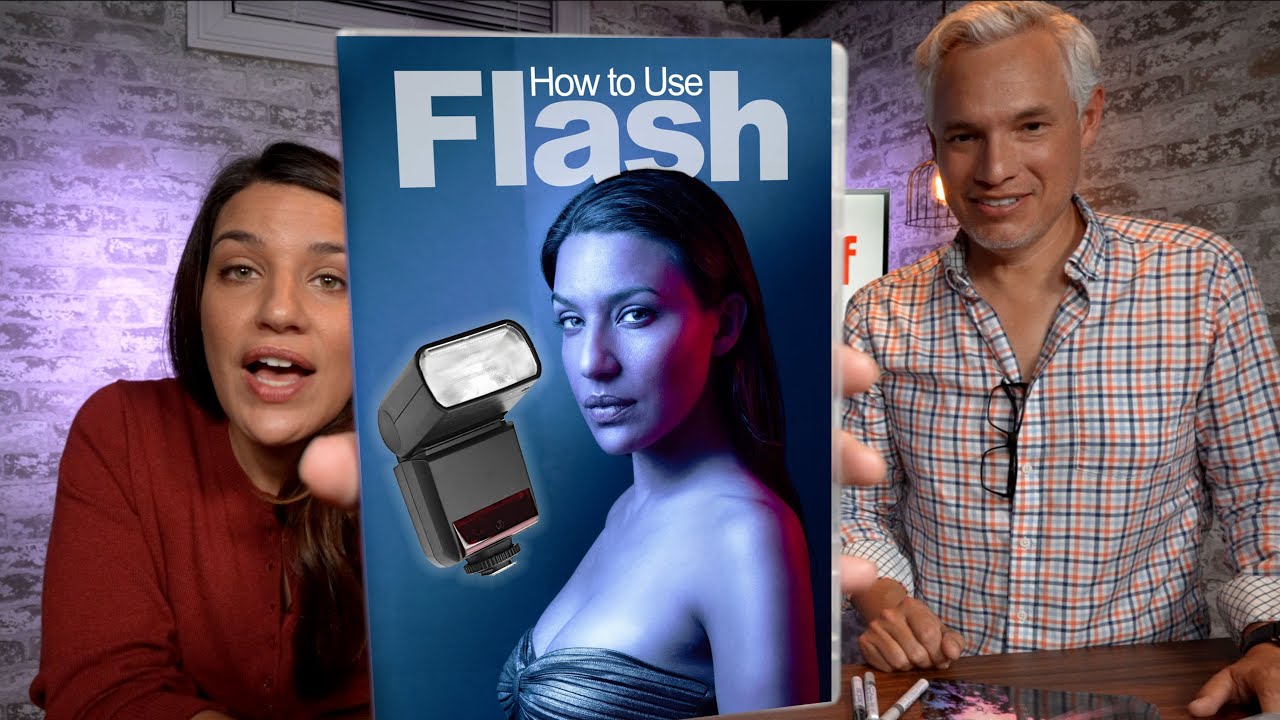
Every few months I get a message from a photographer who’s serious about their work, shoots constantly, and still hasn’t touched their flash. Not because they don’t own one. Because they’re afraid of it. I understand that fear more than most people would expect from someone who labels every light in his studio with masking tape and sketches setups in a journal after every shoot. I was that photographer once, convinced that good light was something you found, not something you built.
That’s why I paid attention when Tony & Chelsea Northrup dropped their new flash photography training series alongside their Black Friday sale. In this Tony & Chelsea Northrup tutorial, they walk through what the series covers and why they built it, and even in the context of a promotional video, the reasoning is sound. Flash is not optional if you’re serious. Clouds move. Golden hour lasts eleven minutes. A flash fires when you tell it to.
Here’s what the tutorial reveals about the training, and how I’d apply it in a working studio context.
Step 1: Recognize Why Natural Light Photographers Need Flash Anyway
 Tony holding a flash unit, making the case for artificial light
The first argument Tony makes is the one I wish someone had made to me ten years earlier. Natural light is beautiful and unpredictable in equal measure. If you’ve ever driven an hour to a location, set up your subject, and watched a cloud park itself directly over the sun for forty minutes, you already understand the problem. Flash gives you consistency. It gives you control. And the quality of light you can produce with even a modest speedlight and the right modifier can match or exceed what you’d find on a perfect overcast afternoon.
Tony holding a flash unit, making the case for artificial light
The first argument Tony makes is the one I wish someone had made to me ten years earlier. Natural light is beautiful and unpredictable in equal measure. If you’ve ever driven an hour to a location, set up your subject, and watched a cloud park itself directly over the sun for forty minutes, you already understand the problem. Flash gives you consistency. It gives you control. And the quality of light you can produce with even a modest speedlight and the right modifier can match or exceed what you’d find on a perfect overcast afternoon.
For anyone shooting portraits professionally, whether editorial or client work, that consistency isn’t a luxury. It’s the difference between delivering a cohesive gallery and apologizing for the ones where the light dropped.
Step 2: Start With Bounced Flash Before You Touch a Modifier
 Tony discussing bounce flash technique as a starting point
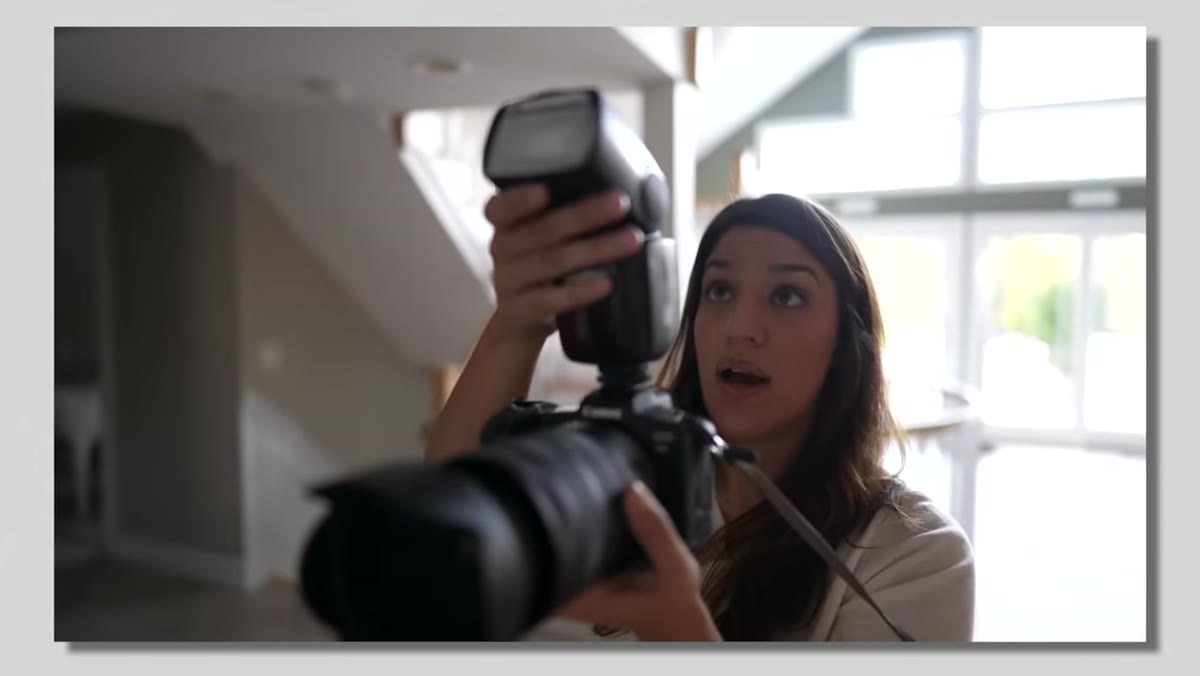
The training series opens with bounced flash, which is exactly the right place to begin. Bouncing your flash off a ceiling or wall is the fastest way to convert a harsh, direct light source into something that wraps around your subject. The physics are simple: the larger the surface the light hits, the softer the light that comes back. A white ceiling in a room with eight-foot walls becomes a giant softbox for free.
Tony discussing bounce flash technique as a starting point
The training series opens with bounced flash, which is exactly the right place to begin. Bouncing your flash off a ceiling or wall is the fastest way to convert a harsh, direct light source into something that wraps around your subject. The physics are simple: the larger the surface the light hits, the softer the light that comes back. A white ceiling in a room with eight-foot walls becomes a giant softbox for free.
In practice, angle your flash head to about 45 to 60 degrees toward the ceiling rather than pointing it directly at your subject. Watch your exposure compensation. Bounce loses you roughly two stops depending on ceiling color and distance, so a white ceiling at eight feet might cost you 1.5 stops, while a higher or off-white ceiling can push that to two or more. Set your ISO to accommodate the loss before you start compensating with aperture.
Step 3: Understand Modifiers and What Each One Actually Does to Light Quality
 Demonstration of flash modifiers and their effects on light
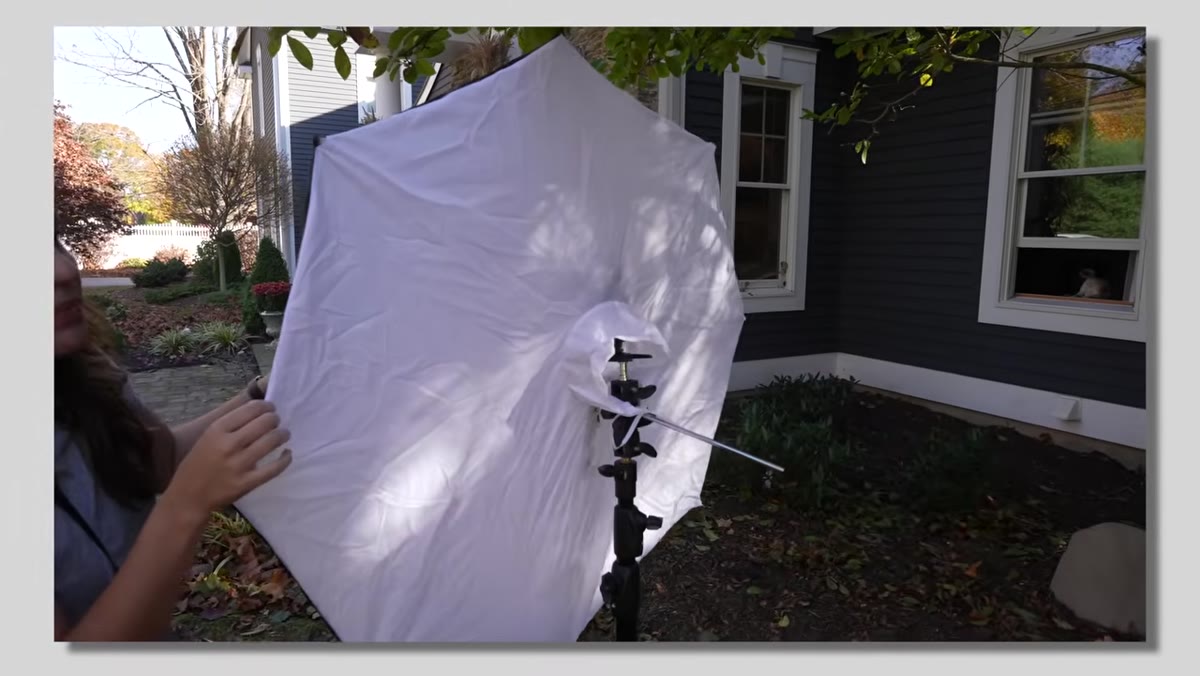
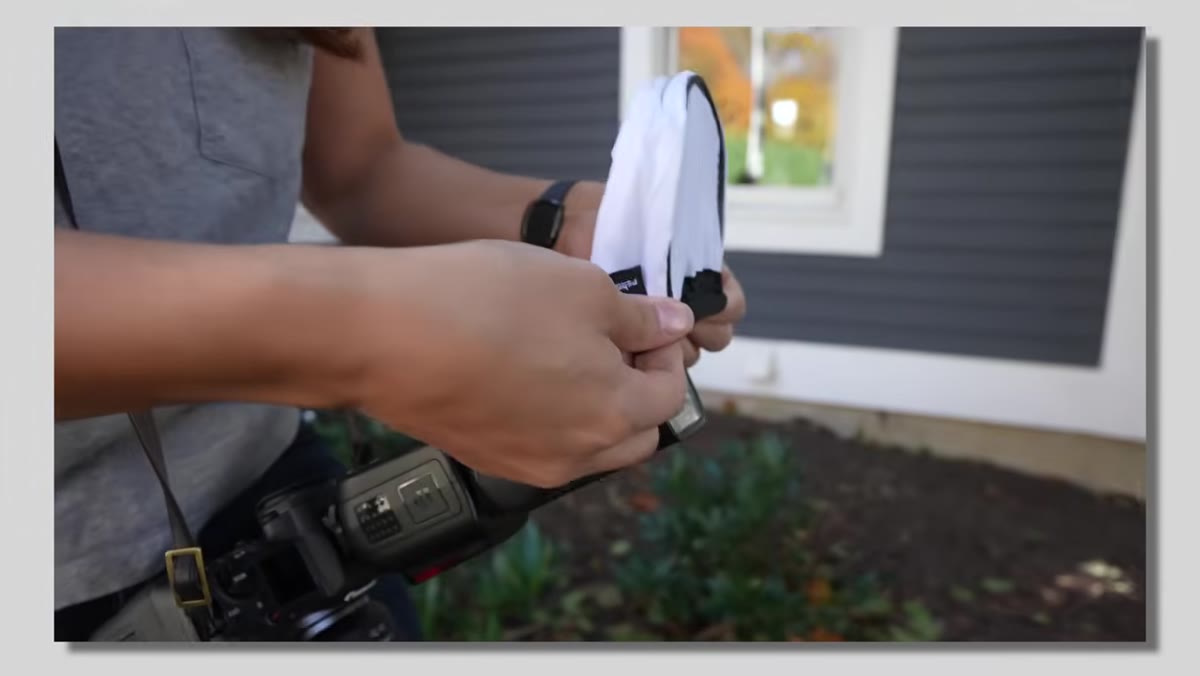
Once you’re comfortable bouncing, the training moves into modifiers. This is where most photographers get lost because the market is flooded with options and the differences aren’t always obvious in product photos. The core principle is surface area. A small dome diffuser softens the light slightly but doesn’t fundamentally change its character. A larger octabox or rectangular softbox creates a bigger, more directional source that produces the kind of gradual shadow falloff you see in professional portraiture.
Demonstration of flash modifiers and their effects on light
Once you’re comfortable bouncing, the training moves into modifiers. This is where most photographers get lost because the market is flooded with options and the differences aren’t always obvious in product photos. The core principle is surface area. A small dome diffuser softens the light slightly but doesn’t fundamentally change its character. A larger octabox or rectangular softbox creates a bigger, more directional source that produces the kind of gradual shadow falloff you see in professional portraiture.
When I test a new modifier the day it arrives, the first thing I do is shoot a plain white sphere or an egg against a dark background. Shadow falloff tells you everything about how a modifier will behave on a face. Hard shadow edge means specular, dramatic light. Gradual transition means wrapping, flattering light. Know what you’re building before your subject sits down.
Step 4: Match Your Training Format to How You Actually Learn
 Tony and Chelsea showing the flash series available as digital stream or SD card
One practical detail worth noting: the series is available as a digital stream or on a reusable SD card. That second option matters more than it sounds. If you’re the kind of person who processes information better by watching something once, pausing, going to shoot, then rewatching, having the content on a card you can take to your studio or on location is genuinely useful. I’ve seen photographers buy digital courses and never return to them because the browser tab gets buried.
Tony and Chelsea showing the flash series available as digital stream or SD card
One practical detail worth noting: the series is available as a digital stream or on a reusable SD card. That second option matters more than it sounds. If you’re the kind of person who processes information better by watching something once, pausing, going to shoot, then rewatching, having the content on a card you can take to your studio or on location is genuinely useful. I’ve seen photographers buy digital courses and never return to them because the browser tab gets buried.
The streaming version works fine if you have reliable internet in your shooting space. If you’re in a basement studio or a rented space with spotty wifi, physical media removes one more variable from your learning process.
Step 5: Treat the Training as Structured Curriculum, Not YouTube Search
 Tony explaining structured learning versus searching YouTube for answers
Tony makes a distinction between YouTube search and structured education that I think gets undersold in the photography community. When you search YouTube for a specific problem, you get an answer to that problem. What you don’t get is the context around it. You learn how to fix the symptom without understanding the system. A course that walks you through flash fundamentals in sequence means that by the time you hit a problem on a shoot, you have a mental model to diagnose it, not just a trick you half-remember from a video you watched six months ago.
Tony explaining structured learning versus searching YouTube for answers
Tony makes a distinction between YouTube search and structured education that I think gets undersold in the photography community. When you search YouTube for a specific problem, you get an answer to that problem. What you don’t get is the context around it. You learn how to fix the symptom without understanding the system. A course that walks you through flash fundamentals in sequence means that by the time you hit a problem on a shoot, you have a mental model to diagnose it, not just a trick you half-remember from a video you watched six months ago.
This is how I’d recommend approaching any technical training. Work through it in order at least once, even if sections feel basic. The basics are usually where the gaps are.
Step 6: Use the Money-Back Guarantee to Remove the Risk From Experimenting
 Chelsea mentioning the no-questions-asked money-back guarantee
The training comes with a no-questions-asked money-back guarantee, which is worth factoring into the decision if you’re uncertain. Learning flash requires you to invest time and attention, not just money. But the financial risk being removed means the only real cost is the hours. If the material doesn’t match your level or your shooting context, you’re not out the purchase price.
Chelsea mentioning the no-questions-asked money-back guarantee
The training comes with a no-questions-asked money-back guarantee, which is worth factoring into the decision if you’re uncertain. Learning flash requires you to invest time and attention, not just money. But the financial risk being removed means the only real cost is the hours. If the material doesn’t match your level or your shooting context, you’re not out the purchase price.
That said, I’d encourage you to give any serious training at least three full sessions before deciding it isn’t working. The discomfort of early flash work is almost always a calibration problem, not a failure of the material.
What I’d Add From the Studio Floor
The one thing formal flash training rarely covers is color temperature management. Your speedlight fires at roughly 5500 to 6000K. Mix that with tungsten practical lights in a room and you have a color cast problem that no amount of bouncing will fix. Early in my career I ruined a full editorial day by not gelling my lights to match the ambient. I now gel every flash to match whatever source is dominant in the scene before I fire a single test shot. It’s a ten-second habit that has saved me hours in post.
If you go through the Northrup flash series, build that habit in parallel. It won’t be in every tutorial because it’s the kind of thing you learn the hard way, which is exactly why I’m telling you now.
The single most important thing flash training gives you is the ability to stop waiting. Waiting for the right time of day, the right weather, the right window in the right building. You build the light you need, and you build it the same way every time. That repeatability is what separates shooters who get lucky from photographers who deliver consistently.
Watch the full tutorial on YouTube to see what the training series covers and decide if it fits where you are in your flash education right now.
Comments (3)
The before and after really sells it. Incredible difference.
Wow, I had no idea you could do this. Mind blown.
Tried this technique this morning. Game changer for real.
Leave a Comment