I’m tired of hearing photographers apologize for using flash. “I wish I had natural light,” they say, as if flash is some kind of failure. It isn’t. Flash is a tool that, when used correctly, gives you absolute control over your subject’s appearance. Most people just use it wrong.
The problem isn’t flash itself—it’s that photographers treat it like an afterthought. They slap a speedlight on their camera’s hot shoe, aim it forward, and wonder why their subjects look washed out and one-dimensional. This is precisely backwards. Flash requires more planning than natural light, not less.
Understanding Flash as a Precise Ingredient
Think of flash photography like cooking. You wouldn’t dump ingredients in a pot randomly and expect a good meal. Flash works the same way. Every element—power output, color temperature, distance, angle, and modifier—changes your final image.
Let me be direct: if you’re using your camera’s built-in flash or an on-camera speedlight without modification, you’re creating flat, unflattering light. The inverse square law means light falls off rapidly, leaving your subject’s face bright while their body disappears into shadow. This is ugly light, and there’s no reason to accept it.
The Two Essential Rules
Rule One: Never point flash directly at your subject’s face. Direct flash creates harsh shadows, red-eye, and that deer-in-headlights look. Instead, bounce your flash off a ceiling or wall, or use a modifier like a softbox or bounce card to scatter the light.
Rule Two: Balance your flash exposure with your ambient exposure. This is where most photographers stumble. Your flash power should complement the room’s existing light, not overpower it. I typically set my shutter speed to control ambient light (1/60th to 1/125th), then adjust flash power to fill in shadows without looking obviously lit.
Practical Settings That Work
For indoor portraiture, here’s my starting point: Manual mode, ISO 400, f/5.6, 1/100th shutter speed, flash at half power bounced off a ceiling. Take a test shot. If the subject’s face is too dark, increase flash power in half-stop increments. If it’s too bright, reduce power or increase distance.
Outdoors in harsh sunlight, flash becomes a fill light. Use high-speed sync (HSS) if your camera supports it, allowing shutter speeds above your camera’s native sync speed (usually 1/200th). This lets you maintain a shallow depth of field while filling shadows on your subject’s face. Set your flash to 1/4 power and position it at a 45-degree angle to the sun.
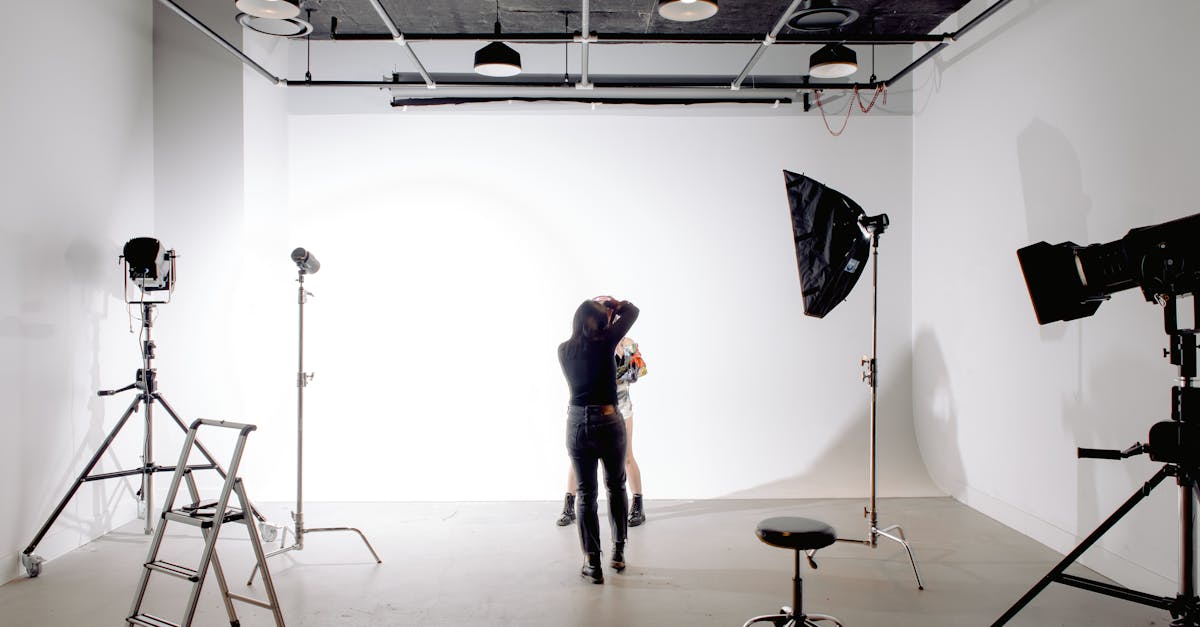
On-Camera Versus Off-Camera
I have a strong opinion here: get your flash off the camera as soon as possible. An on-camera flash, even bounced, creates predictable, slightly boring light. Off-camera flash—even handheld at arm’s length—gives you modeling, dimension, and control.
You don’t need expensive wireless triggers to start. A simple sync cord (yes, they still exist) costs fifteen dollars and gives you complete freedom. Once you experience what happens when you move your light source independently from your camera, you’ll understand why flash mastery matters.
The Modifier Question
Cheap diffusers are mostly theater. A $4 plastic dome doesn’t meaningfully improve your light. Instead, invest in a small softbox (I prefer Neewer’s Bowens-mount option—solid quality for under $40) or learn to bounce flash effectively. A white ceiling is your best modifier, always available and perfectly neutral.
Flash photography demands precision, but precision creates predictability. Once you understand the mechanics, you’ll never again feel helpless in bad lighting conditions. You’ll have brought your own light.
That’s not a compromise. It’s mastery.
Comments (3)
What would you change about this approach for event photography?
Interesting take. I've always done it the opposite way but your logic makes sense.
Thanks Derek Simmons! Glad it was helpful.
Leave a Comment