
Early in my career, I treated flash power and aperture as two separate problems. I’d fire a test shot, decide it was too bright, randomly close down my aperture, fire again, still wrong, then start fiddling with the flash power. No logic to it. Just guessing with expensive equipment. It wasn’t until I really internalized the stop-based relationship between those two controls that my exposure work became something I could actually reason through instead of stumble toward.
That’s why I keep coming back to this particular lesson from Zack Arias, delivered as part of a CreativeLive tutorial on aperture and flash relationships. Arias strips the concept down to its load-bearing structure and rebuilds it in a way that makes the math feel inevitable rather than abstract. If you have ever stood in a studio spinning dials and hoping for the best, this walkthrough is the one to sit with.
What follows is my breakdown of his core demonstration, written so you can apply it at your own flash unit without needing to pause and rewind.
Step 1: Understand That Flash Power Moves in Stops
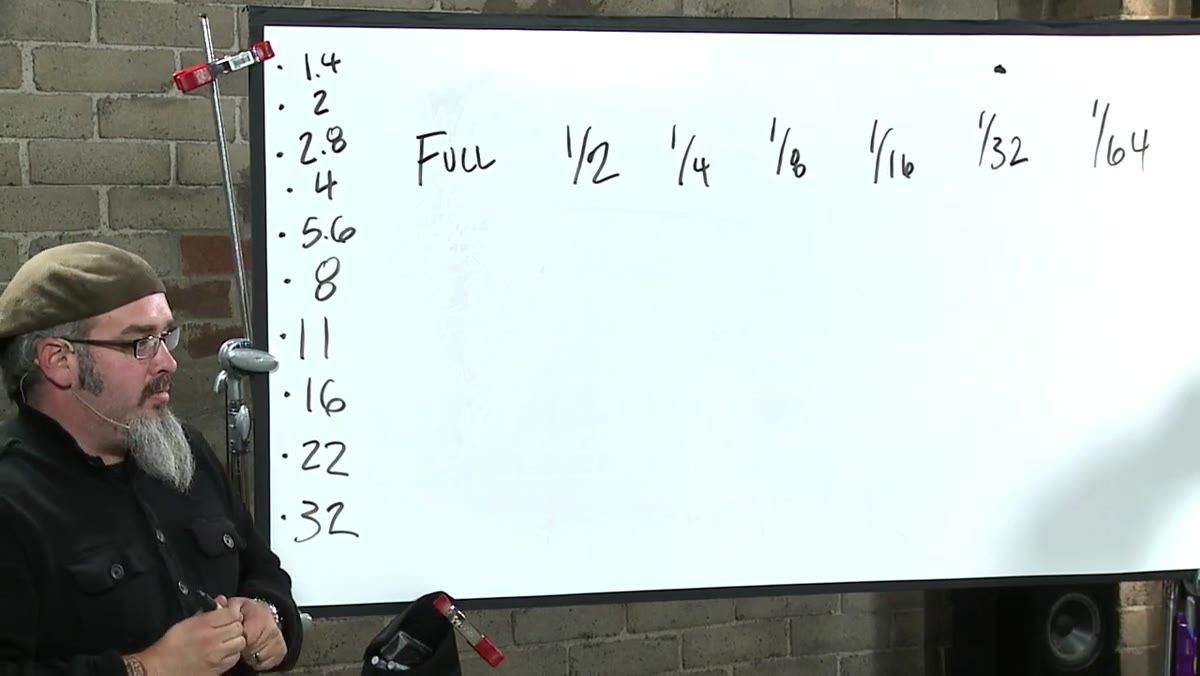 Flash power settings displayed, full to half power labeled
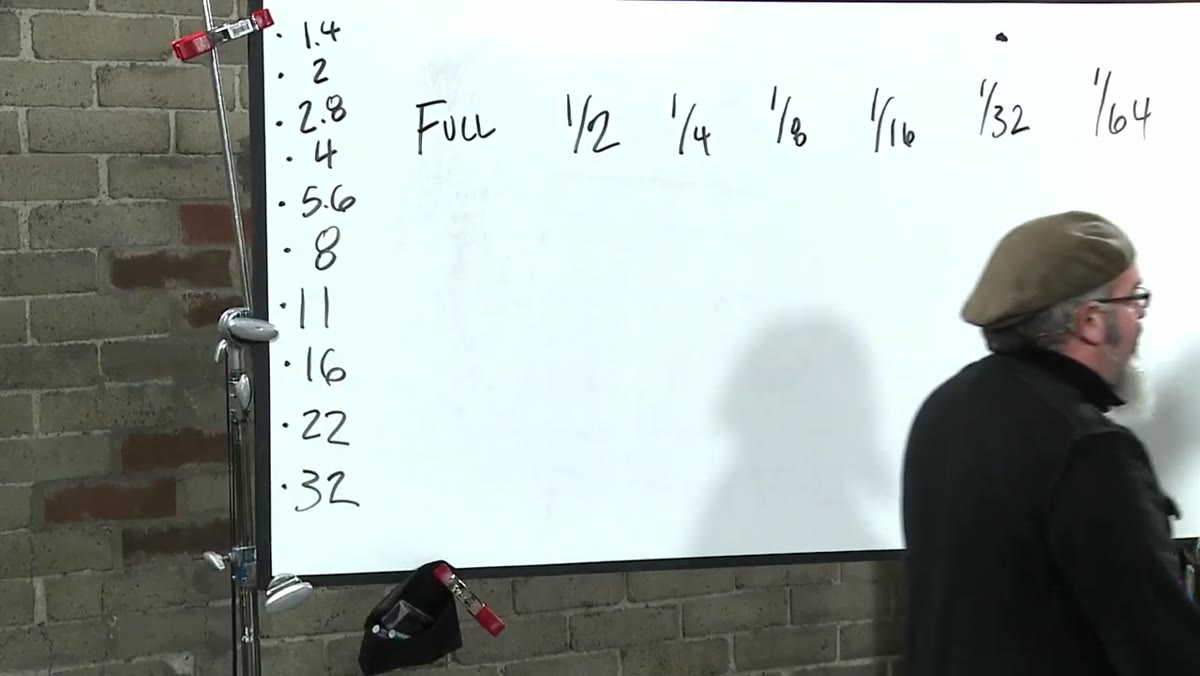
Every major flash unit gives you power settings in fractional increments: full, 1/2, 1/4, 1/8, 1/16, 1/32. These are not arbitrary marketing labels. Each step down cuts the light output by exactly half, which in photographic terms is one stop of light. Full to half power equals one stop. Half to quarter equals another stop. The language of stops is the same language your aperture ring speaks, which is the entire point.
Flash power settings displayed, full to half power labeled
Every major flash unit gives you power settings in fractional increments: full, 1/2, 1/4, 1/8, 1/16, 1/32. These are not arbitrary marketing labels. Each step down cuts the light output by exactly half, which in photographic terms is one stop of light. Full to half power equals one stop. Half to quarter equals another stop. The language of stops is the same language your aperture ring speaks, which is the entire point.
This is the foundational idea the rest of the technique rests on. If you are fuzzy on what a stop means in practice, just hold onto this: one stop less light means half as much light reaching your sensor. One stop more means double. That’s all.
Step 2: Map Your Aperture Scale the Same Way
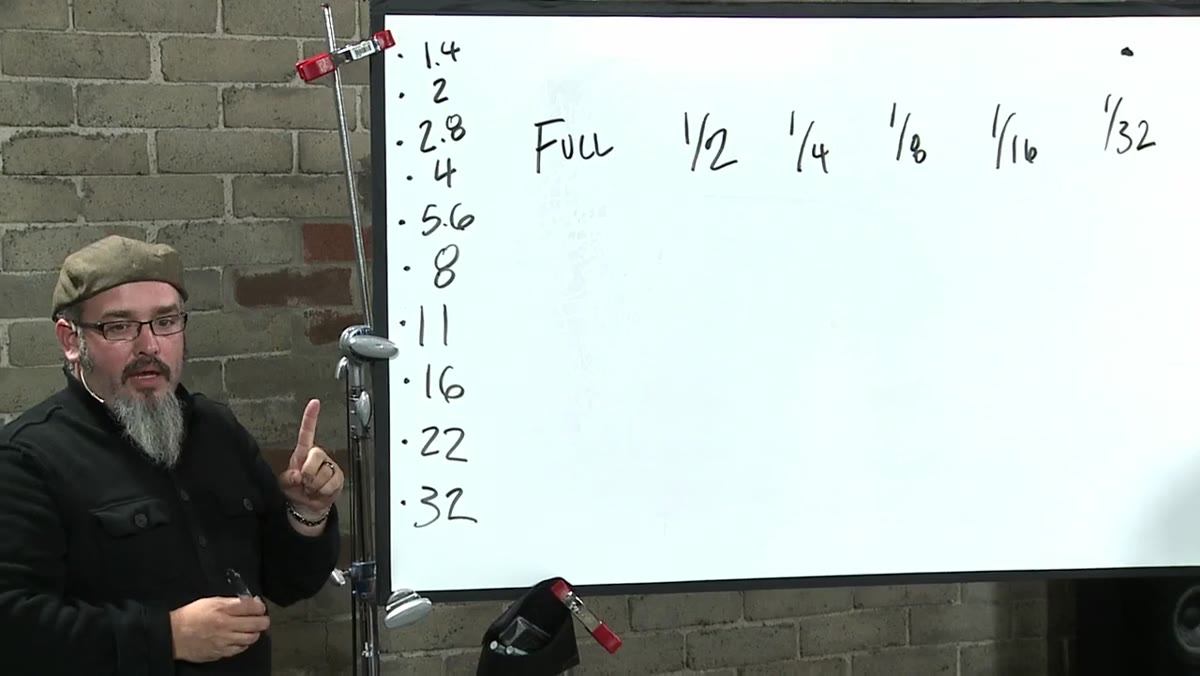 Aperture values listed alongside flash power, showing one-stop increments
Aperture values follow the same one-stop logic. Moving from f/8 to f/5.6 opens the aperture by one stop, letting in twice as much light. Moving from f/8 to f/11 closes it by one stop, halving the light. The sequence Arias works with runs through f/16, f/11, f/8, f/5.6, and so on. Each step is one stop.
Aperture values listed alongside flash power, showing one-stop increments
Aperture values follow the same one-stop logic. Moving from f/8 to f/5.6 opens the aperture by one stop, letting in twice as much light. Moving from f/8 to f/11 closes it by one stop, halving the light. The sequence Arias works with runs through f/16, f/11, f/8, f/5.6, and so on. Each step is one stop.
The key insight is that these two scales are parallel. One stop on the flash power dial produces the same exposure shift as one stop on the aperture ring. Once you see them as two columns of the same chart, you stop treating them as independent variables and start treating them as a single system.
Step 3: Lock In a Starting Exposure
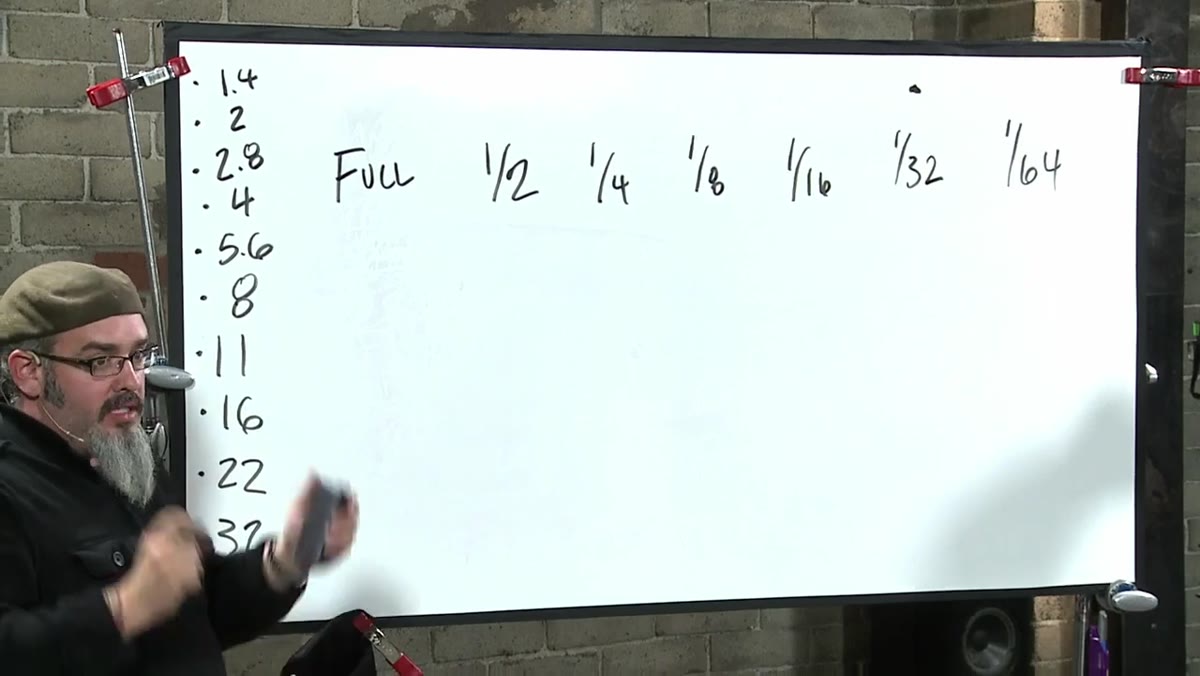 Full power flash aimed at subject, f/16 noted as correct exposure
Arias uses a simple hypothetical to make this concrete: point your flash at a subject at full power, take a test frame, and check the result. In his example, full power at f/16 produces a proper exposure. That pairing becomes your anchor point. You are not married to it permanently, but you need a known-good starting position before you can navigate intelligently from it.
Full power flash aimed at subject, f/16 noted as correct exposure
Arias uses a simple hypothetical to make this concrete: point your flash at a subject at full power, take a test frame, and check the result. In his example, full power at f/16 produces a proper exposure. That pairing becomes your anchor point. You are not married to it permanently, but you need a known-good starting position before you can navigate intelligently from it.
In practice, this is where I take my first chimping shot of any studio session. I set the flash to full power or whatever power I expect to be working near, shoot a frame at a middle aperture like f/8 or f/11, read the histogram, and adjust once to land close. That gives me my anchor. Everything from that point is controlled movement, not searching.
Step 4: Use the Stop Relationship to Predict Your New Aperture
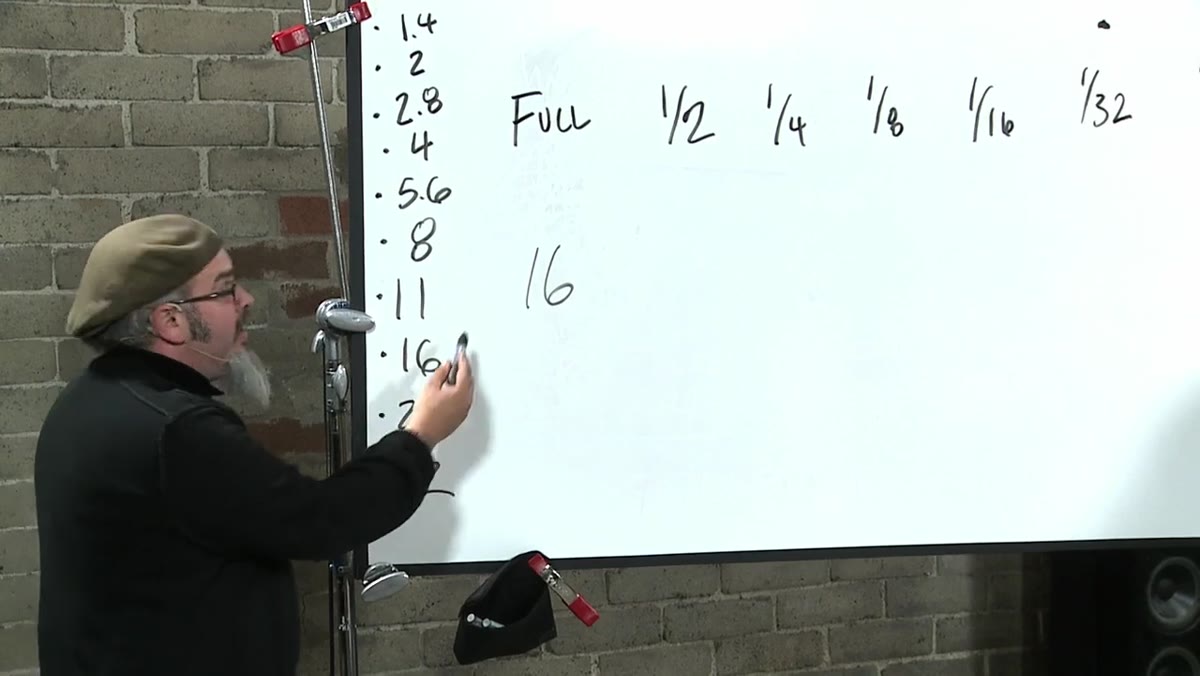 Flash power stepped down from full to half, aperture shifted from f/16 to f/11
Here is where the system pays off. If full power equals f/16, then dropping the flash to half power loses one stop of light. To maintain the same exposure, you have to open your aperture by one stop, moving from f/16 to f/11. Drop to quarter power and you have lost two stops total. Open two stops to f/8. Drop to 1/8 power, open to f/5.6.
Flash power stepped down from full to half, aperture shifted from f/16 to f/11
Here is where the system pays off. If full power equals f/16, then dropping the flash to half power loses one stop of light. To maintain the same exposure, you have to open your aperture by one stop, moving from f/16 to f/11. Drop to quarter power and you have lost two stops total. Open two stops to f/8. Drop to 1/8 power, open to f/5.6.
Arias traces this down the scale step by step: full/f16, half/f11, quarter/f8, 1/8/f5.6, 1/16/f4. The numbers are predictable because the physics are predictable. You can calculate your destination aperture before you ever touch the camera. I have this exact chart taped inside my equipment case alongside my modifier notes. The math never changes.
Step 5: Decide Which Direction Serves Your Creative Goal
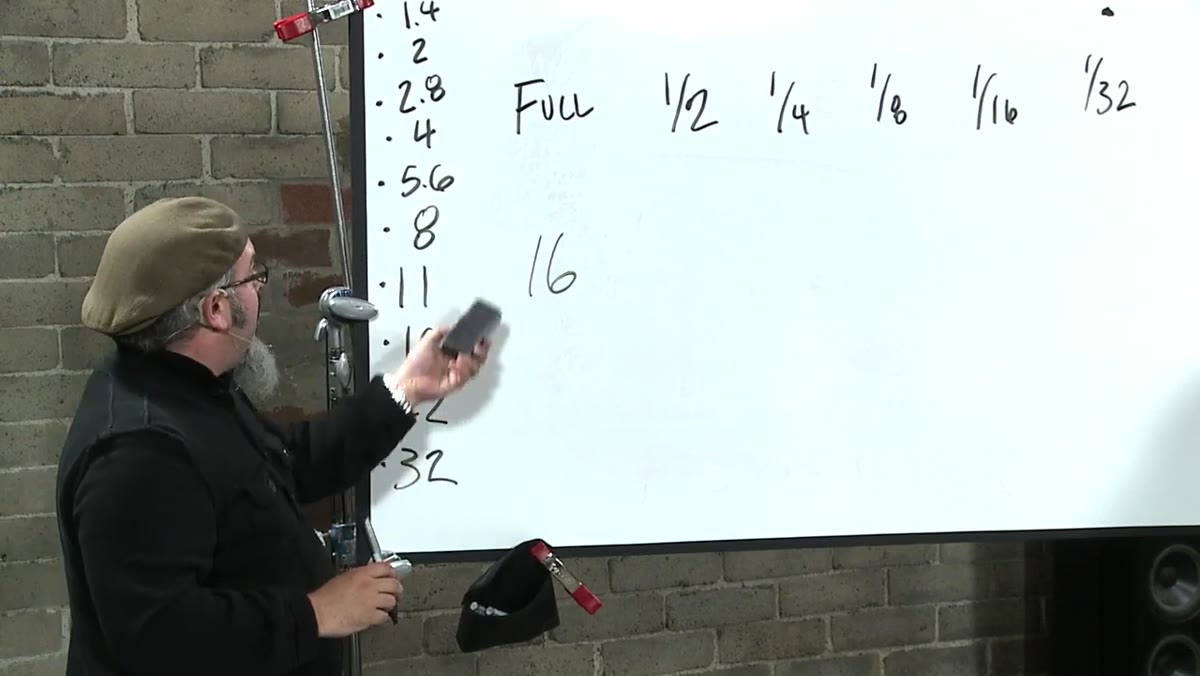 Chart showing flash power settings mapped to corresponding aperture values
The reason you want to move between these pairs is almost always depth of field. Shooting at full power forces a small aperture, which gives you deep depth of field, fine for product work or group shots, but limiting for portraits where you want subject separation. If you need f/4 or f/2.8 for a shallow background, you reduce flash power to match and arrive at f/4 with your subject still correctly exposed.
Chart showing flash power settings mapped to corresponding aperture values
The reason you want to move between these pairs is almost always depth of field. Shooting at full power forces a small aperture, which gives you deep depth of field, fine for product work or group shots, but limiting for portraits where you want subject separation. If you need f/4 or f/2.8 for a shallow background, you reduce flash power to match and arrive at f/4 with your subject still correctly exposed.
This is why the direction of your adjustment matters as much as the amount. If you need more background separation, you do not change one control randomly and hope. You decide you want to open two stops, drop the flash two stops to compensate, and the exposure stays consistent while the depth of field becomes exactly what you intended.
Step 6: Avoid Random Clicking
 Hands shown adjusting flash power without counting stops, presented as the wrong approach
Arias makes a point of demonstrating what not to do: standing at the back of the flash, clicking the power button without counting, and asking someone nearby to tell you when to stop. It sounds obvious when someone else is doing it, but I have caught myself doing exactly this under the pressure of a client on set. The result is always the same. You end up somewhere random and have lost your reference point entirely.
Hands shown adjusting flash power without counting stops, presented as the wrong approach
Arias makes a point of demonstrating what not to do: standing at the back of the flash, clicking the power button without counting, and asking someone nearby to tell you when to stop. It sounds obvious when someone else is doing it, but I have caught myself doing exactly this under the pressure of a client on set. The result is always the same. You end up somewhere random and have lost your reference point entirely.
The fix is simple: count every stop as you make it, and state it out loud if it helps. “I’m dropping two stops of power, so I need to open two stops of aperture.” That spoken step slows you down just enough to stay accurate.
What This Looks Like in a Real Session
I work primarily with monolights in a mid-sized studio in Los Angeles, and I run through this stop-mapping exercise at the start of every session. My first test frame tells me my anchor exposure. From there, every creative decision involving depth of field or flash intensity is a counted stop adjustment, not a guess. I keep a small notebook where I sketch the lighting diagram for every setup alongside the power-to-aperture pairs I actually landed on. After a few years, those pages have become more useful than any textbook I own, because they are built from setups I have personally troubleshot.
The one thing Arias does not cover in this segment, and something I have had to learn through repetition, is that this stop relationship only holds cleanly when the flash is the dominant light source. If you are mixing flash with strong ambient, the math gets more complicated because your ambient exposure is also responding to aperture changes. Nail the pure flash relationship first. Introduce ambient complexity later.
The single most important thing to take away from this tutorial is that flash power and aperture are not separate problems to solve independently. They are the same stop-based scale, running in opposite directions. Every stop you reduce on the flash, you open on the aperture, and your exposure stays put while your creative options shift. Master that one relationship and studio exposure stops feeling like guesswork.
Watch the full tutorial on YouTube and pay particular attention to how Arias walks through the full-to-quarter-power sequence. Seeing him trace it on a chalkboard makes the stop count click in a way that reading about it does not quite match.
Comments (1)
Wow, I had no idea you could do this. Mind blown.
Leave a Comment