Posing is the thing most lighting-focused photographers underestimate until it costs them a client. I know this because I spent years dialing in my light, calibrating my modifiers, labeling every fixture in my studio with masking tape so nothing would ever be ambiguous, and then watching perfectly lit frames fall apart because my subject looked stiff, uncertain, or just geometrically wrong. Good light on a bad pose is still a bad photograph. That was the uncomfortable truth I kept circling back to.
When I came across Sue Bryce’s session for CreativeLive, Watch the full tutorial on YouTube, I was expecting posing tips. What I got was a systematic framework for directing human movement that I now think about every time I pick up a camera in the studio. Sue frames the whole approach around something she calls “flow posing,” and the core idea is that a shoot should move continuously, not stop-and-start between awkward stillnesses. What follows is my breakdown of the method she demonstrates, written so you can apply it without needing to pause and rewind every thirty seconds.
Step 1: Shift Your Mental Model from Posing to Directing
 Sue explaining the difference between posing and directing subjects
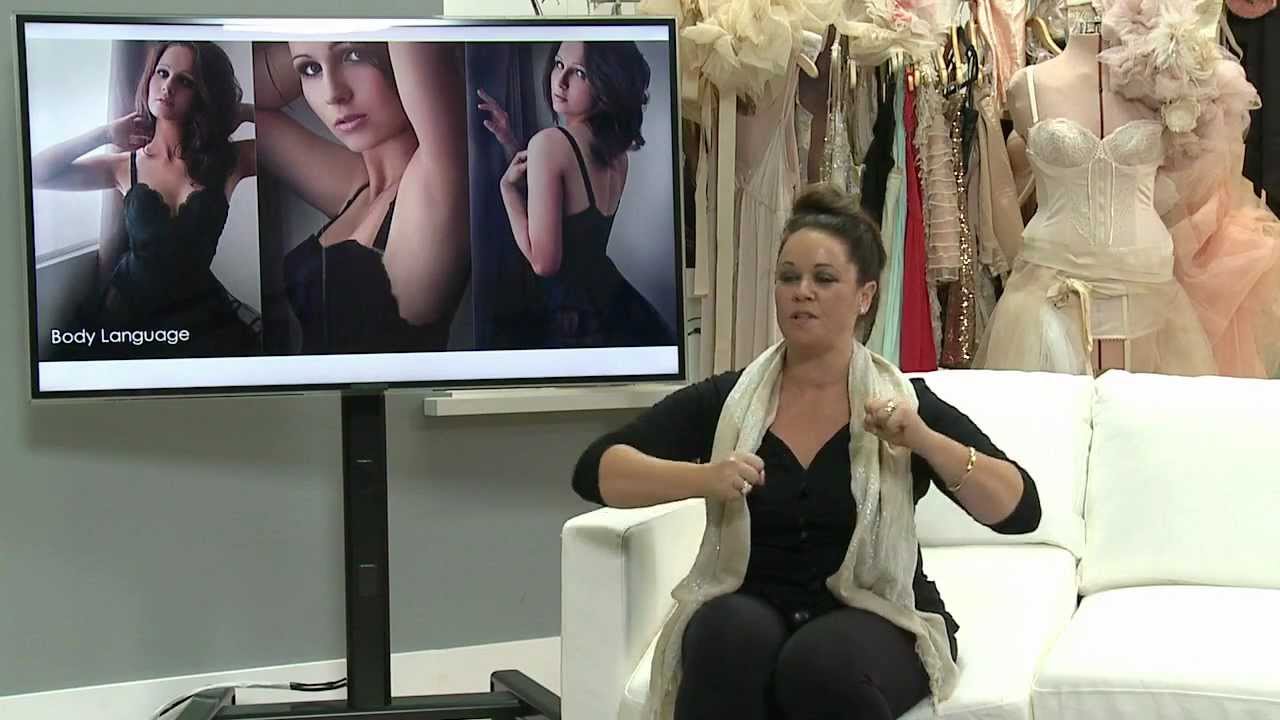
Before any physical technique gets discussed, Sue makes a conceptual distinction that reframes everything else. Posing, in her view, implies placing someone like a mannequin. Directing means guiding them toward body language that feels authentic, something you would genuinely believe they might do in real life. The difference sounds philosophical but it has immediate practical consequences: directed subjects look present in the frame, posed subjects look compliant.
Sue explaining the difference between posing and directing subjects
Before any physical technique gets discussed, Sue makes a conceptual distinction that reframes everything else. Posing, in her view, implies placing someone like a mannequin. Directing means guiding them toward body language that feels authentic, something you would genuinely believe they might do in real life. The difference sounds philosophical but it has immediate practical consequences: directed subjects look present in the frame, posed subjects look compliant.
When you walk into a session, your job is not to memorize a catalog of shapes and reproduce them. It is to observe your subject’s natural tendencies, understand how their body reads on camera, and then guide them toward positions that are flattering, believable, and photographable. This framing takes pressure off both you and your client.
Step 2: Understand the Four Variables You Can Change at Any Moment
 Sue outlining the four directions of movement around a subject
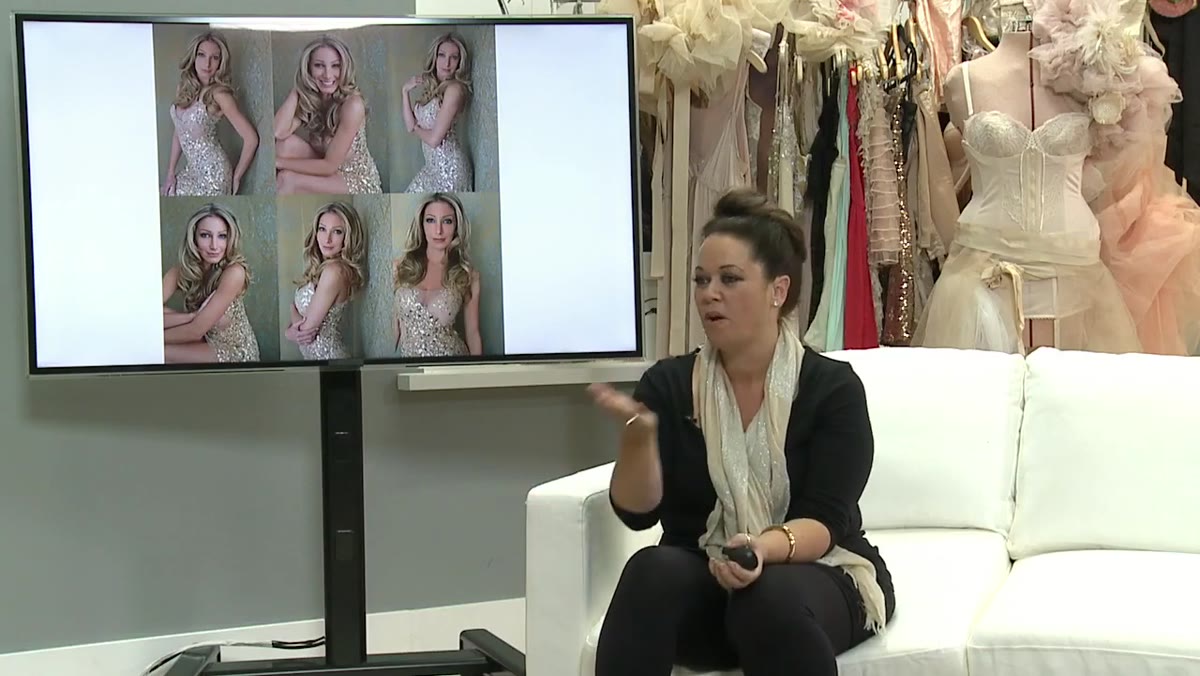
Sue identifies four distinct levers you can pull to generate a new composition without stopping the session’s momentum. First, your zoom: moving physically forward or backward, or using focal length, to change how much of the subject fills the frame. Second, lateral and vertical repositioning within your shooting position, shifting left, right, up, or down to change the framing without moving your subject at all. Third, your own physical movement around the subject, up to a full 180 degrees when shooting against a backdrop or wall. Fourth, directing the subject’s own body and hands.
Sue outlining the four directions of movement around a subject
Sue identifies four distinct levers you can pull to generate a new composition without stopping the session’s momentum. First, your zoom: moving physically forward or backward, or using focal length, to change how much of the subject fills the frame. Second, lateral and vertical repositioning within your shooting position, shifting left, right, up, or down to change the framing without moving your subject at all. Third, your own physical movement around the subject, up to a full 180 degrees when shooting against a backdrop or wall. Fourth, directing the subject’s own body and hands.
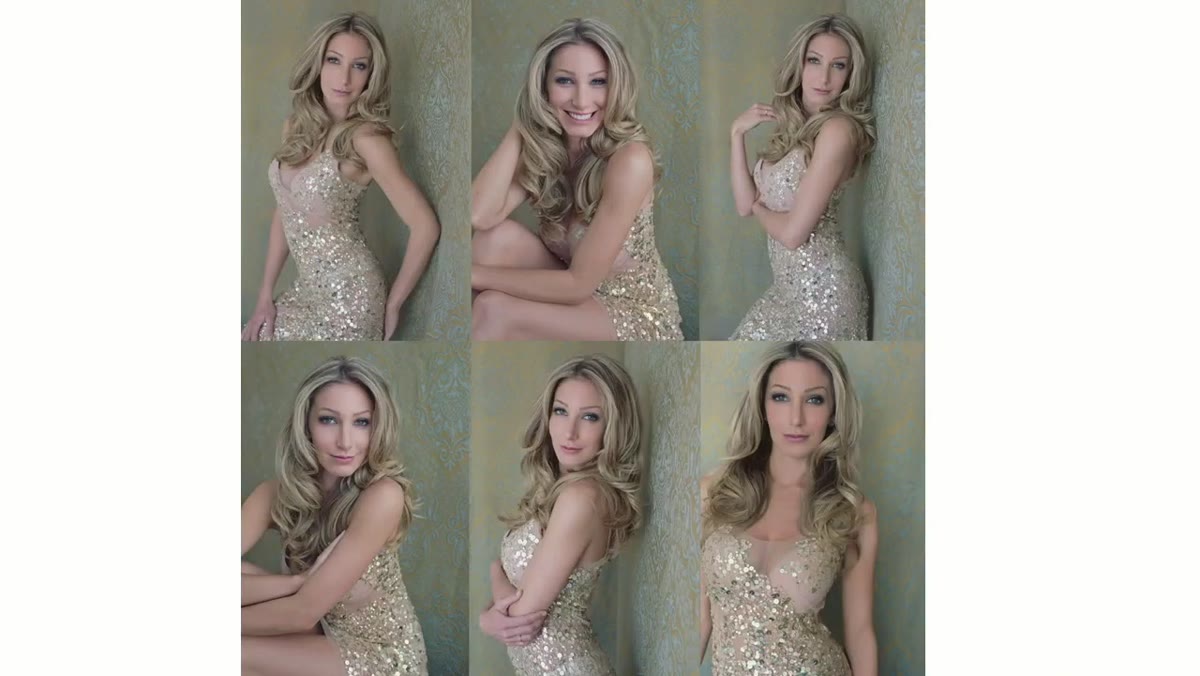
The important thing here is that these variables are independent. You can change one while holding the others constant. That means a single subject in a single location can yield a very large number of genuinely distinct photographs if you work these variables deliberately and sequentially. Sue’s stated goal in this session is 100 distinct poses in an hour, and she defines a new pose as any meaningful change in hands, body position, or composition. That definition is worth borrowing directly.
Step 3: Control the Crop Intentionally and Never Repeat It
 Sue with 24-105mm lens describing shooting different crops in camera
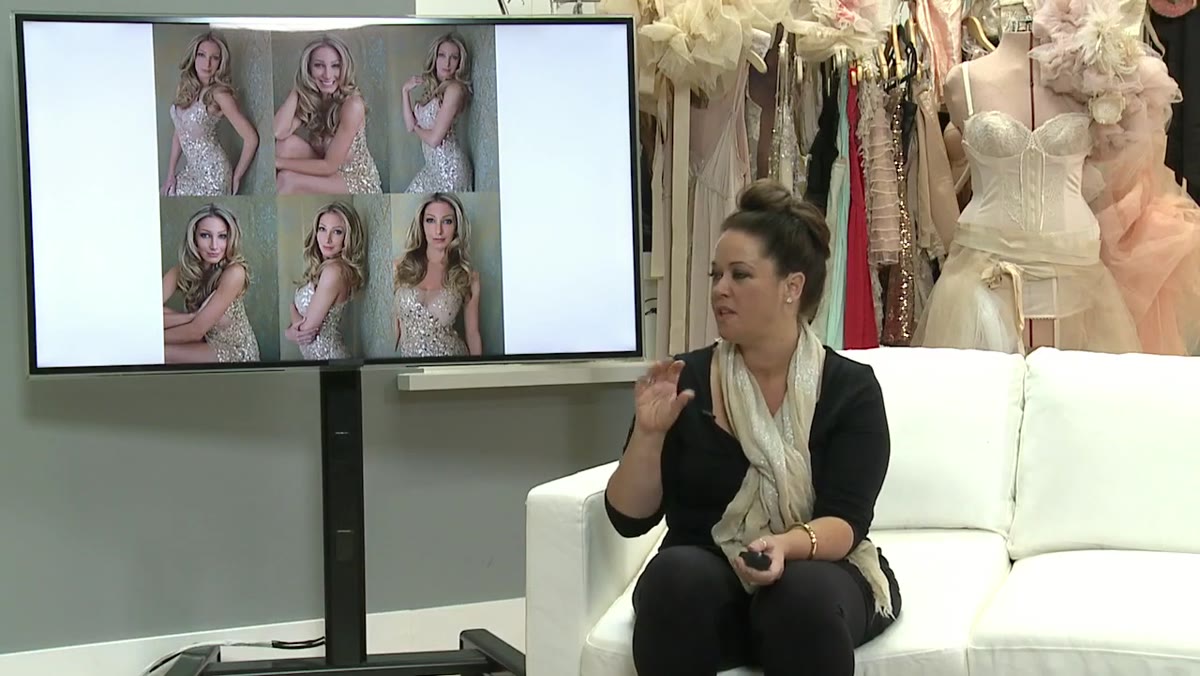
Sue shoots this session on a 24-105mm lens, which gives her significant flexibility in crop without requiring a lens change. The rule she applies is strict: she will not shoot the same crop twice in a row. Every frame should be compositionally distinct from the one before it. This forces you to keep moving, keep adjusting, and keeps the session from collapsing into a series of nearly identical frames that will be difficult to differentiate in post.
Sue with 24-105mm lens describing shooting different crops in camera
Sue shoots this session on a 24-105mm lens, which gives her significant flexibility in crop without requiring a lens change. The rule she applies is strict: she will not shoot the same crop twice in a row. Every frame should be compositionally distinct from the one before it. This forces you to keep moving, keep adjusting, and keeps the session from collapsing into a series of nearly identical frames that will be difficult to differentiate in post.
In practical terms, this means you need to be aware of your framing at all times, not just your exposure. If you shot a three-quarter frame, the next shot should be a close crop on the face, or a full-length, or a dramatic off-center composition. Build this into your habit and you’ll come away from every session with a much more varied and sellable gallery.
Step 4: Move Around Your Subject, Not Just Your Zoom
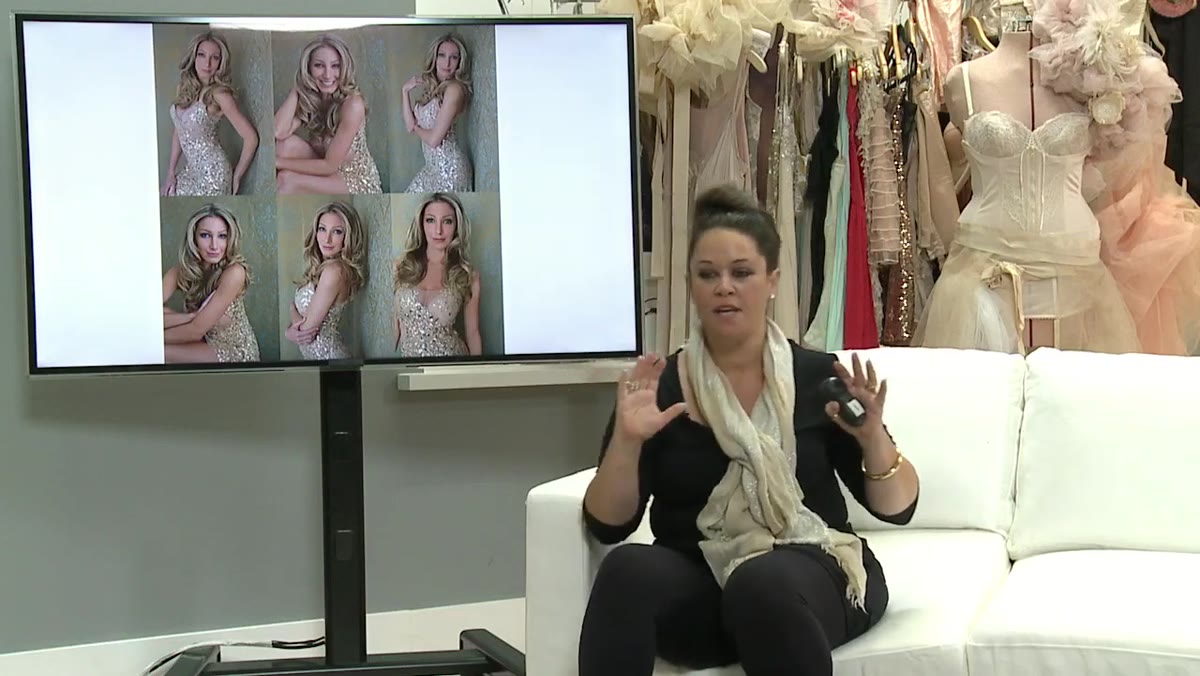 Sue describing 180-degree movement around a client on backdrop
One of the more physical aspects of Sue’s method is the emphasis on actually moving your feet. With a subject against a backdrop, she works across approximately 180 degrees of shooting positions, from a shallow angle on one side around to the other. Each position changes the way the light falls on the face, the apparent shape of the body, and the relationship between subject and background.
Sue describing 180-degree movement around a client on backdrop
One of the more physical aspects of Sue’s method is the emphasis on actually moving your feet. With a subject against a backdrop, she works across approximately 180 degrees of shooting positions, from a shallow angle on one side around to the other. Each position changes the way the light falls on the face, the apparent shape of the body, and the relationship between subject and background.
This is where lighting setup directly intersects with posing. If you’re working with a single key light, moving around your subject changes whether you’re shooting into the light, across it, or away from it. I keep a lighting diagram for every session, and one of the notations I’ve started adding is the effective shooting arc, the range of positions around the subject where the light still works. Stay within that arc and you have freedom to move. Step outside it and you need to adjust the light.
Step 5: Direct the Hands and Face Last, Not First
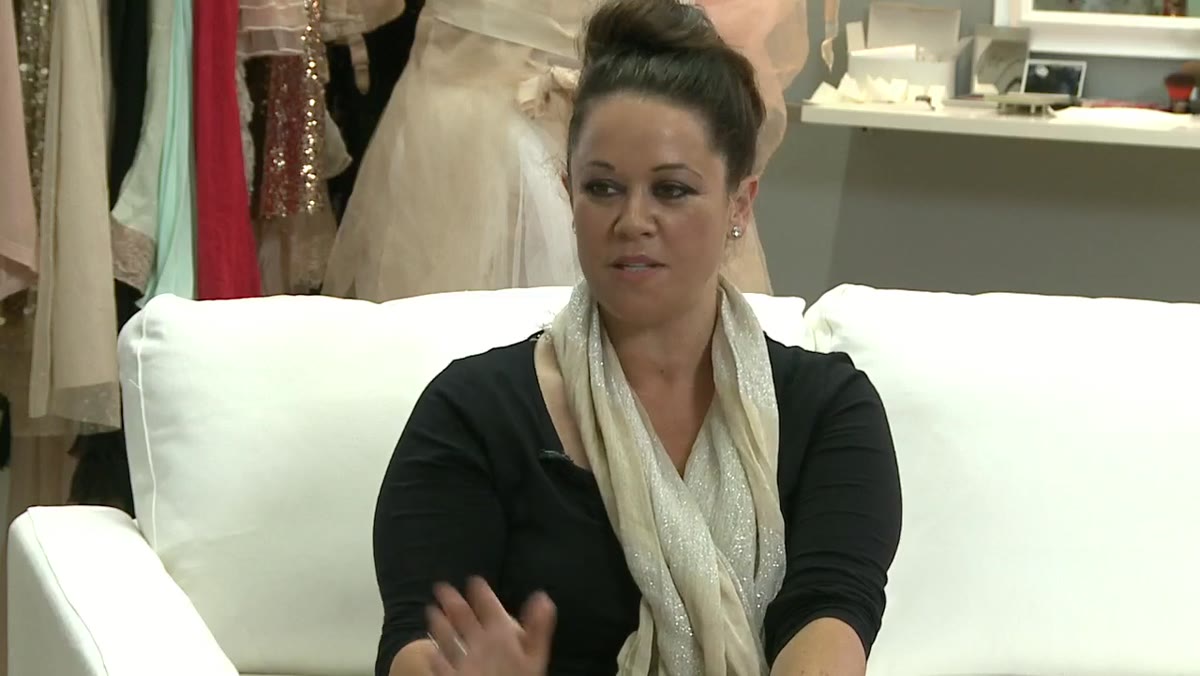 Sue describing directing hand and body movement as final layer of direction
Once composition and position are established, Sue turns to the subject’s body language: the angle of the torso, the placement of the arms, and critically the hands. Hands are the detail most photographers either ignore or over-manage. Sue treats them as a finishing layer, something you resolve after the larger structural decisions are made.
Sue describing directing hand and body movement as final layer of direction
Once composition and position are established, Sue turns to the subject’s body language: the angle of the torso, the placement of the arms, and critically the hands. Hands are the detail most photographers either ignore or over-manage. Sue treats them as a finishing layer, something you resolve after the larger structural decisions are made.
She also emphasizes waiting a beat after the direction is given. Once the subject settles into position, there is a moment where the body relaxes slightly from the initial placement, and that relaxation is often where the best frame lives. It requires patience and attentiveness, but it is the difference between a frame that looks directed and one that looks natural.
A Note on Applying This Within a Controlled Lighting Setup
Sue’s flow posing system is designed to keep energy moving through a session, and that creates a specific challenge in a technically structured studio environment. If you’re working with a precise lighting recipe, say a beauty dish at 45 degrees with a strip box for rim and a reflector for fill, the subject’s position relative to each light source matters a great deal. Small body rotations change catchlight shape, shadow depth, and skin texture.
My approach is to define the “sweet zone” for each setup before the subject even steps in. I test it with a stand-in, note the effective range of movement and angles where the light still does what I want, and then I work Sue’s flow system within that defined space. The variables she identifies, body position, crop, camera angle, hands, still give you enormous range even within a constrained lighting footprint. The constraint isn’t a limitation. It’s a fence that keeps the quality high while you focus on everything else.
The single most important idea in this tutorial is that a great session is not a series of static poses interrupted by movement. It is continuous movement that occasionally pauses long enough to take a photograph. When you internalize that, the camera becomes a tool you dip into the flow rather than a reason to stop it.
Watch the full tutorial on YouTube and watch specifically for how rarely Sue actually stops directing. The movement never really ends.
Comments (1)
This should be required reading for anyone starting out.
Leave a Comment