
Large group portraits outdoors have a way of exposing every weak decision you’ve made before the shutter fires. Wrong focal length and you’re fighting distortion or a background that swallows your subjects. Wrong aperture and someone in the back row goes soft on a print that’s supposed to hang above a fireplace for twenty years. I’ve shot enough editorial work in controlled studio environments that when a client asks for an outdoor family session, I treat it like any other lighting problem: identify the variables, set the constraints, then solve methodically. What I don’t always have is a clean mental framework for the specific chaos of seven people across two rows in open shade.
That’s why I kept coming back to this tutorial from Jay P. Morgan at The Slanted Lens. Watch the full tutorial on YouTube. He’s working with two families, seven subjects, natural and modified light, and he walks through every decision in real time. What follows is my breakdown of his process with some notes from my own experience layered in.
Step 1: Choose a Zoom Lens That Covers Your Working Range
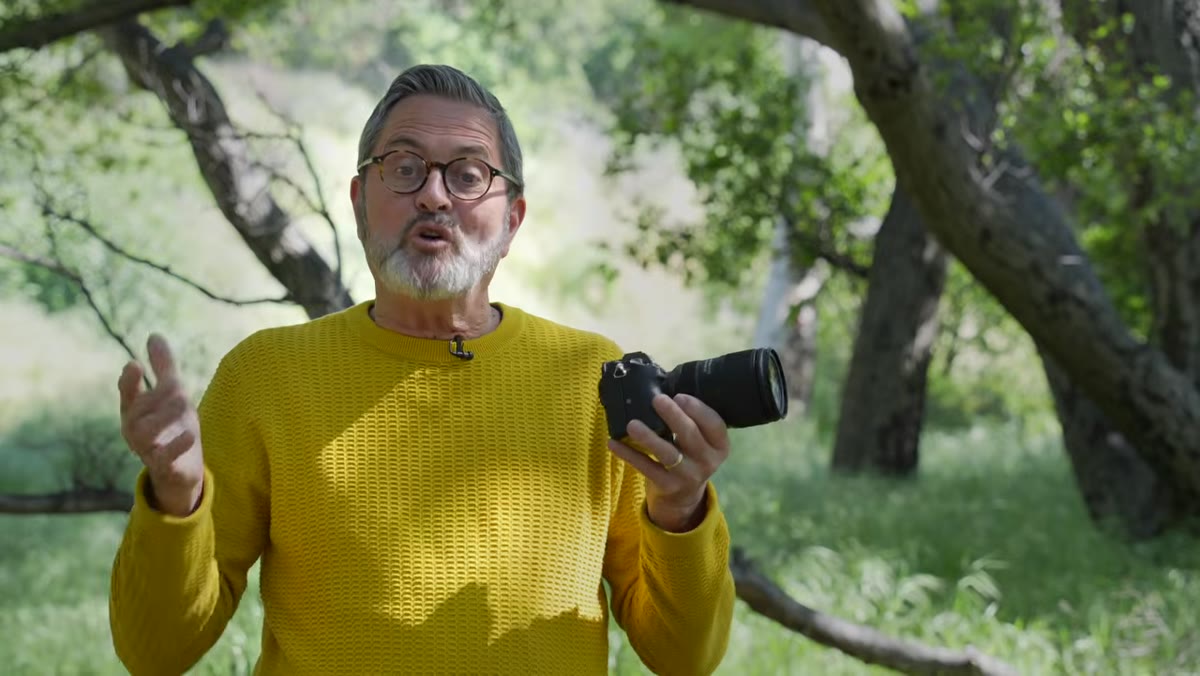 Jay holding a 28-75mm lens and explaining focal range
For a multi-person family session on location, Morgan reaches for a 28-75mm f/2.8 zoom rather than a prime. His reasoning is practical: a single family portrait session requires at least three distinct compositions. Individual portraits need compression. Two-person frames want something neutral. Full group shots need to breathe. A zoom that spans roughly 35mm to 75mm covers all three without a lens change in the middle of a shoot.
Jay holding a 28-75mm lens and explaining focal range
For a multi-person family session on location, Morgan reaches for a 28-75mm f/2.8 zoom rather than a prime. His reasoning is practical: a single family portrait session requires at least three distinct compositions. Individual portraits need compression. Two-person frames want something neutral. Full group shots need to breathe. A zoom that spans roughly 35mm to 75mm covers all three without a lens change in the middle of a shoot.
What makes this particular range smart is the 50mm anchor point. Morgan notes that 50mm keeps him physically close enough to the group to direct poses and body language, while the frame itself looks natural. At 35mm he loses subject-to-background separation and picks up too much sky. At 75mm the background creeps in and flattens the scene. Fifty millimeters sits at the sweet spot for most of his full-group frames. I’d add that with a Sony full-frame body, this Tamron 28-75mm renders cleanly at f/2.8 through f/5.6, which matters when you’re also managing depth of field across two rows of people.
Step 2: Lock ISO Low and Set White Balance for Warm, Print-Ready Color
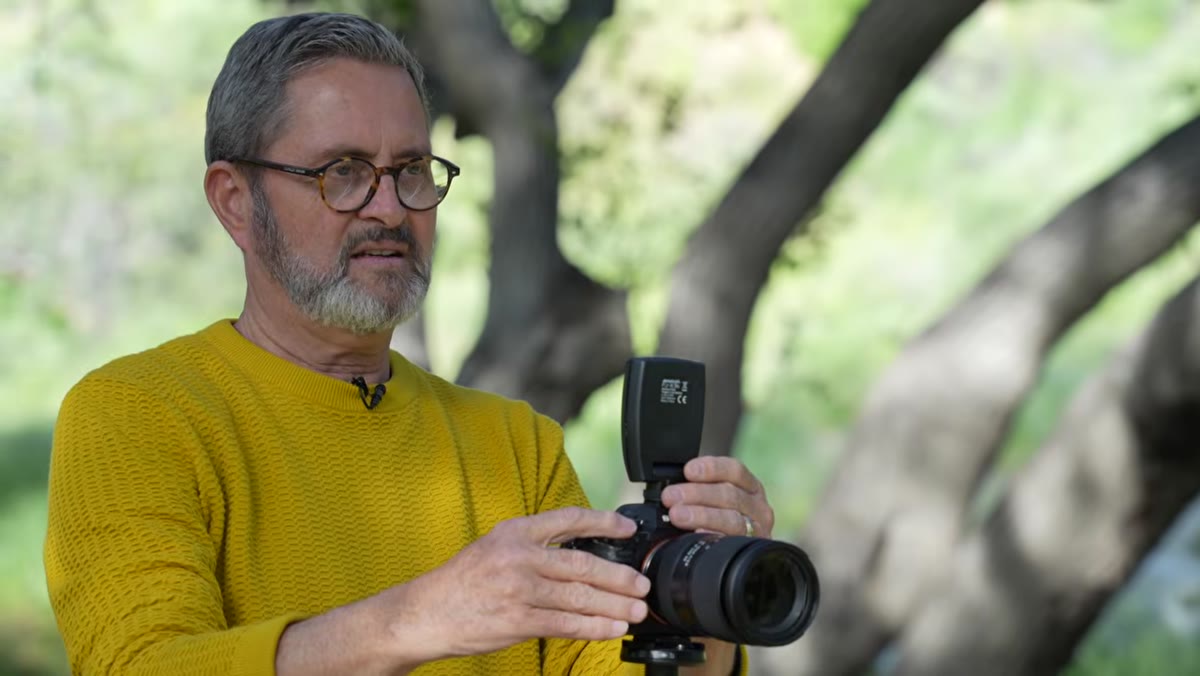
 Camera menu showing ISO 100 and white balance settings
Morgan sets ISO 100 as his base and says he’ll push to 200 only if light conditions force it. For portrait work going to large prints, this is the right call. Low ISO keeps the sensor rendering fine skin texture without luminance noise flattening the detail. If your client is ordering a 16x24 canvas, the difference between ISO 100 and ISO 800 is visible in smooth tonal areas like cheeks and foreheads.
Camera menu showing ISO 100 and white balance settings
Morgan sets ISO 100 as his base and says he’ll push to 200 only if light conditions force it. For portrait work going to large prints, this is the right call. Low ISO keeps the sensor rendering fine skin texture without luminance noise flattening the detail. If your client is ordering a 16x24 canvas, the difference between ISO 100 and ISO 800 is visible in smooth tonal areas like cheeks and foreheads.
His white balance setting is 6000 Kelvin, which he describes as matching strobe output while running a touch warm. This is a habit I’d encourage every portrait shooter to adopt. Auto white balance outdoors will chase the light as clouds shift, which means your color is inconsistent across a 40-shot sequence. Locking to 6000K in open shade or when using a strobe for fill gives you a repeatable starting point in post. I once ruined an editorial shoot early in my career by trusting AWB through a golden-hour window. Every frame was a different color temperature. I’ve shot with a fixed white balance ever since, and I calibrate with a gray card before the first frame of every session.
Step 3: Set Aperture Based on Your Depth of Field Requirements, Not Your Preference
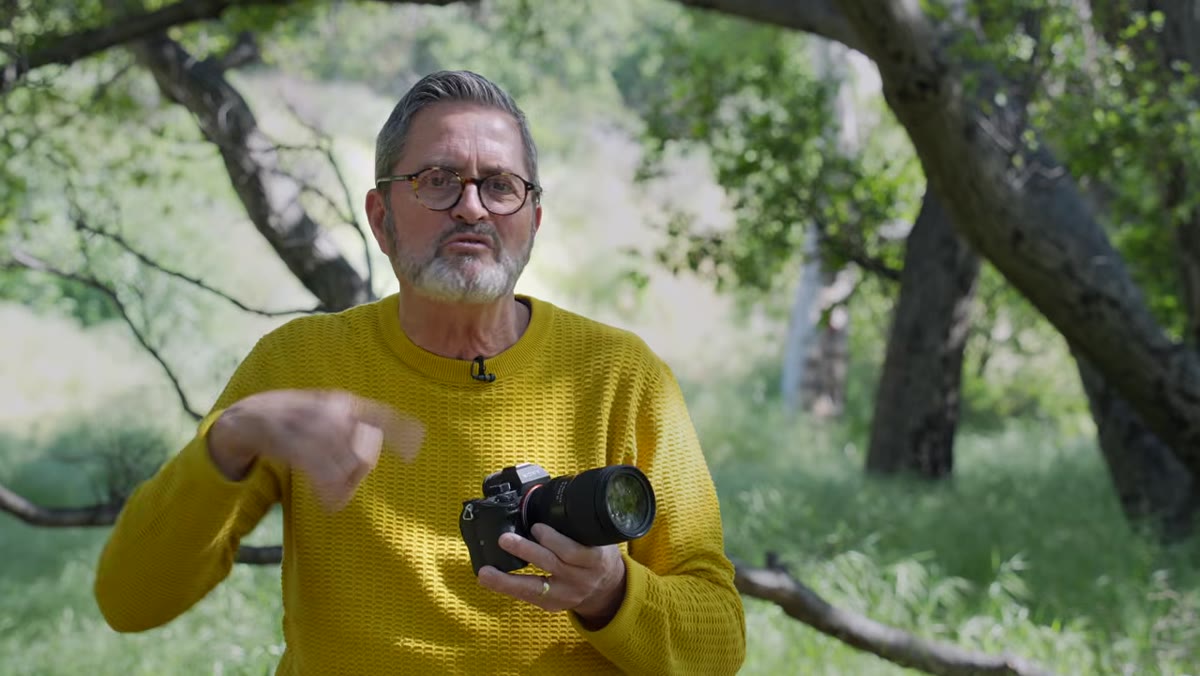
 Comparing f/2.8 and f/4 depth of field across two rows of subjects
This is where most photographers get into trouble with groups. Morgan wants to shoot at f/2.8 because the background separation looks beautiful. But with subjects positioned across two rows, the depth of field at f/2.8 on a 50mm lens is thin enough that the back row goes soft. His solution is to move to f/4 as a baseline, with f/5.6 as a fallback if the row separation is deeper than expected.
Comparing f/2.8 and f/4 depth of field across two rows of subjects
This is where most photographers get into trouble with groups. Morgan wants to shoot at f/2.8 because the background separation looks beautiful. But with subjects positioned across two rows, the depth of field at f/2.8 on a 50mm lens is thin enough that the back row goes soft. His solution is to move to f/4 as a baseline, with f/5.6 as a fallback if the row separation is deeper than expected.
The practical rule here: focus on the front row, trust the depth of field to extend backward enough to hold the second row at f/4 or tighter. If you’re unsure, shoot a test frame and zoom in on the back row on your camera’s LCD before you commit to a full sequence. This is not a place to guess. A soft grandmother in an otherwise perfect family portrait is the kind of thing that ends a client relationship. I shoot group configurations at f/5.6 by default and only open up if I’m shooting a single subject or confirmed two-person frame.
Step 4: Read the Location and Use the Environment as Your Background Design
 Comparison frames showing 35mm, 50mm, and 75mm background rendering
Morgan compares three focal lengths against the same tree-lined background, and the before-and-after is instructive. At 35mm, the frame includes too much sky above the trees and the background feels disconnected from the subjects. At 75mm, the background compresses and feels heavy behind the group. At 50mm, the trees frame the subjects naturally and the background reads as environmental context rather than visual noise.
Comparison frames showing 35mm, 50mm, and 75mm background rendering
Morgan compares three focal lengths against the same tree-lined background, and the before-and-after is instructive. At 35mm, the frame includes too much sky above the trees and the background feels disconnected from the subjects. At 75mm, the background compresses and feels heavy behind the group. At 50mm, the trees frame the subjects naturally and the background reads as environmental context rather than visual noise.
The lesson isn’t about the specific focal length. It’s that your background choice and your focal length are linked decisions. Walk your location before you place any subjects. Look at the background through the lens at different focal lengths. What works as a scenic view at 24mm may fall apart as a portrait background at 50mm, and vice versa. Scout with your feet, not just your eyes.
Step 5: Pose for Rise and Fall Across the Group
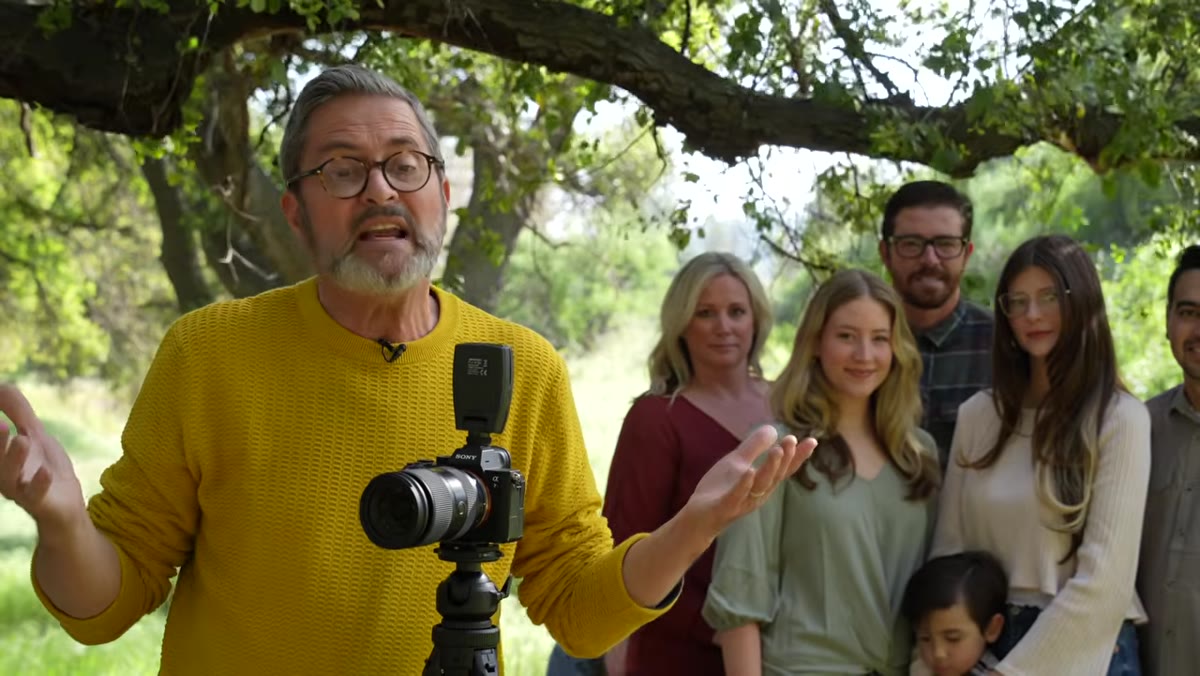 Jay describing rise-and-fall posing with seven subjects
Morgan describes his target posing structure as “rise and fall.” With seven people across two families, he’s not stacking heads in a flat horizontal line. He’s building a composition where head heights vary in a flowing pattern across the frame. This is the difference between a photo that looks like a posed snapshot and one that looks intentional.
Jay describing rise-and-fall posing with seven subjects
Morgan describes his target posing structure as “rise and fall.” With seven people across two families, he’s not stacking heads in a flat horizontal line. He’s building a composition where head heights vary in a flowing pattern across the frame. This is the difference between a photo that looks like a posed snapshot and one that looks intentional.
For two rows, the front row can be seated or crouched while the back row stands. Within each row, vary heights by having adults stand at their full height while children are lifted, seated on laps, or positioned at different elevations. The goal is an irregular but rhythmic silhouette across the top of the group. Even height creates visual monotony. Variation creates movement and keeps the eye traveling across the frame.
What I Do Differently in Outdoor Work
The one thing I’d add to Morgan’s framework is a modifier audit before any outdoor session. Open shade is rarely as flat as it looks to the eye. Trees and buildings create irregular shadows, color casts from surrounding surfaces creep into skin tones, and “soft” outdoor light is often just diffuse directional light with a hard edge you didn’t see until the photos come back.
I carry a small collapsible reflector to every outdoor session and use it as a fill card for front-row faces when the ambient light is coming from above or behind. I also keep a battery-powered speedlight in my bag for situations where the background is significantly brighter than the subjects. A modest fill strobe set to match ambient, about one stop under, can save a backlit composition without looking unnatural.
The single most important principle in this tutorial is the aperture discipline: resist the temptation to shoot wide open on a group and close down enough to keep every person sharp. Everything else, focal length, white balance, posing, can be adjusted in the moment. A soft subject in a large print cannot be fixed in post.
Watch the full tutorial on YouTube to see Morgan work through each decision with both families on location. It’s worth watching the posing section twice.
Comments
Leave a Comment