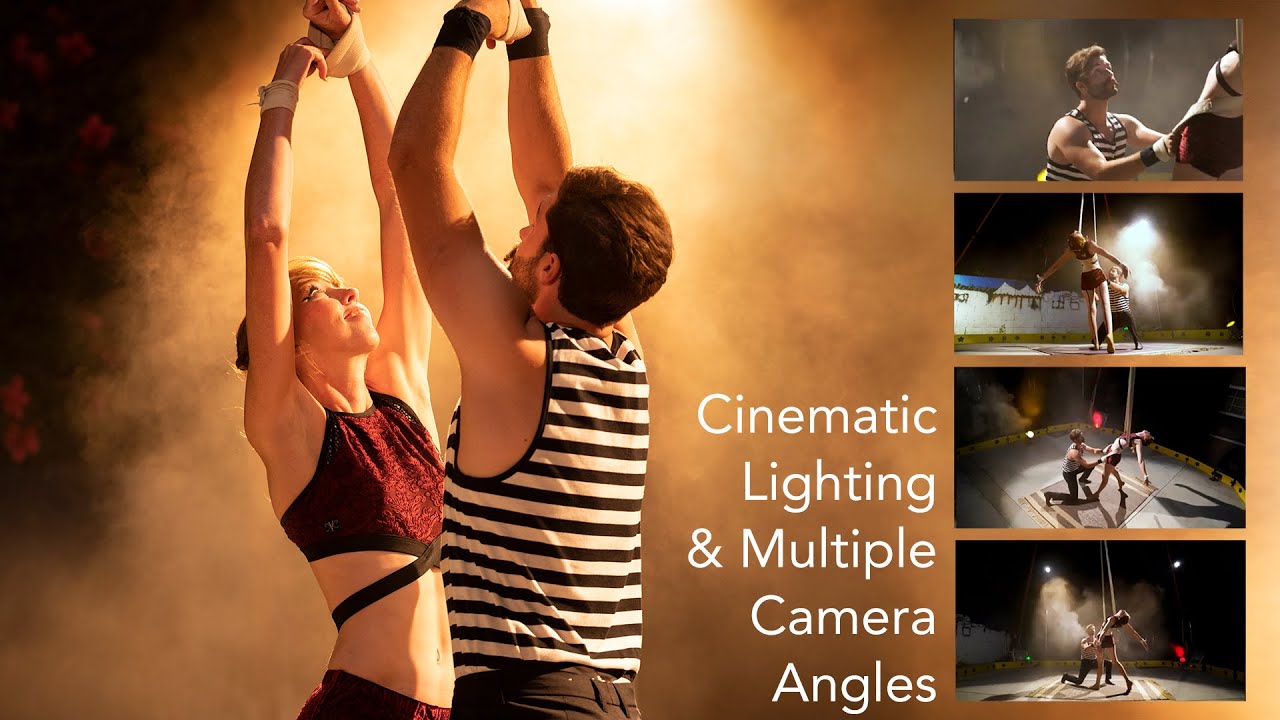
There’s a specific kind of shoot that breaks the one-camera workflow entirely. Performance work – dancers, acrobats, martial artists – is physically punishing, and asking a performer to run a full routine six times so you can capture six different angles is not a reasonable request. It’s also not a great way to get authentic, high-energy footage on take three. I’ve run into this problem more than once shooting editorial work in Los Angeles, where the talent budget rarely includes “unlimited repeats.” The real solution is to solve the problem before you call action, not during it.
In this tutorial from The Slanted Lens, Watch the full tutorial on YouTube, Jay P. Morgan breaks down a multi-camera performance shoot with a lighting design that punches well above its location’s weight class. What struck me watching it was how methodically each decision – camera placement, light direction, color temperature, background control – feeds into every other decision. This is lighting as architecture, not lighting as decoration. I sketched the whole setup into my lighting journal the same night I watched it.
The outdoor location could have been a liability. Instead, with the right combination of timing, light direction, and some remarkably affordable materials, it becomes a dark, atmospheric studio. Here’s how it all works, step by step.
Step 1: Commit to a Multi-Camera Setup Before the Performer Arrives
 Four-camera diagram showing master, B, C, and handheld positions
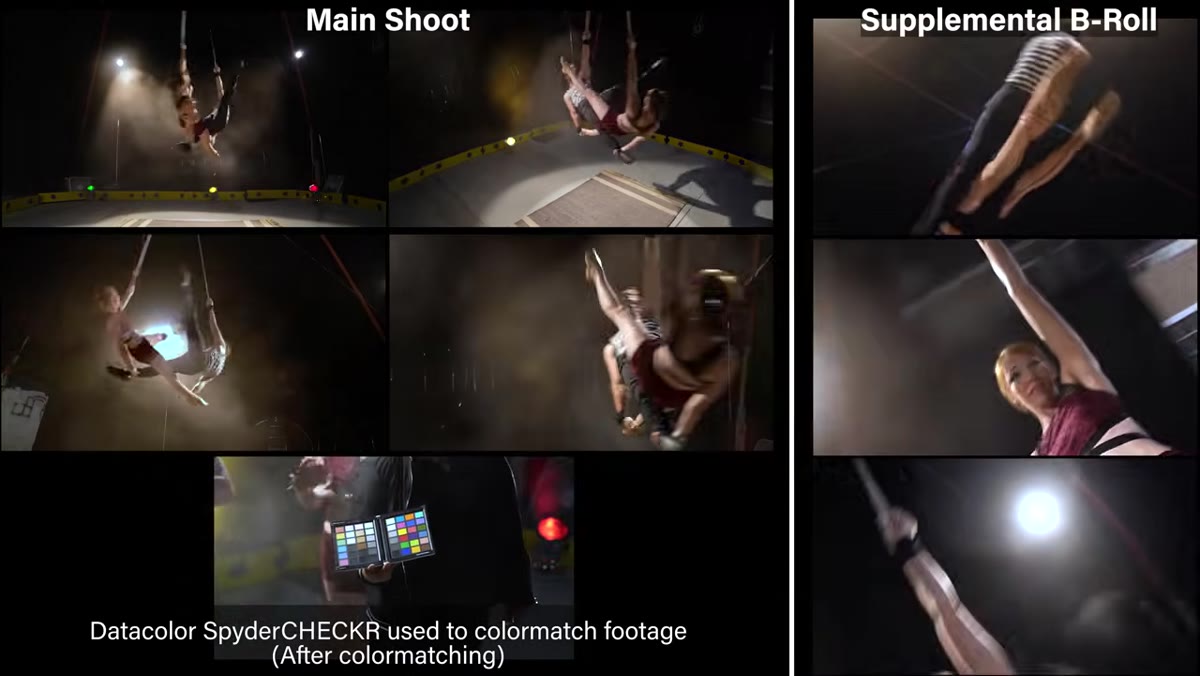
Before a single light goes up, you need to decide how many cameras are running simultaneously, because that decision shapes everything else. The Slanted Lens shoot used four: a master camera capturing the full routine wide, a high camera on camera left looking down at the performance, a low camera looking up from ground level, and a handheld camera kept loose for tight face shots as the performers moved.
Four-camera diagram showing master, B, C, and handheld positions
Before a single light goes up, you need to decide how many cameras are running simultaneously, because that decision shapes everything else. The Slanted Lens shoot used four: a master camera capturing the full routine wide, a high camera on camera left looking down at the performance, a low camera looking up from ground level, and a handheld camera kept loose for tight face shots as the performers moved.
The logic is simple but easy to overlook. Your performers give you their best energy on the first full run. If you have four angles locked in simultaneously, that first run becomes your edit. The high and low cameras introduce the kind of perspective contrast that makes performance footage feel cinematic – you’re not just documenting movement, you’re shaping how the viewer experiences it.
Step 2: Supplement with B-Roll Angles You Can’t Capture During the Full Performance
 Camera strapped to performer’s chest for b-roll segment
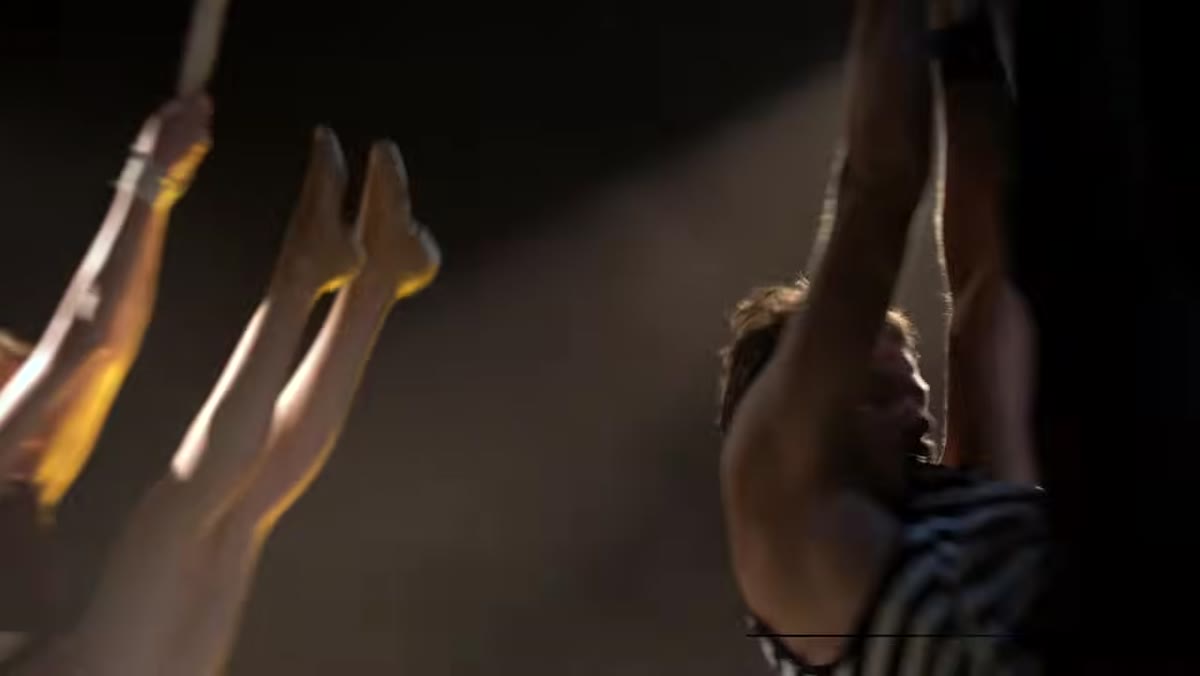
Once the main performance is recorded, you can go back and collect specialty shots without asking your talent to repeat the full routine. The tutorial covers three specific options here: shooting from directly underneath looking up, mounting the camera on a gimbal aboard a Segway to orbit the performers, and strapping a camera directly to a performer’s chest for a first-person perspective.
Camera strapped to performer’s chest for b-roll segment
Once the main performance is recorded, you can go back and collect specialty shots without asking your talent to repeat the full routine. The tutorial covers three specific options here: shooting from directly underneath looking up, mounting the camera on a gimbal aboard a Segway to orbit the performers, and strapping a camera directly to a performer’s chest for a first-person perspective.
These shots are low-pressure to capture because you’re only picking up short segments or isolated movements, not the complete choreography. But in the edit, they create the rhythm changes and intimacy that keep a viewer engaged across a longer cut. I’d add this to your shot list as its own scheduled block after the performance wrap – give it 20-30 minutes and you’ll walk away with material that would otherwise require another full call time.
Step 3: Use Nighttime and Light Direction to Eliminate the Background
 Dark exterior location with background falling to black
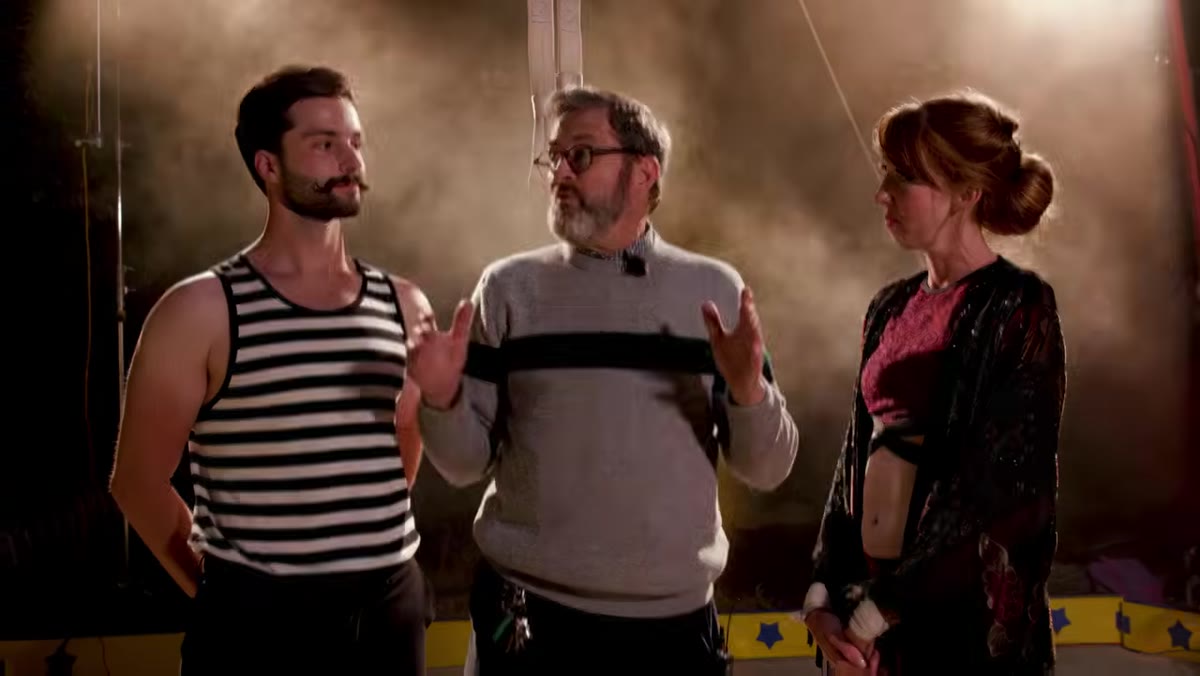
Shooting at night is the most underrated background removal technique available. The Slanted Lens team chose to shoot after dark specifically so that everything behind the performers would fall into blackness without any additional effort. The key rule that makes this work: no light points backward toward the background. Every source is directed either downward onto the performers or toward the camera as rim and fill.
Dark exterior location with background falling to black
Shooting at night is the most underrated background removal technique available. The Slanted Lens team chose to shoot after dark specifically so that everything behind the performers would fall into blackness without any additional effort. The key rule that makes this work: no light points backward toward the background. Every source is directed either downward onto the performers or toward the camera as rim and fill.
If you break this rule – even one spill from a poorly flagged light hitting a wall behind the subject – the illusion collapses. I use black wrap and barn doors aggressively when shooting this way. The background isn’t erased in post. It simply never receives photons in the first place.
Step 4: Build the Key Light from Overhead for Maximum Drama
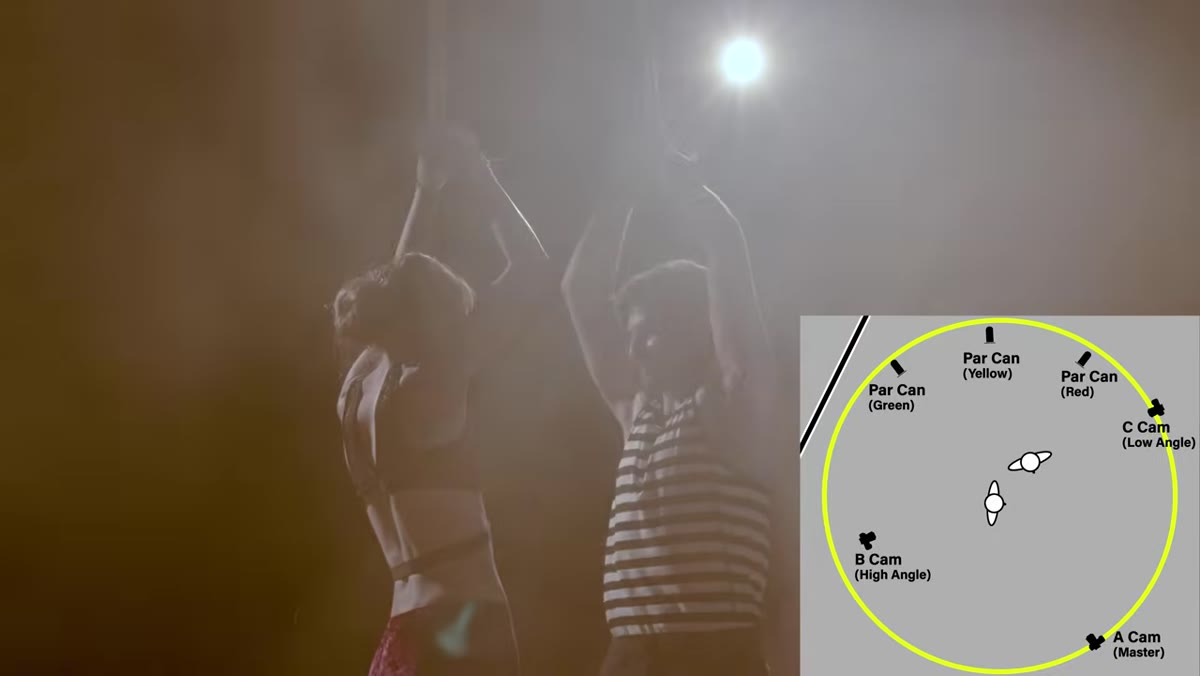 Overhead key light positioned directly above performance area
The primary key light in this setup comes from directly above the performers, not from the traditional 45-degree-in-front-and-to-the-side position you’d use for portraiture. An overhead key produces strong shadows under the brow, jaw, and collarbone – exactly the kind of sculptural contrast that reads as cinematic rather than photographic.
Overhead key light positioned directly above performance area
The primary key light in this setup comes from directly above the performers, not from the traditional 45-degree-in-front-and-to-the-side position you’d use for portraiture. An overhead key produces strong shadows under the brow, jaw, and collarbone – exactly the kind of sculptural contrast that reads as cinematic rather than photographic.
For a performance shoot with multiple moving subjects, the overhead position also solves a coverage problem. Subjects moving through a space lit by a side key will pass in and out of ideal light constantly. An overhead key maintains reasonably consistent exposure across a wider performance area. It’s worth noting that this light was a daylight-balanced source, which becomes important in the next step.
Step 5: Add Rim Lights from Behind to Separate Subjects from the Dark Background
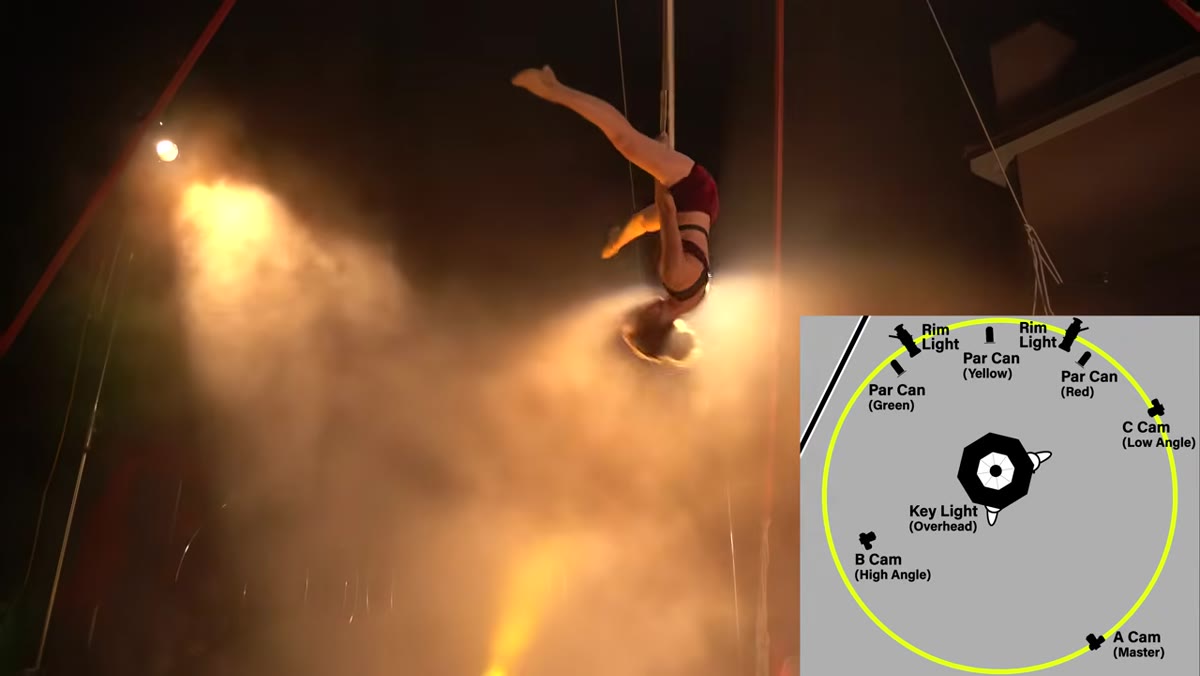 Two Source Four ellipsoidals creating rim light on performers
Two Source Four ellipsoidal fixtures, one on each side behind the performers, create the rim lighting that separates the subjects from the dark background. Without these, performers wearing dark costumes would essentially dissolve into the black negative space behind them. The rim lights trace the edges of their bodies and give the background its depth.
Two Source Four ellipsoidals creating rim light on performers
Two Source Four ellipsoidal fixtures, one on each side behind the performers, create the rim lighting that separates the subjects from the dark background. Without these, performers wearing dark costumes would essentially dissolve into the black negative space behind them. The rim lights trace the edges of their bodies and give the background its depth.
Source Fours run tungsten, which puts them around 3200K. The overhead key was daylight-balanced, creating a deliberate color temperature split: cooler light from above, warmer light from behind. The camera white balance was set to approximately 3600-3700K – splitting the difference rather than correcting fully to either source. The result is a slightly blue overhead rim on top of the head and hair, with warmer amber rim light along the sides of the body. It’s a look worth noting down specifically. I’ve replicated a version of it on two editorial shoots since watching this.
Step 6: Control the Background with Duvetyne and Smoke
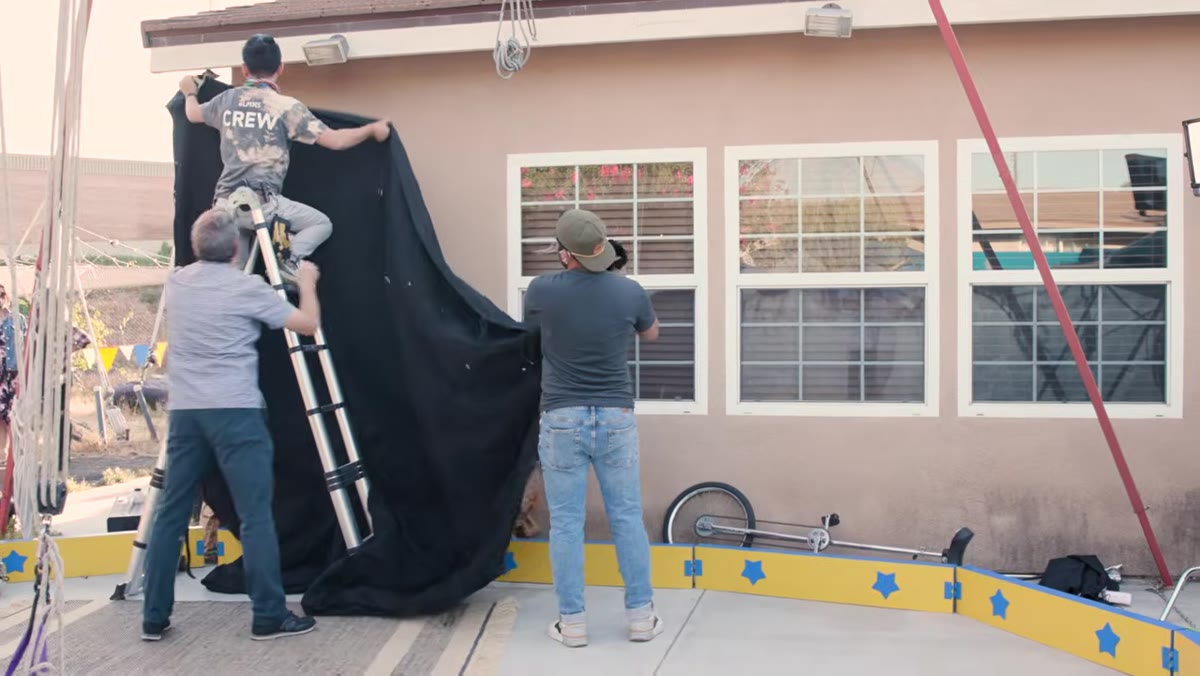 Black duvetyne fabric covering a house wall on camera left
Where the darkness of nighttime alone isn’t enough – say, a light-colored wall that catches ambient spill – duvetyne solves the problem cheaply. This is simply a heavy black fabric sold by the yard at fabric stores and used throughout film and television production as a light-absorbing surface. The crew draped it across a house wall on camera left, converting an unwanted architectural element into a neutral black canvas.
Black duvetyne fabric covering a house wall on camera left
Where the darkness of nighttime alone isn’t enough – say, a light-colored wall that catches ambient spill – duvetyne solves the problem cheaply. This is simply a heavy black fabric sold by the yard at fabric stores and used throughout film and television production as a light-absorbing surface. The crew draped it across a house wall on camera left, converting an unwanted architectural element into a neutral black canvas.
Smoke rounds out the background control. It functions as a physical scrim, softening and obscuring whatever might still be visible behind the performers while adding visual texture that makes directional light sources visible in the air. Smoke reveals the beam of a backlight in a way that adds perceived depth to the whole frame. If you’re not using it for performance work, start.
What I’d Adjust for a Smaller Crew
Running four simultaneous cameras requires four operators or very carefully locked-off rigs. On smaller shoots I’ll often collapse this to three cameras: master wide, one high or low fixed angle, and one handheld. The master camera does the heavy lifting; the other two give you cut points. The lighting setup described here scales down without much sacrifice – you can substitute a large LED panel for the overhead key and use two smaller LED fresnels in place of the Source Fours and still land in the same visual territory. The color temperature cross-contamination strategy works with any combination of daylight and tungsten sources.
The single principle that makes this entire approach work is treating the setup as your one opportunity. Everything – camera placement, light direction, background control – is decided and locked before the performers step in. When they do, you’re capturing, not problem-solving.
Watch the full tutorial on YouTube to see the finished footage and the exact gear positions The Slanted Lens used on this shoot.
Comments
Leave a Comment