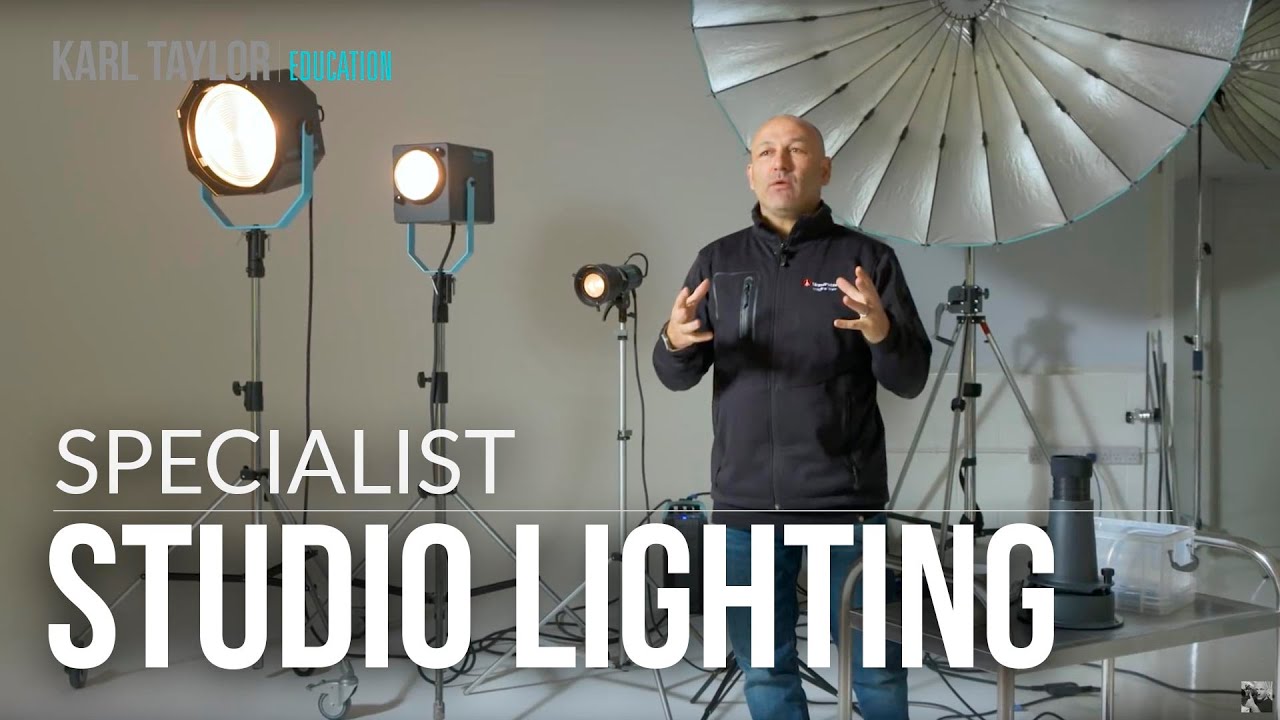
There is a category of studio lighting equipment that most photographers scroll past on gear websites because nothing in their training ever explained what it actually does. Softboxes, octaboxes, standard reflectors with honeycomb grids – those get covered in every introductory course. But fresnels, pico heads, and projection attachments? Those tend to sit in the background of behind-the-scenes photos, looking mysterious and expensive, with no one explaining why a working photographer would choose them over more familiar modifiers.
I have been shooting commercial and editorial work in my Los Angeles studio long enough to have made every beginner mistake with gear, and one lesson I keep coming back to is this: the modifier shapes the mood, but the light source shapes the quality. These specialist lights are not luxury items for people with money to burn. They solve specific problems that softboxes cannot. When I came across this Visual Education tutorial on specialist studio lighting, I bookmarked it immediately because it lays out the logic behind several pieces of kit I use regularly, and does so in a way that actually explains the physics rather than just naming products.
Watch the full tutorial on YouTube
Step 1: Understand What a Fresnel Lens Actually Does
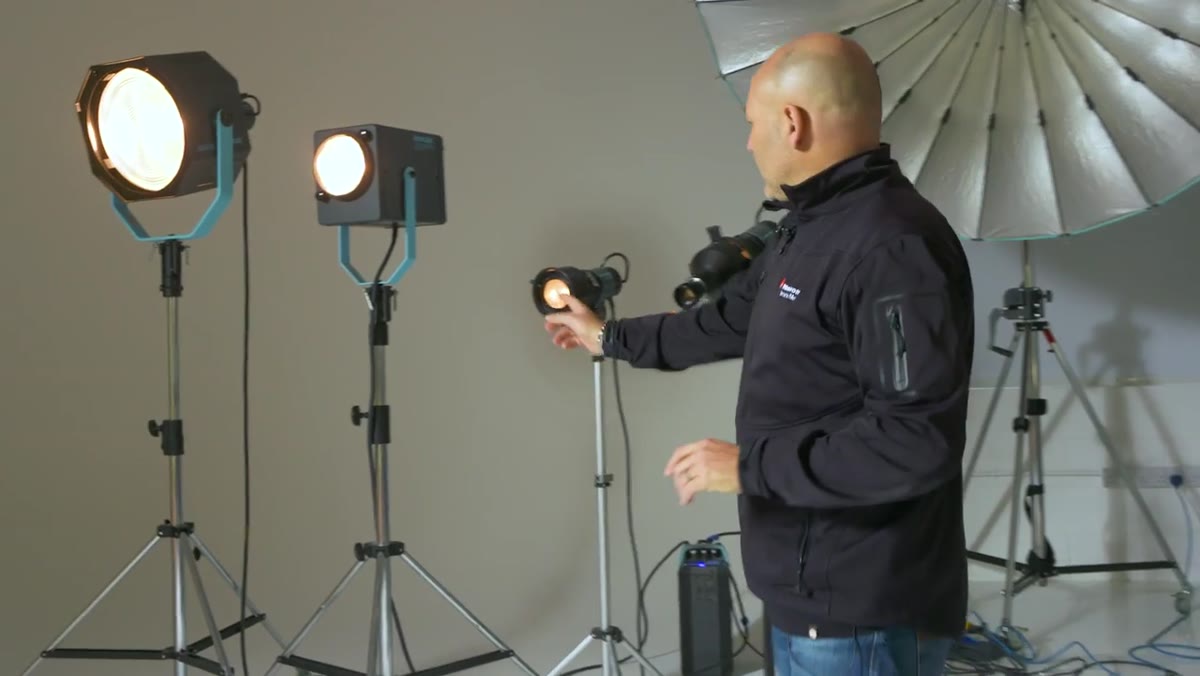 Three fresnel lights of different sizes shown side by side
A fresnel lens is the same type of optic used in lighthouse construction. It takes a light source and collimates it into a concentrated beam with a controlled, graceful falloff at the edges. The tutorial walks through three fresnel units in different sizes – large, medium, and small – and the size difference matters more than you might expect. A larger fresnel produces a broader beam with softer edge falloff. A smaller unit gives you a tighter, harder beam. Neither is better in absolute terms. They are tools for different situations.
Three fresnel lights of different sizes shown side by side
A fresnel lens is the same type of optic used in lighthouse construction. It takes a light source and collimates it into a concentrated beam with a controlled, graceful falloff at the edges. The tutorial walks through three fresnel units in different sizes – large, medium, and small – and the size difference matters more than you might expect. A larger fresnel produces a broader beam with softer edge falloff. A smaller unit gives you a tighter, harder beam. Neither is better in absolute terms. They are tools for different situations.
What makes fresnels distinct from a standard reflector with a grid is that gradual falloff. A grid controls spill by cutting light at the edges abruptly. A fresnel tapers naturally, the way sunlight does when it crosses a room at an angle. That quality is very difficult to fake with other modifiers, and once you start seeing it in finished images, you will spot it everywhere.
Step 2: Learn the Flood-to-Spot Zoom Range
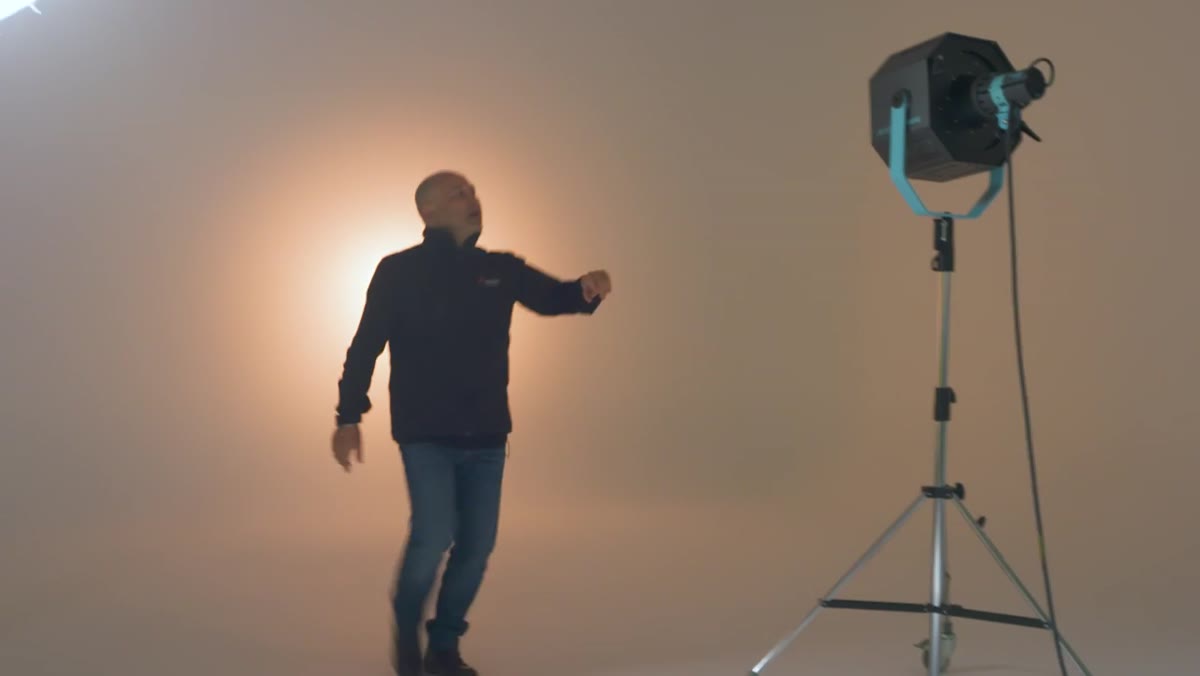 Fresnel beam projected on wall showing spot and flood positions
Fresnels are not fixed-beam instruments. They zoom, and that zoom range is one of their most useful features. At the flood end of the range, the beam spreads out and the light becomes softer and more gradual. At the spot end, the beam tightens into a concentrated circle of light. The transition between those two positions is continuous – you can park the zoom anywhere in between.
Fresnel beam projected on wall showing spot and flood positions
Fresnels are not fixed-beam instruments. They zoom, and that zoom range is one of their most useful features. At the flood end of the range, the beam spreads out and the light becomes softer and more gradual. At the spot end, the beam tightens into a concentrated circle of light. The transition between those two positions is continuous – you can park the zoom anywhere in between.
In practice, I use the flood end when I want to create a background glow that feels warm and ambient rather than theatrical. I tighten toward spot when I need to isolate a subject or hit a specific zone of the frame, like lighting only the shoulders and face while leaving the lower body to fall off naturally. The tutorial demonstrates this on a wall, which is the right way to dial it in before your subject steps onto the set.
Step 3: Use a Frosted Dome on Your Flash Head Inside the Fresnel
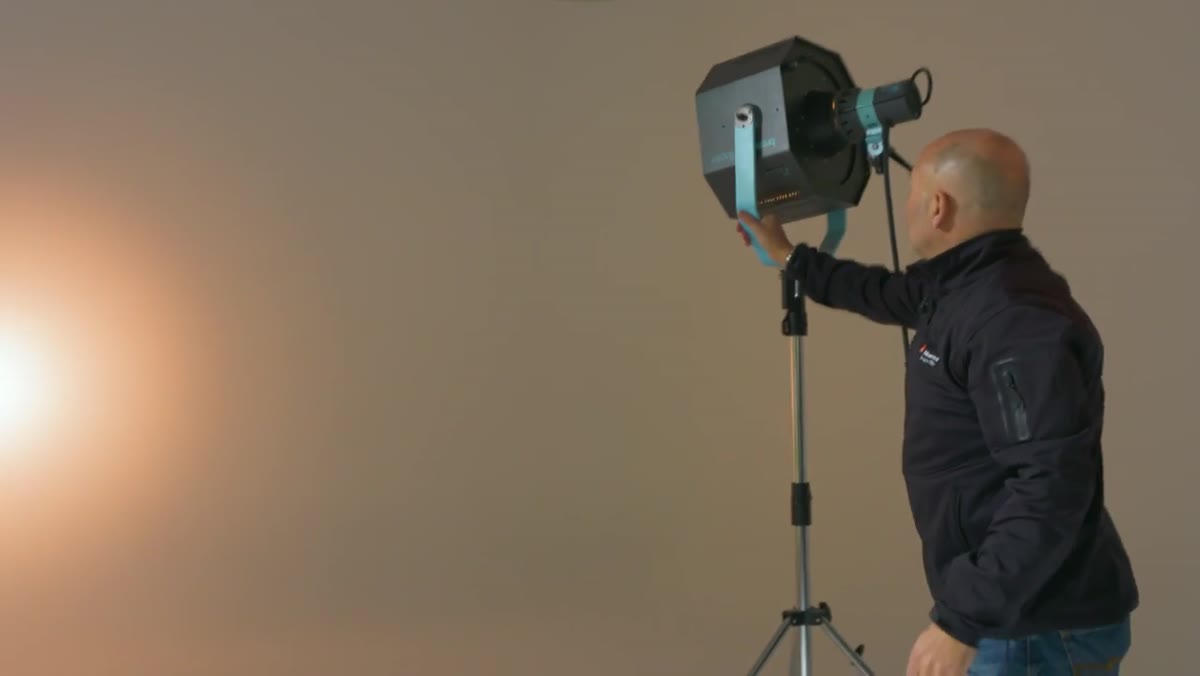 Standard lamp head with frosted dome fitted into fresnel housing
This detail gets skipped in a lot of fresnel coverage, so pay attention to it. The fresnel optic works best when the light source behind it behaves as close to a point source as possible. A bare flash tube is not ideal for this because the tube has length and produces a slightly diffuse origin point. Fitting a frosted dome over the flash head condenses the apparent source, and the fresnel can then do its job more precisely.
Standard lamp head with frosted dome fitted into fresnel housing
This detail gets skipped in a lot of fresnel coverage, so pay attention to it. The fresnel optic works best when the light source behind it behaves as close to a point source as possible. A bare flash tube is not ideal for this because the tube has length and produces a slightly diffuse origin point. Fitting a frosted dome over the flash head condenses the apparent source, and the fresnel can then do its job more precisely.
The tutorial shows a standard lamp head being fitted with the frosted dome before it slots into the fresnel housing. If you are using a fresnel and not getting the clean, defined beam you expected, this is the first thing to check. It is a small detail that makes a measurable difference to beam quality and edge definition.
Step 4: Know When the Fresnel Is the Wrong Tool for the Job
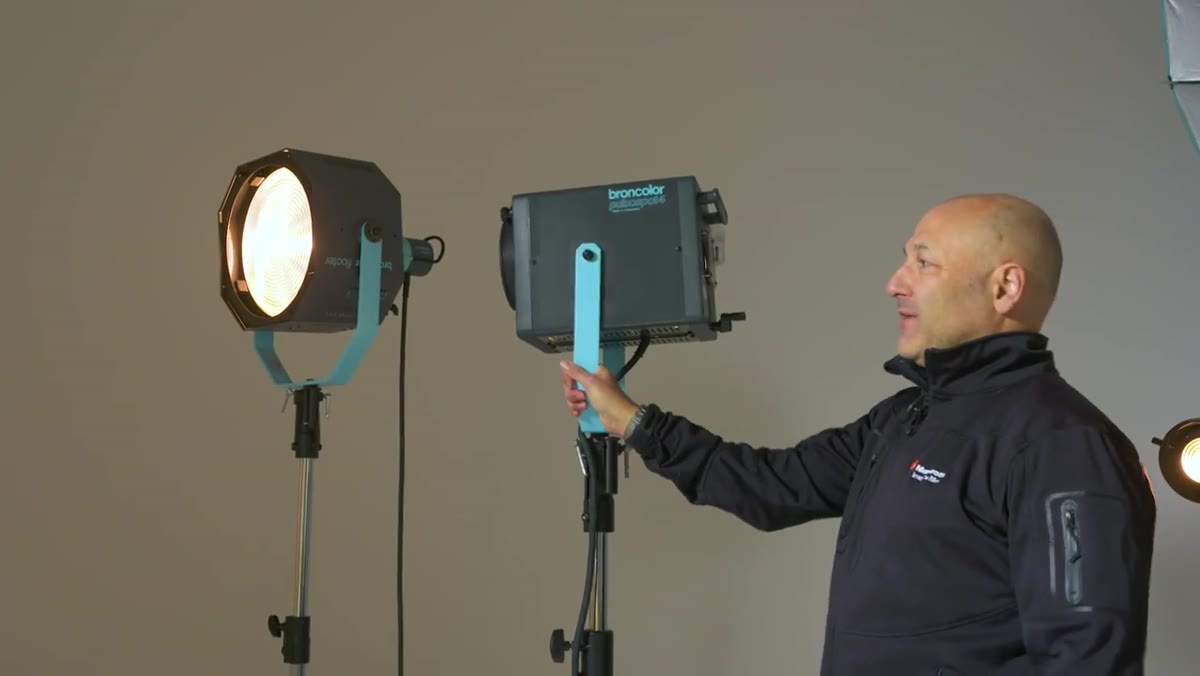 Smaller fresnel and Profoto Spot compared side by side
Not every fresnel is equal, and the tutorial is direct about this: the smaller fresnel unit it covers is not as optically strong as the larger one. The beam is less refined, the falloff less elegant. This is where the tutorial pivots to a more important point – some lights that have fresnel capability are better understood as projection hosts than as standalone fresnels.
Smaller fresnel and Profoto Spot compared side by side
Not every fresnel is equal, and the tutorial is direct about this: the smaller fresnel unit it covers is not as optically strong as the larger one. The beam is less refined, the falloff less elegant. This is where the tutorial pivots to a more important point – some lights that have fresnel capability are better understood as projection hosts than as standalone fresnels.
The Profoto Spot attachment discussed in the tutorial is an example. As a fresnel it performs adequately. As a housing for a projection attachment, it becomes something entirely different and more powerful. Understanding the primary purpose of each piece of kit stops you from buying a light expecting it to behave like something it is not designed to be.
Step 5: Understand the Role of the Pico Head
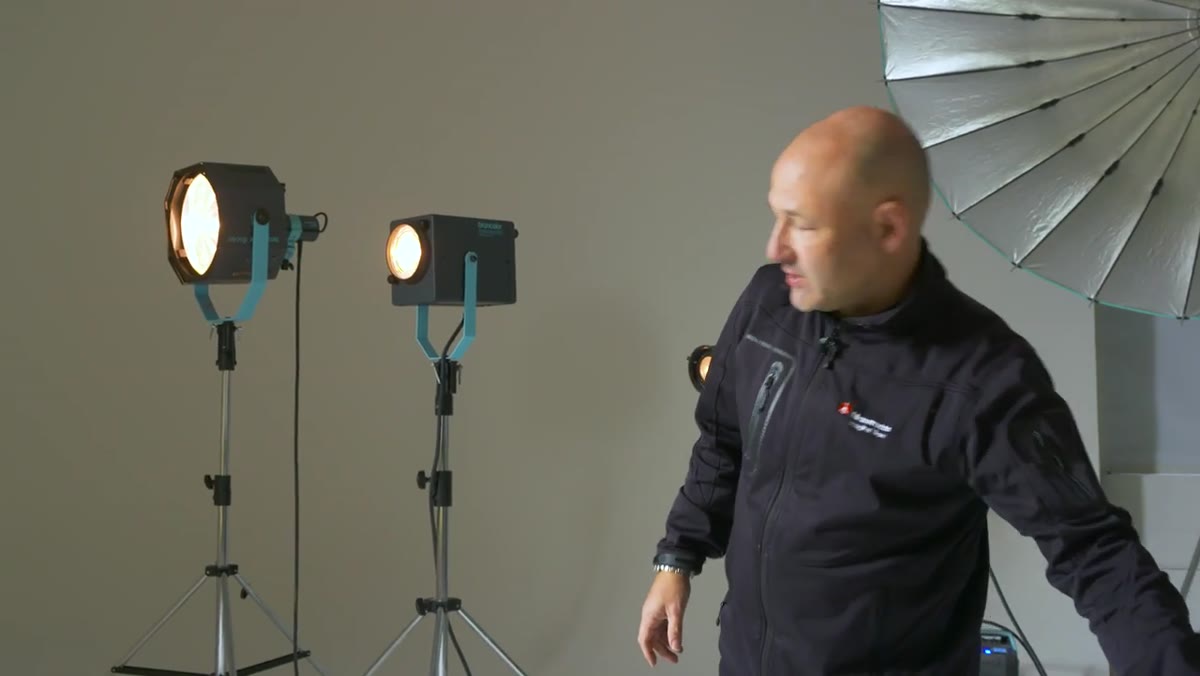 Pico light compact head shown next to standard studio head
A pico head is simply a compact studio flash head. Same output, smaller body. The tutorial covers two pico units: one configured as a bare head and one fitted with a frosted face for use with a fresnel or projection attachment. The reason pico heads matter for specialist lighting is spatial. Many specialist attachments, including projection units and some fresnels, require a small head profile to function correctly.
Pico light compact head shown next to standard studio head
A pico head is simply a compact studio flash head. Same output, smaller body. The tutorial covers two pico units: one configured as a bare head and one fitted with a frosted face for use with a fresnel or projection attachment. The reason pico heads matter for specialist lighting is spatial. Many specialist attachments, including projection units and some fresnels, require a small head profile to function correctly.
For product photographers, the compact form factor is also useful for fitting lights into confined spaces around a set. I keep two pico heads in my kit permanently because they go places my standard heads cannot, and in the studio that flexibility regularly changes what is possible.
Step 6: Recognize the Projection Attachment as a Separate Discipline
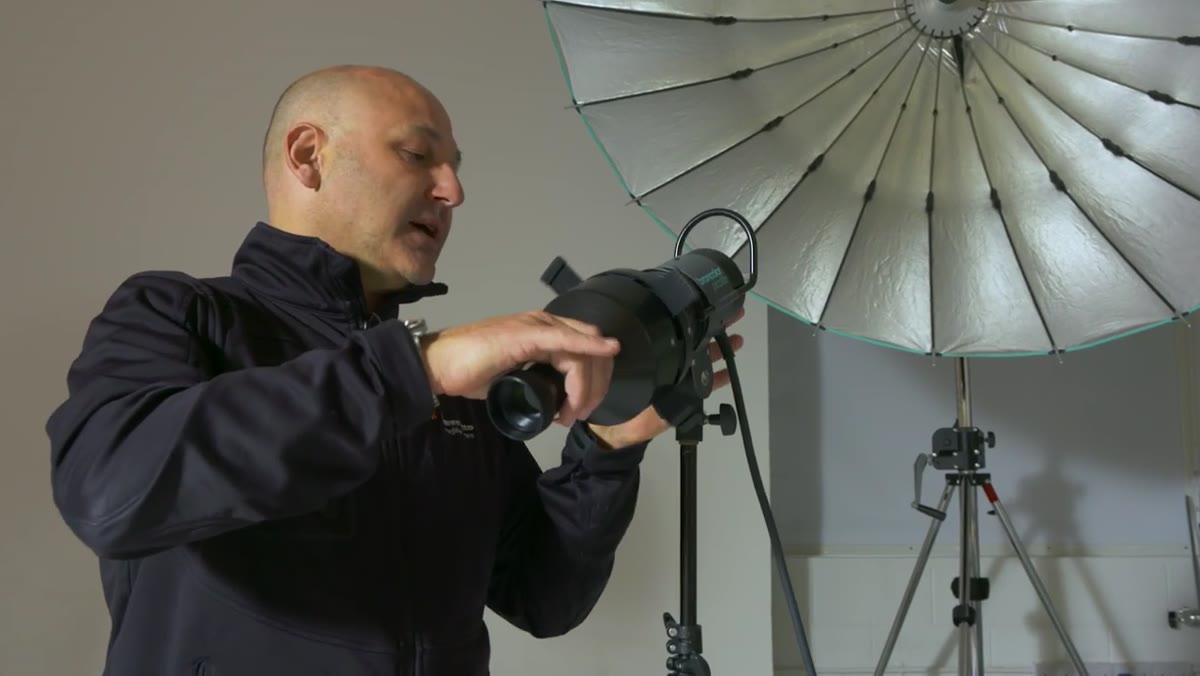 Projection attachment being fitted onto pico head
The tutorial introduces projection attachments here, and this is where things get genuinely interesting. A projection attachment turns a studio flash head into a device that can cast precise shapes, patterns, and gobos onto a subject or background. The light no longer just illuminates – it draws. Sharp shadow lines, architectural shapes, simulated window light, custom patterns: all of this becomes possible.
Projection attachment being fitted onto pico head
The tutorial introduces projection attachments here, and this is where things get genuinely interesting. A projection attachment turns a studio flash head into a device that can cast precise shapes, patterns, and gobos onto a subject or background. The light no longer just illuminates – it draws. Sharp shadow lines, architectural shapes, simulated window light, custom patterns: all of this becomes possible.
The attachment fits onto a pico head or compatible unit, and the fresnel optic inside it focuses the projected image or gobo at a specific distance. Getting the focus right is a matter of moving the light or adjusting the internal focusing ring. Treat it like a projector, because mechanically that is exactly what it is.
What I Would Add From My Own Experience
Before I understood the relationship between the light source and the fresnel optic, I spent a frustrating afternoon wondering why my fresnel was producing a muddy, undefined beam. I was using a standard flash head without the frosted dome, and the beam looked nothing like what I had seen in reference images. The fix took thirty seconds once I understood it.
I now test every new modifier the day it arrives, running through its full range before it ever appears on a paid shoot. With fresnels and projection attachments especially, that preview time is not optional. These are not plug-and-play tools. They reward the photographer who has already worked out their behavior before the client walks in.
The single most important idea in this tutorial is that specialist lights are not complicated – they are specific. A fresnel does one thing exceptionally well: it produces a controlled, zoomable beam with beautiful natural falloff. A projection attachment does something a softbox will never do: it gives you the ability to paint with hard light and create shapes within the frame. Once you stop thinking of these as advanced equipment and start thinking of them as precise instruments with defined purposes, they stop being intimidating.
Watch the full tutorial on YouTube
Comments (5)
This is going in my reference folder. Incredibly useful.
Applied this to my portfolio shots and the improvement is noticeable.
Couldn't agree more. I've seen this make a huge difference in retouching work specifically.
This is the kind of content that keeps me coming back.
Great breakdown. The step-by-step approach really helps.
Leave a Comment