There is a mistake I made early in my career that I still think about. A beauty editorial, late afternoon, outdoor courtyard in downtown Los Angeles. I had a speedlight on a stand, well-exposed, perfectly synced. The images came back looking like my subject had been photographed at two separate events: warm golden hour wrapping her shoulders, and a cold, clinical white blast of flash lighting her face. The client was polite about it. I was not polite to myself. The fix would have cost me about six dollars and thirty seconds of setup time. A gel. A single piece of orange-tinted film over the flash head.
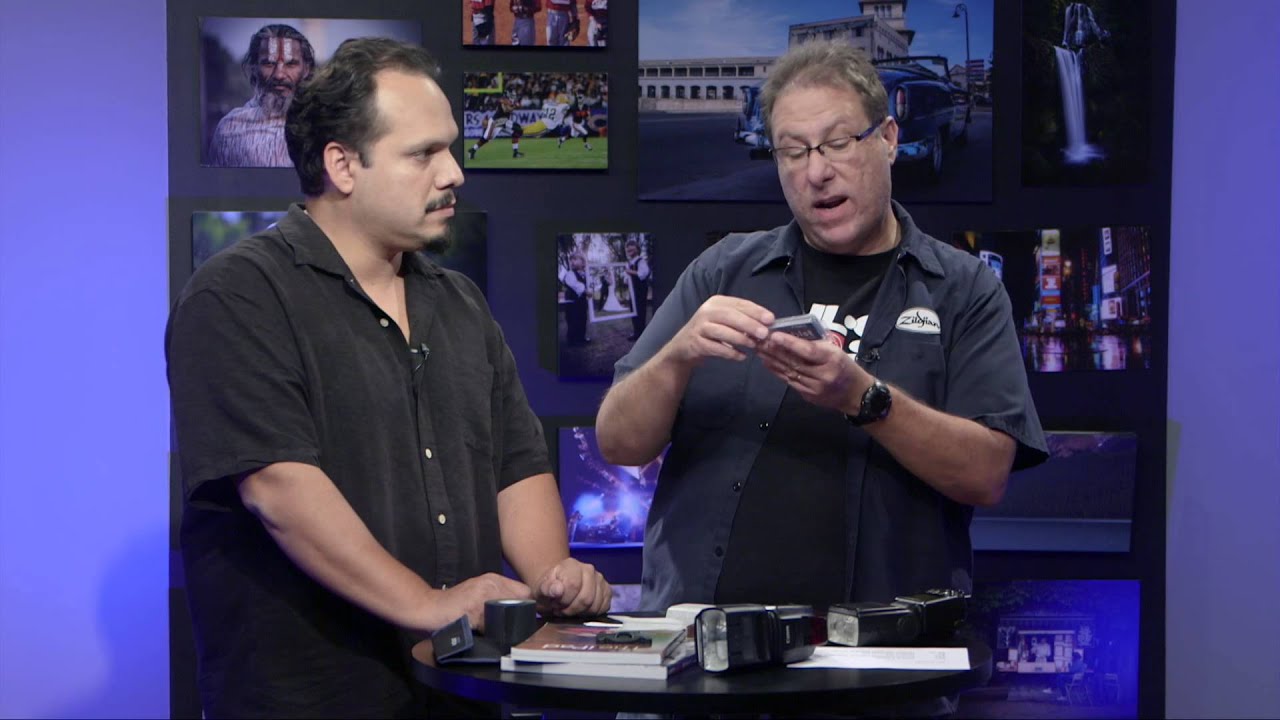
That experience is why I sat up straight when I came across this KelbyOne tutorial on using gels with hot shoe flash. Watch the full tutorial on YouTube. Scott Kelby walks through the practical mechanics of gelling a speedlight for location work, and he does it the way I wish someone had done it for me years ago: no jargon overload, no gear snobbery, just the information you need to make your subjects look better. What follows is my breakdown of his method, expanded with the specifics a working shooter needs.
The core argument Kelby makes is this: if your flash is firing daylight-balanced light into a scene that is lit by warm ambient light, your subject’s face will read as the odd element in the frame. Gel the flash to match the ambient, and the light becomes invisible in the best possible way. It looks like the scene is just lit beautifully. That is the goal.
Step 1: Understand What CTO Actually Means
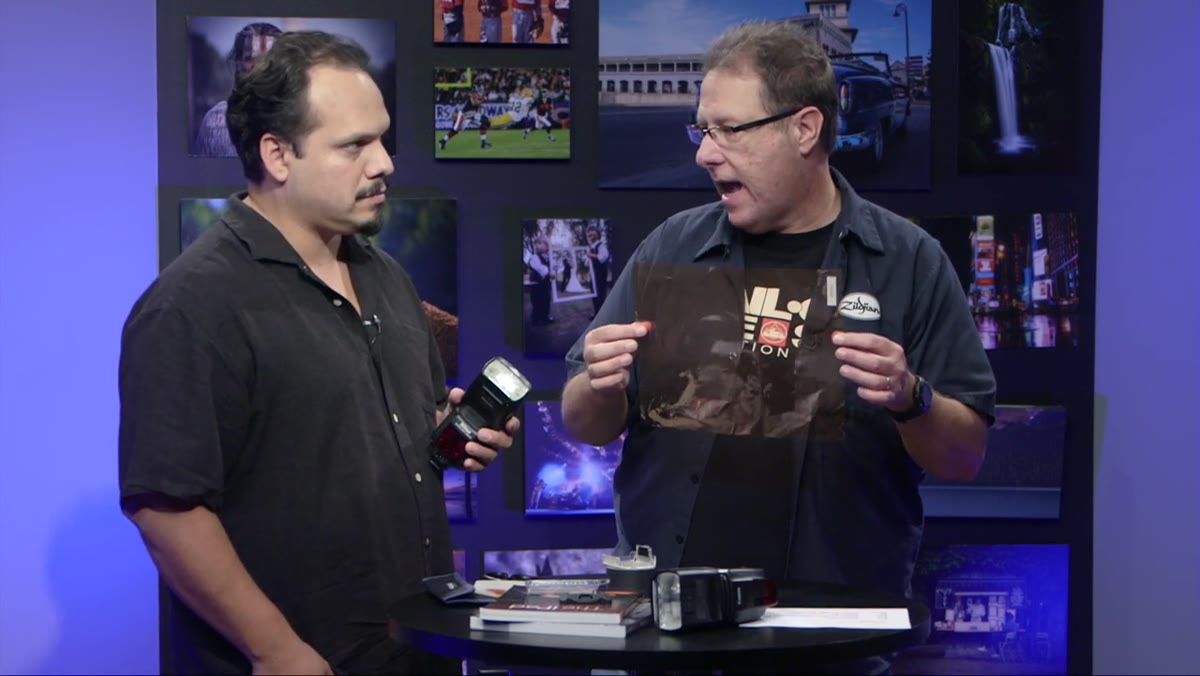
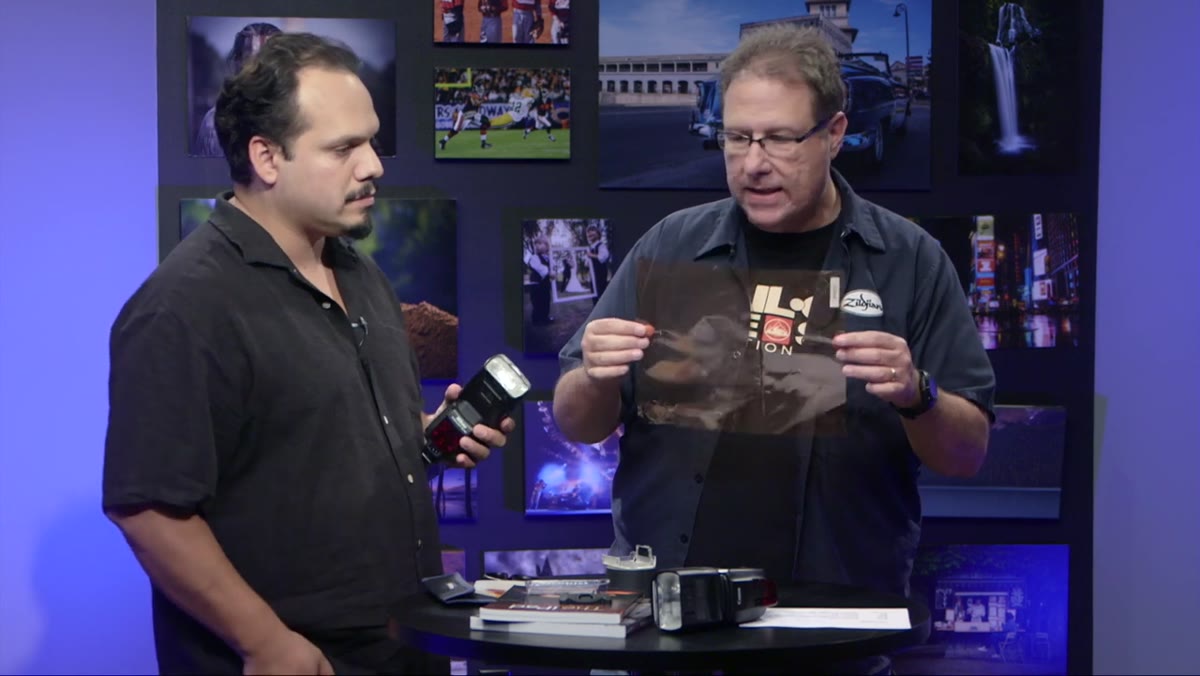 Large orange Rosco gel sheet held up to camera
CTO stands for Color Temperature Orange. It is a warming gel, and it comes in a standard sheet size, typically around 20 by 24 inches, from manufacturers like Rosco. A single sheet runs roughly six to seven dollars and will last you a long time once you cut it down to flash-head size. The gel shifts the color of your flash output toward the warmer, more orange end of the spectrum, mimicking the look of tungsten or late-day sunlight rather than the cool, blue-white output of a bare speedlight.
You will hear three terms used to describe gel density: quarter-cut, half-cut, and full-cut. Think of these as low, medium, and high on a warming dial. A quarter-cut is very subtle, almost a whisper of warmth. A full-cut is a deep, saturated orange that dramatically shifts the color output. Knowing which to reach for depends entirely on the ambient light you are working with.
Step 2: Choose Your Starting Density Based on Ambient Conditions
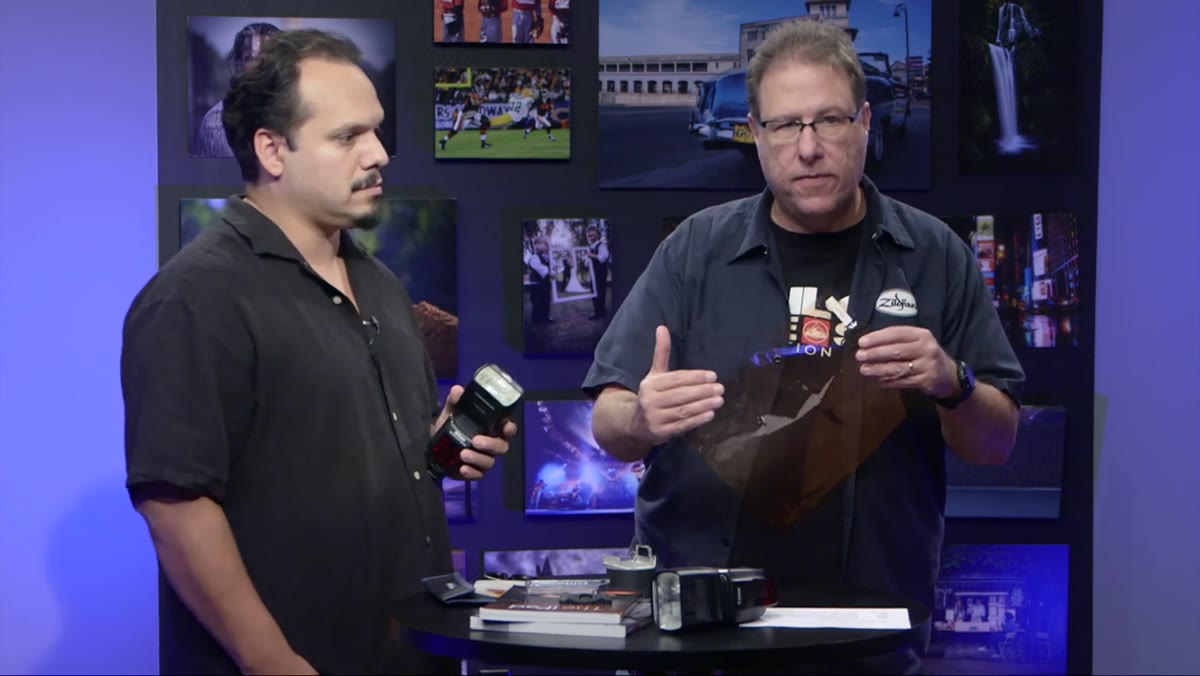 Scott holding up different gel densities side by side
Kelby’s rule of thumb is practical and worth adopting as your default: start with a quarter-cut and treat it as your baseline, everyday gel. Leave it on your flash. Do not take it off between shoots. It adds just enough warmth to make skin tones more flattering without shifting the overall color palette in any way that will read as artificial or stylized.
For most daylight situations, from open shade to midday sun, a quarter-cut is invisible in the final image in the best possible sense. It simply makes the subject look like they belong in the scene. Think of it less as a creative choice and more as a correction.
Step 3: Adjust Gel Density as the Light Changes
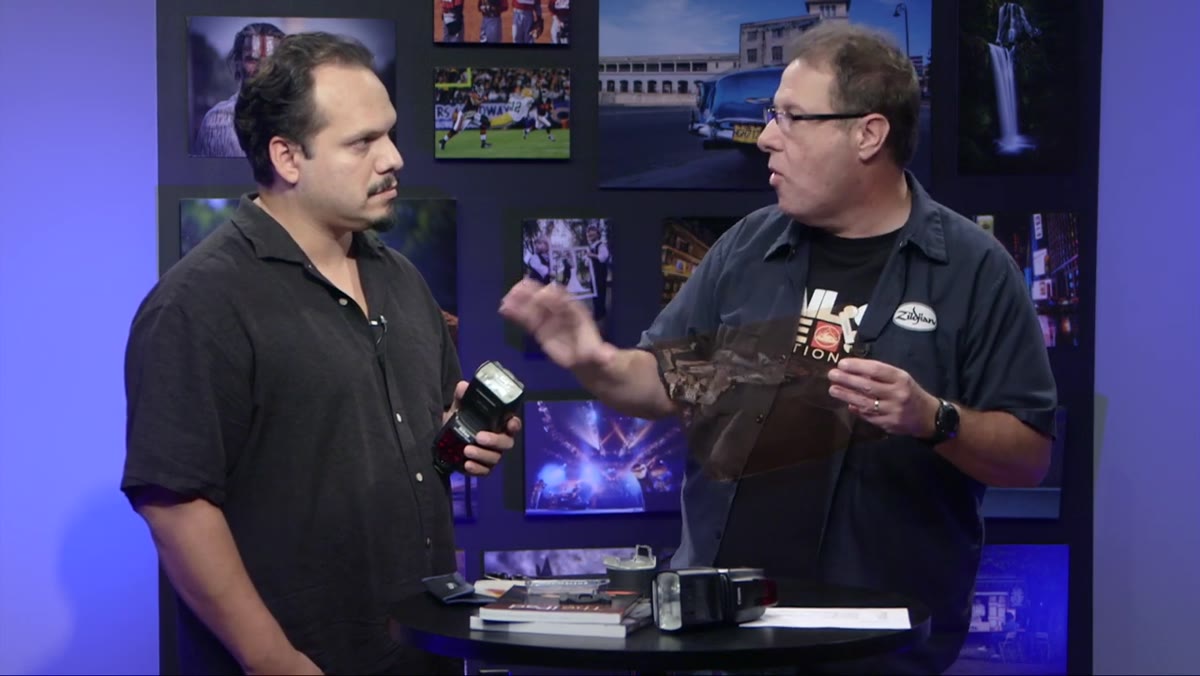
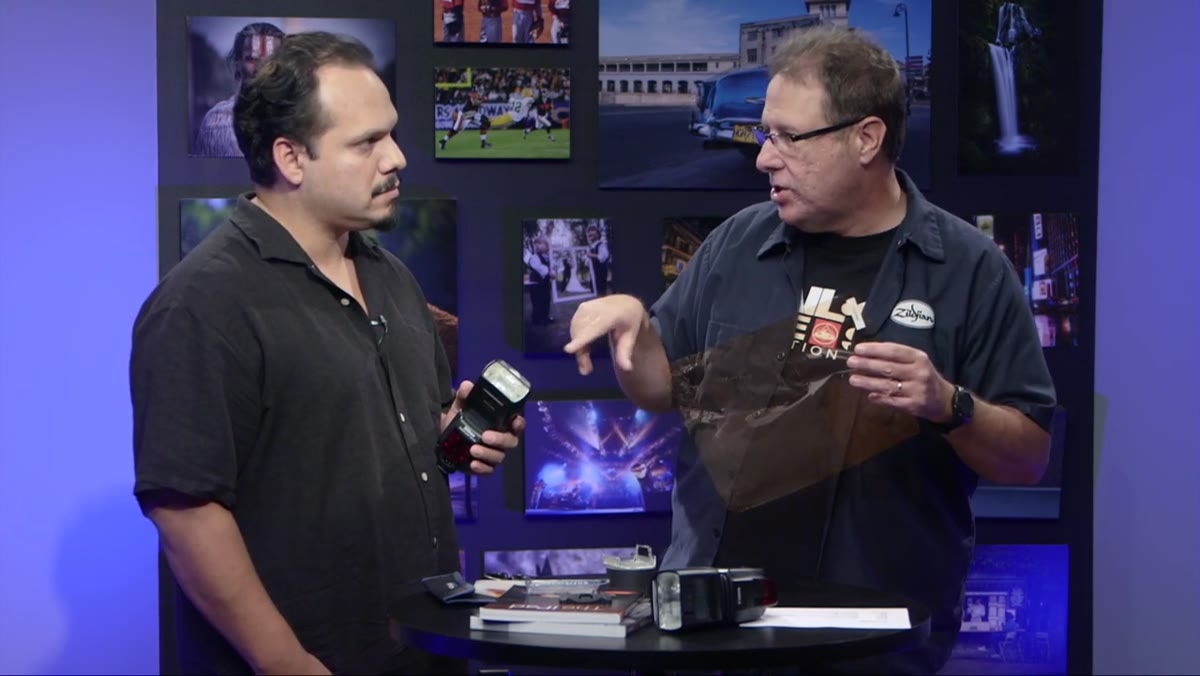 Demonstrating gel layering as sun goes lower in sky
This is where Kelby’s advice gets genuinely useful for anyone doing outdoor portraits. As the sun moves toward the horizon, the ambient light gets progressively warmer and more orange. A quarter-cut gel that looked perfectly matched at 4pm will start to look slightly cool at 5:30pm and noticeably cold at golden hour. Your flash will start to fight the ambient instead of complement it.
The fix is to increase your gel density in step with the sun. Move from a quarter-cut to a half-cut as the light warms up, and then to a full-cut as you approach sunset. You are essentially chasing the color temperature of the ambient light with your flash output. If you only have quarter-cut sheets on hand, you can layer two of them together to approximate a half-cut, and three layers will get you close to a three-quarter cut. It is not a perfect optical solution, but in the field, it works.
Step 4: Cut and Attach Your Gel to the Flash Head
 Cutting down large gel sheet to flash-head size
Buy one large sheet and cut it into flash-head-sized pieces at home before the shoot. I cut mine slightly larger than the flash head and use gaffer tape to attach them, folding a small tab on one edge so I can pull the gel off cleanly when I need to swap densities quickly. Some photographers use rubber bands, and there are commercial products like gel wallets that velcro directly onto specific speedlight models. Any of these work. What does not work is trying to cut a gel with dull scissors in a parking lot with ten minutes until golden hour.
Label each piece with a marker before you put them in your bag. Quarter, half, full. I know this sounds obvious, and I still see photographers squinting at gel scraps trying to tell a quarter from a half in low light. Two seconds with a marker prevents that problem entirely.
Step 5: Test Before You Shoot, Not During
 Side-by-side comparison of gelled vs ungelled flash output
Fire a test frame in the actual ambient light before you bring your subject in front of the camera. Evaluate the color in your LCD with the white balance set to a fixed value, not auto. Auto white balance will compensate for the gel and neutralize the effect you are trying to create. Shoot in Kelvin or set your white balance to Daylight or Cloudy and leave it there. What you are looking for is whether the flash-lit areas and the ambient-lit areas of the frame read as the same light source. If they do, you are ready.
What I Do Differently in the Studio
Kelby frames this technique as a location tool, and he is right that it is most critical outdoors. But I use light gels in the studio as well, specifically when I am mixing flash with practical lights, table lamps, or any tungsten source that I want to keep in the frame for atmosphere. A quarter-cut on the key light lets me balance it against a practical without the practical looking blown-out or the flash looking cold. It is the same principle. Match the output of your artificial light to the dominant color temperature in the scene.
I keep a small binder of pre-cut gels on my equipment cart, organized by density and color family. CTO and CTB for temperature correction, a few saturated colors for creative work. Every piece is labeled. When a new gel arrives, I test it the same day. Not because I am obsessive, but because knowing exactly what each tool does before the job is how you stay calm when things move fast on set.
The single most important thing to take away from Kelby’s tutorial is this: gel your flash before you need to, not after you notice the problem. A quarter-cut of CTO costs almost nothing, takes ten seconds to attach, and makes your subjects look like they were photographed by someone who understood the light. That is exactly the impression you want to make.
Watch the full tutorial on YouTube to see Scott Kelby walk through the gel options and demonstrate the technique hands-on.
Comments
Leave a Comment