Every commercial shooter I know has a drawer full of speedlights they stopped using the moment they moved into a studio. That’s a mistake. On location, when you need to move fast, a couple of TTL speedlights on radio triggers can outrun a full strobe kit on setup time alone. The problem most photographers hit isn’t the flash itself, it’s the trigger system, specifically understanding how to group flashes, link them reliably, and then actually adjust ratios without digging through menus mid-shoot.
In this The Slanted Lens tutorial, JP and his guest Jeff walk through two systems for getting TTL speedlights off camera and under control: Canon’s ST-E3 transmitter and PocketWizard’s equivalent. The principles they demonstrate apply to both Canon and Nikon ecosystems, and once you understand the linking and grouping logic, the rest is just menu navigation.
I’ll say this clearly: on-camera flash is almost always the wrong place for a speedlight. Yes, you can bounce it off a ceiling or drag a diffuser over the head, but you’re still stuck with flat, frontal light that has no modeling quality. Getting the light off the camera, even by three feet, changes everything about how it falls on a face. Here is exactly how to do it.
Step 1: Understand Your Two Options for Off-Camera TTL
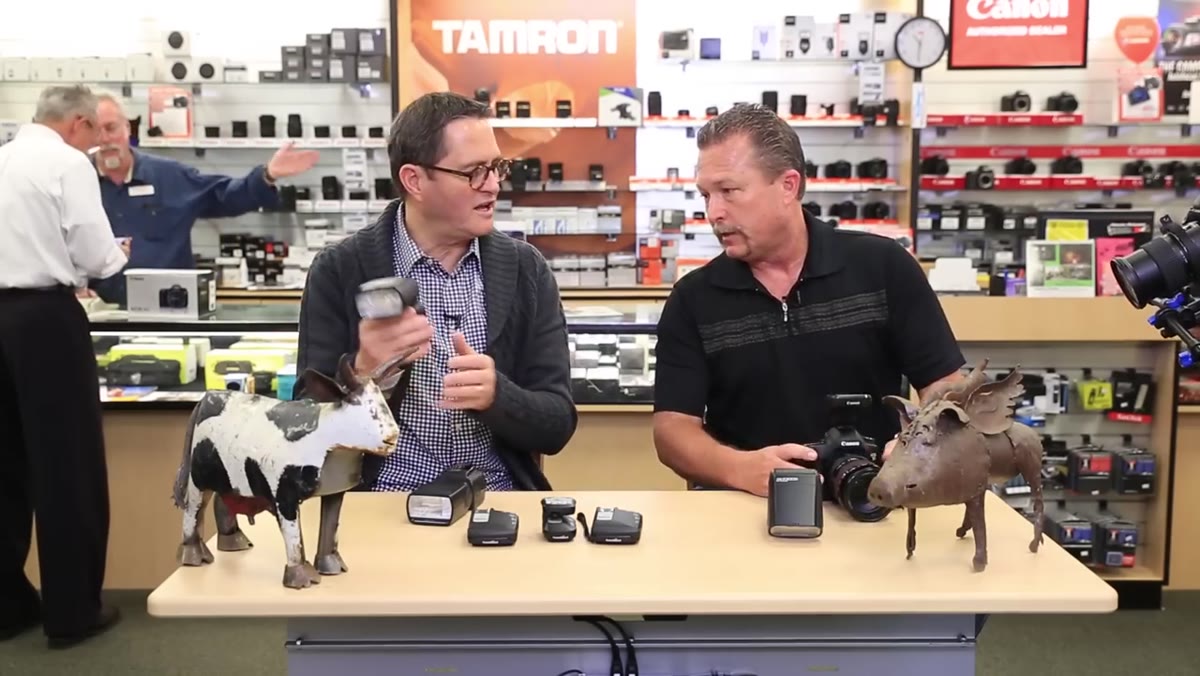
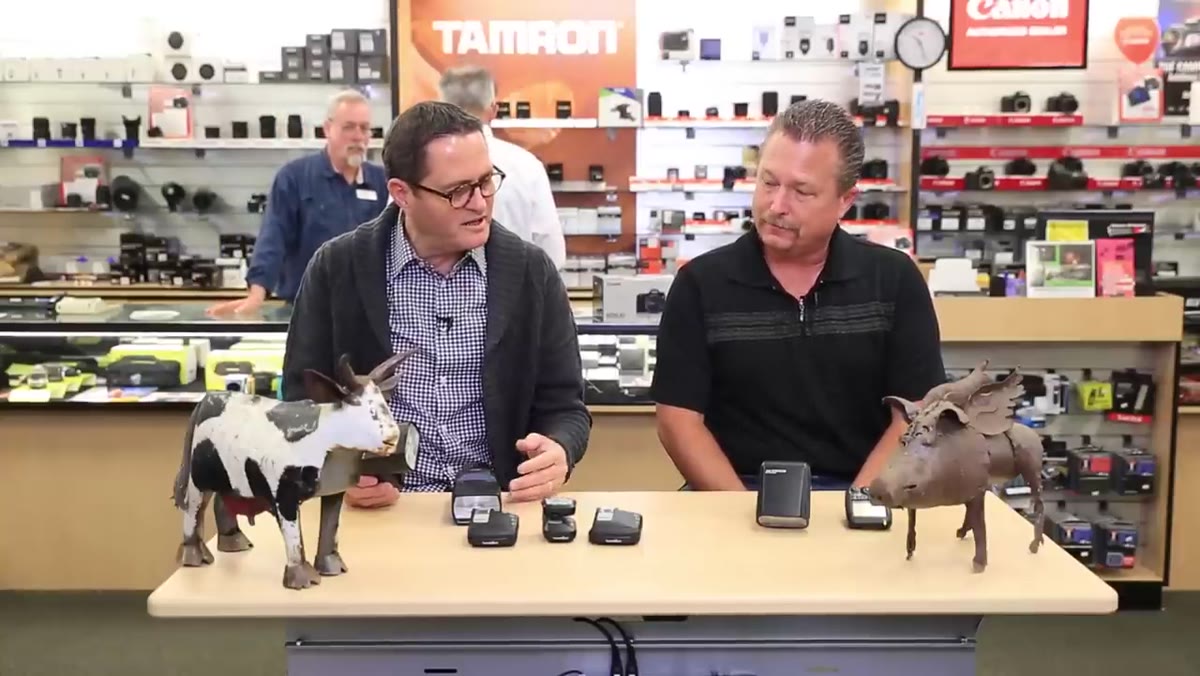 Two trigger systems laid out side by side on table
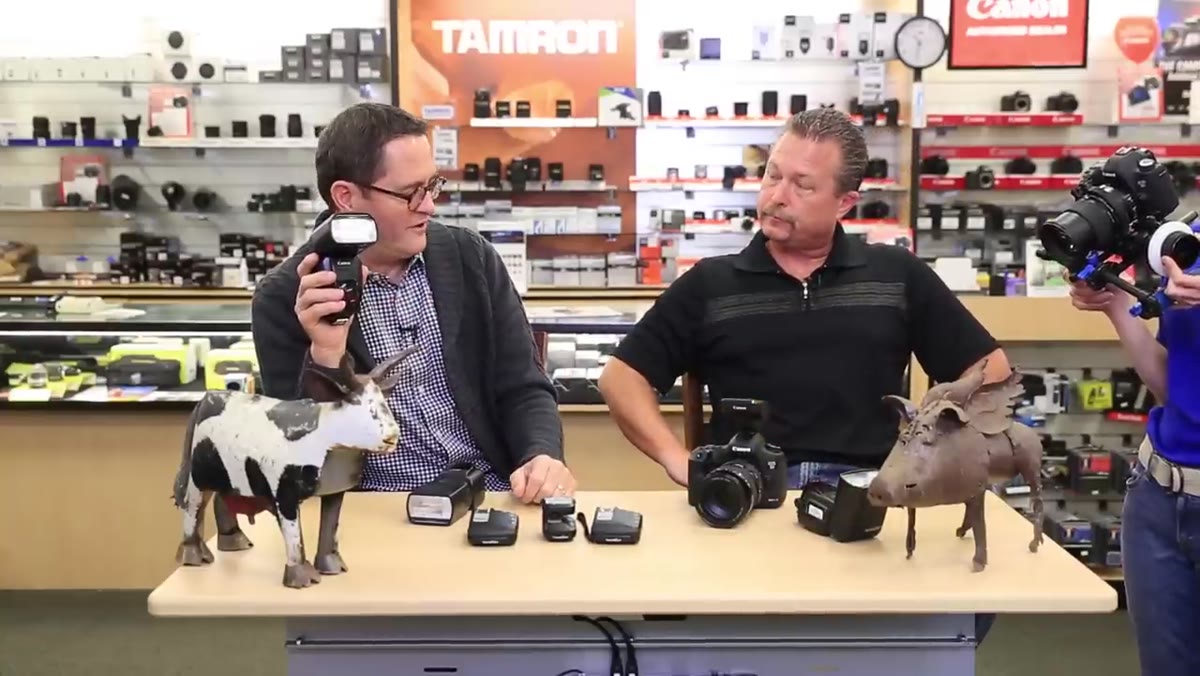
The two main radio trigger approaches for Canon shooters are Canon’s own ST-E3-RT transmitter and PocketWizard’s system. Both deliver full TTL off-camera, meaning the camera still calculates exposure automatically through the trigger, just as if the flash were sitting in the hot shoe. The key practical difference is operating distance. PocketWizard has historically had the range advantage, which matters if you’re working in a large location or shooting through walls in an event space. For most controlled studio or location work within a normal room, Canon’s native system is clean, reliable, and tightly integrated into the camera’s menu structure.
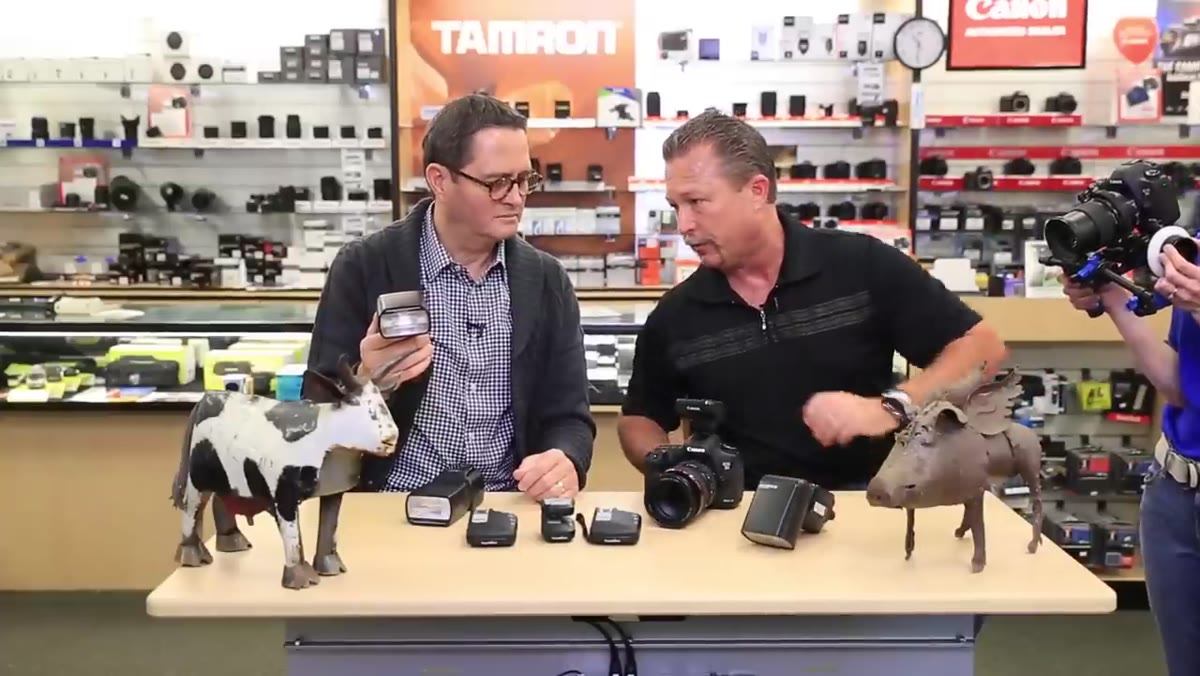
Two trigger systems laid out side by side on table
The two main radio trigger approaches for Canon shooters are Canon’s own ST-E3-RT transmitter and PocketWizard’s system. Both deliver full TTL off-camera, meaning the camera still calculates exposure automatically through the trigger, just as if the flash were sitting in the hot shoe. The key practical difference is operating distance. PocketWizard has historically had the range advantage, which matters if you’re working in a large location or shooting through walls in an event space. For most controlled studio or location work within a normal room, Canon’s native system is clean, reliable, and tightly integrated into the camera’s menu structure.
Nikon has had a similar native radio system for longer than Canon, so if you’re a Nikon shooter, the same logic applies to their equivalent transmitter. The grouping and ratio concepts are identical across brands.
Step 2: Mount the Transmitter and Power Everything On
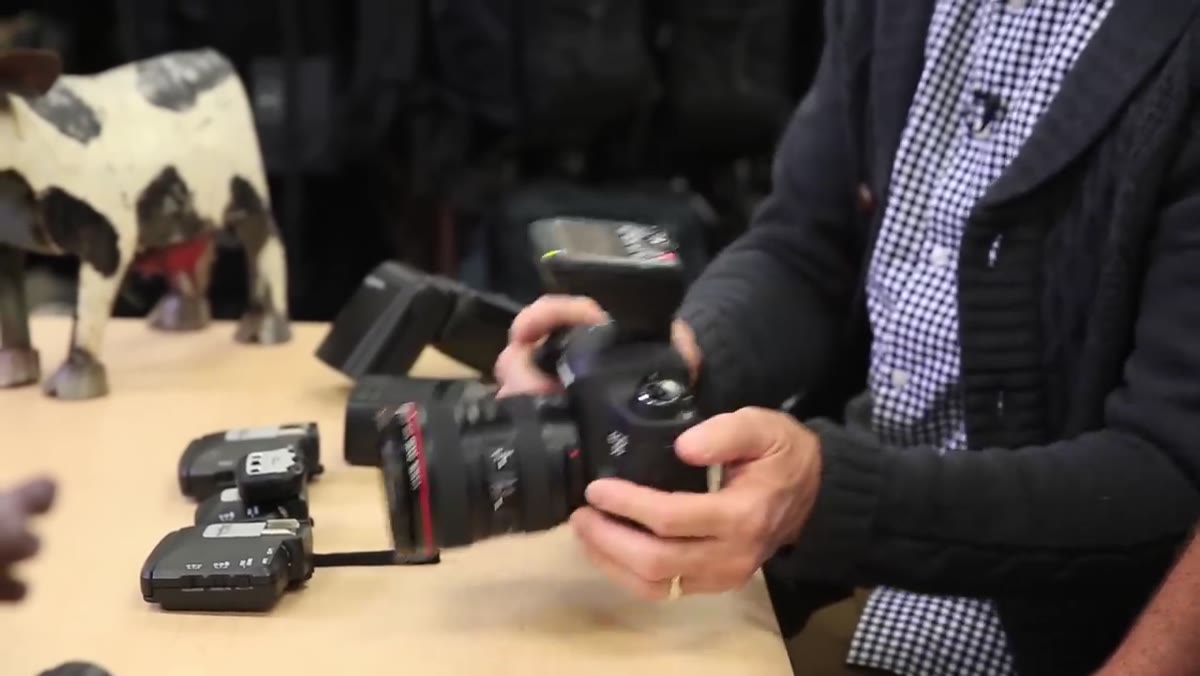 ST-E3 transmitter being mounted onto camera hot shoe
Slide the ST-E3 onto your camera’s hot shoe and lock it down. Canon’s locking mechanism on this unit is solid, with a positive click that doesn’t leave you guessing. Power on both the transmitter and your off-camera speedlights before you try to link anything. The system cannot initiate a link handshake if a unit is off or sleeping. This sounds obvious, but I have watched assistants spend five minutes troubleshooting a dead link that was just a flash in sleep mode.
ST-E3 transmitter being mounted onto camera hot shoe
Slide the ST-E3 onto your camera’s hot shoe and lock it down. Canon’s locking mechanism on this unit is solid, with a positive click that doesn’t leave you guessing. Power on both the transmitter and your off-camera speedlights before you try to link anything. The system cannot initiate a link handshake if a unit is off or sleeping. This sounds obvious, but I have watched assistants spend five minutes troubleshooting a dead link that was just a flash in sleep mode.
Note that some Canon bodies, specifically certain 7D variants and a handful of newer cameras, have this transmitter functionality built directly into the body. The 5D-series and other pro bodies do not, so the external ST-E3 is required. If you’re unsure about your specific body, check Canon’s compatibility list before assuming you need the transmitter.
Step 3: Enter TTL Mode and Initiate the Link
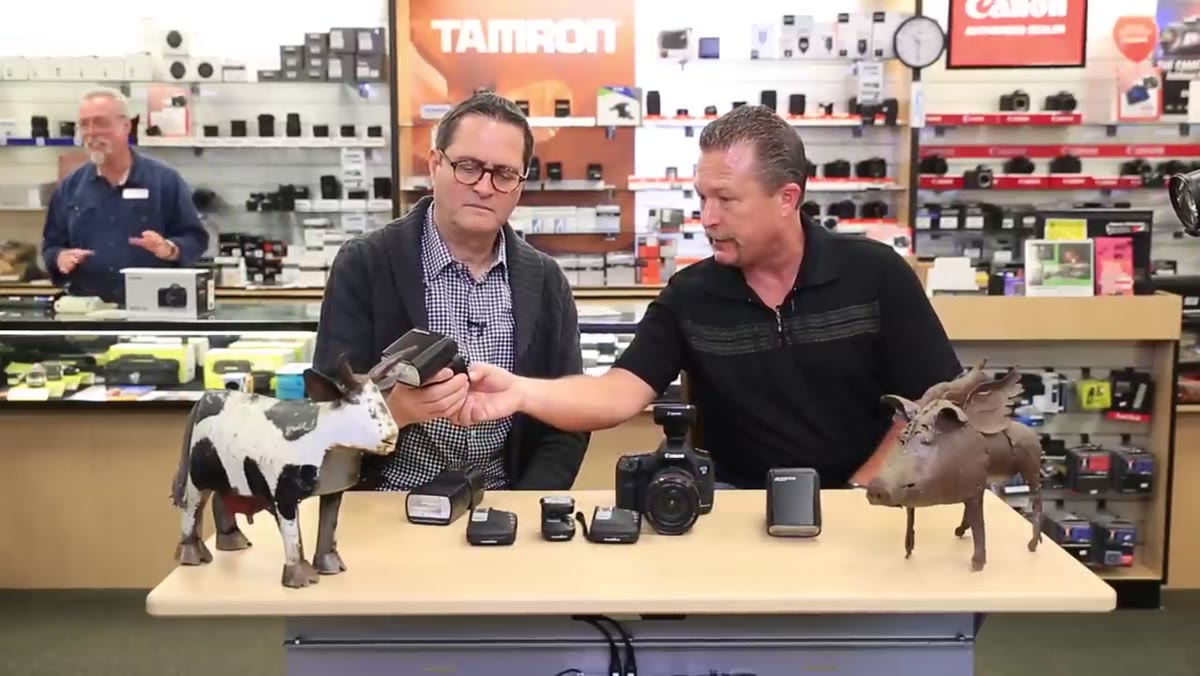 Transmitter menu showing TTL mode selection screen
On the ST-E3, navigate into the settings menu and set the mode to TTL. Then hold the link button until the system begins searching for flash units. On each off-camera speedlight, you will need to set the flash to slave mode so it is listening for the master signal from the transmitter. Once linked, both the transmitter and the speedlight should display a solid green light. A blinking or absent green light means the link hasn’t been established, and you need to repeat the pairing process.
Transmitter menu showing TTL mode selection screen
On the ST-E3, navigate into the settings menu and set the mode to TTL. Then hold the link button until the system begins searching for flash units. On each off-camera speedlight, you will need to set the flash to slave mode so it is listening for the master signal from the transmitter. Once linked, both the transmitter and the speedlight should display a solid green light. A blinking or absent green light means the link hasn’t been established, and you need to repeat the pairing process.
The green ready light is your confirmation that the system is live. Do not start shooting until you see it. I tape a small piece of masking tape on each flash with its group letter written on it before linking, so I never have to guess which unit is which once they’re positioned around a set.
Step 4: Assign Each Flash to a Group
 Flash unit menu showing group assignment options A and B
The ST-E3 can control up to three separate flash groups. Each group is labeled with a letter, typically A, B, and C. The transmitter fires all flashes assigned to the same group at the same power. If you put both speedlights on Group A, they fire together at equal TTL-calculated power. If you want independent control, assign them to different groups. One flash goes on Group A, the second on Group B.
Flash unit menu showing group assignment options A and B
The ST-E3 can control up to three separate flash groups. Each group is labeled with a letter, typically A, B, and C. The transmitter fires all flashes assigned to the same group at the same power. If you put both speedlights on Group A, they fire together at equal TTL-calculated power. If you want independent control, assign them to different groups. One flash goes on Group A, the second on Group B.
On the speedlight itself, navigate to the group setting in the flash menu, select your desired letter, and confirm. Do the same on the transmitter side so both units are talking on the same channel and the correct group assignments are registered. A mismatch here is the most common reason flashes appear linked but one unit refuses to fire.
Step 5: Fire the System and Verify Both Flashes Trigger
 Both speedlights firing simultaneously during test shot
With groups assigned and green lights confirmed, take a test frame. Both speedlights should fire. If only one fires, double-check that the non-firing unit is set to the correct group letter on both the flash itself and in the transmitter’s group menu. It is easy to set the flash to Group A and forget to activate Group A on the transmitter’s output settings.
Both speedlights firing simultaneously during test shot
With groups assigned and green lights confirmed, take a test frame. Both speedlights should fire. If only one fires, double-check that the non-firing unit is set to the correct group letter on both the flash itself and in the transmitter’s group menu. It is easy to set the flash to Group A and forget to activate Group A on the transmitter’s output settings.
When both units fire together in full TTL, the camera’s metering system reads the scene and sets power automatically. This is the speed advantage of TTL on location: you reposition a light and the system recalculates rather than you manually adjusting power every time.
Step 6: Adjust Ratios Directly on the Flash Unit
 Photographer adjusting power compensation on individual speedlight
Once both flashes are firing, you can break them into a key and fill relationship by dialing exposure compensation directly on the individual flash unit. Navigate to the flash’s compensation settings and push it down in third-stop increments. A fill light typically sits one to two stops below the key. You can also push compensation up if you want a specific unit to overpower the TTL reading.
Photographer adjusting power compensation on individual speedlight
Once both flashes are firing, you can break them into a key and fill relationship by dialing exposure compensation directly on the individual flash unit. Navigate to the flash’s compensation settings and push it down in third-stop increments. A fill light typically sits one to two stops below the key. You can also push compensation up if you want a specific unit to overpower the TTL reading.
This adjustment travels through the radio link, so you do not need to physically walk over to the flash every time. Make the change on the transmitter’s group output settings for that letter group and the flash responds remotely. This is where the system earns its value on a working shoot.
One Thing I Would Add From My Own Work
The tutorial covers the linking and grouping workflow cleanly, but it doesn’t address color temperature consistency between units, and that matters. TTL speedlights from the same manufacturer are generally well-matched at full power, but as you push one unit significantly lower than the other, small color shifts can appear, particularly in beauty and skin-tone-critical work. I always shoot a gray card frame after setting my ratio, pull it into Lightroom, and lock in a custom white balance before I commit to a full setup. It takes 90 seconds and has saved me from the kind of subtle warmth mismatch that only shows up when a client is comparing frames on a large monitor.
The single most important thing this tutorial clarifies is that TTL off-camera is not complicated. It requires a transmitter, slave-mode flashes, a clean link, and correct group assignments. Everything else is just dialing. Once you understand the group letter logic, you can build a two-light setup in under three minutes on location without touching a light meter.
Watch the full tutorial on YouTube to see the live demonstration of the linking process and the PocketWizard comparison alongside Canon’s native system.
Comments
Leave a Comment