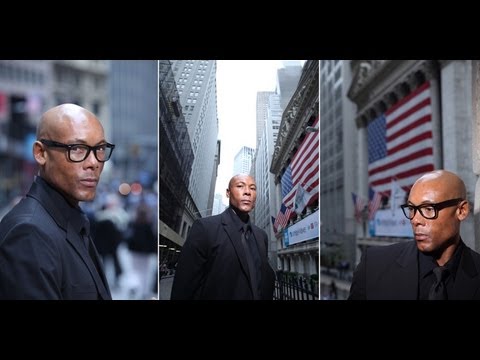
Every time I take a strobe outside, someone assumes the hard part is the exposure math. It isn’t. The hard part is containment. A soft box forgives you on location. A grid spot does not. It throws light exactly where you aim it, and nowhere else, which is either a superpower or a liability depending on whether you understand coverage angles before you fire a single frame.
I’ve been keeping a lighting journal for years. Every setup, every modifier, sketched out in a notebook after the shoot. When I came across this Watch the full tutorial on YouTube from JP Morgan at The Slanted Lens, I ended up with three pages of notes. He shoots corporate portraits on Wall Street with a single grid spot, no crew to speak of, and the images look like they came out of a controlled studio environment. That’s the promise of grid spots done right.
What makes this tutorial genuinely useful is that Morgan doesn’t just tell you grids create drama. He shows you the coverage math, the feathering logic, and the color gel move that lets one light source fight an overcast sky and win. Here’s how he does it, step by step.
Step 1: Understand What a Grid Actually Does
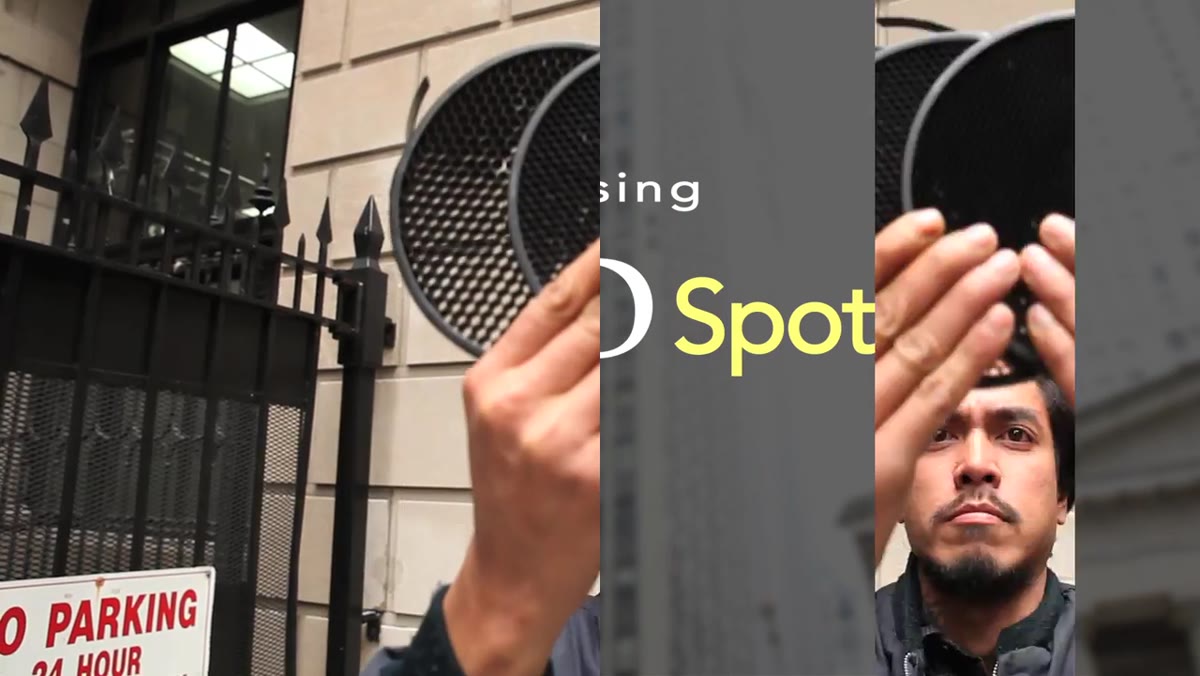 Honeycomb grid insert held up for camera
A grid is a honeycomb insert that drops into the front of a standard 9-inch reflector. It does not soften light. There is no diffusion material involved. What it does is physically block the light rays that would otherwise scatter outward from the reflector, cutting the spread down to a concentrated circle. The result is a hard, directional light source with a defined area of coverage and quick falloff at the edges. If you’ve been using a grid hoping for a soft look, you’ve been using the wrong tool.
Honeycomb grid insert held up for camera
A grid is a honeycomb insert that drops into the front of a standard 9-inch reflector. It does not soften light. There is no diffusion material involved. What it does is physically block the light rays that would otherwise scatter outward from the reflector, cutting the spread down to a concentrated circle. The result is a hard, directional light source with a defined area of coverage and quick falloff at the edges. If you’ve been using a grid hoping for a soft look, you’ve been using the wrong tool.
Step 2: Match the Grid Degree to the Scene You’re Shooting
 Four grid coverage comparison shots side by side
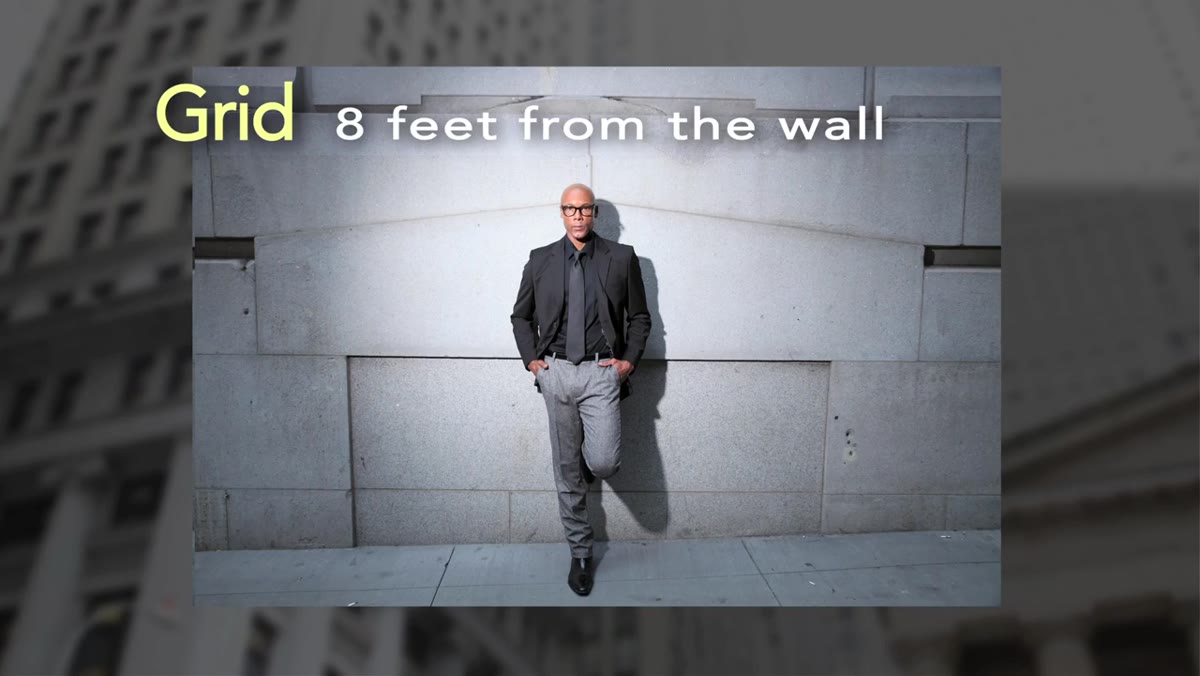
Morgan demonstrates four grid sizes from the same distance of 8 feet from a wall. An open reflector with no grid produces coverage of roughly 10 feet and fills shadows generously because light bounces around inside the dish. A 30-degree grid cuts that spread to about 8 feet but still allows enough bounce to keep shadow areas open and relatively soft-looking. A 20-degree grid brings coverage under 6 feet, and the falloff outside that circle gets noticeably darker. A 10-degree grid behaves almost like a theatrical spotlight, extremely tight, with rapid falloff.
Four grid coverage comparison shots side by side
Morgan demonstrates four grid sizes from the same distance of 8 feet from a wall. An open reflector with no grid produces coverage of roughly 10 feet and fills shadows generously because light bounces around inside the dish. A 30-degree grid cuts that spread to about 8 feet but still allows enough bounce to keep shadow areas open and relatively soft-looking. A 20-degree grid brings coverage under 6 feet, and the falloff outside that circle gets noticeably darker. A 10-degree grid behaves almost like a theatrical spotlight, extremely tight, with rapid falloff.
The critical variable is distance. Coverage shrinks as you move the light closer to your subject. What reads as 6 feet of coverage at 8 feet from the wall will compress considerably when you move the light in to 4 feet. Know this before you commit to a grid size on set.
Step 3: Choose Your Grid Based on the Mood You Need
 20-degree grid mounted on reflector on light stand
Morgan settles on the 20-degree grid for this shoot and the reasoning is direct. He wants drama. A wider grid pattern means more spill, which means a flatter, more commercial look. The tighter the circle, the more the background drops away and the more sculptural the subject becomes. For corporate portraits on a moody overcast day in a visually busy location, the 20-degree grid gives him separation without requiring a second light to control the background.
20-degree grid mounted on reflector on light stand
Morgan settles on the 20-degree grid for this shoot and the reasoning is direct. He wants drama. A wider grid pattern means more spill, which means a flatter, more commercial look. The tighter the circle, the more the background drops away and the more sculptural the subject becomes. For corporate portraits on a moody overcast day in a visually busy location, the 20-degree grid gives him separation without requiring a second light to control the background.
I’d add one thing from my own experience: if you’re shooting beauty or fashion and you want shadow detail, go one step wider than your instinct says. The 10-degree grid is almost always too punishing on skin unless you are deliberately going editorial and dark.
Step 4: Position the Light and Flag It to Control Spill
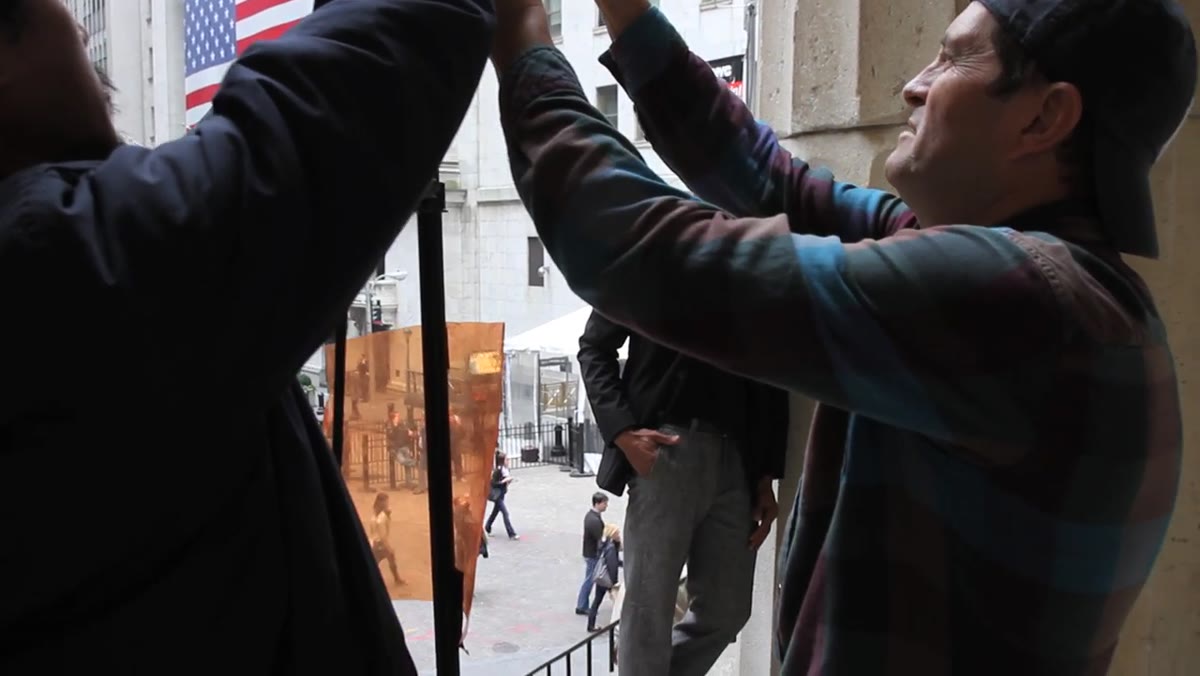 Light positioned camera left, angled toward subject’s face
Morgan places his 20-degree grid on camera left, aimed at the subject’s face. The first test frame shows the problem immediately. The light hits the background column too directly, drawing the eye away from the subject and creating a competing focal point in the frame. His fix is to feather the light, meaning he rotates the head away from the camera axis so the edge of the coverage circle, not the center, lands on the subject’s face.
Light positioned camera left, angled toward subject’s face
Morgan places his 20-degree grid on camera left, aimed at the subject’s face. The first test frame shows the problem immediately. The light hits the background column too directly, drawing the eye away from the subject and creating a competing focal point in the frame. His fix is to feather the light, meaning he rotates the head away from the camera axis so the edge of the coverage circle, not the center, lands on the subject’s face.
This is the move most photographers skip, and it costs them. The center of a grid spot’s coverage is not always your friend. Feathering the light gives you softer gradation across the face and lets you push the hot spot off frame entirely. Morgan describes doing this constantly throughout a shoot, not once at setup.
Step 5: Add a CTO Gel and Let the Background Go Blue
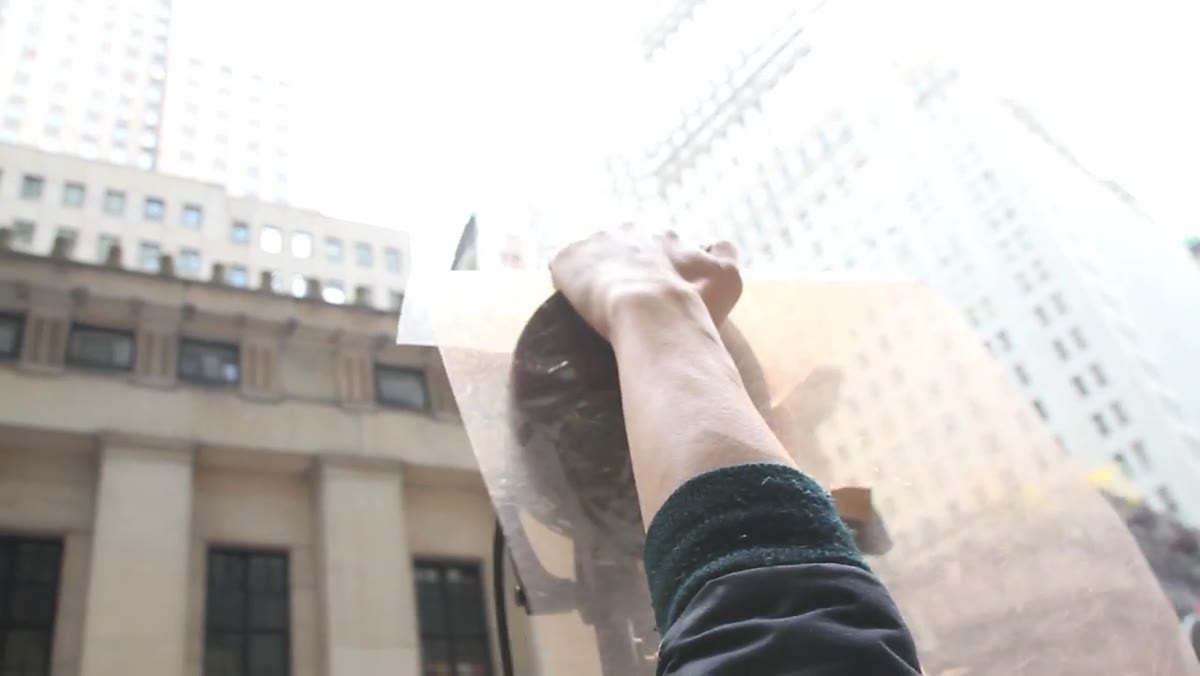 Rosco CTO gel being placed over the grid spot
Here is the technique that separates this tutorial from a basic gear overview. Morgan places a Rosco CTO gel, which is a warming gel, over the grid. In the camera, he then sets his white balance to daylight. The CTO gel shifts his strobe toward orange, so when the camera is balanced for daylight, it renders the warm-lit subject correctly. The ambient light, which is already the cooler color temperature of an overcast sky, now reads as noticeably blue by comparison.
Rosco CTO gel being placed over the grid spot
Here is the technique that separates this tutorial from a basic gear overview. Morgan places a Rosco CTO gel, which is a warming gel, over the grid. In the camera, he then sets his white balance to daylight. The CTO gel shifts his strobe toward orange, so when the camera is balanced for daylight, it renders the warm-lit subject correctly. The ambient light, which is already the cooler color temperature of an overcast sky, now reads as noticeably blue by comparison.
You don’t need a dramatic sky or a blue gel on a background light. You need one CTO gel, a correct white balance setting, and an overcast day doing the work for free. I’ve used this exact approach for editorial work when I needed a cold environmental feel without being able to control the location. It’s one of the most reliable single-light moves I know.
Step 6: Simplify Your Kit for Location Portability
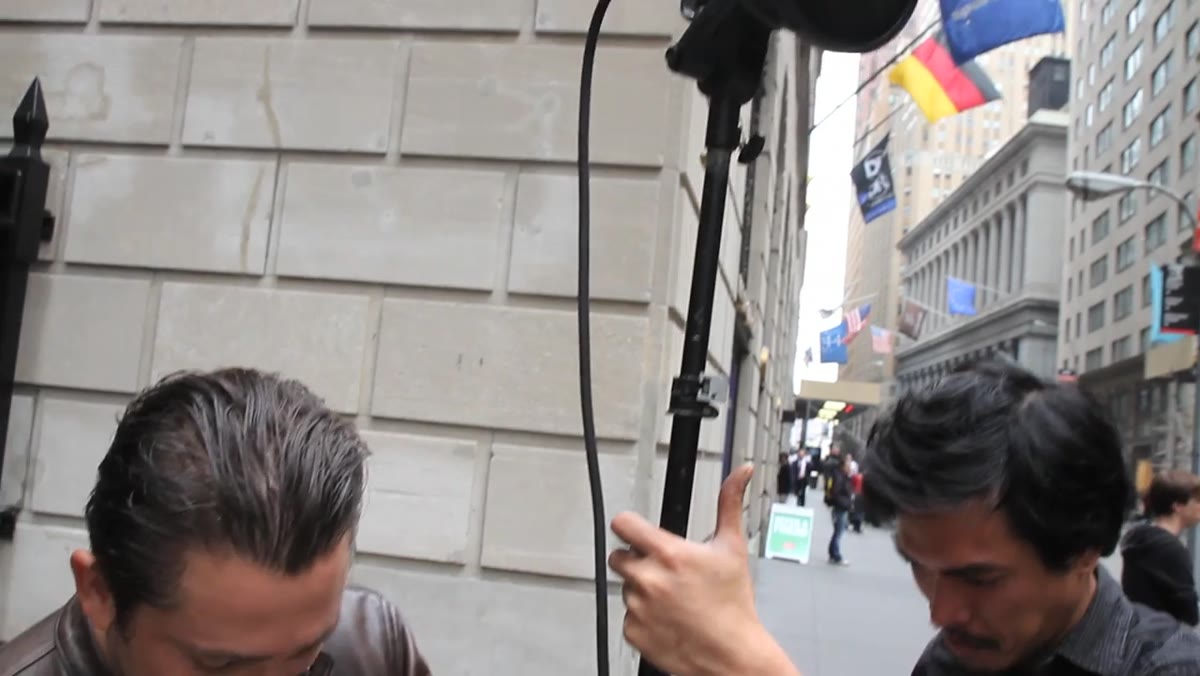 Battery pack clamped to light stand, single setup visible
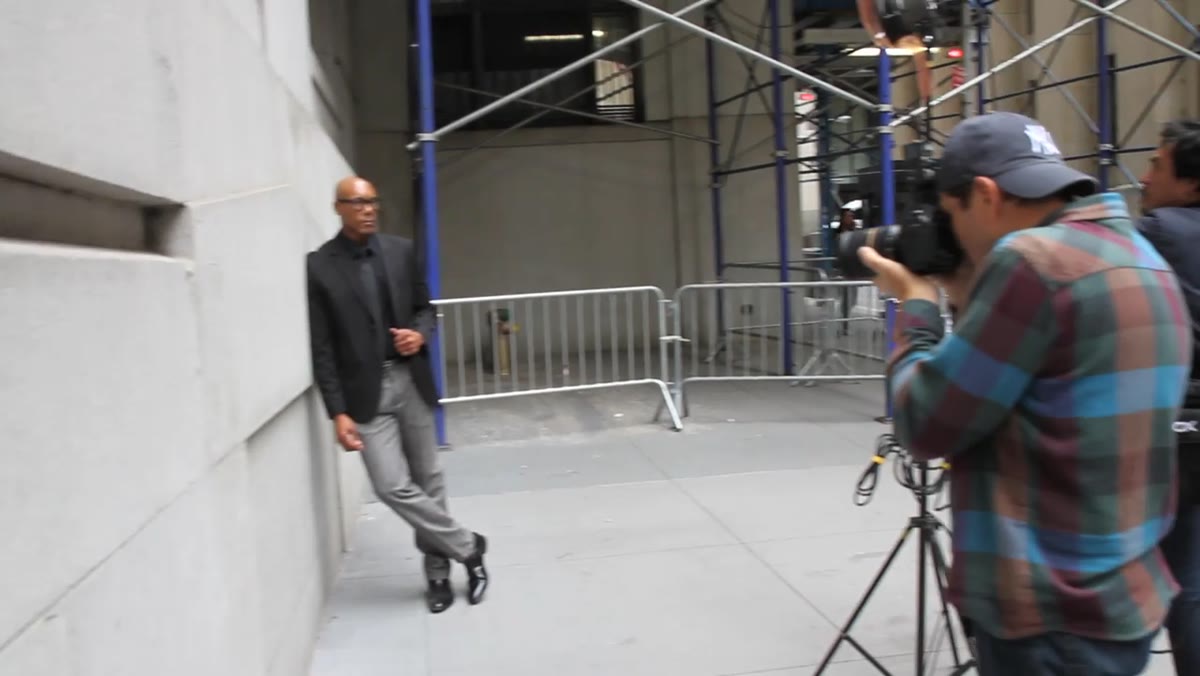
Morgan runs this entire shoot with one light stand, one pack, a battery power source, and a camera in hand. No generator, no second assistant, no tethered laptop. In New York City specifically, he notes that unplugging from hardwired power sources keeps you operating without a location permit. But the broader point applies everywhere: a grid spot is one of the few modifiers that rewards you for traveling light, because its precision means you don’t need fill lights, flags, or reflectors to compensate for spill you never created.
Battery pack clamped to light stand, single setup visible
Morgan runs this entire shoot with one light stand, one pack, a battery power source, and a camera in hand. No generator, no second assistant, no tethered laptop. In New York City specifically, he notes that unplugging from hardwired power sources keeps you operating without a location permit. But the broader point applies everywhere: a grid spot is one of the few modifiers that rewards you for traveling light, because its precision means you don’t need fill lights, flags, or reflectors to compensate for spill you never created.
What I’d Do Differently
I shoot a lot of corporate work in Los Angeles, often in downtown locations with harsh sun rather than the overcast Morgan was working with. The CTO-plus-daylight-balance trick still applies, but you need a significantly higher strobe output to compete with direct sun. In those conditions I’ll often go to a 10-degree grid simply because the falloff is so fast that the background stays dark even in full sun at a high shutter speed. The tradeoff is that subject placement becomes extremely precise. Move your subject six inches off axis and they’re half lit. That’s where the assistant becomes essential.
The single most important thing this tutorial teaches is that a grid spot’s usefulness scales directly with how well you understand coverage angles before you raise the stand. Go outside with four grids, a wall, and an hour. Shoot each one from the same distance and compare. You’ll never guess at coverage again.
Watch the full tutorial on YouTube to see Morgan’s complete Wall Street setup, including the ambient-only comparison frames that make the grid spot’s impact impossible to argue with.
Comments (2)
I've been looking for exactly this kind of tutorial. Perfect timing.
Just used this on a wedding shoot edit. Client was thrilled.
Leave a Comment