
I spend a lot of time thinking about studio infrastructure. Not the glamorous part of the job, but the decisions that determine whether a shoot runs smoothly or falls apart before the first frame. What computer controls my tethering rig. Whether my audio playback for client presentations drops out mid-meeting. How I spec a workspace so it serves the work instead of fighting it. These are the unglamorous fundamentals, and getting them wrong costs you money and credibility.
That’s why I kept coming back to this CreativeLive Q&A featuring Mike Metlay, editor of Recording Magazine, walking through the foundational decisions for building a home recording studio. Watch the full tutorial on YouTube. The recording world and the photography studio world are more parallel than most people admit. Both require you to build a technical environment from scratch, manage signal chains, make expensive gear decisions with incomplete information, and somehow produce professional results at the end of it. Metlay’s thinking on how to approach those decisions is sharp and transferable.
What follows is a breakdown of the core principles from that conversation, reframed for anyone building a creative studio space where the right foundational choices matter.
Step 1: Choose Your Platform Based on Comfort, Not Reputation
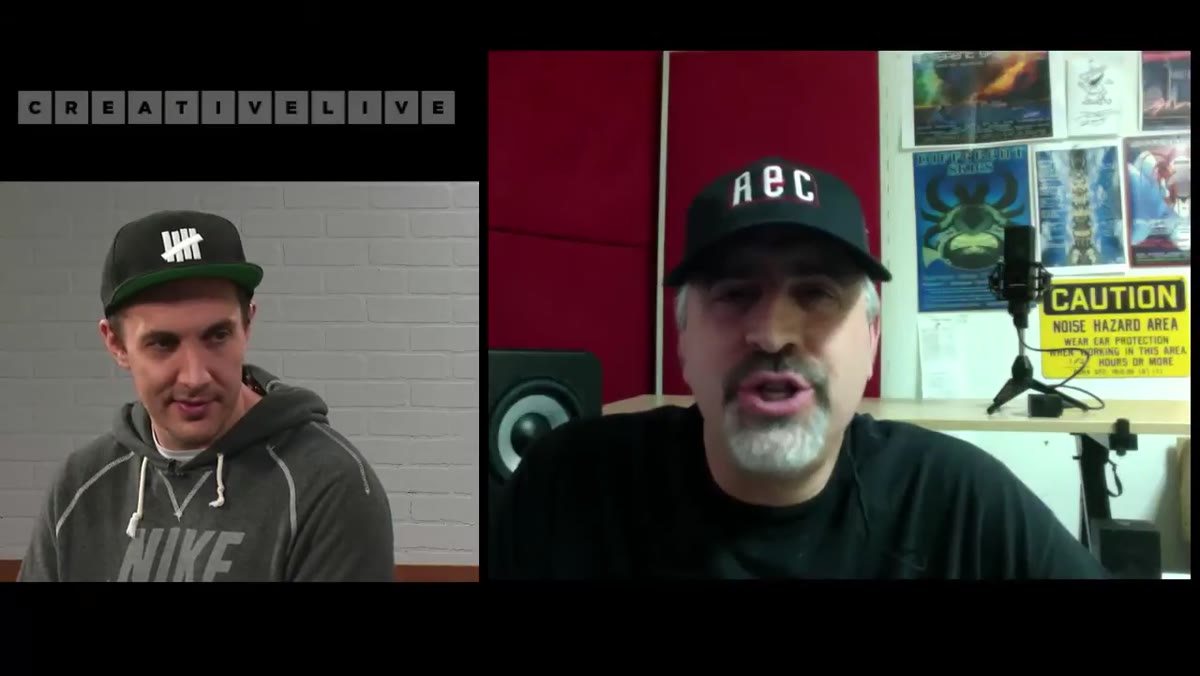 Mike Metlay answering the Mac versus PC question directly
The first question Finn McKenty puts to Metlay is the one every beginner agonizes over: Mac or PC? Metlay’s answer is more useful than any spec comparison. Start with whatever platform you already know. Do not add the burden of learning a new operating system on top of learning a new discipline. The two learning curves compound each other in ways that will slow you down for months.
Mike Metlay answering the Mac versus PC question directly
The first question Finn McKenty puts to Metlay is the one every beginner agonizes over: Mac or PC? Metlay’s answer is more useful than any spec comparison. Start with whatever platform you already know. Do not add the burden of learning a new operating system on top of learning a new discipline. The two learning curves compound each other in ways that will slow you down for months.
This applies directly to studio photography. I’ve watched photographers switch their entire tethering workflow to an unfamiliar system because someone told them it was superior, and then spend three sessions debugging software instead of lighting. Your operating environment needs to be invisible so your creative decisions can be visible. Pick the platform where you already move quickly, and optimize within it.
Step 2: Understand That Platform Advantages Only Emerge Later
 Metlay explaining when platform differences actually matter
Metlay makes an important follow-on point. There are real differences between platforms, and they do matter, but they matter at a more advanced level of use. Windows gives you more hardware configuration flexibility. Mac has historically offered a more stable driver environment for audio peripherals. Linux is viable for specialists. These distinctions become relevant once you understand your workflow well enough to know which constraints you’re actually bumping against.
Metlay explaining when platform differences actually matter
Metlay makes an important follow-on point. There are real differences between platforms, and they do matter, but they matter at a more advanced level of use. Windows gives you more hardware configuration flexibility. Mac has historically offered a more stable driver environment for audio peripherals. Linux is viable for specialists. These distinctions become relevant once you understand your workflow well enough to know which constraints you’re actually bumping against.
In practice, this means your first studio setup should not be optimized for some hypothetical future workflow. It should be optimized for what you are actually doing right now. I labeled every light in my studio with masking tape on day one because I needed to know exactly what I was working with before I started experimenting. Same logic: know your current tools cold before you chase better ones.
Step 3: Lock Down Your Software Version Before You Start Working
 Metlay recommending a specific stable OS version for audio work
Metlay gets specific here and it’s worth paying attention to the specificity. He recommends staying on a known stable OS version rather than updating immediately when something new ships. At the time of the conversation, he was advising users to hold at a particular Mac OS release because the newest version still had unresolved issues with audio hardware compatibility.
Metlay recommending a specific stable OS version for audio work
Metlay gets specific here and it’s worth paying attention to the specificity. He recommends staying on a known stable OS version rather than updating immediately when something new ships. At the time of the conversation, he was advising users to hold at a particular Mac OS release because the newest version still had unresolved issues with audio hardware compatibility.
The principle generalizes broadly. Stability in your software environment is a form of professional discipline. I run a calibrated monitor profile and I do not update my tethering software mid-project, ever, because a workflow that works reliably is worth more than one that might work better. When you are in production, predictability is the feature. Save experimentation for downtime.
Step 4: Treat Gear Reviews as Research, Not Shopping Lists
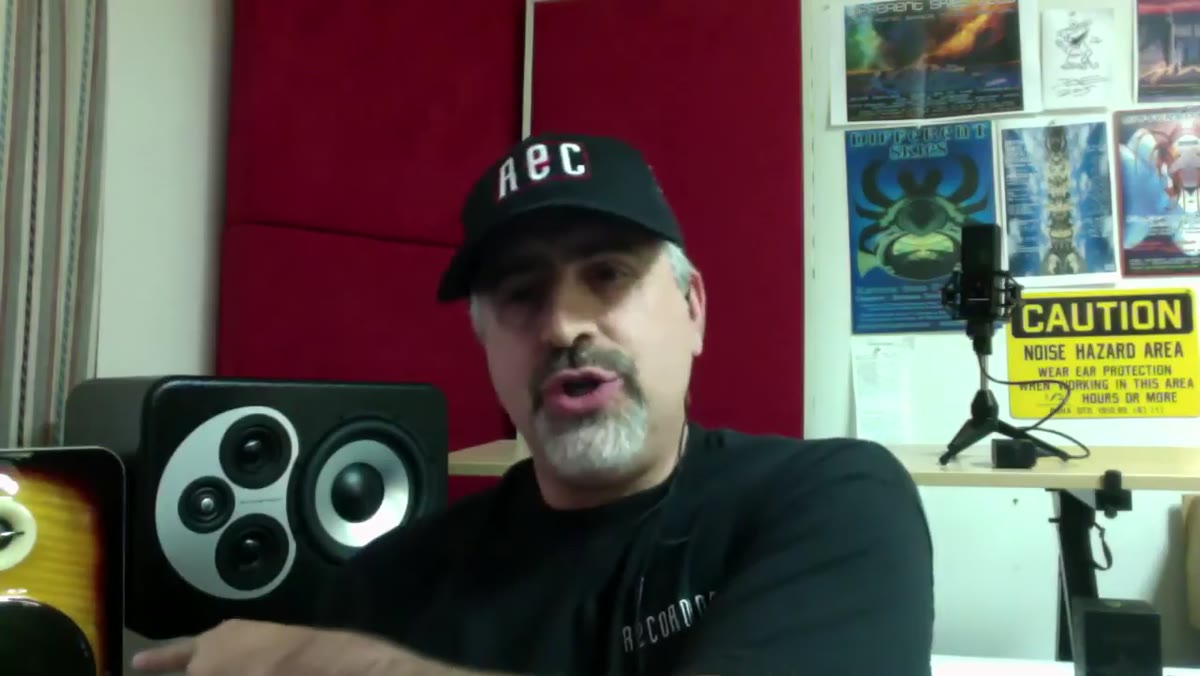 Metlay describing the reference monitors and studio gear on his desk
Early in the conversation, Metlay mentions he is actively reviewing several new pieces of studio monitor hardware, including reference monitors from different manufacturers at different price points. What’s instructive here is not the specific gear, but the methodology. He is testing multiple items simultaneously, comparing them against known benchmarks, and reserving judgment until he has enough hands-on time to form a real opinion.
Metlay describing the reference monitors and studio gear on his desk
Early in the conversation, Metlay mentions he is actively reviewing several new pieces of studio monitor hardware, including reference monitors from different manufacturers at different price points. What’s instructive here is not the specific gear, but the methodology. He is testing multiple items simultaneously, comparing them against known benchmarks, and reserving judgment until he has enough hands-on time to form a real opinion.
That is the correct way to evaluate studio equipment. I test every new modifier the day it arrives, but I do not write it into my workflow until I have used it under actual shoot conditions at least twice. Marketing materials describe ideal performance. Your studio conditions are not ideal. There is no substitute for putting the thing in the situation where you need it to work and seeing what actually happens.
Step 5: Respect the Value of Structured Q&A as a Learning Format
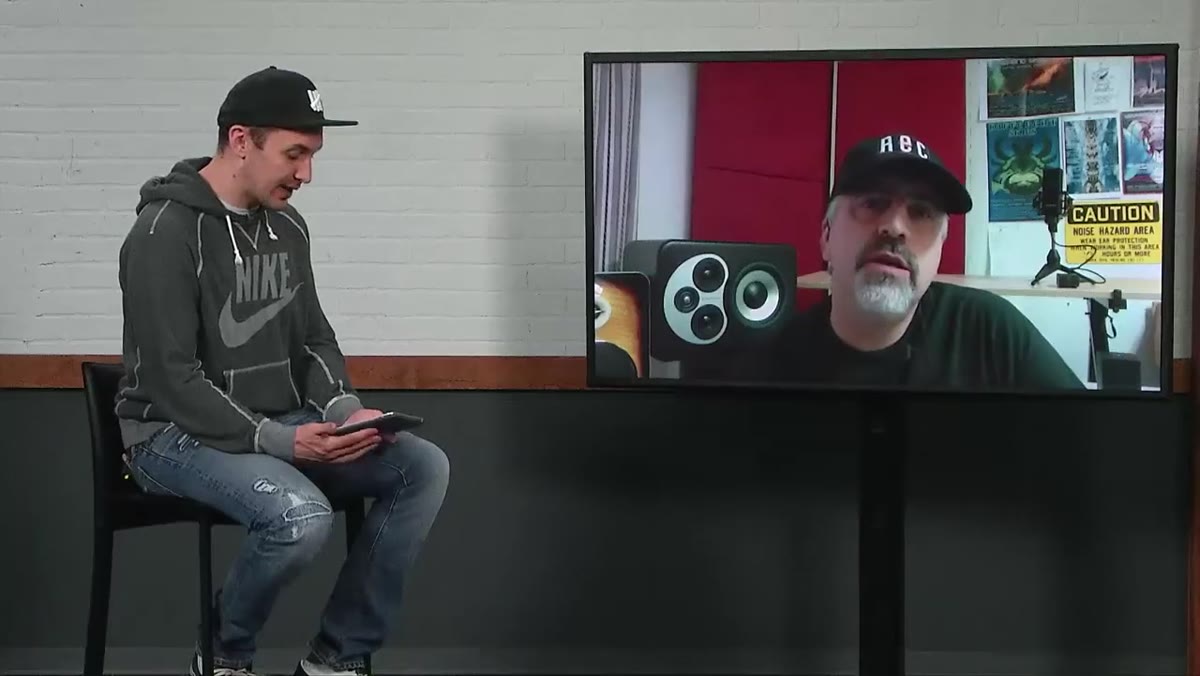 McKenty explaining how to submit questions during the session
The format of this session is itself part of the lesson. Metlay answers questions from working practitioners, which means the problems being addressed are real problems. Not theoretical edge cases, not beginner confusion manufactured for content. The questions come from people mid-build who have hit specific walls.
McKenty explaining how to submit questions during the session
The format of this session is itself part of the lesson. Metlay answers questions from working practitioners, which means the problems being addressed are real problems. Not theoretical edge cases, not beginner confusion manufactured for content. The questions come from people mid-build who have hit specific walls.
If you are setting up a studio of any kind, find your version of this format. Join a forum where working professionals answer questions with specificity. Watch Q&A sessions rather than only polished tutorials, because the questions reveal the actual failure points. I keep a lighting journal where I sketch every setup from every shoot, partly so I can bring specific problems to conversations with other photographers rather than vague ones. Specific questions get useful answers.
Step 6: Build for Your Current Reality, Then Scale
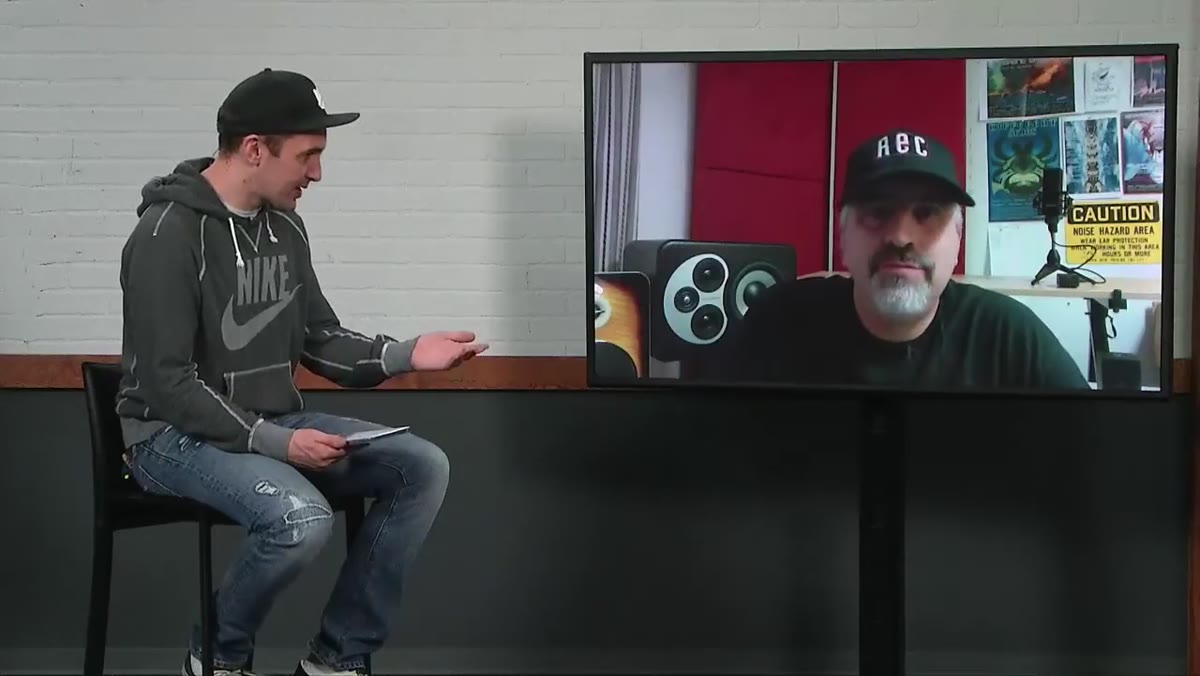 Metlay framing the computer-based studio as the right starting point
Metlay’s overarching recommendation for getting started is to build around the computer-based workflow because it delivers significant capability at a relatively low entry cost. He is not dismissing other approaches; he acknowledges that analog workflows still have serious advocates. But for someone starting from scratch, the computer-based route lets you get productive quickly without front-loading massive hardware investment.
Metlay framing the computer-based studio as the right starting point
Metlay’s overarching recommendation for getting started is to build around the computer-based workflow because it delivers significant capability at a relatively low entry cost. He is not dismissing other approaches; he acknowledges that analog workflows still have serious advocates. But for someone starting from scratch, the computer-based route lets you get productive quickly without front-loading massive hardware investment.
The same logic governs how I talk to photographers setting up their first studios. You do not need a four-light setup on day one. You need to understand what one well-placed light does to a face, and you need to be able to repeat that result reliably. Scale the infrastructure to what you can actually master right now. Every piece of gear you add before you understand your current rig is a variable you cannot control.
What I’d Add From My Own Experience
Metlay’s framework is sound, but there is one thing I would emphasize more directly. The decision you make about your working environment is a decision you will live with for years, and changing it mid-career is expensive in both money and time. I made the mistake early on of building toward a workflow I aspired to rather than one I was actually ready to use, and I spent too long operating in a space I did not fully understand.
Map your actual current workflow on paper before you buy a single piece of gear. What does a session look like from the moment a client arrives to the moment you deliver files? Every piece of equipment should correspond to a specific step in that map. If you cannot place a piece of gear on the map, you are not ready to buy it.
The single most useful thing Metlay says in this session is the simplest: start on the platform you already know, and do not make your learning environment harder than it needs to be. Every additional variable you introduce at the beginning of a new discipline is friction that slows your actual development. Remove friction wherever you can, and put all of your attention on the work itself.
Watch the full tutorial on YouTube and pay particular attention to how Metlay handles the specific gear questions from the audience. That back-and-forth is where the practical detail lives.
Comments
Leave a Comment