There is a particular kind of envy I get when I see a small studio that outperforms studios three times its size. I shoot commercial work out of a rented space in Los Angeles, which gives me room to be wasteful with my layout. But wasteful is not efficient, and efficient is what sells. So when I came across Watch the full tutorial on YouTube on The Portrait System channel featuring Belgian glamour photographer Wendy De Craemer of ZOOM Foto-Atelier, I sat down with my lighting journal and took notes. The video is hosted by Alice, a Paris-based photographer and fellow mentee of Sue Bryce, who visits Wendy’s studio in Belgium and walks through the whole operation, from wall to wall.
What Wendy has built is not a compromise. It is a deliberate system, designed around one light source, a smart collection of backdrops, a tight wardrobe loop, and a sales process that averages 2,000 euros per client. Every choice in that studio earns its square footage. Here is how she does it, broken down into the decisions you can actually replicate.
Step 1: Commit to a Single Primary Light Source
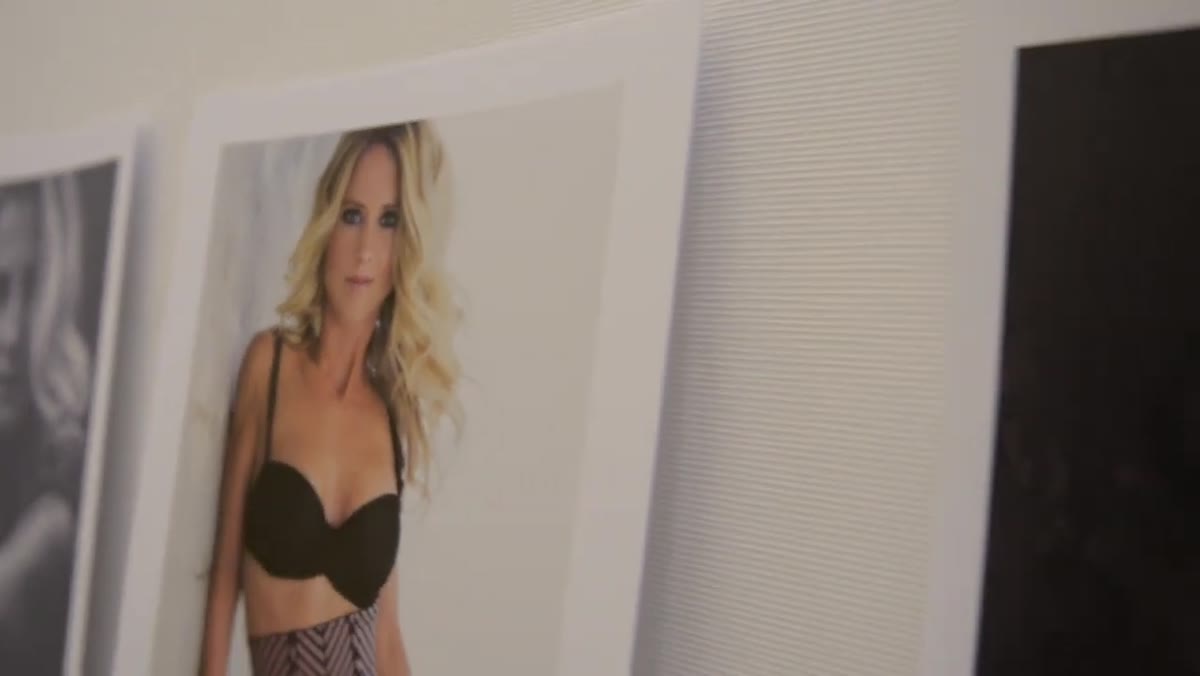 Large window flooding studio annex with soft natural light
Wendy’s entire studio is built around one large window. That is it. No strobe rig, no elaborate multi-light setup. After 12 years in photography, six of them in the glamour genre, she landed on the principle Sue Bryce popularized: a single large source of soft, directional natural light is enough to do serious portrait work. The window functions exactly like an oversized softbox. It wraps light across the face, holds skin texture without flattening it, and gives you a consistent quality of light that strobes require a lot of engineering to match.
Large window flooding studio annex with soft natural light
Wendy’s entire studio is built around one large window. That is it. No strobe rig, no elaborate multi-light setup. After 12 years in photography, six of them in the glamour genre, she landed on the principle Sue Bryce popularized: a single large source of soft, directional natural light is enough to do serious portrait work. The window functions exactly like an oversized softbox. It wraps light across the face, holds skin texture without flattening it, and gives you a consistent quality of light that strobes require a lot of engineering to match.
If you are setting up a dedicated portrait space, orient your shooting area so the window is to one side rather than directly in front of or behind your subject. Side-on window light gives you that critical shadow fall-off that separates a flat snapshot from a portrait with dimension. Wendy’s annex was literally built with this in mind, added directly onto her house with the window placement as the first design decision, not an afterthought.
Step 2: Add a Daylight-Balanced Constant Light for Problem Corners
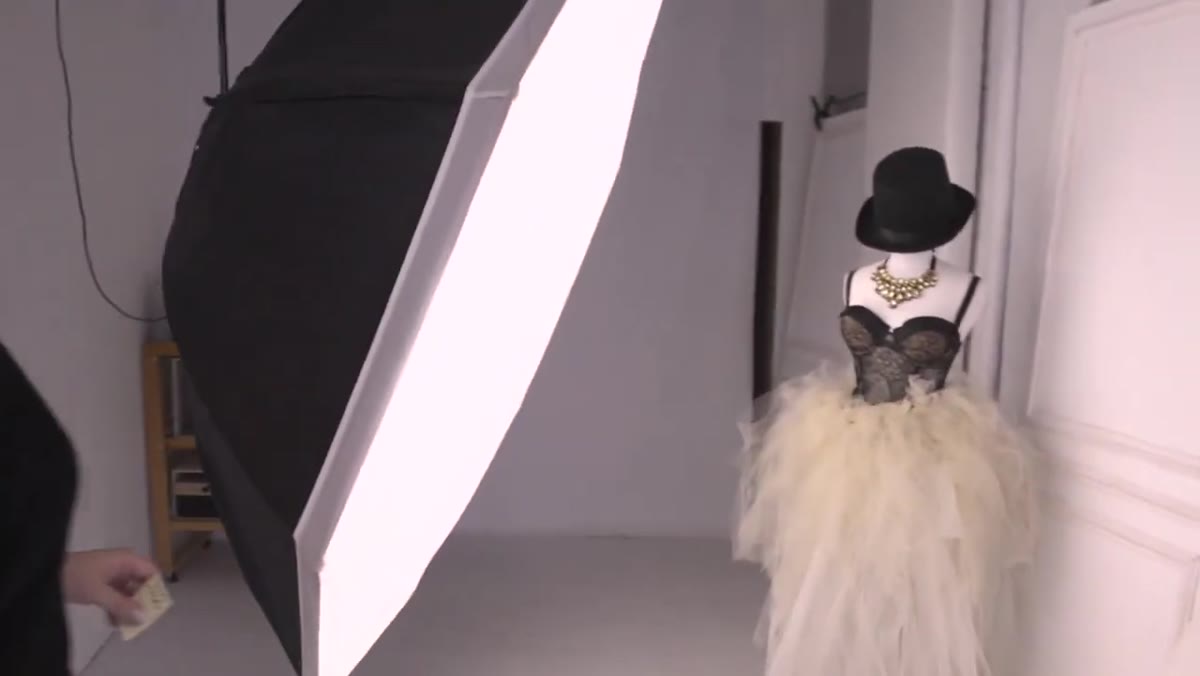 Large Falcon Eyes constant light lamp in dark studio corner
Natural light studios have a weakness: they are hostage to weather. Wendy shoots in Belgium, which means overcast, low-contrast days are the norm, not the exception. Her solution is a Falcon Eyes constant daylight lamp, a large unit with five high-output daylight-balanced bulbs. On a bright day it stays off. On a grey, flat day it acts as fill, pumping enough light into a dark corner to maintain usable contrast and shutter speed.
Large Falcon Eyes constant light lamp in dark studio corner
Natural light studios have a weakness: they are hostage to weather. Wendy shoots in Belgium, which means overcast, low-contrast days are the norm, not the exception. Her solution is a Falcon Eyes constant daylight lamp, a large unit with five high-output daylight-balanced bulbs. On a bright day it stays off. On a grey, flat day it acts as fill, pumping enough light into a dark corner to maintain usable contrast and shutter speed.
The key here is color temperature matching. Daylight-balanced constant lights are rated around 5500K, which is close to midday natural light. Do not mix a tungsten or uncorrected continuous light with your window source. I learned this the hard way on an editorial shoot early in my career where a warm practical light on the set threw a color cast across half the frame that I did not catch until I was editing at 2am. Get your constant source rated at daylight, gel it if needed, and confirm the match with a gray card before the client walks in.
Step 3: Build a Backdrop System That Doubles Your Shooting Positions
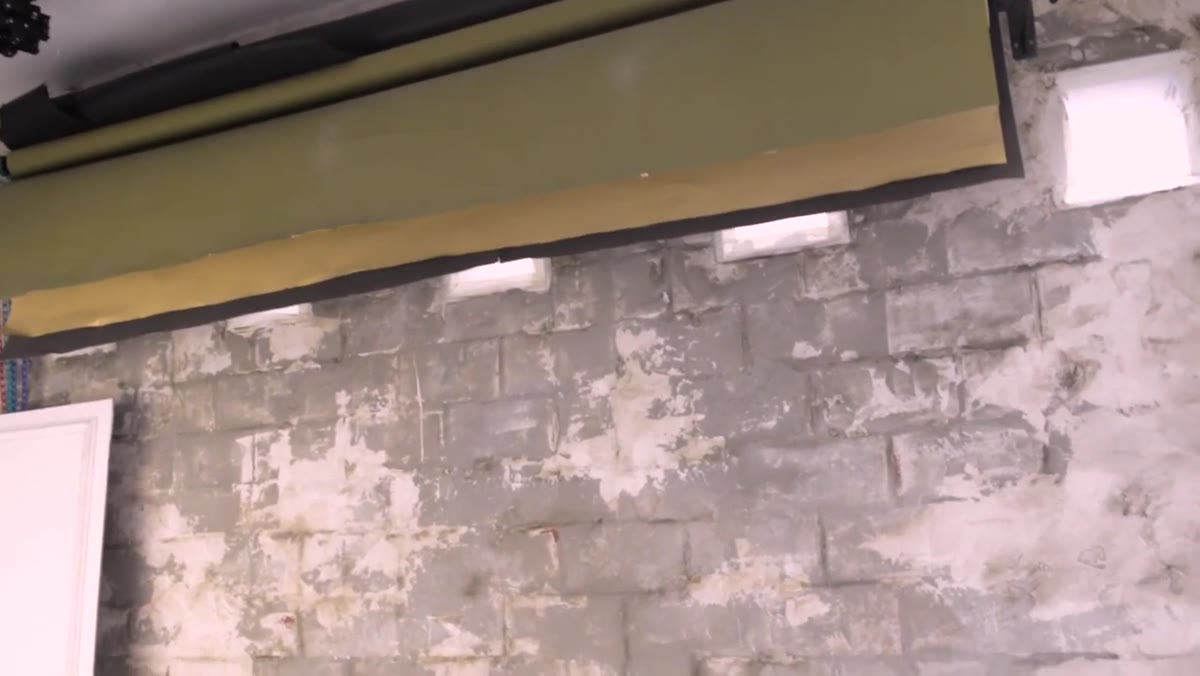 Multiple paper and hand-painted backdrops rolled and stored above shooting area
Wendy keeps four paper backdrops plus several hand-painted canvas backdrops she made herself after being inspired by a trip to Versailles. The painted ones have texture that reads beautifully in print, especially at the large wall-art scale she is selling toward. She mounts them on a starty system overhead so she can swap between them without moving lights or furniture.
Multiple paper and hand-painted backdrops rolled and stored above shooting area
Wendy keeps four paper backdrops plus several hand-painted canvas backdrops she made herself after being inspired by a trip to Versailles. The painted ones have texture that reads beautifully in print, especially at the large wall-art scale she is selling toward. She mounts them on a starty system overhead so she can swap between them without moving lights or furniture.
The smarter move is how she uses the room itself as an additional backdrop location. She shoots some poses with the subject against the wall, then turns the client around and uses the window backlight for a different look entirely, then moves to the backdrops. That is three distinct visual environments from one room. A freestanding wood panel she recently added gave her a fourth corner with its own feel. The lesson is not to add more gear. It is to work the geometry of the space you already have until it gives you variety.
Step 4: Pose Methodically, Not Randomly
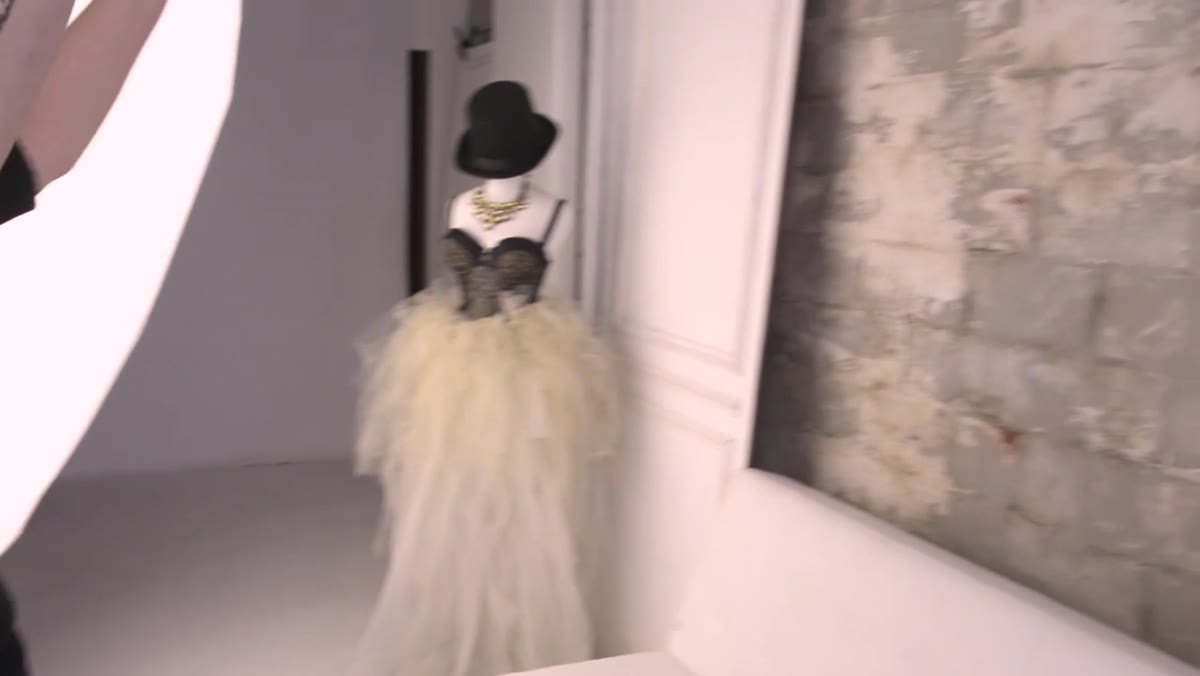 Photographer discussing posing flow against wall versus backdrops
Wendy mentions shooting 60 to 80 different poses in a single session with one woman. That number sounds large until you understand it is not improvised, it is sequenced. She starts with wall poses, then moves to backdrop work, then shifts to backlit shooting. Each location has its own posing vocabulary. Starting against a wall means you are working with contact points, the shoulder, the hip, the lean. Moving to a backdrop opens up space for more dynamic angles. Moving to backlight changes the mood entirely and typically calls for looser, more flowing shapes.
Photographer discussing posing flow against wall versus backdrops
Wendy mentions shooting 60 to 80 different poses in a single session with one woman. That number sounds large until you understand it is not improvised, it is sequenced. She starts with wall poses, then moves to backdrop work, then shifts to backlit shooting. Each location has its own posing vocabulary. Starting against a wall means you are working with contact points, the shoulder, the hip, the lean. Moving to a backdrop opens up space for more dynamic angles. Moving to backlight changes the mood entirely and typically calls for looser, more flowing shapes.
Think of your posing as a three-act structure tied directly to your lighting positions. When you move the client, the lighting changes, and the poses that work in that light are different. Mapping this out in advance, even with a simple shot list, means you stop wasting time deciding what to do next and start spending that energy on refinement within each setup.
Step 5: Run a Studio Wardrobe Loop That Converts During the Shoot
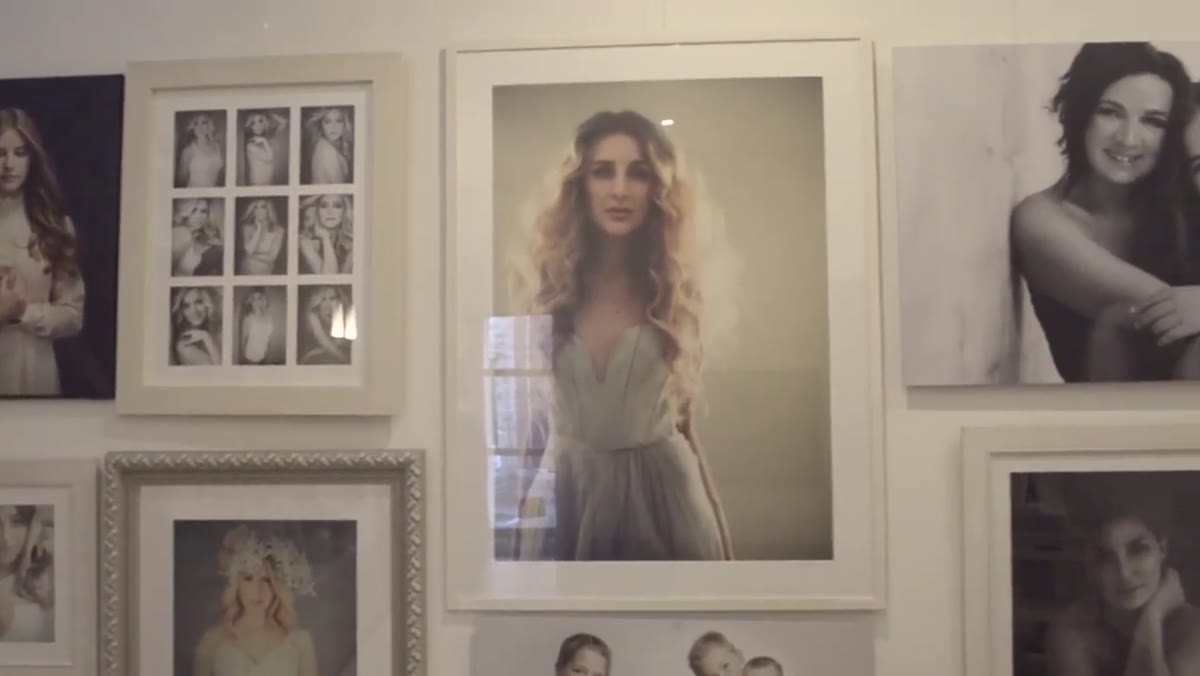 Studio wardrobe rack with jewelry and clothing options for clients
Wendy keeps a small but curated wardrobe available in the studio, refreshed monthly by a local boutique owner who uses the arrangement as a soft retail opportunity. Clients who see themselves looking good in a piece during the shoot are motivated to purchase it on the spot. Wendy says it happens on nearly every session.
Studio wardrobe rack with jewelry and clothing options for clients
Wendy keeps a small but curated wardrobe available in the studio, refreshed monthly by a local boutique owner who uses the arrangement as a soft retail opportunity. Clients who see themselves looking good in a piece during the shoot are motivated to purchase it on the spot. Wendy says it happens on nearly every session.
This is low overhead, high-conversion retail logic applied to portrait photography. You do not need to invest in a large inventory. You need one reliable supplier who updates the selection and a clear arrangement about how sales are handled. Even a small selection of simple wardrobe pieces, a wrap, a blazer, a few jewelry options, gives clients more to work with and extends the variety of the session without extending the shoot time.
Step 6: Close the Sale the Same Day with a Lightroom Projection Review
 Large whiteboard and projector setup for in-studio image review
The sales process Wendy uses is clean. After the shoot, she pulls the images into Lightroom and projects them onto a large screen in the studio. Clients go through the gallery, choose their favorites, and those are printed out and placed in a keepsake box. The client can take the box home the same day or collect it within a few days. Her average sale is approximately 2,000 euros.
Large whiteboard and projector setup for in-studio image review
The sales process Wendy uses is clean. After the shoot, she pulls the images into Lightroom and projects them onto a large screen in the studio. Clients go through the gallery, choose their favorites, and those are printed out and placed in a keepsake box. The client can take the box home the same day or collect it within a few days. Her average sale is approximately 2,000 euros.
The projector is the key tool here. Seeing images large, in a warm environment where the client is still emotionally in the session, is vastly more effective than sending a gallery link to be viewed on a phone three days later. If you are currently doing remote sales, test one month of in-person projection reviews and watch your average sale number move.
What I Would Add from My Own Work
I run lighting diagrams on every shoot using an app I built for myself, and the one thing I would layer onto Wendy’s system is documentation. When a setup works, sketch it. Note the window angle, the distance to the subject, whether the constant light was on and at what position. Wendy’s setup looks simple but it is precise, and simple and precise is only repeatable if you have recorded it. The first time you accidentally shift your shooting position six feet and lose the quality of light you had last week, you will wish you had a reference.
The larger principle Wendy demonstrates is that constraint produces quality. One window, a handful of backdrops, a tight pose sequence, an in-person close. No component is accidental, and none is excessive. That discipline is what makes a 2,000-euro average sale reproducible rather than lucky.
Watch the full tutorial on YouTube and pay attention to how Wendy moves through the space. The room tells you everything about her priorities.
Comments
Leave a Comment