
There’s a version of studio photography that looks like this: one massive open room, a grid of Profoto heads, maybe a cyclorama wall, and enough space to park a truck. That’s the world I live in most days shooting beauty and fashion in Los Angeles. So when a colleague sent me a studio tour from a completely different corner of this industry, I was skeptical it would teach me anything useful. I was wrong.
In this The Portrait System tutorial, newborn and maternity photographer Stacy Murphy walks through her studio in Walpole, Massachusetts, a space that runs about 1,200 square feet and has been the engine of her newborn specialization for a decade. Watch the full tutorial on YouTube. What she describes isn’t a glamour setup. It’s a working system, and the decisions behind it are worth unpacking for any photographer who shoots in a dedicated space, regardless of genre.
The thing I keep coming back to is how deliberately she built this studio around a single subject and a single workflow. I spent years shooting weddings, seniors, product work, and editorial simultaneously, and I remember exactly what that fragmentation feels like. Murphy names it clearly: trying to market and sell across multiple genres at once was pulling her apart. What she built instead is a case study in constraint as strategy.
Step 1: Divide Your Studio Into Functional Zones Before You Buy a Single Light
 Front room of the studio serving multiple roles
Murphy’s studio has two distinct areas: a front room and a larger open shooting space around the corner. The front room handles hair and makeup, client reveal sessions, and family portraits. The shooting floor handles newborn and maternity setups. This isn’t just tidiness. Each zone has a clear job, which means the client experience flows in a single direction rather than doubling back on itself.
Front room of the studio serving multiple roles
Murphy’s studio has two distinct areas: a front room and a larger open shooting space around the corner. The front room handles hair and makeup, client reveal sessions, and family portraits. The shooting floor handles newborn and maternity setups. This isn’t just tidiness. Each zone has a clear job, which means the client experience flows in a single direction rather than doubling back on itself.
If you’re planning or reconfiguring a studio, define these zones on paper before you spend money on gear. What needs to happen before the shoot, during it, and at the reveal? Each answer is a zone. The square footage almost doesn’t matter once the zones are clear.
Step 2: Build a Hybrid Light System That Handles Two Different Client Types
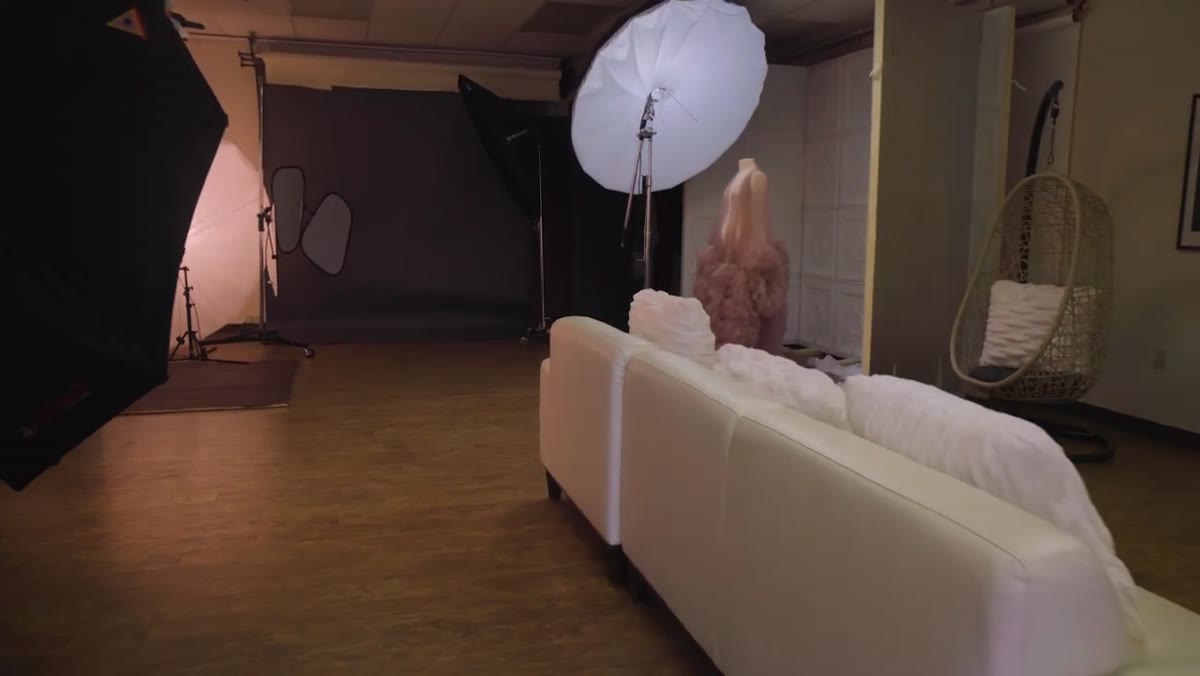 Open shooting space with multiple lighting setups visible
Murphy runs a combination of natural light and studio strobes, and she keeps three to four setups active on the shooting floor simultaneously. This is key. Newborn work and maternity work have genuinely different lighting requirements. Newborns need soft, wrapping light that doesn’t startle a sleeping infant. Maternity portraits often call for more dramatic, shaping light that emphasizes form and belly.
Open shooting space with multiple lighting setups visible
Murphy runs a combination of natural light and studio strobes, and she keeps three to four setups active on the shooting floor simultaneously. This is key. Newborn work and maternity work have genuinely different lighting requirements. Newborns need soft, wrapping light that doesn’t startle a sleeping infant. Maternity portraits often call for more dramatic, shaping light that emphasizes form and belly.
Rather than tearing down and rebuilding for every session type, she keeps both configurations available and transitions between them by swapping specific pieces in and out. The posing table used for newborn work rolls out to a small warehouse space at the back of the building when she switches to maternity, and additional lighting comes forward to fill that space. Think of your studio as a modular system where components can be staged, not a fixed installation you rebuild from scratch each time.
Step 3: Use a Back Storage Area as a Active Workflow Tool, Not Just a Closet
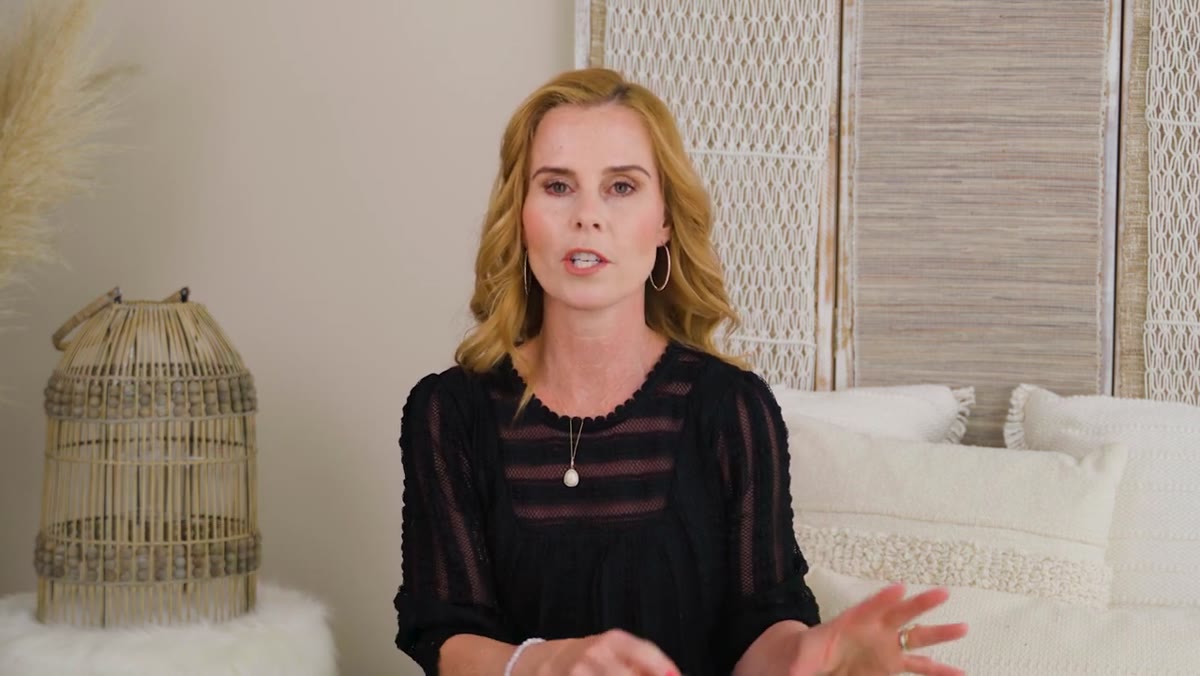 Warehouse space behind the main studio described as transition zone
Most photographers treat their back room as somewhere equipment goes to be forgotten. Murphy uses hers as a staging area that’s directly integrated into her session-to-session transitions. The posing table lives there between newborn sessions. Extra lighting equipment waits there until it’s needed for maternity work.
Warehouse space behind the main studio described as transition zone
Most photographers treat their back room as somewhere equipment goes to be forgotten. Murphy uses hers as a staging area that’s directly integrated into her session-to-session transitions. The posing table lives there between newborn sessions. Extra lighting equipment waits there until it’s needed for maternity work.
This is a simple operational idea with a large payoff. The physical act of moving equipment out rather than stacking it in corners keeps your shooting floor clear and forces you to be intentional about what’s active and what’s in reserve. It also keeps session changeovers fast, which matters when you’re running a schedule built around school drop-off and pickup times the way Murphy explicitly designs hers.
Step 4: Schedule Around Your Life First, Then Build the Business to Fit
 Discussion of session timing built around family schedule
Murphy describes building her session schedule so that shoots begin around 10 a.m. when her children are at school and wrap by early afternoon. Editing and administrative work happen after school. This isn’t a compromise. It’s a design decision that makes the business sustainable over a decade rather than burning out in three years.
Discussion of session timing built around family schedule
Murphy describes building her session schedule so that shoots begin around 10 a.m. when her children are at school and wrap by early afternoon. Editing and administrative work happen after school. This isn’t a compromise. It’s a design decision that makes the business sustainable over a decade rather than burning out in three years.
From a studio operations standpoint, this matters because it tells you something about how many sessions per week the space needs to support. A studio built around one or two sessions per day needs different infrastructure than one chasing six. Know your number before you overbuild.
Step 5: Specialize Deeply Enough That Your Content Marketing Writes Itself
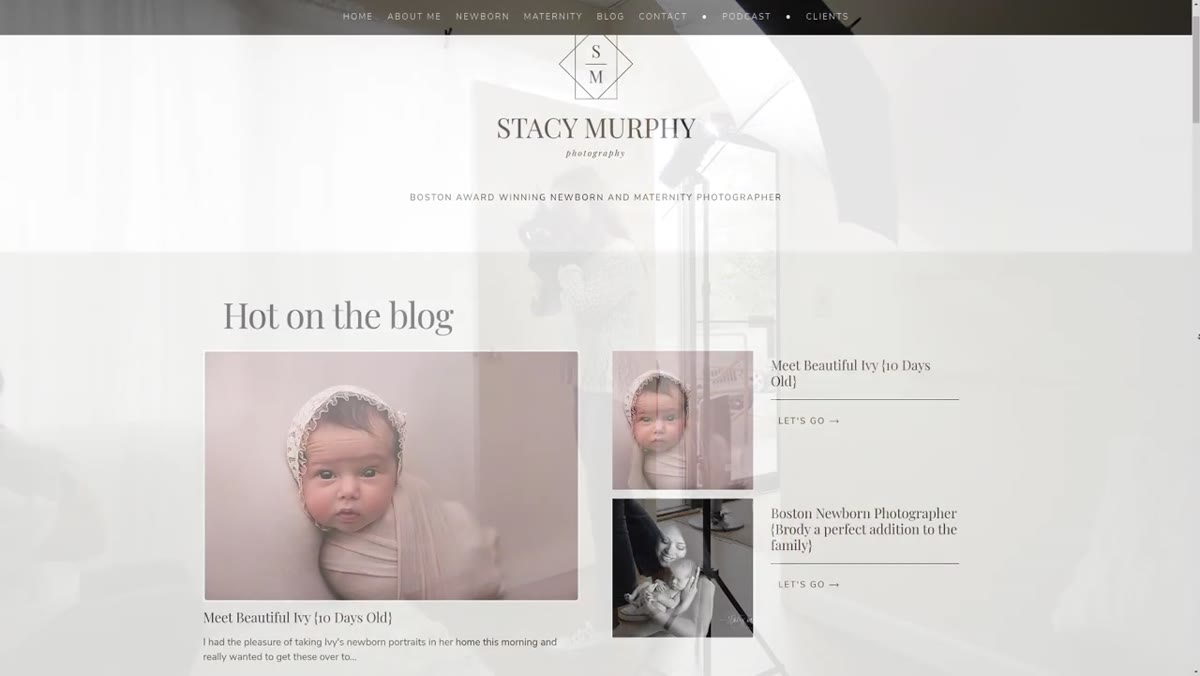 Discussing postpartum doula certification and content strategy
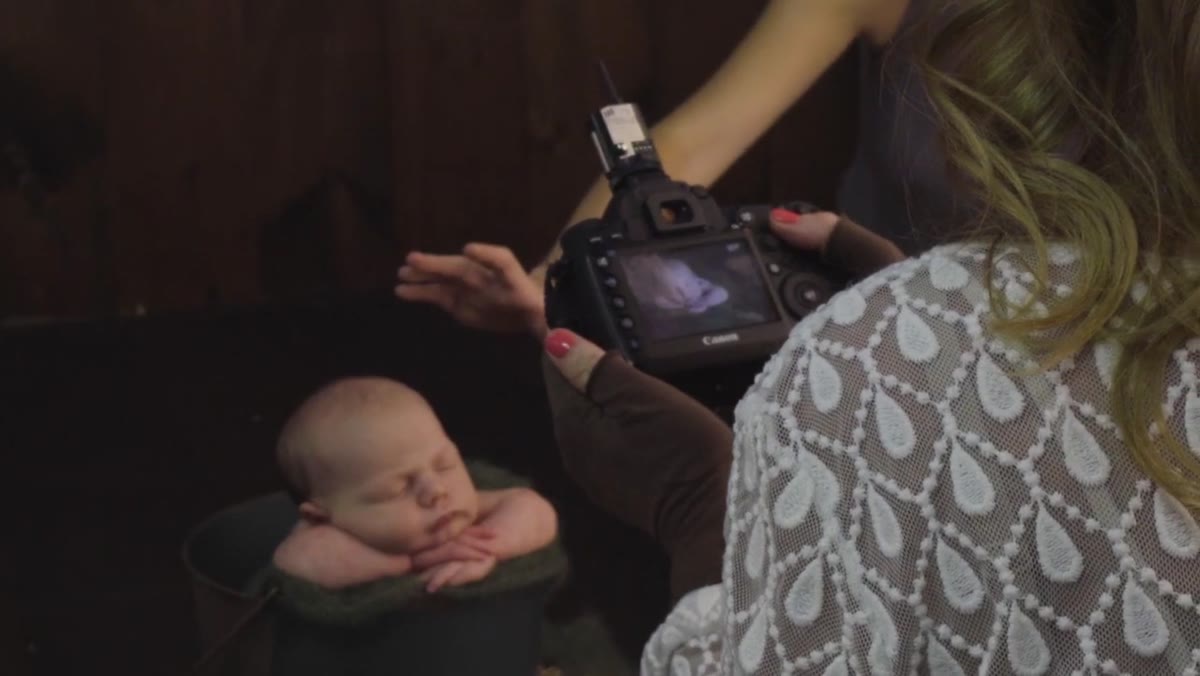
This is where the tutorial goes somewhere I didn’t expect. Murphy didn’t just specialize in newborn photography. She became a certified postpartum doula and a prenatal yoga teacher specifically because she wanted something worth writing about. Her logic is direct: she couldn’t keep producing generic captions about adorable babies and build a meaningful content presence from that.
Discussing postpartum doula certification and content strategy
This is where the tutorial goes somewhere I didn’t expect. Murphy didn’t just specialize in newborn photography. She became a certified postpartum doula and a prenatal yoga teacher specifically because she wanted something worth writing about. Her logic is direct: she couldn’t keep producing generic captions about adorable babies and build a meaningful content presence from that.
By surrounding herself with genuine expertise in the world her clients live in, preconception, birth, postpartum recovery, early parenting, she created a reason for potential clients to find her before they’re even looking for a photographer. The photography is the destination but the content pulls people in from a much earlier point in their journey. That’s a content funnel most studios never build because it requires developing real expertise outside the camera.
Step 6: Let Your Origin Story Inform Your Niche
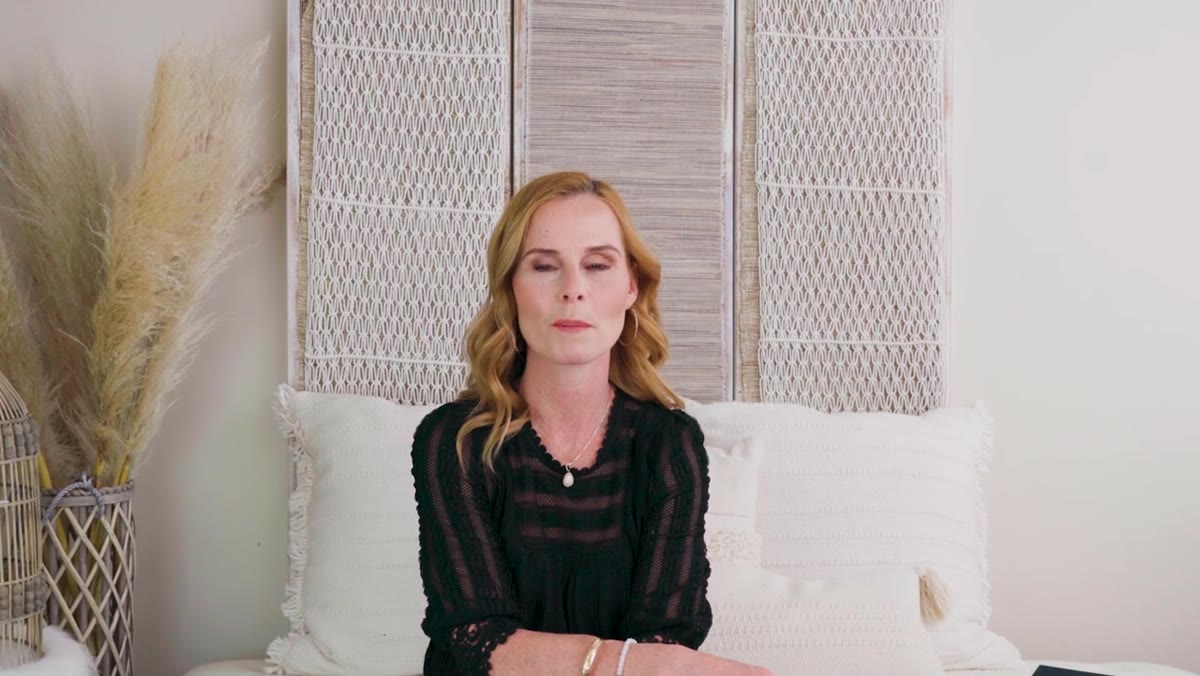 Recounting the high school moment of first holding a camera
Murphy traces her relationship with photography back to holding a camera body and lens for the first time in high school and feeling an immediate sense of ownership over the tool. That thread runs through the whole tour. She didn’t end up in newborn work accidentally. She ran through enough other genres, weddings, news, seniors, families, product work, to understand what fit her temperament and her life.
Recounting the high school moment of first holding a camera
Murphy traces her relationship with photography back to holding a camera body and lens for the first time in high school and feeling an immediate sense of ownership over the tool. That thread runs through the whole tour. She didn’t end up in newborn work accidentally. She ran through enough other genres, weddings, news, seniors, families, product work, to understand what fit her temperament and her life.
The practical takeaway here is that niche selection isn’t just a marketing exercise. It’s worth being honest about what kind of work actually sustains you over years. Murphy’s studio runs efficiently because she genuinely wants to be there every morning. That’s not soft advice. It’s what keeps the lights on.
What I’d Add From My Own Setup
I keep a lighting journal where I sketch every setup from every shoot. One thing Murphy’s tour reinforced for me is that modular setups need documentation the same way complex lighting rigs do. If you’re running three or four configurations and swapping components between sessions, sketch each one. Label where each light lives in each configuration with masking tape on the floor if you have to. The five minutes it takes to record a working setup pays back every time you rebuild it six weeks later and can’t remember what made it work.
The deepest thing this tutorial demonstrates is that a well-designed small studio with one clear purpose will outperform a larger generalist space almost every time, not because of the gear, but because every decision in it points the same direction.
Watch the full tutorial on YouTube to see Murphy walk through the space herself. The visual of how the zones connect is worth seeing in motion.
Comments
Leave a Comment