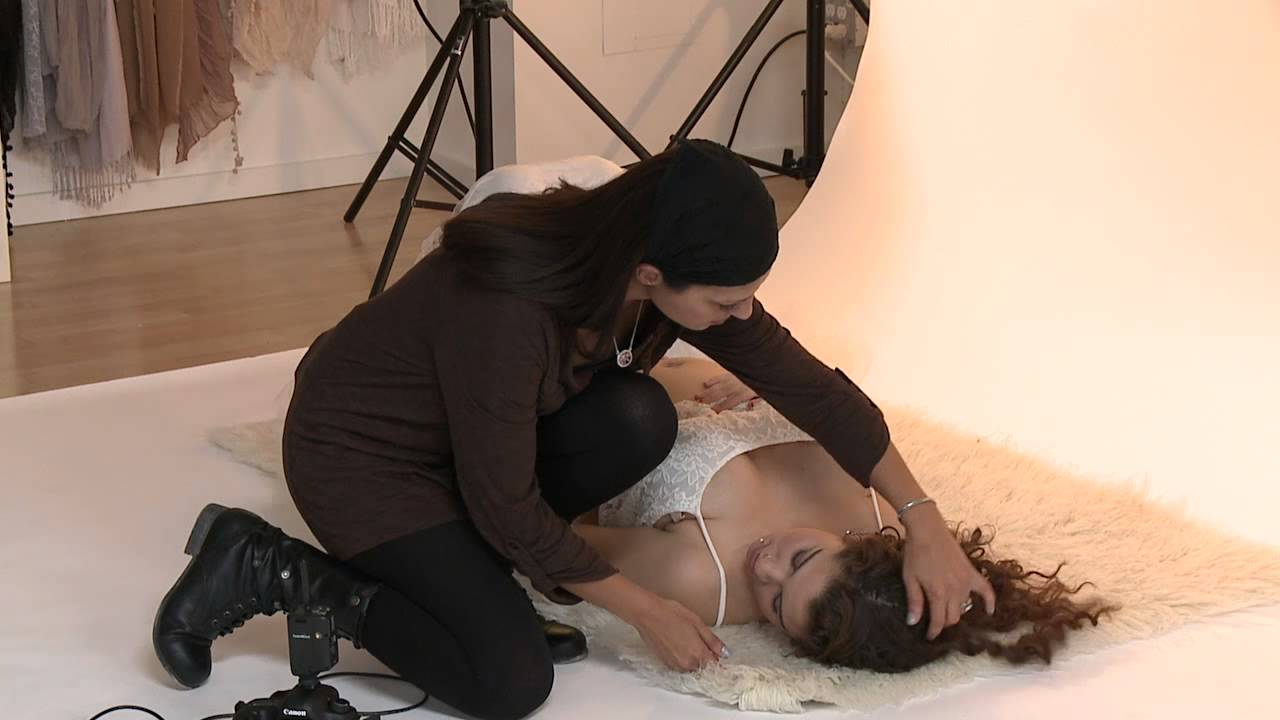
Maternity sessions are not a genre I came up in. My background is fashion and beauty - controlled environments, cooperative subjects, and lighting setups I’ve diagrammed so many times I could rebuild them from memory in a blackout. Pregnant subjects introduce a variable I rarely deal with: a body that is actively changing, where the belly is both the hero of the frame and the element most likely to betray a lazy lighting choice. When a client asked me to add maternity portraits to my studio offerings last year, I knew I needed to study someone who had made this their specialty.
That’s how I ended up watching Ana Brandt’s CreativeLive tutorial on lighting pregnant subjects. Watch the full tutorial on YouTube - it’s worth your full attention. Brandt is methodical in a way I respect. She talks through decisions in real time, adjusts on the fly, and explains the why behind each move. What follows is my breakdown of what she demonstrates, translated into steps you can follow in your own studio without needing to watch the video first.
Step 1: Establish a Connection Before You Touch a Light
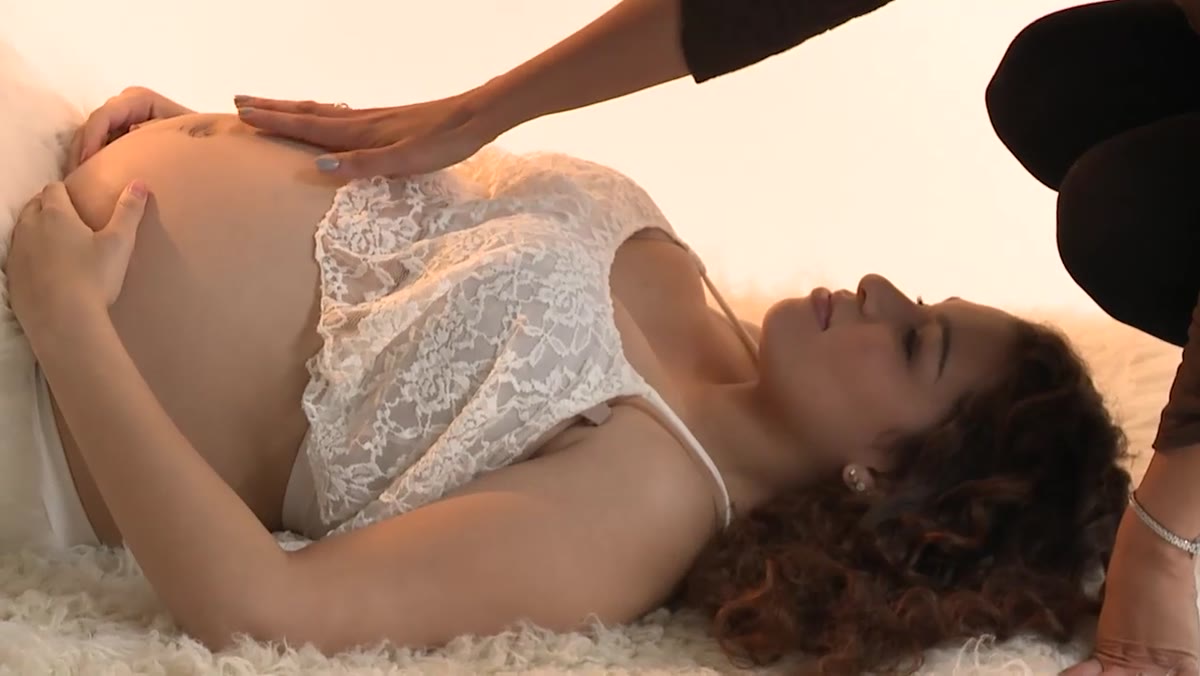 Ana speaking warmly to pregnant subject during relaxed setup
Brandt spends the first moments of the session talking to her subject - asking how far along she is, commenting on how the belly still has softness and room. This is not small talk. It is diagnostic. She is assessing the subject’s physical comfort level and adjusting her posing plans accordingly. A woman at 36 weeks carries differently than one at 32, and the belly’s firmness tells you how much you can ask of her in terms of breath control and held poses.
The practical takeaway: before you set a single light, know your subject’s gestational stage and how they’re feeling that day. Your modifier placement, your posing depth, and your exposure bracketing range all follow from that information.
Step 2: Position the Subject Relative to Your Backlight First
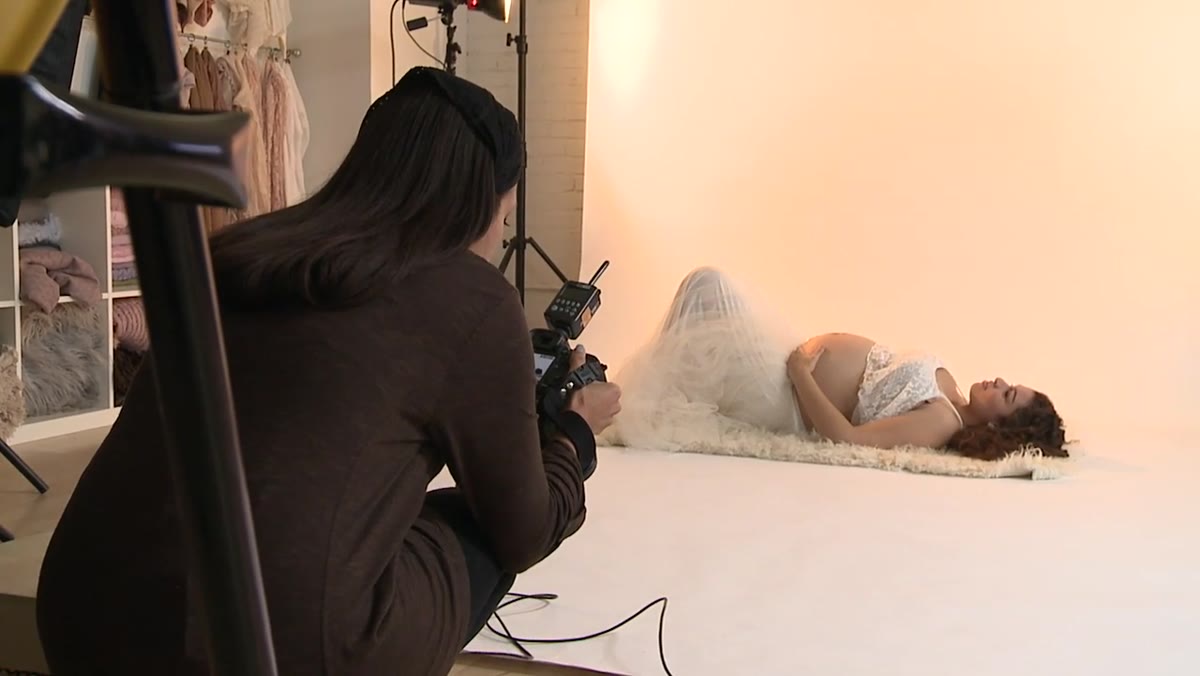
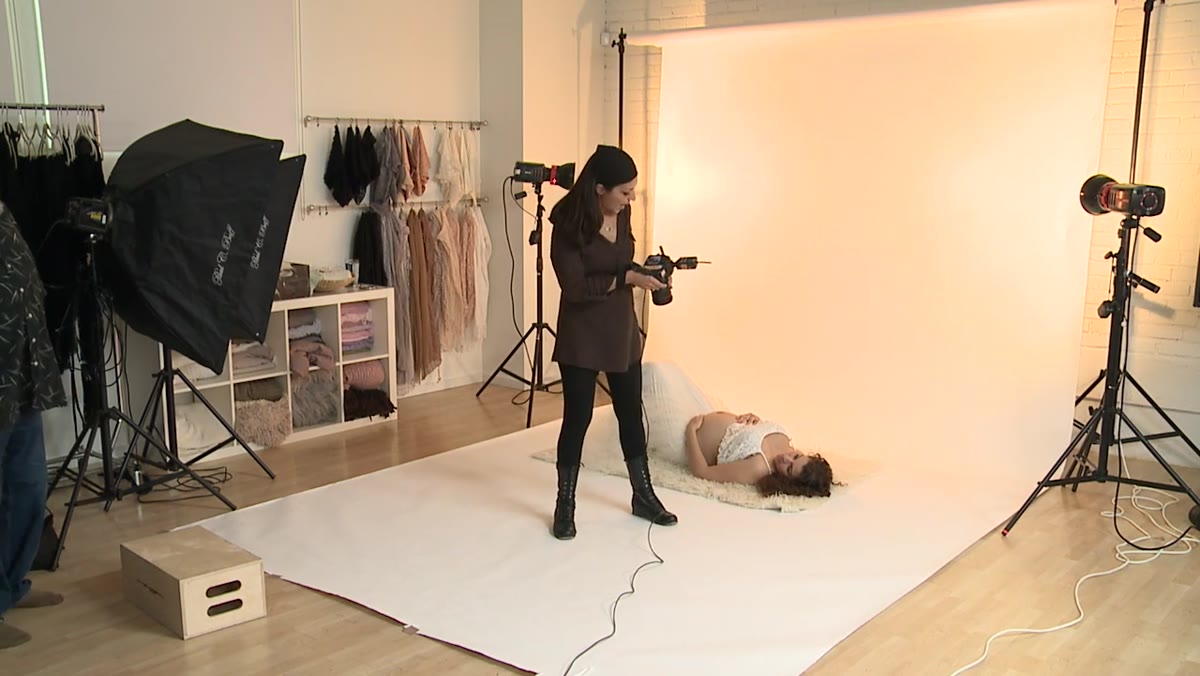 Subject positioned against backlight, hair and belly in silhouette
Brandt’s approach here is backlight-first. She positions her subject so the primary light source wraps behind them, creating rim separation on the belly and the shoulders. This is the structural choice that makes maternity lighting work - the belly reads as three-dimensional because the backlight defines its outer edge while a fill or key from the front reveals surface detail.
She adjusts the left light during the session, directing it further around the subject to refine the rim effect. The goal is not flat illumination. It is sculpting. Think of the belly as a sphere and light it accordingly.
Step 3: Bracket Your Exposures Deliberately
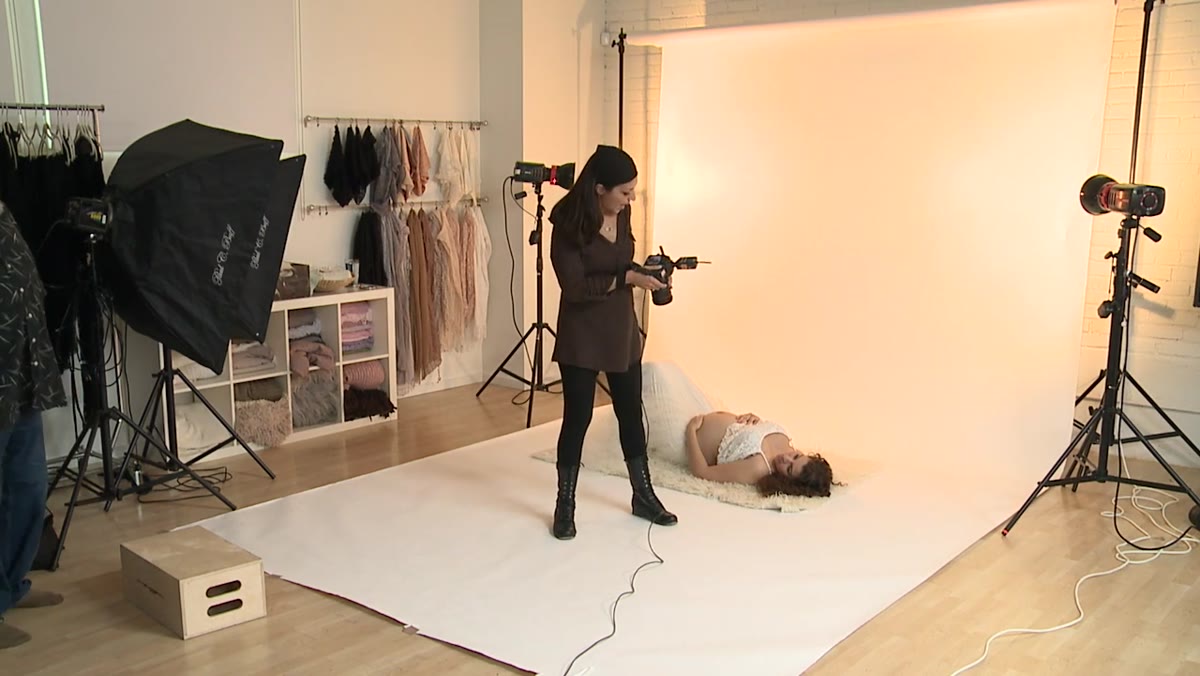 Ana at camera reviewing exposure during live shoot
Brandt names her method directly during the shoot: she calls it “forking,” though she clarifies this is what most photographers call exposure bracketing. She works through a range - from f/22 down through f/20, f/18, f/16, and f/14. This is not hedging. It is intentional exploration of what the backlighting does at each stop.
Backlighting behaves differently at tight versus open apertures. At f/22, you get controlled separation. As you open up toward f/14, the backlight starts to bloom and wrap, which can add a glow around the belly and hair. Brandt wants to see that range in a single session so she has options in post. I do the same thing with rim lighting on beauty shoots - dial in your anchor exposure, then walk it three stops in each direction before you commit.
Step 4: Refine Hand and Arm Placement in Layers
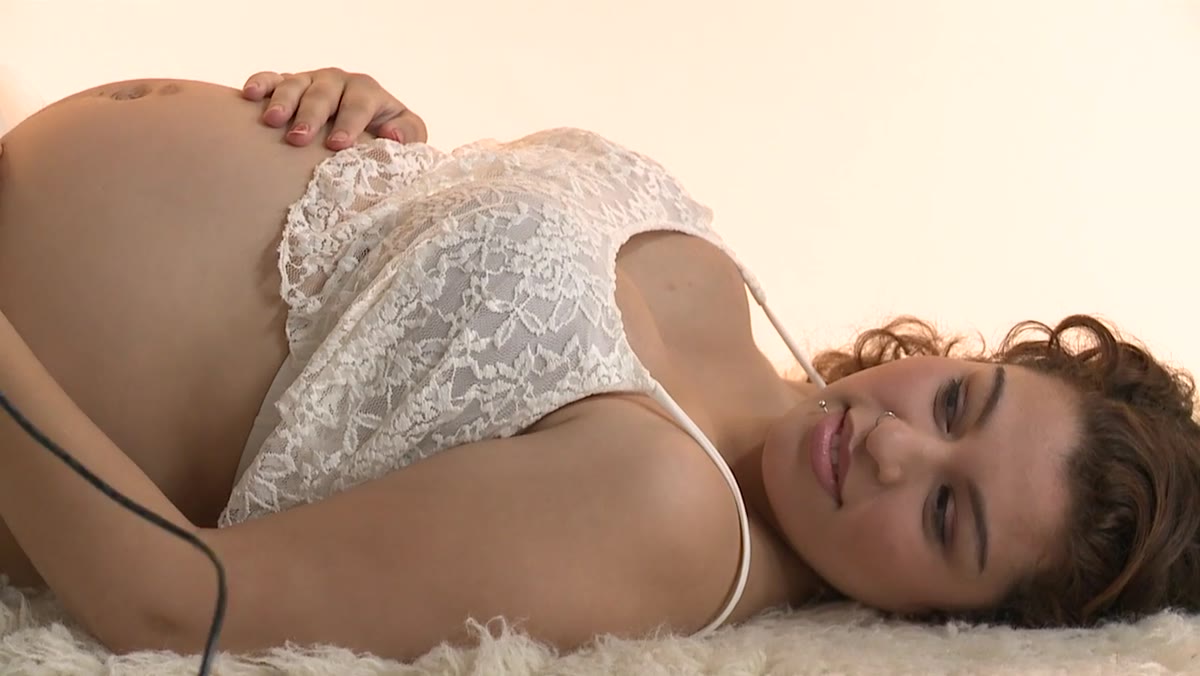 Ana directing subject’s hands under and over belly
Posing the hands around a pregnant belly is where most photographers lose the plot. Brandt works through it in layers. She first brings both hands underneath the belly - low, supportive, soft. Then she introduces an arm draped over the top. Then she pulls one hand further forward to bring it into the light and into the frame properly.
Each adjustment is small and sequential. She does not reset the whole pose each time. She adds to it. This keeps the subject relaxed and means the photographer is always working from a baseline that is already partially correct. If a hand position does not work, she removes it and tries the next variation, not from scratch.
Step 5: Use Breath as a Posing Tool
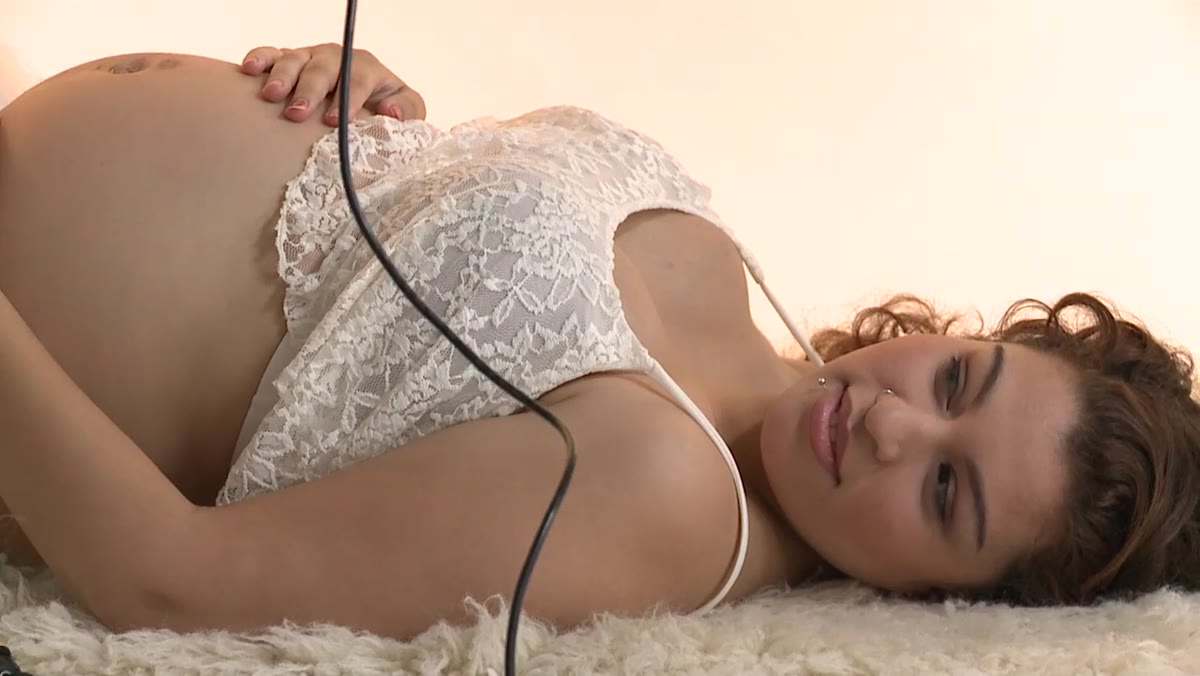
 Ana coaching subject to blow out breath to relax posture
Brandt repeatedly cues her subject to exhale - to “blow.” This does two things. First, it releases tension in the shoulders and jaw, which reads clearly in the face even in a wider crop. Second, for heavily pregnant subjects, a controlled exhale adjusts how the belly presents to camera. At eight months, there is still flex in the torso. Closer to term, that breath cue becomes even more important because it is one of the few ways you can shift the belly’s position without repositioning the subject entirely.
Build this cue into your shooting rhythm. Fire the shutter on the release of the breath, not the hold. The held breath tightens everything. The release softens it.
Step 6: Plan the Next Pose While Shooting the Current One
 Ana pausing mid-shoot to transition between poses
Brandt mentions this principle explicitly during the session: she is already thinking about the next pose before the current one is finished. This is session architecture, and it is the difference between a shoot that flows and one that stalls out between setups.
She moves from the relaxed bilateral hand cradle into the single arm drape into a head-tipped variation without significant dead time. Each transition is set up by where she ends the previous pose. If the right arm is already in position, she builds the next pose around it rather than resetting it.
What I Would Add From My Own Studio Practice
Brandt works intuitively and adjusts in real time, which is a skill built from volume. If you are new to this genre, that real-time confidence is harder to replicate. My solution is the same one I use for any unfamiliar setup: I sketch it before the subject arrives. I keep a lighting journal - a physical notebook with rough diagrams of every setup I run - and before a maternity session I draw out my backlight position, my fill source, and two or three poses I intend to move through. It does not lock me in. It gives me a map so that when I am managing a tired subject at 34 weeks, I am not also managing a blank-page lighting problem.
The other thing I would flag: Brandt is working with a subject who has beautiful dark hair that catches the backlight dramatically. If your subject has lighter or finer hair, that rim effect on the head will be subtler. Compensate by moving the backlight slightly more to the side so it catches the belly’s edge more aggressively. The belly does not lie.
The single most transferable idea in this tutorial is the exposure bracketing approach combined with backlight. Most portrait photographers treat exposure as a problem to solve once and move on. Brandt treats it as part of the creative decision. Walking the aperture through a range while the backlight is active gives you images that feel different from each other even though the pose has not changed - and in a genre where mood is everything, that range is worth the extra frames.
Watch the full tutorial on YouTube and pay particular attention to how Brandt talks during the shoot. The technical decisions and the subject management are happening simultaneously, and seeing both at once is the real lesson.
Comments
Leave a Comment