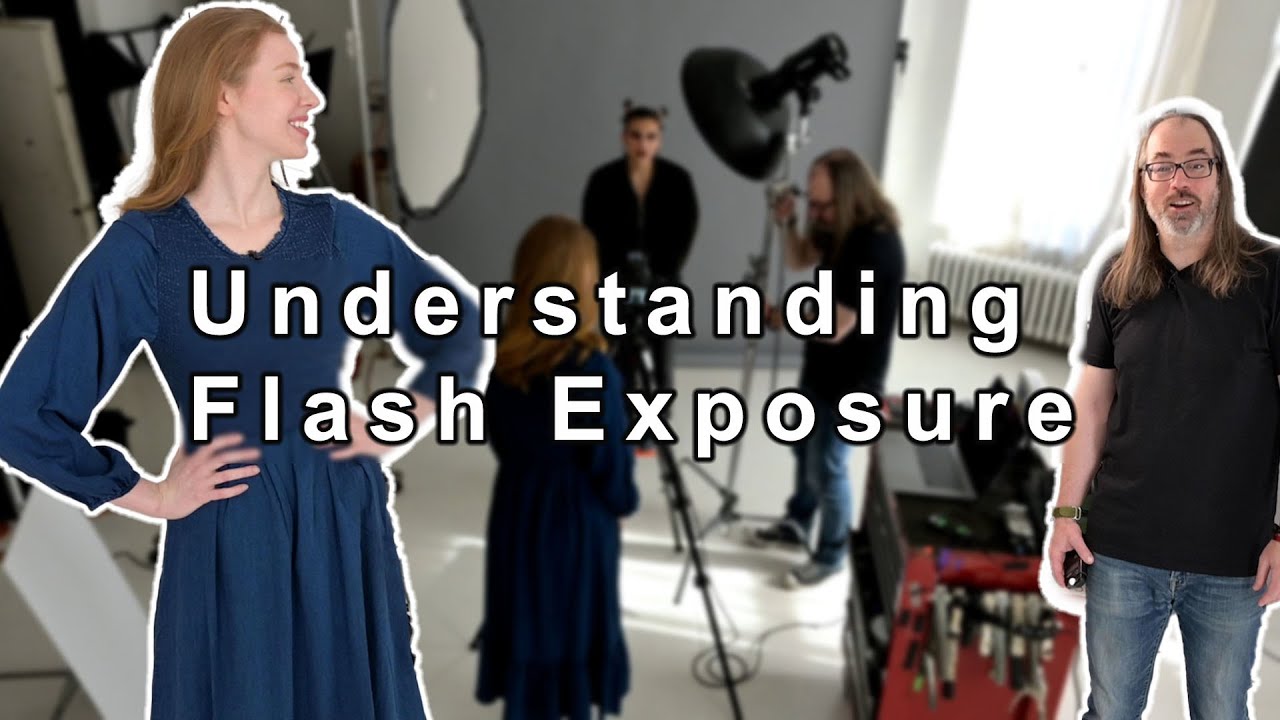
There’s a specific kind of embarrassment that comes from presenting a “studio portrait” to a client and realizing, in retrospect, that the background glow is just… the room. Not your light. Not your intention. Just whatever the overhead fixtures decided to contribute that day. I’ve been there. Early in my commercial work, I treated continuous light like a shortcut and spent more time in post trying to flatten out ambient contamination than I ever spent setting up the shot correctly. Flash fixed that problem permanently, and I wish someone had explained the underlying logic before I wasted a year fighting it.
In this Daniel Norton Photographer tutorial on flash photography basics, Daniel walks through exactly that logic with his model Marissa in his New York studio. Watch the full tutorial on YouTube before or after reading this, because seeing the exposure shift in real time is worth your 15 minutes. What I want to do here is extract the technique layer, expand on the reasoning, and give you the numbered steps you can follow the next time you’re standing in your own studio wondering why your “lit” shot still looks like a well-lit room.
The core insight Daniel builds toward is this: ambient light is a shutter speed problem, and flash is immune to it. Once that clicks, the rest of the workflow becomes logical rather than mysterious.
Step 1: Establish Your Ambient Exposure First
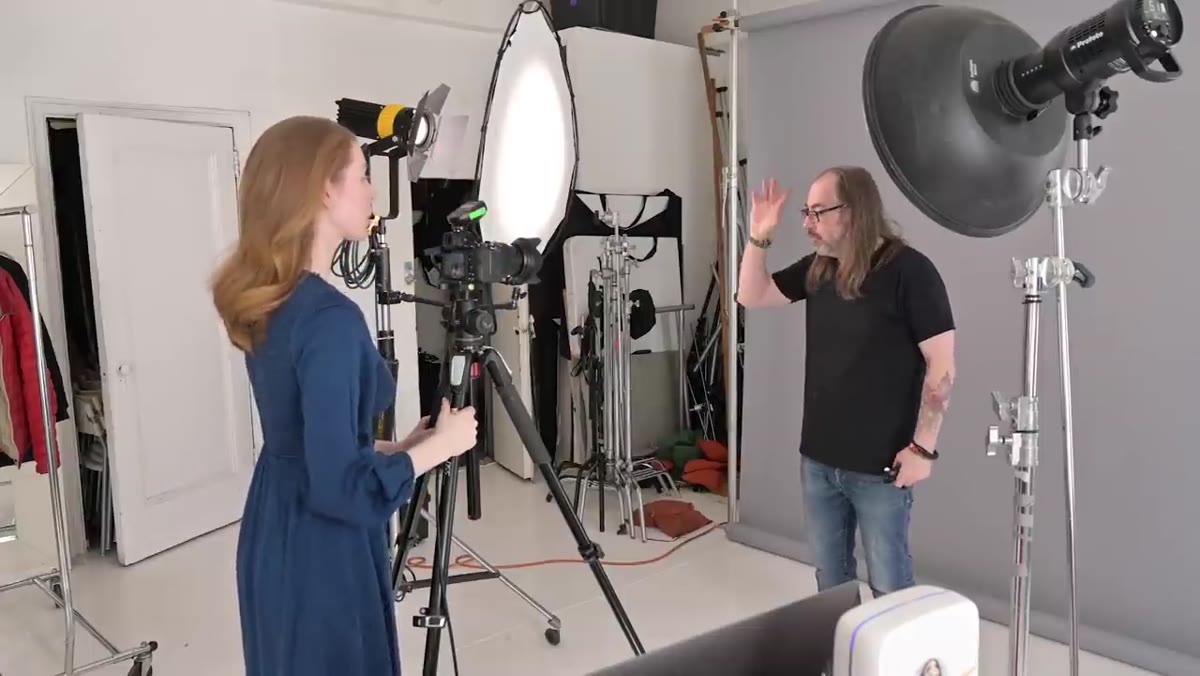 Light meter reading showing 1/30s at f/4 in ambient conditions
Before you touch a flash trigger, meter the space without flash. Daniel meters his existing daylight-balanced continuous source and lands around 1/30th of a second at f/4, ISO 100. This baseline reading is not just a number to record and ignore. It tells you exactly how much ambient light you are dealing with and what shutter speed the room wants to use. Write it down or, if you’re like me, photograph your meter display. I keep a lighting journal for every shoot and the ambient baseline always goes in first. It’s the foundation everything else gets measured against.
Light meter reading showing 1/30s at f/4 in ambient conditions
Before you touch a flash trigger, meter the space without flash. Daniel meters his existing daylight-balanced continuous source and lands around 1/30th of a second at f/4, ISO 100. This baseline reading is not just a number to record and ignore. It tells you exactly how much ambient light you are dealing with and what shutter speed the room wants to use. Write it down or, if you’re like me, photograph your meter display. I keep a lighting journal for every shoot and the ambient baseline always goes in first. It’s the foundation everything else gets measured against.
Step 2: Turn Off Your Additional Light Source and See What the Room Actually Looks Like
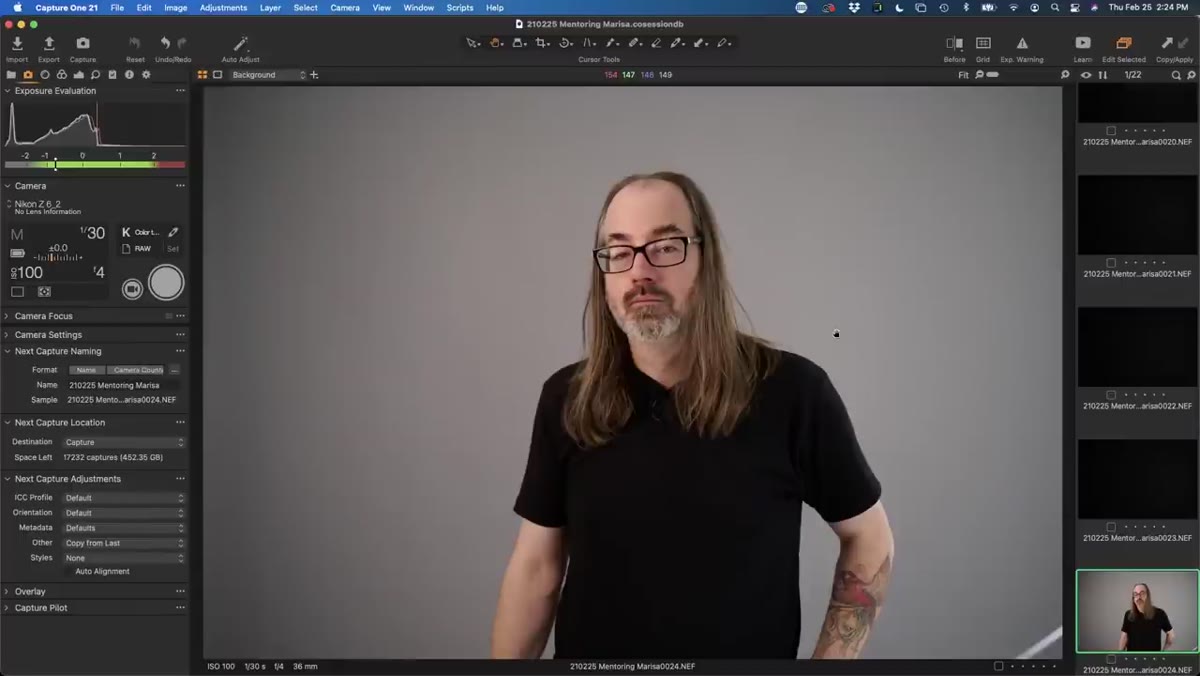 Studio with main light off, ambient light still visible on subject
This is the step most beginners skip, and it’s the most clarifying thing you can do. Daniel kills his continuous source and shoots a frame. What you see is that the room is still reasonably lit from ambient sources. The model is still visible. This matters because it proves that your carefully placed light was doing less heavy lifting than you assumed. It was shaping and directing, not dominating. If you’re working in a space with windows, skylights, or just bright overhead practicals, your “controlled” light is competing with all of it. You need to see the competition before you can beat it.
Studio with main light off, ambient light still visible on subject
This is the step most beginners skip, and it’s the most clarifying thing you can do. Daniel kills his continuous source and shoots a frame. What you see is that the room is still reasonably lit from ambient sources. The model is still visible. This matters because it proves that your carefully placed light was doing less heavy lifting than you assumed. It was shaping and directing, not dominating. If you’re working in a space with windows, skylights, or just bright overhead practicals, your “controlled” light is competing with all of it. You need to see the competition before you can beat it.
Step 3: Understand Why Shutter Speed Is Your Ambient Dimmer Switch
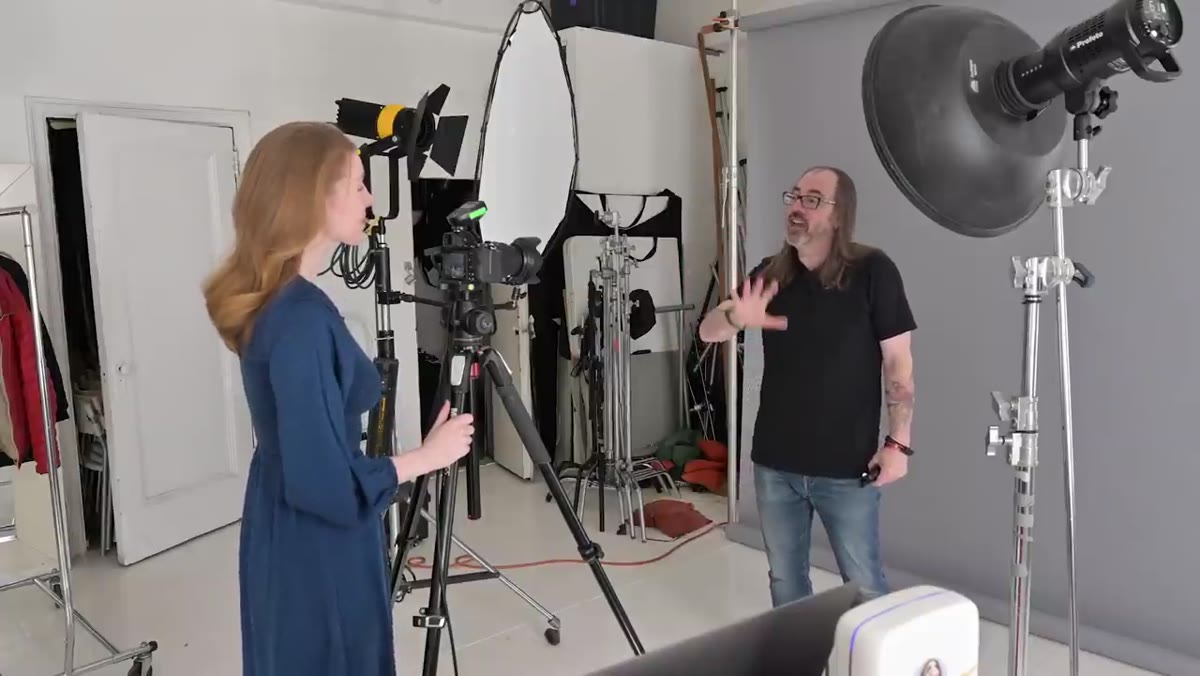 Camera settings being adjusted, shutter speed raised toward sync speed limit
Here’s the piece of the exposure triangle that changes when you introduce flash. With continuous light, all three variables, aperture, shutter speed, and ISO, affect your exposure equally. With flash, the shutter speed’s role shifts. The flash duration is so brief, typically in the range of 1/1000th of a second or faster, that your shutter speed has almost no effect on how much flash hits the sensor. What shutter speed does control is how much ambient light bleeds in during the time the shutter curtain is open. Raise your shutter speed and you cut the ambient exposure. The flash exposure stays roughly the same. Daniel demonstrates this by bumping to 1/200th of a second at the same aperture and showing how much darker the ambient gets. This is your primary ambient-control tool.
Camera settings being adjusted, shutter speed raised toward sync speed limit
Here’s the piece of the exposure triangle that changes when you introduce flash. With continuous light, all three variables, aperture, shutter speed, and ISO, affect your exposure equally. With flash, the shutter speed’s role shifts. The flash duration is so brief, typically in the range of 1/1000th of a second or faster, that your shutter speed has almost no effect on how much flash hits the sensor. What shutter speed does control is how much ambient light bleeds in during the time the shutter curtain is open. Raise your shutter speed and you cut the ambient exposure. The flash exposure stays roughly the same. Daniel demonstrates this by bumping to 1/200th of a second at the same aperture and showing how much darker the ambient gets. This is your primary ambient-control tool.
Step 4: Know Your Sync Speed and Stay Below It
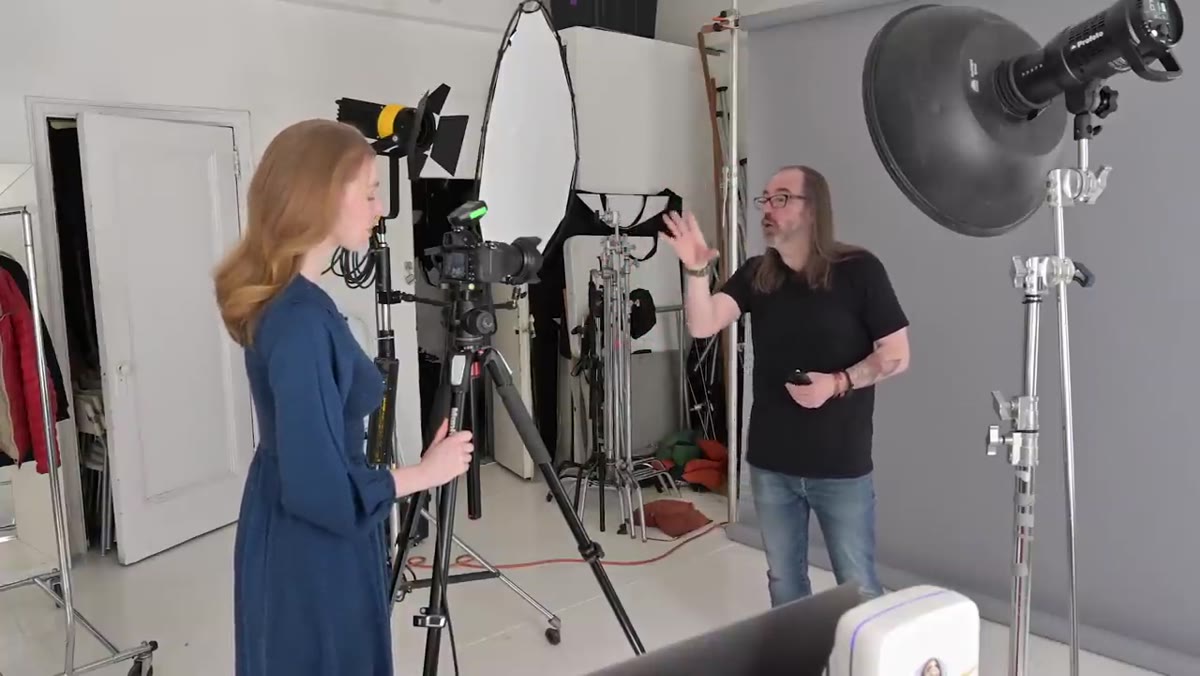 Reference to camera sync speed limit of 1/200s discussed on camera
Every camera has a maximum sync speed, the fastest shutter speed at which the sensor is fully exposed when the flash fires. Exceed it and you get a dark band across your frame where the second shutter curtain started closing before the flash could illuminate that portion of the sensor. For Daniel’s camera in this tutorial, the sync limit is 1/200th of a second. Many full-frame cameras land between 1/160th and 1/250th depending on the body. Check your manual, then set your shutter to that maximum sync speed as a starting point. You’re not trying to freeze motion with the shutter here. You’re just cutting ambient as aggressively as the camera will allow before high-speed sync becomes necessary.
Reference to camera sync speed limit of 1/200s discussed on camera
Every camera has a maximum sync speed, the fastest shutter speed at which the sensor is fully exposed when the flash fires. Exceed it and you get a dark band across your frame where the second shutter curtain started closing before the flash could illuminate that portion of the sensor. For Daniel’s camera in this tutorial, the sync limit is 1/200th of a second. Many full-frame cameras land between 1/160th and 1/250th depending on the body. Check your manual, then set your shutter to that maximum sync speed as a starting point. You’re not trying to freeze motion with the shutter here. You’re just cutting ambient as aggressively as the camera will allow before high-speed sync becomes necessary.
Step 5: Switch Your Light Meter to Flash Mode and Take a Flash Reading
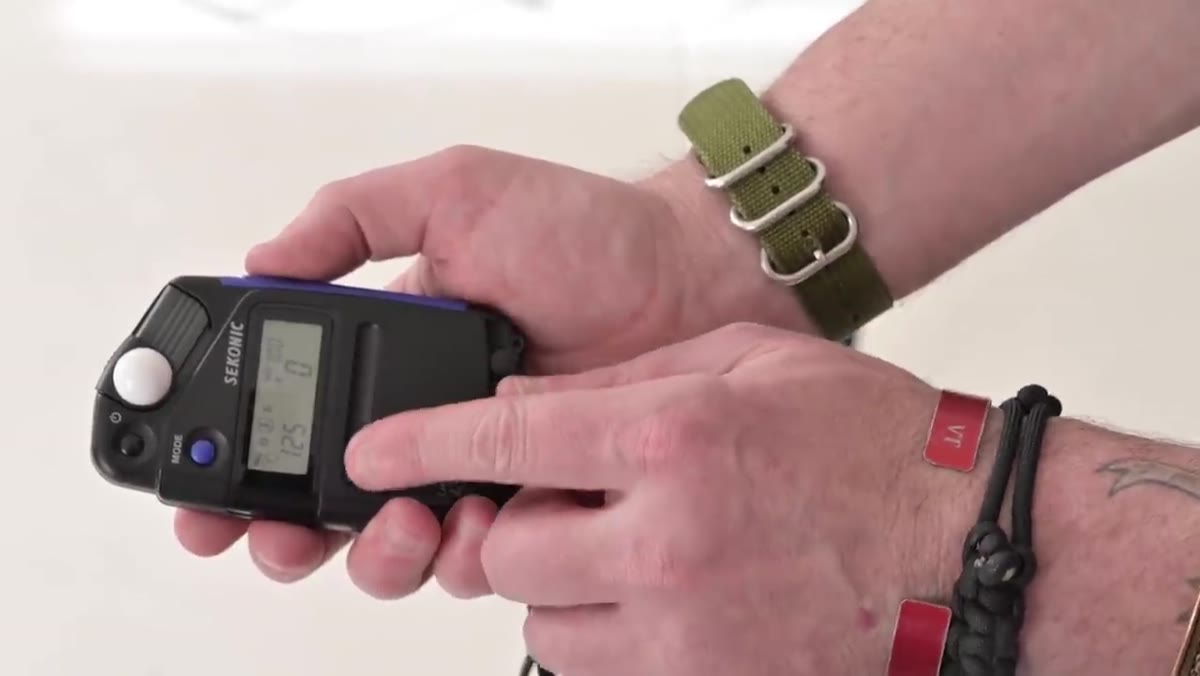 Light meter held up with flash mode active, waiting for test flash trigger
A flash meter reading works differently from an ambient reading. Instead of the meter measuring continuous light, you set it to flash mode, indicated by a lightning bolt icon on most meters, enter your ISO and your target shutter speed, then hold the meter at the subject’s position and fire a test flash. The meter captures the peak output of the flash pulse and gives you the aperture you should be shooting at. Daniel gets a reading just over f/4, which confirms his camera settings are in the right ballpark. If you don’t have a light meter, you can use the histogram and highlight alert on your camera to approximate this, but a handheld meter gives you the answer before you take a single frame. I test every new setup this way. It’s faster than chimping through ten test shots.
Light meter held up with flash mode active, waiting for test flash trigger
A flash meter reading works differently from an ambient reading. Instead of the meter measuring continuous light, you set it to flash mode, indicated by a lightning bolt icon on most meters, enter your ISO and your target shutter speed, then hold the meter at the subject’s position and fire a test flash. The meter captures the peak output of the flash pulse and gives you the aperture you should be shooting at. Daniel gets a reading just over f/4, which confirms his camera settings are in the right ballpark. If you don’t have a light meter, you can use the histogram and highlight alert on your camera to approximate this, but a handheld meter gives you the answer before you take a single frame. I test every new setup this way. It’s faster than chimping through ten test shots.
Step 6: Fire a Test Frame and Compare the Ambient-to-Flash Ratio
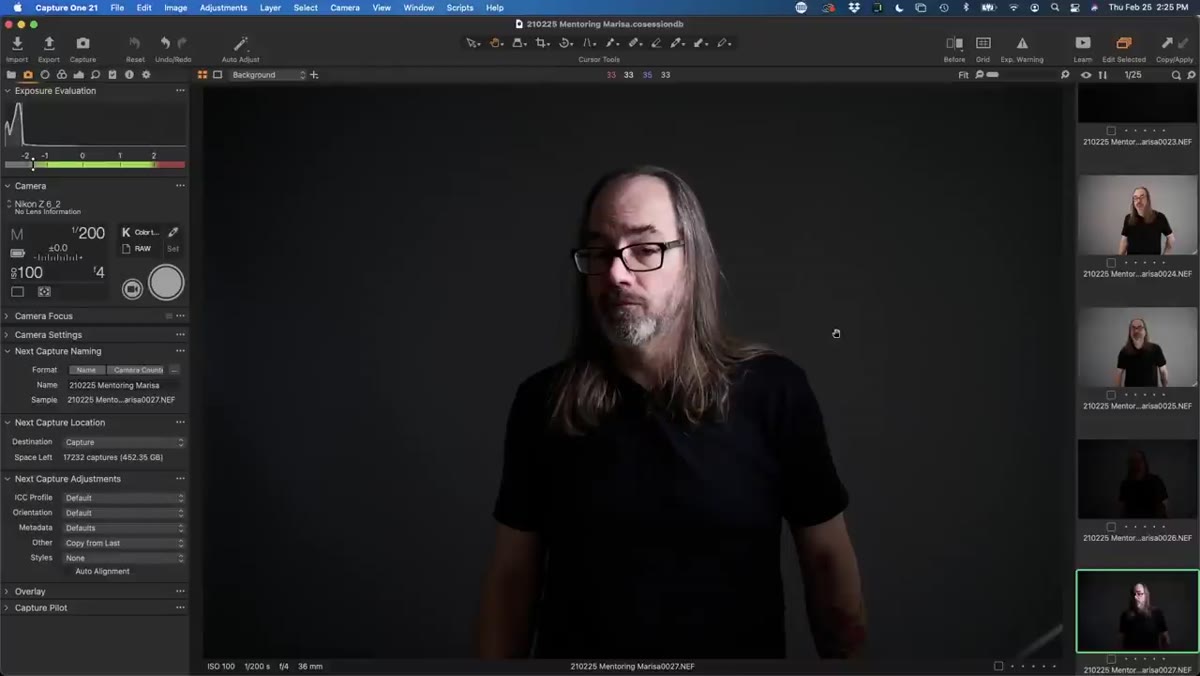 Final flash exposure frame showing dark background and clean subject lighting
Take the shot. What you should see immediately is that the background and surrounding space are significantly darker than in your ambient-only frames, and your subject is cleanly lit by the flash. The room light has been effectively suppressed. Daniel’s result shows exactly this: the space goes dark, the model is properly exposed, and the light has shape and direction. That’s the goal. You’ve gone from reacting to the room to controlling the room.
Final flash exposure frame showing dark background and clean subject lighting
Take the shot. What you should see immediately is that the background and surrounding space are significantly darker than in your ambient-only frames, and your subject is cleanly lit by the flash. The room light has been effectively suppressed. Daniel’s result shows exactly this: the space goes dark, the model is properly exposed, and the light has shape and direction. That’s the goal. You’ve gone from reacting to the room to controlling the room.
What I Do Differently in Commercial Work
Daniel’s tutorial is a clean, accurate demonstration of the fundamentals. In my own shoots, particularly when I’m working on beauty or fashion campaigns where the client is watching from a monitor, I take this one step further and label my power settings with masking tape directly on the pack or head. It sounds basic, but when an art director asks me to “take it down a little,” being able to track exactly where you started prevents the slow drift that creeps into long shooting days. I also run a flash meter reading every time I change a modifier, not just at setup. A 7-foot umbrella and a 4-foot octobox can share the same position and the same power setting and give you a full stop difference in output. Never assume the reading transfers.
The single most important thing this tutorial gives you is a mental model: the shutter speed controls ambient, the aperture and flash power control your flash exposure. Keep those two systems separate in your head and studio lighting stops feeling like guesswork. Watch the full tutorial on YouTube to see Daniel demonstrate the exposure shift in real time. Seeing a frame go from room-lit to flash-controlled in a single setting change is the kind of visual proof that sticks.
Comments
Leave a Comment