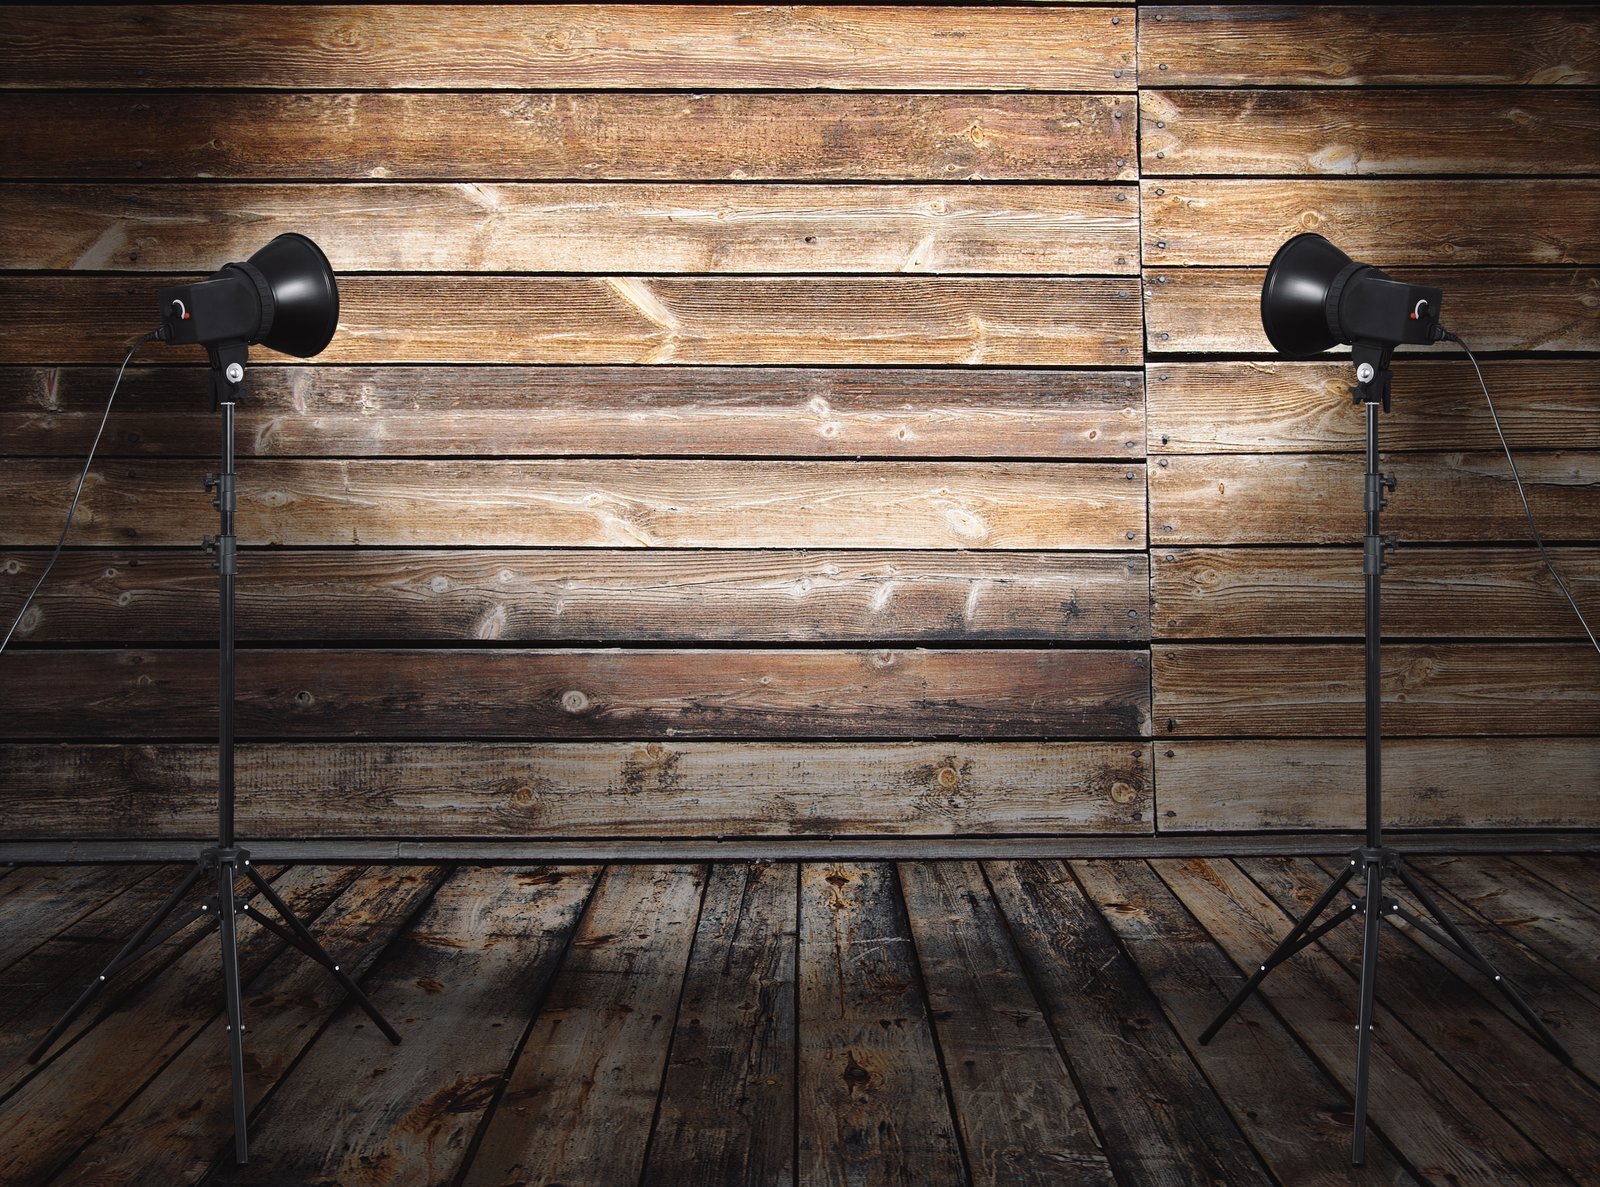
Every minute I spend confused on set costs me money. That’s not a metaphor. I shoot for fashion clients and beauty brands that bill studio time by the hour, sometimes with a stylist, an art director, and a model all standing around watching me squint at a histogram. I learned early that confusion is expensive, and that the photographers who look effortless in a studio aren’t guessing. They showed up with a plan.
This is the workflow that plan lives inside.
The Diagram Comes Before the Gear
I designed a lighting diagram app for myself because nothing on the market worked the way I think. Before every shoot, I build the setup in the app. Key light, fill, hair light, background light, distances, modifier shapes, power ratios. All of it, drawn out before I pull a single stand from the rack.
This isn’t aesthetics. It’s logistics. When I know the key light is a 47-inch octabox at camera left, 45 degrees off axis, 4 feet from the subject at roughly 1.5x head height, I can have my assistant position it while I’m metering the background. That’s parallel work. On a 4-hour booking, parallel work is the difference between 90 minutes of shooting and 40.
The diagram also forces a decision I’d otherwise delay: what is this light actually doing? I give every light a job before it goes up. If I can’t explain why a light is in the setup, it doesn’t go in.
The Tape-and-Label System That Looks Obsessive and Works Perfectly
I label every light in my studio with masking tape. Not just the head, the cable, the power pack channel it’s on, and the modifier. Each strip of tape has the light’s role written on it in black marker. Key. Fill. Hair. BG 1. BG 2.
This sounds excessive until you’re 20 minutes into a shoot and your assistant asks which light to cut by a stop. There’s no pointing, no explaining, no confusion. You say “cut the fill” and they know exactly which unit to walk to.
Beyond the labels, I work in fixed ratios that I can reproduce from memory. My standard beauty setup runs a 3:1 key-to-fill ratio. Key is a medium softbox, fill is a 5-in-1 reflector at roughly 2 stops under. Hair light is a small gridded strip at 1:1 with the key. That gives me a starting point I’ve used enough times that I can diagnose problems by feel rather than starting from scratch.
New modifiers get tested the day they arrive, every time. I’ll set up a mannequin head, run the modifier through my standard ratios, and photograph it at every third-stop increment from f/5.6 to f/16. I keep those frames for reference. When someone asks me what a 65-degree grid does to falloff compared to a 40-degree grid, I have actual images, not theory.
Metering Is Not Optional and Sync Speed Is Not Flexible
I shoot tethered to Capture One, and I meter with an incident meter before the model walks on set. Always. Every time. Not sometimes.
The meter tells me where my key is sitting, usually targeting f/8 at ISO 100 for commercial work because it gives me plenty of room in the file and keeps noise completely clean. My background reading needs to be within half a stop of my key reading if I want it to render as white, or I push it a stop over. For a dark gray background to read dark gray, I want it 2 stops under my subject exposure.
Sync speed on my Profoto D2s is up to 1/1000s with HSS, but I almost never need it in studio. I run 1/160s as a default. Anything faster risks banding with certain heads, and I don’t want to troubleshoot that on a client shoot. Defaults exist so you don’t troubleshoot on client shoots.
What Color Temperature Chaos Actually Costs You
I ruined my first real editorial shoot because I didn’t calibrate. I was using a mix of strobes with different color temperature ratings and thought it wouldn’t matter. It mattered. The key light was running around 5600K, the fill was closer to 5200K. In the raws it looked like the shadow side of every face had a warm cast that didn’t match the highlight. We caught it in post, but the retoucher billed two extra hours to correct it, and the client noticed the delay. I never shot a mixed-temperature setup without gelling to match again.
Now every strobe in my studio gets gelled to a single target temperature before it goes up, and I shoot a ColorChecker Passport frame as the first exposure on every new setup. That frame takes 30 seconds and it saves the retoucher from guessing. It also keeps my skin tones consistent across setups if I’m changing the lighting mid-shoot for different looks.
In Capture One, I sync the color profile from the ColorChecker frame to every image in that batch. One click, consistent files. The retoucher gets cleaner raws, the turnaround is faster, and nobody is asking me why the talent looks different between looks.
The Reset Walk-Around Before Every New Setup
When I change a setup between looks, I do a single walk-around of the studio before I meter. I’m checking that every light is actually where I planned it in the diagram, that no cable is running under a stand leg, that the modifier is locked, and that the power setting on the pack matches what’s written on the tape.
Takes about 90 seconds. Has saved me from a falling softbox once, a miswired sync cable twice, and more minor power setting errors than I want to count.
The walk-around is the habit that makes every other habit work, because it’s the one that checks all the others.
The whole system comes down to this: decide everything you can before you’re on the clock, then run a process that keeps you from un-deciding it under pressure.
Comments
Leave a Comment