Every studio photographer eventually faces the same problem: too many moving pieces arriving at the same time. The model shows up, the makeup artist is still packing her kit, and you’re standing there trying to swap out a modifier while everyone watches. I’ve been there more than once in my early years, and it cost me momentum on shoots where momentum was everything. That’s why I keep coming back to tutorials that treat production logistics as seriously as they treat f-stops.
Watch the full tutorial on YouTube
In this Tony and Chelsea Northrup tutorial, Tony walks through a complete glamour headshot session with a model named Emily, covering the setup day before, the lighting choices, team assembly, and the moment-to-moment role of an assistant on set. It’s a dense, practical video, and I want to pull out the parts that translate directly into your own studio work, with the kind of specificity the video sometimes moves past quickly.
Step 1: Set Up the Studio the Day Before
 Empty studio with lights positioned before model arrives
This is the single most useful habit in this entire tutorial, and the one most photographers skip. Tony sets up and tests the full lighting rig the day before the shoot, so when the model and makeup artist walk in, the studio is already dialed. There are no cables being run, no softboxes being assembled, no “give me five minutes” moments while a professional sits in a chair waiting.
Empty studio with lights positioned before model arrives
This is the single most useful habit in this entire tutorial, and the one most photographers skip. Tony sets up and tests the full lighting rig the day before the shoot, so when the model and makeup artist walk in, the studio is already dialed. There are no cables being run, no softboxes being assembled, no “give me five minutes” moments while a professional sits in a chair waiting.
Do a full test session the day before with a stand-in, even if that’s just a coat rack or a friend. Fire the lights, check the histogram, shoot a few frames, and make notes. I keep a lighting journal with a rough sketch of every setup I land on, so the next morning I’m just confirming positions, not discovering them.
Step 2: Choose Your Main Light and Fill Strategy
 Octabox positioned as key light on strobe
Tony uses a strobe with an octabox as his main light. For glamour and beauty work, this is a reliable starting point. An octabox gives you that large, soft, wrapping quality that flatters facial structure without going so diffuse that you lose all definition. For fill, rather than bouncing light into V-flats with additional strobes, he tests a pair of Pergear LED continuous lights to see how they hold up against the strobe key.
Octabox positioned as key light on strobe
Tony uses a strobe with an octabox as his main light. For glamour and beauty work, this is a reliable starting point. An octabox gives you that large, soft, wrapping quality that flatters facial structure without going so diffuse that you lose all definition. For fill, rather than bouncing light into V-flats with additional strobes, he tests a pair of Pergear LED continuous lights to see how they hold up against the strobe key.
The practical tradeoff here is real and worth understanding. Continuous LEDs let you see the lighting effect in real time before you shoot a single frame, which speeds up positioning considerably. The limitation is modifier compatibility. Most LED panels don’t have a standard Bowens mount or similar, so you’re giving up barn doors, grids, and most shaping tools. If your fill needs to be controlled and directional, you’ll probably want to stay with strobes and V-flats. If you want fast, lightweight, and “good enough” fill for a beauty setup, good-quality LEDs are a legitimate option.
Step 3: Control Ambient Light Before Anyone Arrives
 Windows covered with blackout material in studio
Tony covers the studio windows completely before the shoot. This is non-negotiable for any work where you need consistent, repeatable results. Stray daylight shifts color temperature throughout the session as the sun moves, and it creates hotspots that compete with your key light in ways that are almost impossible to correct in post without local masking.
Windows covered with blackout material in studio
Tony covers the studio windows completely before the shoot. This is non-negotiable for any work where you need consistent, repeatable results. Stray daylight shifts color temperature throughout the session as the sun moves, and it creates hotspots that compete with your key light in ways that are almost impossible to correct in post without local masking.
Use blackout cloth, black foam board, or purpose-built window covers. The goal is a completely dark room where every photon of light is one you placed intentionally. If you’re shooting in a rented studio that doesn’t offer full blackout, bring your own material and budget fifteen minutes to install it before the model arrives.
Step 4: Build a Shared Vision Document for Your Team
 Shared document with inspiration images for the shoot
Before anyone shows up, Tony creates a shared document containing reference images, mood inspiration, and notes for the makeup artist and model. This is a communication tool, not a mood board for your own benefit. A good makeup artist can reverse-engineer a look from a reference image, but only if they have the reference image before they start, not halfway through the session.
Shared document with inspiration images for the shoot
Before anyone shows up, Tony creates a shared document containing reference images, mood inspiration, and notes for the makeup artist and model. This is a communication tool, not a mood board for your own benefit. A good makeup artist can reverse-engineer a look from a reference image, but only if they have the reference image before they start, not halfway through the session.
Build this in Google Docs or a shared Dropbox folder. Include three to five reference images that show the finish level you want, the color palette, and the general feel of the shoot. Flag anything specific, like “keep the skin luminous, no heavy contouring” or “we’re going for a clean editorial look, not a red carpet look.” The more specific you are upfront, the less you’re correcting on set.
Step 5: Find and Vet Your Team Thoughtfully
 Makeup artist working on model in preparation area
Tony found his makeup artist through Instagram by searching local hairdressers and beauty professionals, cross-referencing with Model Mayhem but ultimately choosing someone he could build a working relationship with locally. That’s sound logic. A makeup artist you’ve worked with twice is worth more than a stranger with a better portfolio, because you already know how they communicate, how fast they work, and whether they take direction gracefully.
Makeup artist working on model in preparation area
Tony found his makeup artist through Instagram by searching local hairdressers and beauty professionals, cross-referencing with Model Mayhem but ultimately choosing someone he could build a working relationship with locally. That’s sound logic. A makeup artist you’ve worked with twice is worth more than a stranger with a better portfolio, because you already know how they communicate, how fast they work, and whether they take direction gracefully.
When you’re evaluating a makeup artist for the first time, look at their work in photography, not just their work in general. Makeup for a wedding looks different under natural light than it does under a strobe with a grid. Ask to see images shot in studio conditions. The finish needs to be camera-ready, which means slightly more deliberate and controlled than what looks good to the naked eye across a room.
Step 6: Define the Assistant Role Before the Shoot Starts
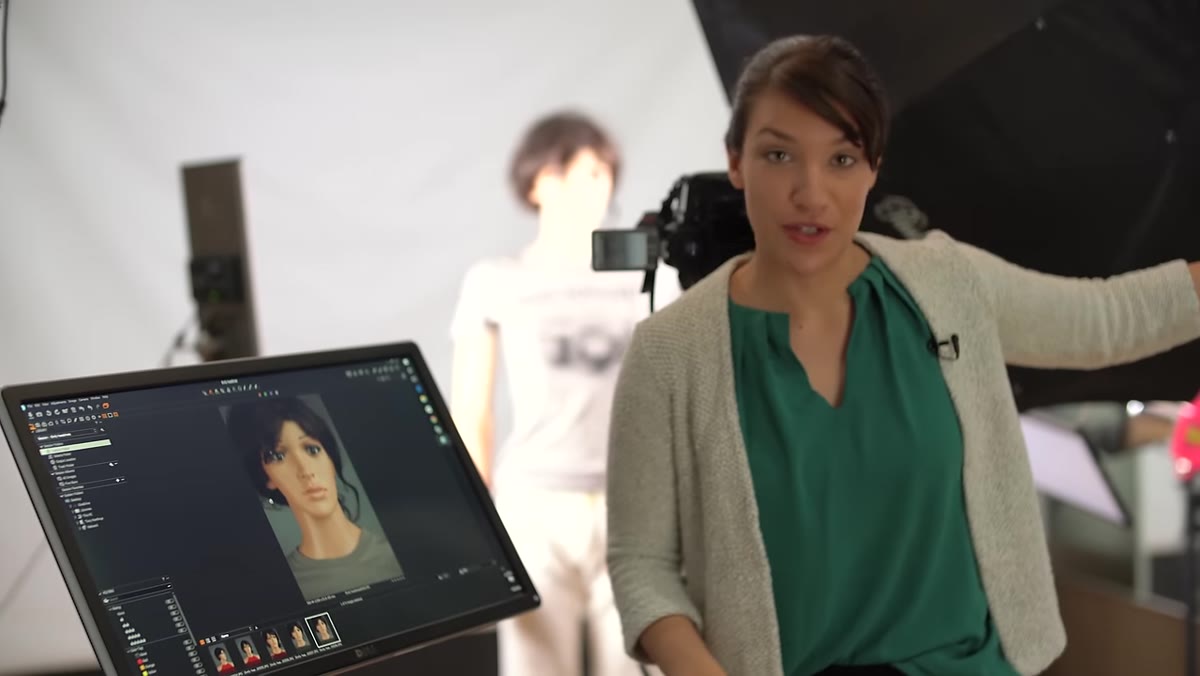
 Assistant reviewing images on tethered screen during shoot
The assistant role in Tony’s shoot is specifically defined: check the histogram, scan for stray hairs and misplaced fingers in each frame, move lights when needed, and make sure everyone has what they need physically. This is not a passive job. A sharp-eyed assistant catching a hair across the subject’s eye before you shoot forty more frames in the same position is saving you real time in retouching.
Assistant reviewing images on tethered screen during shoot
The assistant role in Tony’s shoot is specifically defined: check the histogram, scan for stray hairs and misplaced fingers in each frame, move lights when needed, and make sure everyone has what they need physically. This is not a passive job. A sharp-eyed assistant catching a hair across the subject’s eye before you shoot forty more frames in the same position is saving you real time in retouching.
If you’re assisting someone else’s shoot, use it as an education. As Tony notes, every shoot presents a different model, a different lighting challenge, a different team dynamic. You’re gathering data even when you’re not behind the camera. The histogram alone will teach you things about exposure that you can’t learn any other way, because you’re watching it respond to real-world conditions in real time.
My Own Caveat: Test New Gear Before It Meets a Client
I test every new modifier or light the day it arrives. This is not perfectionism, it’s professional insurance. Tony’s pre-shoot LED test is a good example of exactly this principle. He didn’t bring unfamiliar gear to a live session and hope for the best. He ran it the day before, identified the limitation around modifier compatibility, and made an informed decision about how to use it.
When I ruined my first significant editorial shoot by failing to account for a mixed color temperature situation between my strobes and an ambient practical light in the location, it cost me the relationship with that client. Equipment surprises on set are avoidable. Budget time to know your gear before the shoot, not during it.
The single most important takeaway from this tutorial is the one Tony leads with: the studio should be completely ready before anyone else walks through the door. Every professional on your set has a cost, measured in money or time or social capital. Respect that by doing your preparation work in advance, not in front of them.
Watch the full tutorial on YouTube
Comments
Leave a Comment