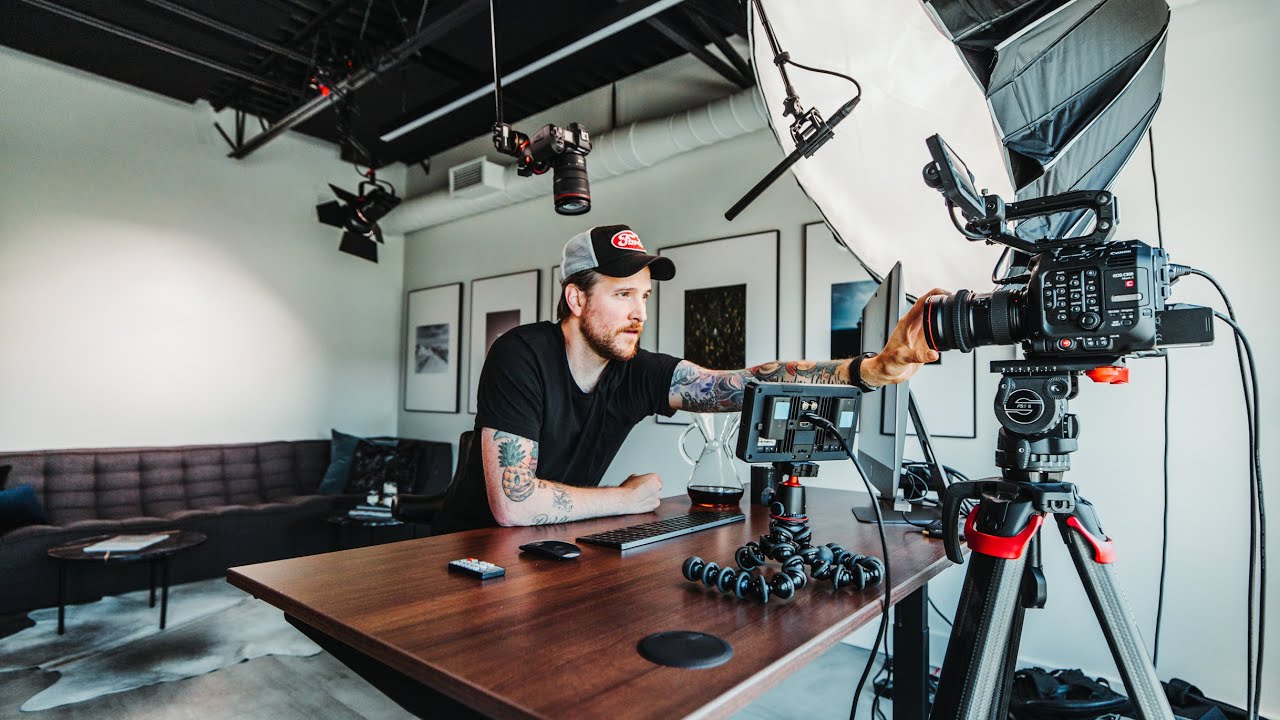
Most of my work happens in a controlled environment where I can tape a lighting diagram to the wall and repeat a setup down to the centimeter. That precision is a comfort. But lately I’ve been shooting more video content for clients, and the rules shift in ways that catch still photographers off guard. You can’t just place a softbox and call it done. You have to think about how that light reads over time, across movement, and against whatever is happening behind the frame. That problem sent me looking for answers outside my usual circle.
Watch the full tutorial on YouTube
In this Peter McKinnon tutorial, he tears down his existing YouTube studio and walks through every element he uses to shoot his channel. The video is candid and practical. What struck me, watching it from a studio photography background, is how many of his decisions mirror the logic I use on commercial sets, just executed with different tools and a tighter budget. If you shoot stills and are starting to work in video, or if you want to bring more intentionality to a home shooting space, there is a lot here worth unpacking.
Step 1: Commit to a Key Light Position Before Everything Else
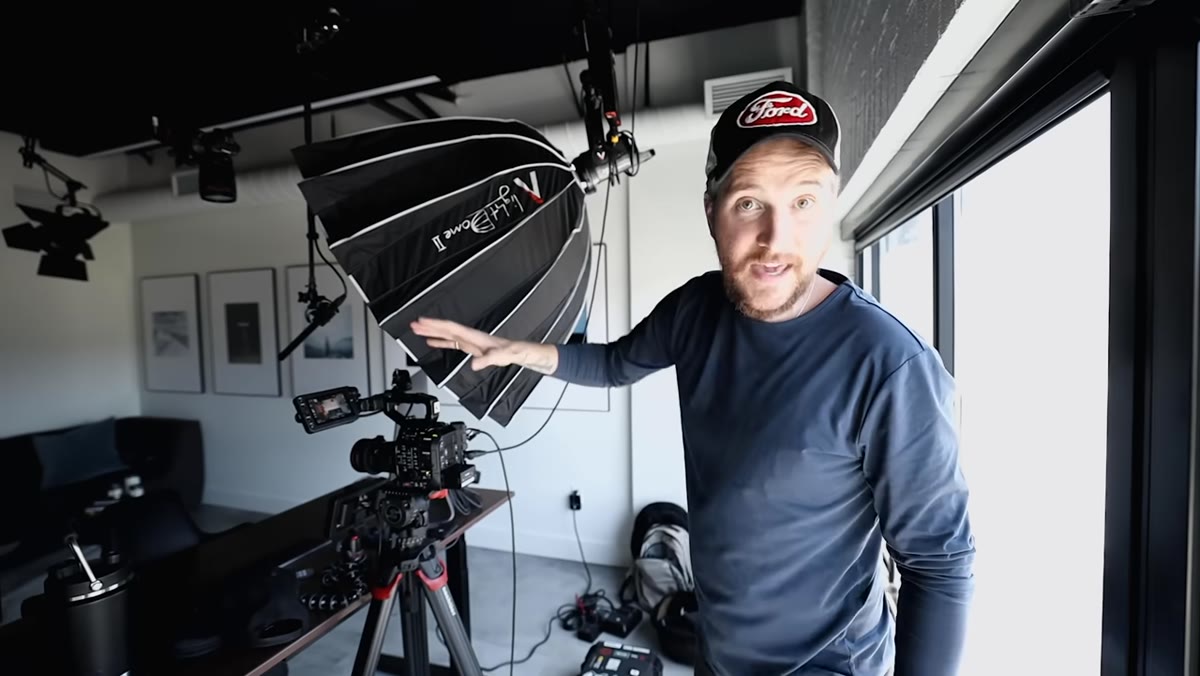 Aperture 120D key light positioned to camera left
McKinnon’s main light is an Aperture 120D, positioned as a hard key source to one side of the camera. The first decision he talks about is not which light to buy. It is where to put it. He treats the key light as the anchor and builds everything else around it. In my own studio, I label every light with masking tape the moment it gets a permanent position. The key light label goes up first, because once it moves, every other light has to be reconsidered. Choose your angle, set your distance, lock it in, and then solve the fill problem separately.
Aperture 120D key light positioned to camera left
McKinnon’s main light is an Aperture 120D, positioned as a hard key source to one side of the camera. The first decision he talks about is not which light to buy. It is where to put it. He treats the key light as the anchor and builds everything else around it. In my own studio, I label every light with masking tape the moment it gets a permanent position. The key light label goes up first, because once it moves, every other light has to be reconsidered. Choose your angle, set your distance, lock it in, and then solve the fill problem separately.
Step 2: Use Natural Window Light as Fill, Not as a Second Key
 Window light visible behind McKinnon, softening shadows
The window behind McKinnon is not just set dressing. It functions as his fill source, and he is deliberate about when it does or does not contribute to the exposure. He describes choosing between a “light mode” and a “dark mode” depending on whether the window is allowed to register on camera. This is the same decision I make when shooting portraits near a window on a beauty job. The window either fills the shadow or it competes with the key. It almost never does both well at the same time. Calibrate your key first, then decide whether the ambient light is working with you or against you, and close the blind or flag accordingly.
Window light visible behind McKinnon, softening shadows
The window behind McKinnon is not just set dressing. It functions as his fill source, and he is deliberate about when it does or does not contribute to the exposure. He describes choosing between a “light mode” and a “dark mode” depending on whether the window is allowed to register on camera. This is the same decision I make when shooting portraits near a window on a beauty job. The window either fills the shadow or it competes with the key. It almost never does both well at the same time. Calibrate your key first, then decide whether the ambient light is working with you or against you, and close the blind or flag accordingly.
Step 3: Separate the Microphone From the Camera
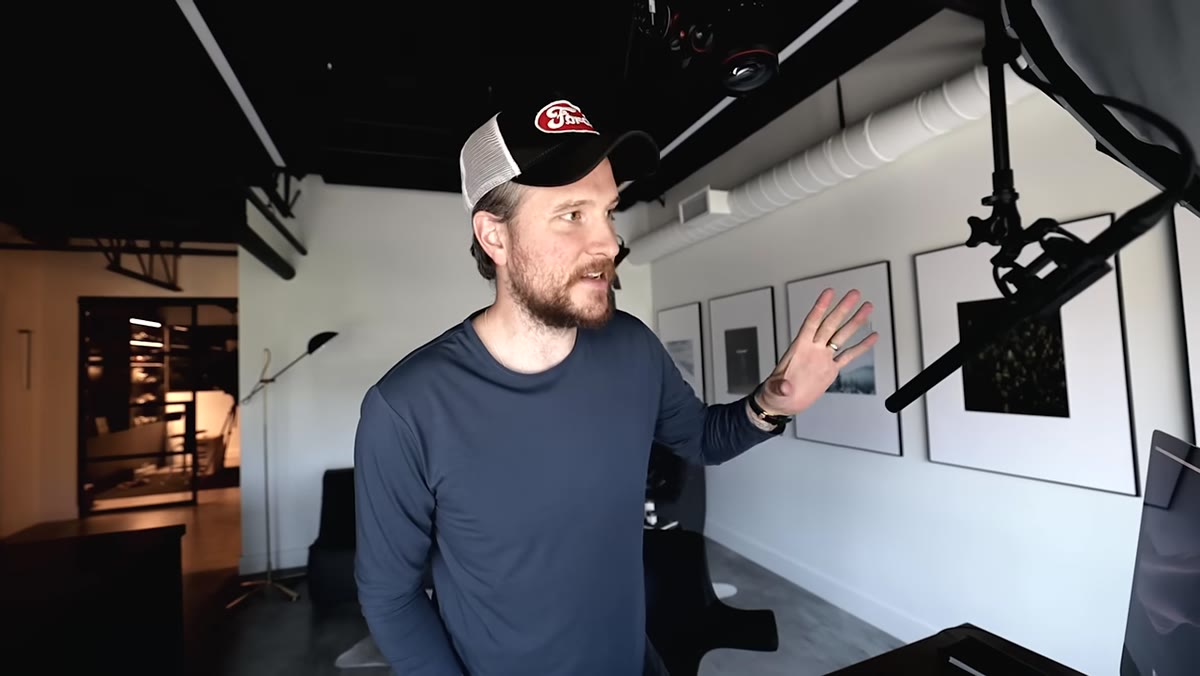 Boom mic mounted on ceiling rig, away from camera
McKinnon runs a Sennheiser MKH 416 on a boom pole that travels up to the ceiling rafters via XLR cable, completely independent of the camera body. He makes the case clearly: if your microphone is mounted to your camera, you lose the freedom to reposition your camera. For video work, that constraint compounds fast. On my commercial sets, audio is always a separate department for the same reason. You do not want a lens swap or a tripod move to require a sound technician to reset the entire rig. Even if you are working alone, rigging your mic to a fixed overhead point and running a long cable gives you flexibility that a hot-shoe mount simply cannot offer.
Boom mic mounted on ceiling rig, away from camera
McKinnon runs a Sennheiser MKH 416 on a boom pole that travels up to the ceiling rafters via XLR cable, completely independent of the camera body. He makes the case clearly: if your microphone is mounted to your camera, you lose the freedom to reposition your camera. For video work, that constraint compounds fast. On my commercial sets, audio is always a separate department for the same reason. You do not want a lens swap or a tripod move to require a sound technician to reset the entire rig. Even if you are working alone, rigging your mic to a fixed overhead point and running a long cable gives you flexibility that a hot-shoe mount simply cannot offer.
Step 4: Build Your Overhead Camera Rig With Grip Hardware, Not Camera Hardware
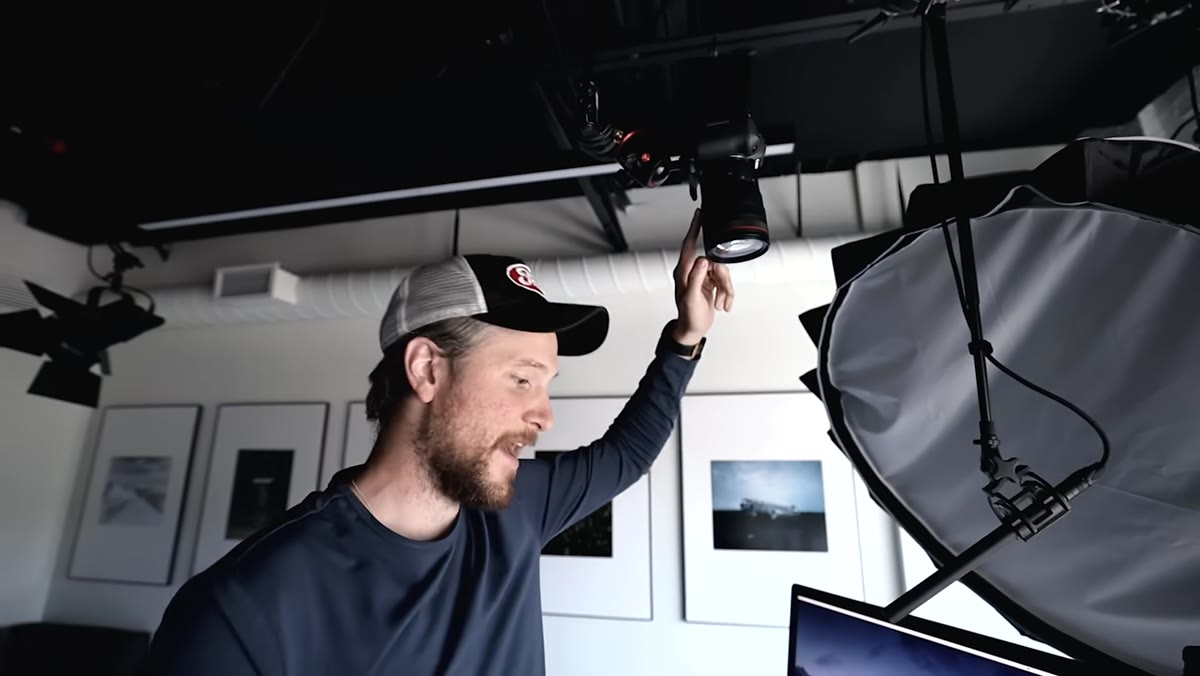 EOS R mounted overhead via grip arm, ball head, and super clamp
The top-down camera in McKinnon’s studio is a Canon EOS R, chosen because it can shoot 4K log footage that matches his main angle in post. But the more instructive part is the rigging. He chains together a ball head, a grip head, a grip arm, another grip head, and a super clamp to get the camera positioned directly above his desk. None of those pieces are camera-brand accessories. They are grip hardware, the same category of tools I use on set to hold reflectors, flags, and secondary lights in positions that no off-the-shelf tripod could reach. If you are not already browsing the grip section of your local rental house, start there. A super clamp and a friction arm will solve more problems than a new lens will.
EOS R mounted overhead via grip arm, ball head, and super clamp
The top-down camera in McKinnon’s studio is a Canon EOS R, chosen because it can shoot 4K log footage that matches his main angle in post. But the more instructive part is the rigging. He chains together a ball head, a grip head, a grip arm, another grip head, and a super clamp to get the camera positioned directly above his desk. None of those pieces are camera-brand accessories. They are grip hardware, the same category of tools I use on set to hold reflectors, flags, and secondary lights in positions that no off-the-shelf tripod could reach. If you are not already browsing the grip section of your local rental house, start there. A super clamp and a friction arm will solve more problems than a new lens will.
Step 5: Match Your Secondary Cameras to Your Primary in Log Capability, Not Brand
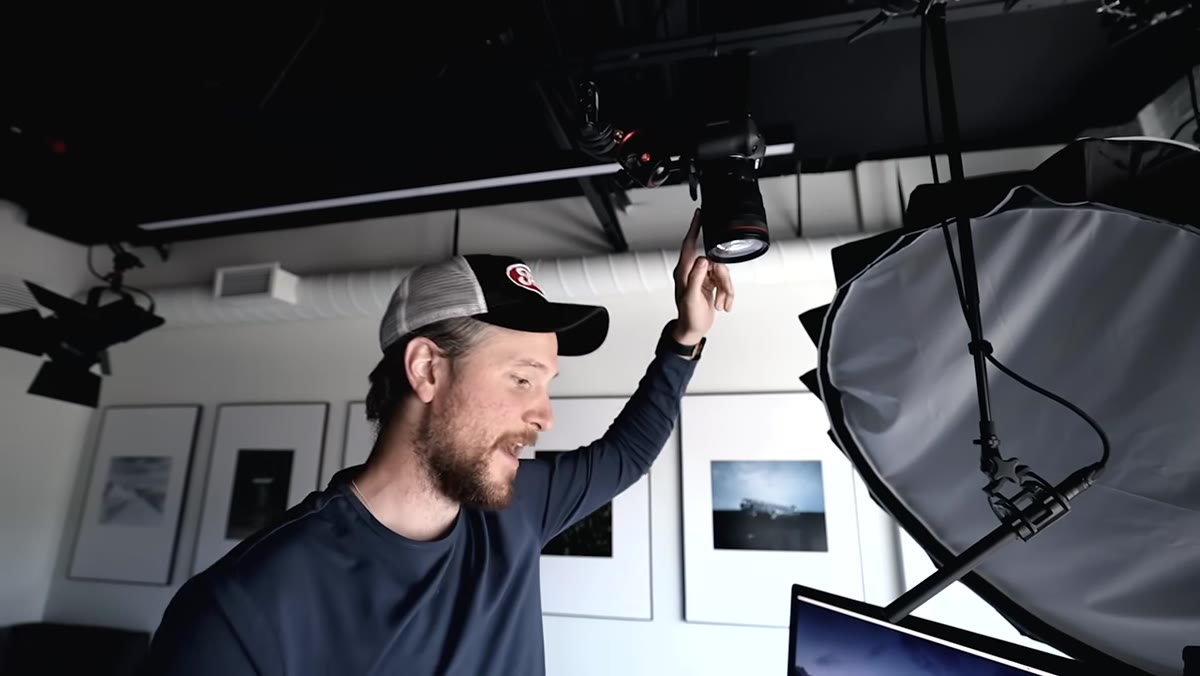 EOS R chosen to match C500 Mark II log output
McKinnon shoots his main angle on a Cinema EOS C500 Mark II and reaches for the EOS R as a secondary specifically because he can pull log footage out of it that grades to match the main camera. The brand match is secondary. The log capability and the color science are what matter. I apply the same logic when I add an additional strobe head or LED panel to a still setup. I am not looking for the same manufacturer. I am looking for the same color temperature and output consistency. In video terms, that means checking your secondary camera’s log format against your primary before you commit to the rig. A mismatch there will cost you hours in color grade.
EOS R chosen to match C500 Mark II log output
McKinnon shoots his main angle on a Cinema EOS C500 Mark II and reaches for the EOS R as a secondary specifically because he can pull log footage out of it that grades to match the main camera. The brand match is secondary. The log capability and the color science are what matter. I apply the same logic when I add an additional strobe head or LED panel to a still setup. I am not looking for the same manufacturer. I am looking for the same color temperature and output consistency. In video terms, that means checking your secondary camera’s log format against your primary before you commit to the rig. A mismatch there will cost you hours in color grade.
Step 6: Let the Standing Desk Change Your Frame, Not Just Your Posture
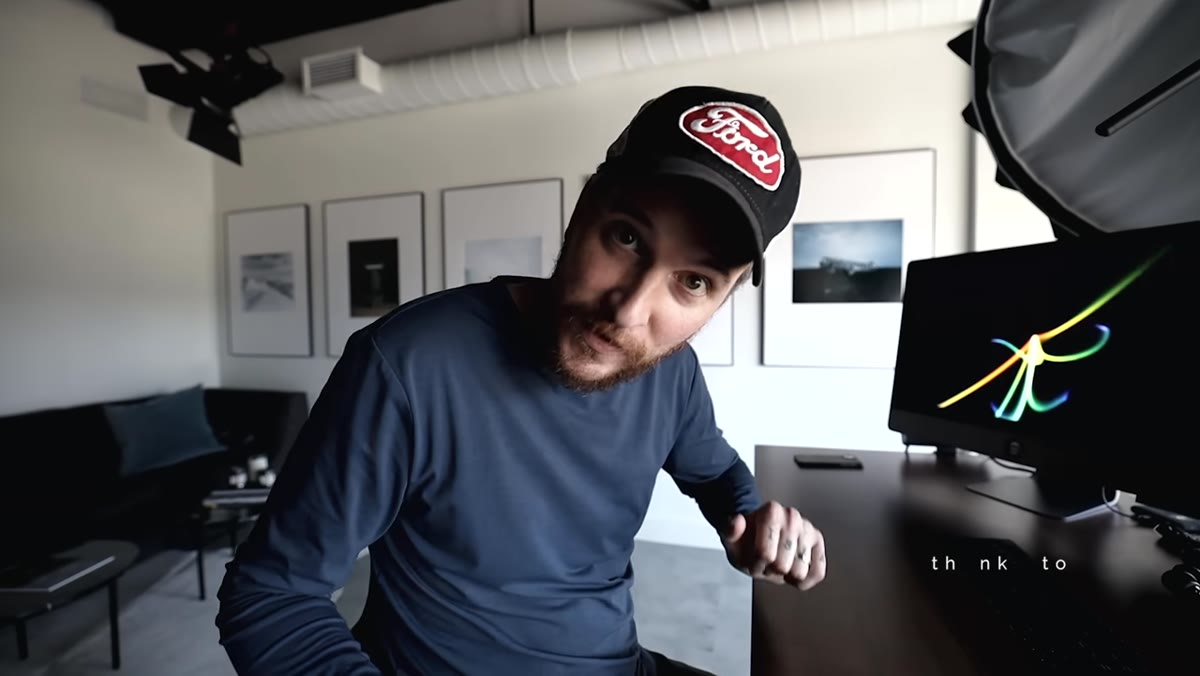 Standing desk shown at full height, monitor visible
McKinnon briefly shows that his desk is a standing model, and he mentions it not as a wellness choice but as a practical one. Different desk heights give him different angles, different amounts of background in frame, and a different relationship between his eyeline and the camera. For still photographers this translates directly. The height of your subject relative to your camera changes the story the image tells. A camera placed at chest height on a standing subject reads very differently than one placed at eye level. Build adjustability into your setup wherever you can, because locking yourself into one height limits you to one kind of frame.
Standing desk shown at full height, monitor visible
McKinnon briefly shows that his desk is a standing model, and he mentions it not as a wellness choice but as a practical one. Different desk heights give him different angles, different amounts of background in frame, and a different relationship between his eyeline and the camera. For still photographers this translates directly. The height of your subject relative to your camera changes the story the image tells. A camera placed at chest height on a standing subject reads very differently than one placed at eye level. Build adjustability into your setup wherever you can, because locking yourself into one height limits you to one kind of frame.
What I Would Do Differently in a Studio Context
The one thing McKinnon’s setup does not address, which matters more in still photography than in video, is the quality of the key light modifier. The 120D is a capable fixture, but bare or with a basic diffusion panel it produces a quality of light that works well for YouTube’s compression and motion but can be unflattering on a beauty still or a detailed product shot. On a still set I would push that light through a large octabank or a strip box with a grid before it ever touched a subject’s face. The distance to subject and the modifier surface area are the two variables that control shadow edge quality, and those decisions deserve as much attention as the choice of fixture.
McKinnon’s tutorial is a good one because it treats the studio as a system rather than a collection of individual purchases. Every piece he describes earns its place by solving a specific problem. That is exactly how I think about a lighting setup before a shoot. If a light, a modifier, or a camera position cannot answer the question “what problem does this solve,” it does not belong on the set.
Watch the full tutorial on YouTube
Comments
Leave a Comment