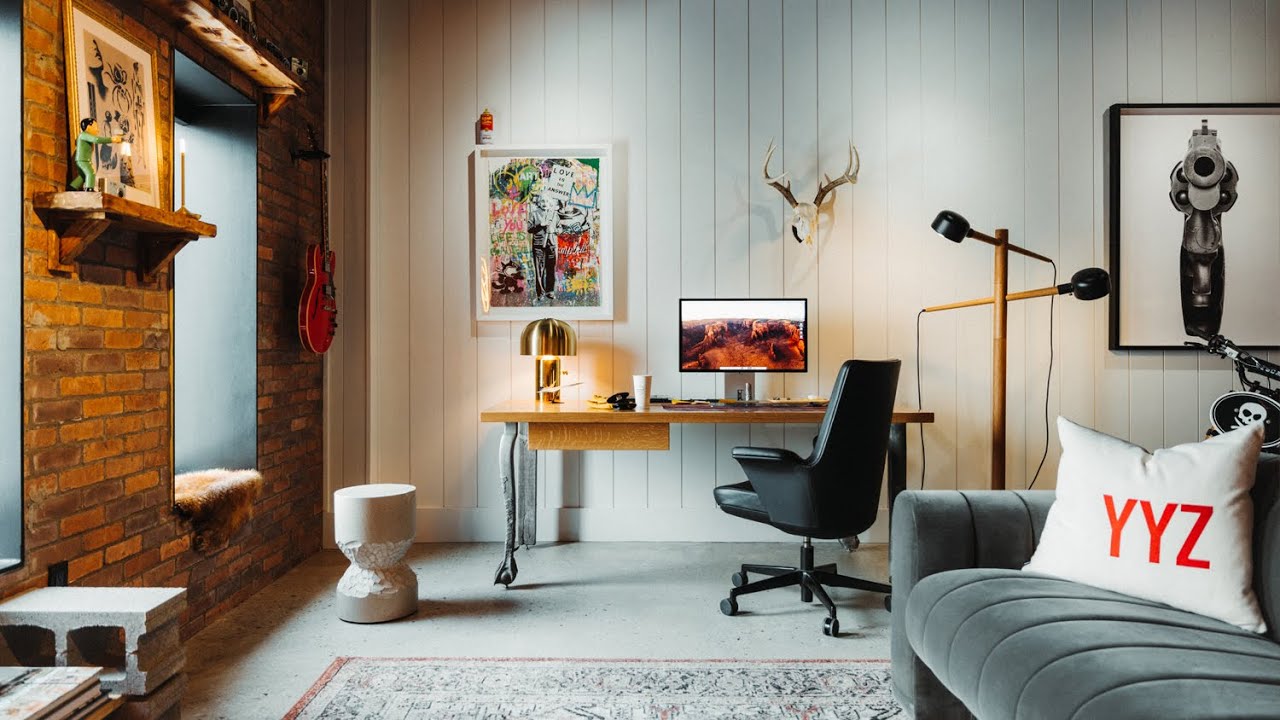
Every few years I tear my studio apart and rebuild it from scratch. Not because something broke, but because the friction adds up. I spend four minutes hunting for a specific cable. I skip a modifier because it’s buried behind two light stands. I find myself standing in the middle of the room deciding where to put something instead of actually shooting. The space stops serving the work and starts fighting it. That’s the problem a well-designed studio actually solves, and it’s something most photography courses never address directly.
Watch the full tutorial on YouTube
In this Peter McKinnon studio tour, McKinnon walks through his 2024 studio redesign with the kind of specificity that’s genuinely useful. He’s not just showing off a pretty room. He’s explaining the logic behind every decision, why certain gear lives where it does, why the desk looks the way it does, and what it took to finally land on a layout that works. As someone who has relabeled every shelf in my studio at least twice with masking tape and still gets it wrong, I found more actionable material here than I expected.
Step 1: Accept That a Studio Is a Living Thing
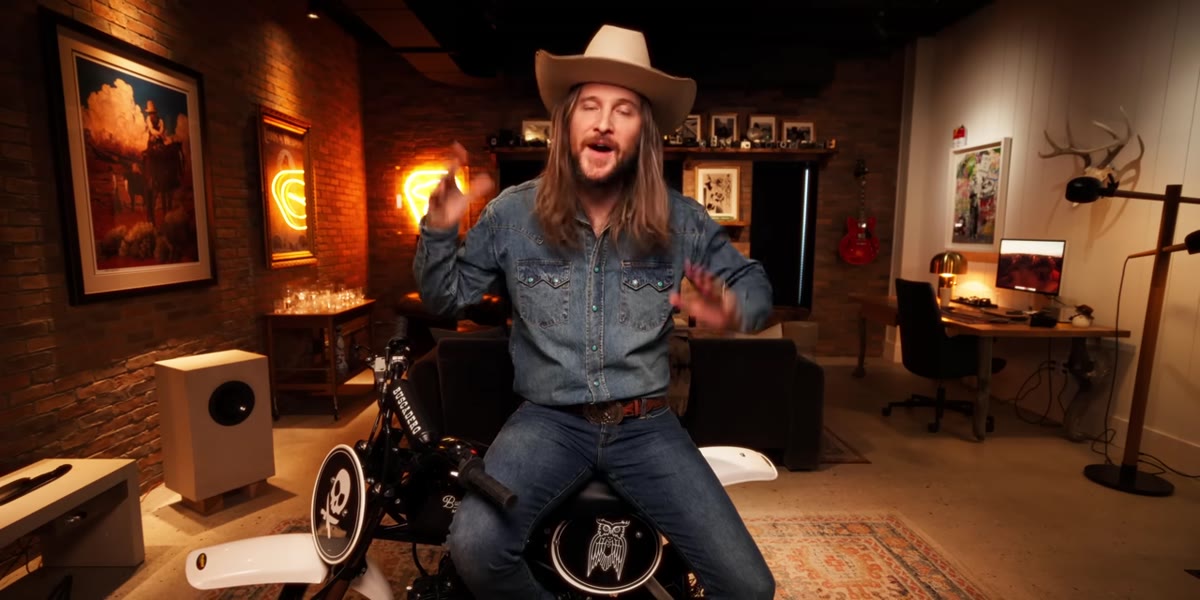 Peter explaining he changes the studio layout constantly
McKinnon opens by admitting something most photographers are embarrassed to say out loud: he rearranged his studio so many times that it took nearly a year to film the tour. Furniture moved. Wall arrangements changed because a couch shifted the sight lines. Nothing stayed fixed long enough to feel finished.
Peter explaining he changes the studio layout constantly
McKinnon opens by admitting something most photographers are embarrassed to say out loud: he rearranged his studio so many times that it took nearly a year to film the tour. Furniture moved. Wall arrangements changed because a couch shifted the sight lines. Nothing stayed fixed long enough to feel finished.
This isn’t a character flaw. It’s the actual process. A studio layout that works for a talking-head video doesn’t work for a full fashion shoot. A couch that looks great in a wide shot blocks your key light position when you need to shoot tight portraits. The lesson here is to let the space evolve until the friction disappears, and not to film your studio tour until you’ve actually lived in the space long enough to trust it.
Step 2: Build a Grab-and-Go Gear System
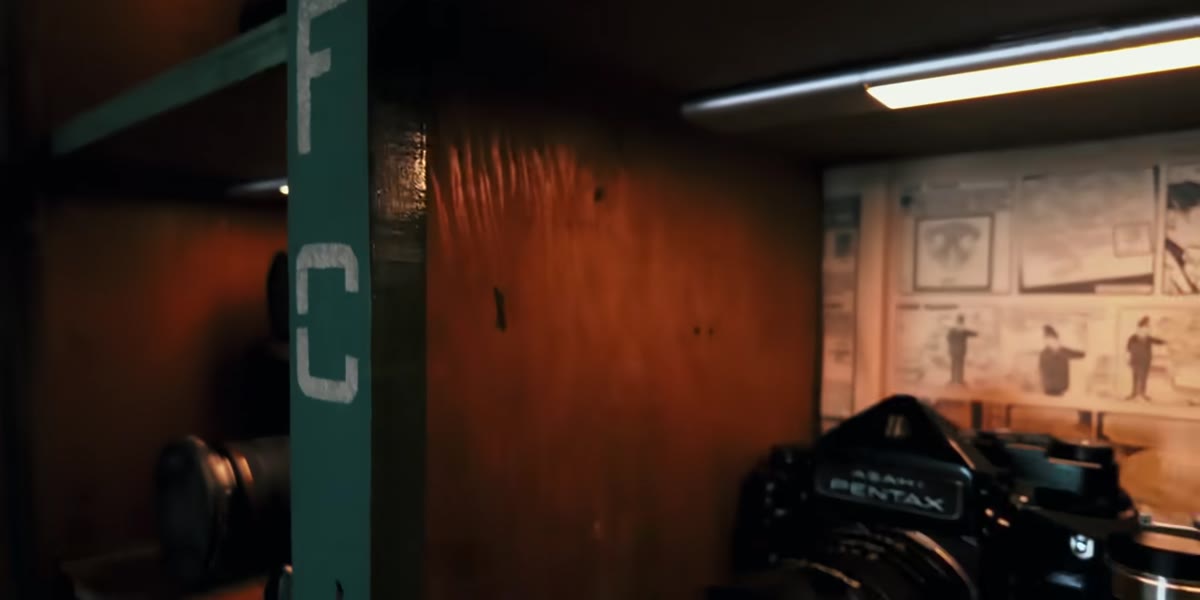 The gear locker with organized cubbies and motion sensor lighting
McKinnon’s gear locker is the centerpiece of his organizational system. The cabinet itself came from a film set, which already tells you something: it was designed for fast access under pressure. He added motion sensor lights inside so nothing is ever in the dark, then divided the interior into dedicated cubbies. Film gear on one side, digital on the other, lenses along the bottom.
The gear locker with organized cubbies and motion sensor lighting
McKinnon’s gear locker is the centerpiece of his organizational system. The cabinet itself came from a film set, which already tells you something: it was designed for fast access under pressure. He added motion sensor lights inside so nothing is ever in the dark, then divided the interior into dedicated cubbies. Film gear on one side, digital on the other, lenses along the bottom.
The principle is speed. When you need a light, a modifier, and a bag, you shouldn’t have to think. Everything you reach for in the first ten minutes of a setup lives at eye level and arm’s reach. I run my own version of this with a rolling cart next to my strobe station. The things I use on every single shoot sit on top. The things I use monthly sit in the drawer below. Nothing I reach for first should require me to move anything else to get to it.
Step 3: Separate Overflow Gear Into Its Own Space
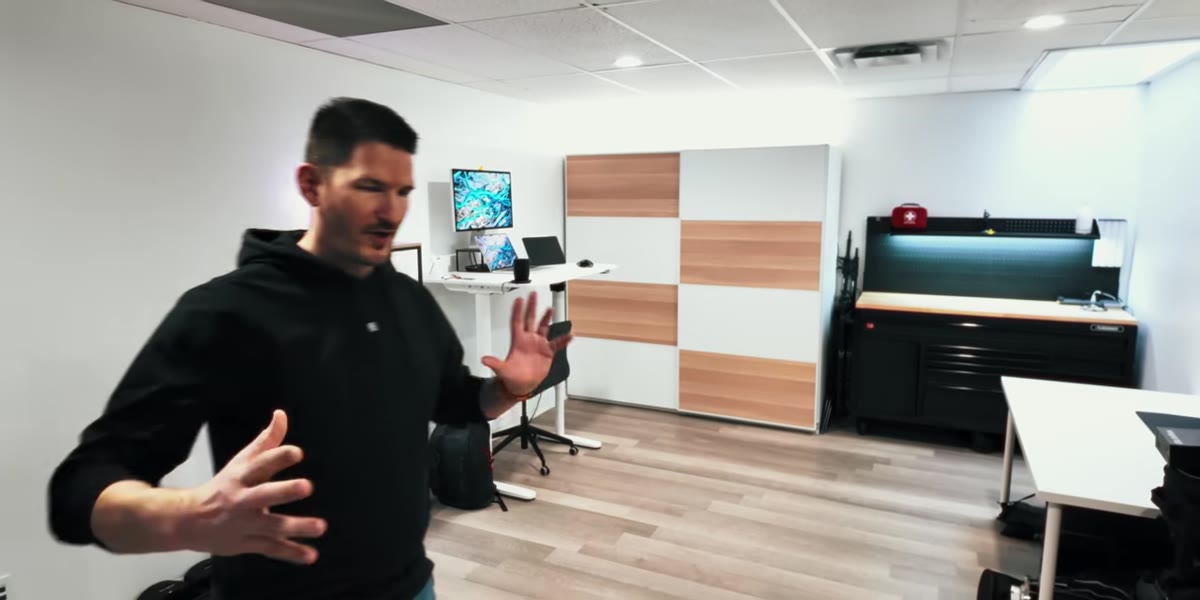 The overflow gear room with shelving and storage boxes
Not all gear deserves the same real estate. McKinnon keeps a dedicated overflow room for equipment that doesn’t need to be immediately accessible. This includes hardware boxes he doesn’t want to discard, archival drives, light stands for specific projects, and gear bought in anticipation of future work.
The overflow gear room with shelving and storage boxes
Not all gear deserves the same real estate. McKinnon keeps a dedicated overflow room for equipment that doesn’t need to be immediately accessible. This includes hardware boxes he doesn’t want to discard, archival drives, light stands for specific projects, and gear bought in anticipation of future work.
The key distinction he draws is between what you need daily and what you need occasionally. Mixing those two categories is what creates the cluttered, stressful studio that slows you down. If your grab-and-go zone is contaminated with gear you haven’t touched in six months, the whole system collapses. The overflow room is where good organizational intentions go to actually work.
Step 4: Organize Drawers by Frequency, Not Category
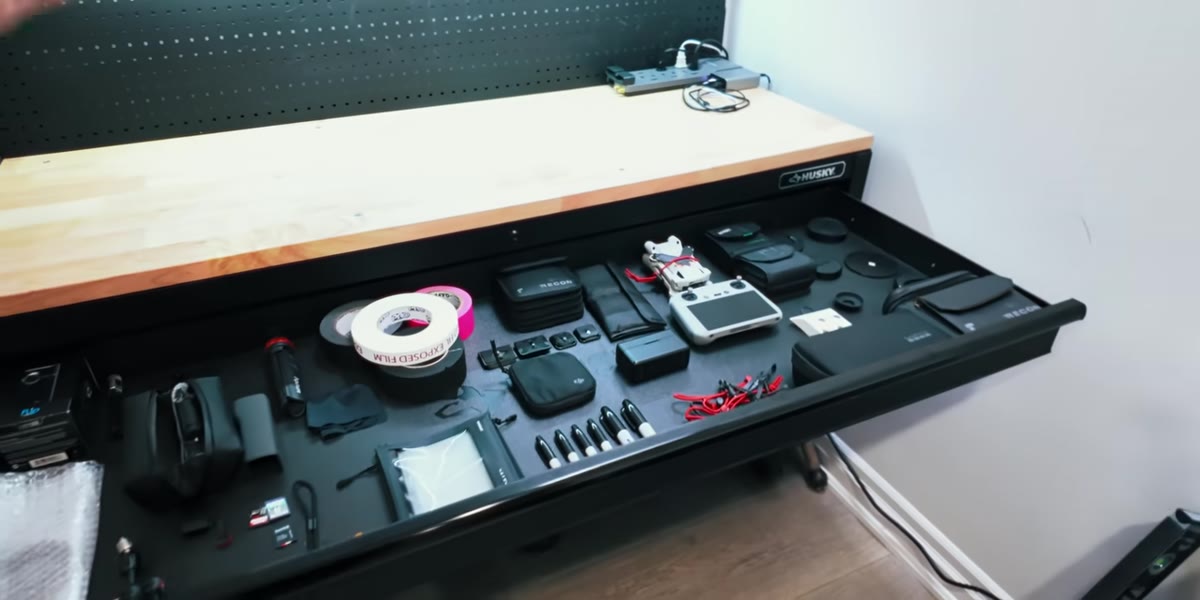 Drawer organization system with most-used items at the top
Inside the overflow storage, McKinnon applies a simple drawer rule: the most-used items sit in the top drawer, and the frequency of use decreases as you go down. This sounds obvious until you realize how rarely photographers actually do it. Most of us organize by category. All batteries together. All cables together. All triggers together.
Drawer organization system with most-used items at the top
Inside the overflow storage, McKinnon applies a simple drawer rule: the most-used items sit in the top drawer, and the frequency of use decreases as you go down. This sounds obvious until you realize how rarely photographers actually do it. Most of us organize by category. All batteries together. All cables together. All triggers together.
Organizing by frequency instead means your hand goes to the right place without your brain getting involved. When I rebuilt my own drawers after watching this, I put my color checker, gaffer tape, and sync cables in the top drawer because I touch them on nearly every shoot. My backup triggers and specialty gels moved to the bottom. Two weeks in, I’ve already noticed I’m spending less time staring into an open drawer.
Step 5: Design a Desk That Has a Point of View
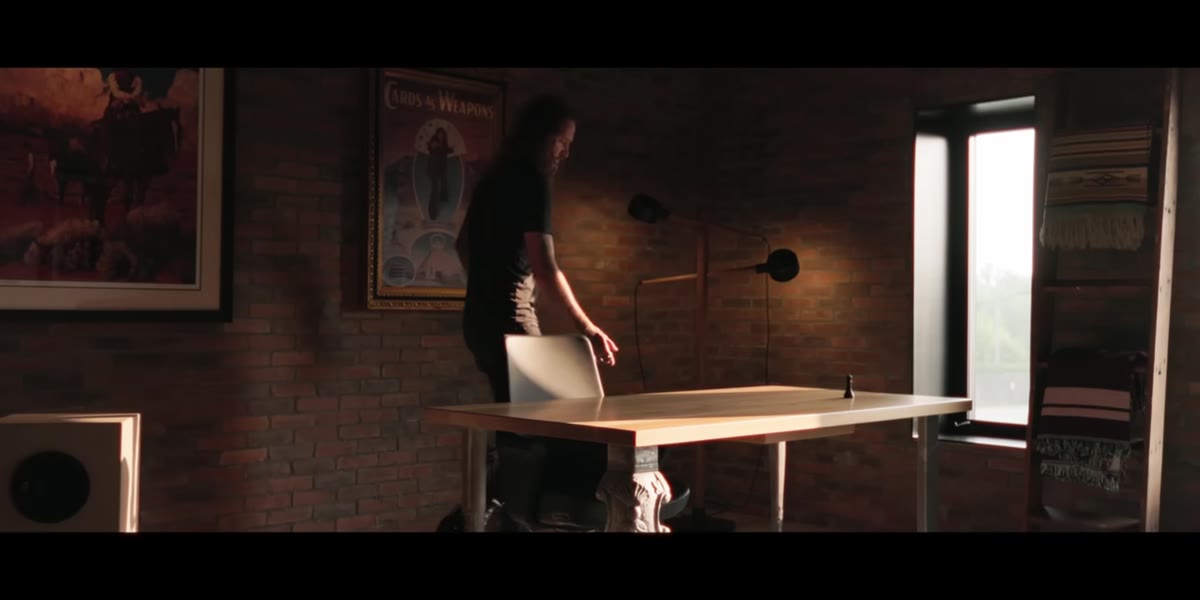 The custom Castor desk with individually cast legs on display
McKinnon’s desk is custom-built by industrial designers at a firm called Castor, and each leg is cast from a different material. One is a 2x4. One is a carved dragon foot. One is a birch tree gnawed by a beaver. This sounds decorative, but there’s a functional argument underneath it: a workspace that reflects your actual personality keeps you in the room longer and working more willingly.
The custom Castor desk with individually cast legs on display
McKinnon’s desk is custom-built by industrial designers at a firm called Castor, and each leg is cast from a different material. One is a 2x4. One is a carved dragon foot. One is a birch tree gnawed by a beaver. This sounds decorative, but there’s a functional argument underneath it: a workspace that reflects your actual personality keeps you in the room longer and working more willingly.
He also mentions abandoning an earlier experiment with an aggressively minimalist desk. Three weeks with nothing on the surface and he felt, as he puts it, like a psycho. The desk he has now is a compromise between clean and personal. For photographers especially, the desk is the place where you edit, write, invoice, and plan. It should support all of that without making the room feel like a waiting room.
What I’d Add From My Own Studio
The organizational logic McKinnon uses maps almost perfectly onto how I think about lighting setups specifically. I keep a lighting journal where I sketch every setup I use on a shoot, including modifier type, distance, power output, and any flags or diffusion. The journal lives in the top drawer of my desk, not on a shelf. Same principle as McKinnon’s drawer system: if you have to go looking for it, you’ll stop using it.
The one thing I’d push further is labeling. Every light stand, every speedring, every cable coil in my studio gets a strip of masking tape with what it is and what it pairs with. It adds ten minutes when you buy something new. It saves an hour when you’re prepping a shoot at 6am. McKinnon’s system is clean enough that he might not need it, but in a rental-studio environment where multiple people touch your gear, physical labels are non-negotiable.
The single most useful idea in this tour is that organization is not a one-time event. McKinnon spent a year iterating his studio before he was willing to show it to anyone. That’s not procrastination. That’s the work. A studio that functions well at a high level is itself a piece of equipment, and it deserves the same calibration you’d give a new strobe head.
Watch the full tutorial on YouTube
Comments (1)
Finally someone explains this in a way that actually makes sense.
Leave a Comment