Every time I take on a new commercial client, I run into the same quiet problem: the difference between a polished result and a mediocre one often comes down to fill light. Not the key, not the background, not even the modifier on my main source. The fill. Reflectors are the tool most photographers grab without thinking, bounce something back at the subject, and call it done. That’s a mistake that costs you dimension, costs you skin texture, and costs you that sense of depth that separates a editorial-quality image from a decent snapshot.
I’ve been shooting commercially in Los Angeles for long enough to have strong opinions about this. I keep a lighting journal where I sketch every setup from every shoot, and I’ll be honest: I didn’t start documenting my reflector positions until embarrassingly late in my career. When I watched this tutorial from The Slanted Lens, Watch the full tutorial on YouTube, it put into clear, teachable language a lot of the intuition I’d built up through trial and error. If you work in a studio or shoot portraits on location, this one is worth your full attention.
The tutorial walks through how different reflector surfaces, positions, and distances affect the quality and character of bounced light. It’s not theoretical. It’s demonstrated with a subject in frame so you can see exactly what each adjustment does to the face. Here’s my breakdown of the technique, with some of what I’ve learned layered in.
Step 1: Understand What a Reflector Is Actually Doing
 Host introducing the reflector demonstration setup
A reflector doesn’t create light. It redirects existing light back toward your subject. That sounds obvious, but the implication is important: a reflector’s output is entirely dependent on the quality and angle of your key light. If your key is a large, soft source, your reflector will bounce soft fill. If you’re working with a hard, directional source, the reflected light will carry more of that hardness. Start every reflector decision by asking what light you’re actually working with, not just grabbing the closest silver panel.
Host introducing the reflector demonstration setup
A reflector doesn’t create light. It redirects existing light back toward your subject. That sounds obvious, but the implication is important: a reflector’s output is entirely dependent on the quality and angle of your key light. If your key is a large, soft source, your reflector will bounce soft fill. If you’re working with a hard, directional source, the reflected light will carry more of that hardness. Start every reflector decision by asking what light you’re actually working with, not just grabbing the closest silver panel.
The tutorial makes this foundation explicit early on, and it’s the right place to start. I’ve watched photographers fight with a reflector for twenty minutes trying to get a certain look, when the real fix was adjusting the key light’s angle by fifteen degrees.
Step 2: Choose the Right Reflector Surface for the Job
 Close comparison of silver and white reflector surfaces
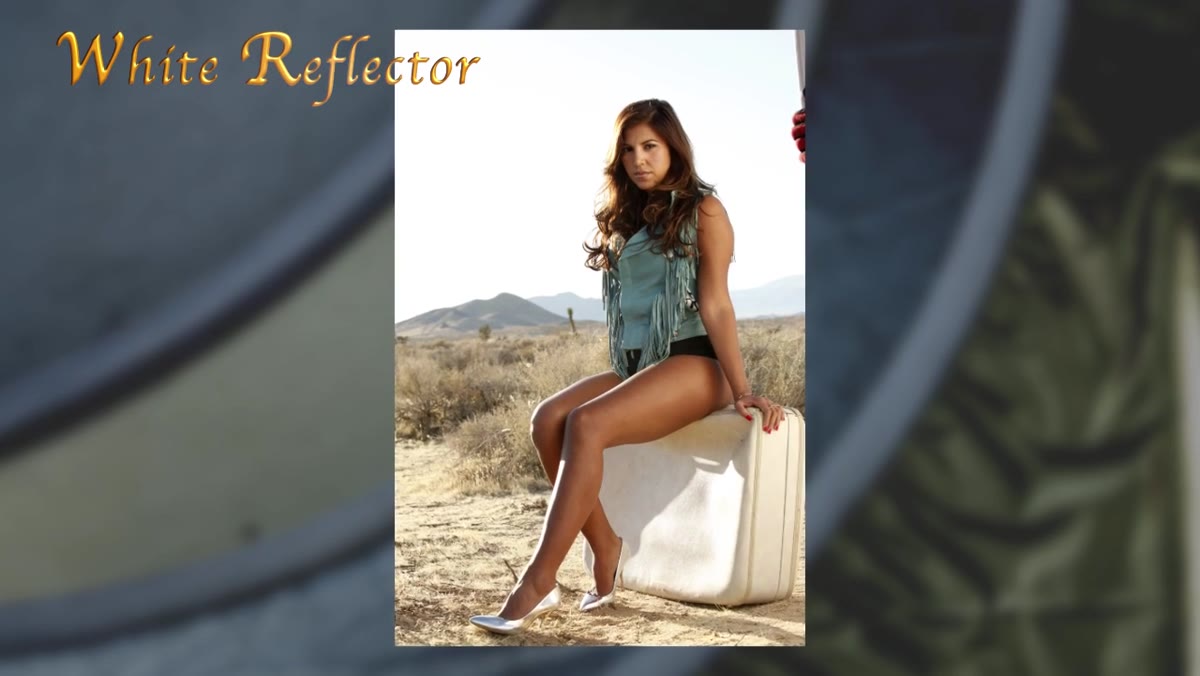
Most five-in-one reflectors give you white, silver, gold, translucent, and black. White gives you the most neutral, flattering fill. It’s forgiving on skin and doesn’t shift your color balance. Silver gives you more intensity and a slightly harder quality of light. Gold warms the fill, which works beautifully for outdoor golden-hour looks but can make studio work look muddy if you’re not careful. Black isn’t a reflector at all. It’s a flag, and it subtracts light rather than adding it.
Close comparison of silver and white reflector surfaces
Most five-in-one reflectors give you white, silver, gold, translucent, and black. White gives you the most neutral, flattering fill. It’s forgiving on skin and doesn’t shift your color balance. Silver gives you more intensity and a slightly harder quality of light. Gold warms the fill, which works beautifully for outdoor golden-hour looks but can make studio work look muddy if you’re not careful. Black isn’t a reflector at all. It’s a flag, and it subtracts light rather than adding it.
For studio beauty work and fashion, I default to white. For editorial portraits where I want a bit more punch and modeling on the face, I’ll reach for silver. I never use gold under tungsten or daylight-balanced strobes in studio. The color cast it introduces creates more work in post than it’s worth.
Step 3: Position the Reflector Relative to Your Key Light
 Reflector placed opposite the key light source
The classic placement is opposite your key light, angled to catch the spill and bounce it back into the shadow side of your subject’s face. The angle of incidence equals the angle of reflection here, just like any other surface. If you want the fill to hit the chin and lower cheeks, angle the reflector up. If you want it to lift the eyes and reduce under-eye shadows, bring it higher and tilt it down toward the face.
Reflector placed opposite the key light source
The classic placement is opposite your key light, angled to catch the spill and bounce it back into the shadow side of your subject’s face. The angle of incidence equals the angle of reflection here, just like any other surface. If you want the fill to hit the chin and lower cheeks, angle the reflector up. If you want it to lift the eyes and reduce under-eye shadows, bring it higher and tilt it down toward the face.
Distance matters as much as angle. Move the reflector closer and the fill gets brighter and slightly softer. Pull it back and the intensity drops. The tutorial demonstrates this with visible results on the subject’s face, and it’s one of those things you have to see to internalize. I’d recommend testing this yourself with a willing subject before any paid job so the positioning becomes muscle memory.
Step 4: Control the Fill Ratio
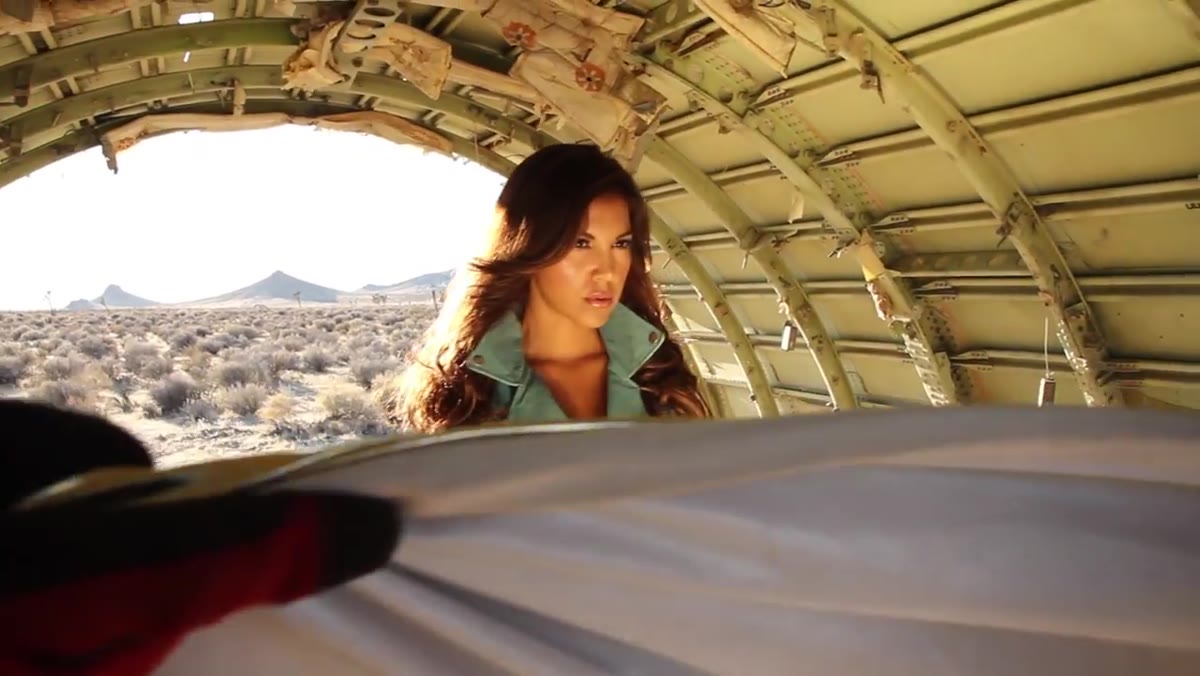 Demonstrating close versus far reflector distance on subject
The ratio between your key light and your fill determines how dramatic or flat your image feels. A two-to-one ratio (key twice as bright as fill) is flattering and dimensional. A four-to-one ratio creates stronger shadow and works well for moody or masculine portraits. Going beyond that starts to feel theatrical, which is sometimes exactly what you want.
Demonstrating close versus far reflector distance on subject
The ratio between your key light and your fill determines how dramatic or flat your image feels. A two-to-one ratio (key twice as bright as fill) is flattering and dimensional. A four-to-one ratio creates stronger shadow and works well for moody or masculine portraits. Going beyond that starts to feel theatrical, which is sometimes exactly what you want.
With a reflector, you control this ratio by moving the panel, not by changing a power setting. That’s the key difference from using a second strobe. Closer equals more fill and a lower ratio. Further equals less fill and a higher ratio. Keep a light meter handy until this becomes intuitive. I still spot-check my ratios with a meter on commercial jobs where consistency matters across a full day of shooting.
Step 5: Watch the Catchlights
 Close-up of subject’s eyes showing reflector catchlight
Your reflector will introduce a second catchlight in your subject’s eyes. That’s not automatically a bad thing, but you need to be intentional about it. A catchlight that sits directly opposite your main light creates a natural-looking pair and can make eyes look larger and more alive. A catchlight that appears at an odd angle or too low can look artificial or unflattering.
Close-up of subject’s eyes showing reflector catchlight
Your reflector will introduce a second catchlight in your subject’s eyes. That’s not automatically a bad thing, but you need to be intentional about it. A catchlight that sits directly opposite your main light creates a natural-looking pair and can make eyes look larger and more alive. A catchlight that appears at an odd angle or too low can look artificial or unflattering.
Adjust the reflector’s height and angle while watching through your viewfinder or live view. The catchlight will tell you exactly where your fill is coming from. This is something I now check on every portrait setup. It takes ten seconds and saves you from discovering the problem on the back of 200 frames in Lightroom.
What I’d Add From My Own Work
The tutorial covers the mechanics cleanly. What it doesn’t address is how to handle reflectors when your subject is moving or posing dynamically. On editorial shoots, I often tape a small strip of masking tape on the floor showing the reflector’s ideal position relative to the subject’s mark. When the subject shifts, my assistant knows exactly where the panel needs to be without any conversation during the shot. It keeps the energy on set clean and the lighting consistent across a sequence.
I’d also add: in fashion work, watch what the reflector does to your clothing textures. A silver reflector at close range can blow out the detail in white fabric fast. Switch to white or pull back before you lose texture you can’t recover.
The single most important lesson here is that reflector work is active, not passive. You don’t set it and forget it. You read the light on the subject’s face and adjust continuously. That attentiveness is what separates photographers who get great light from photographers who get lucky light.
Watch the full tutorial on YouTube to see every adjustment demonstrated live on a subject. Seeing the before and after in real time is what makes these concepts click.
Comments
Leave a Comment