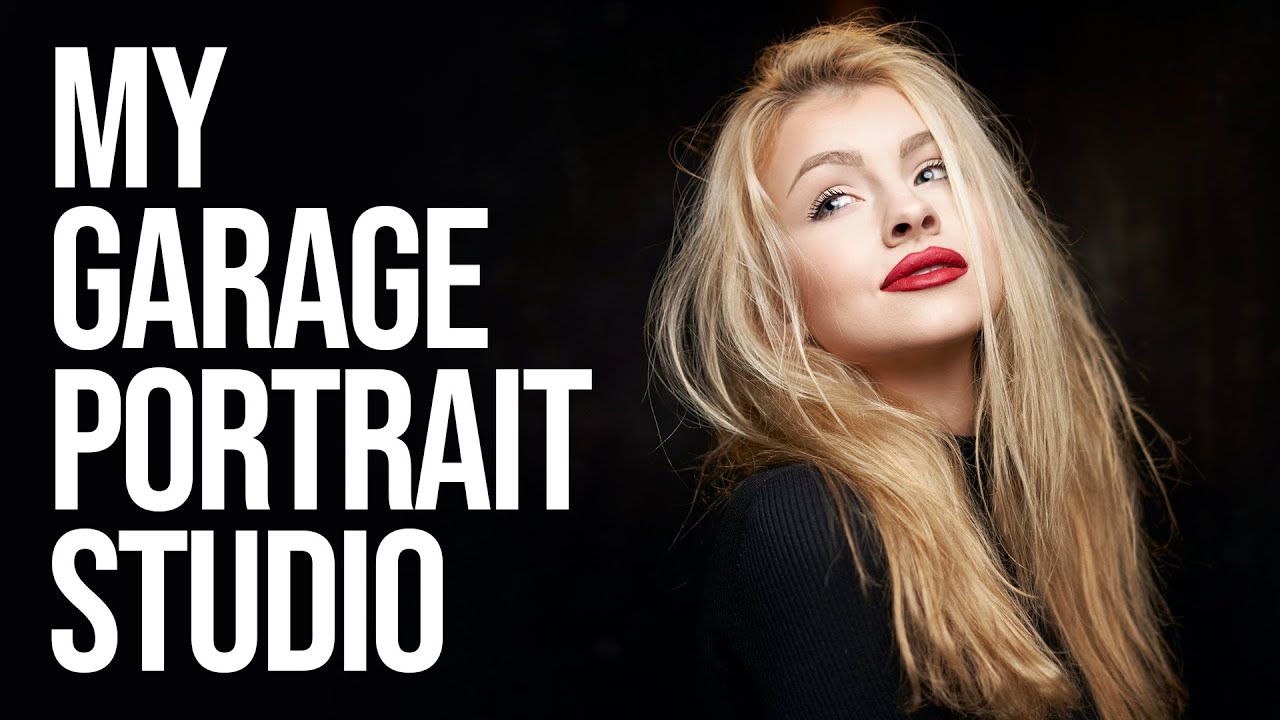
Most photographers I know treat their home studio like a camping trip. They set up, shoot, tear down, and stack everything in a corner until next time. I did the same thing for years in a spare bedroom in my Los Angeles house, pushing furniture aside, gaffer-taping backdrops to the wall, and spending 40 minutes on setup before a single frame was captured. The permanent studio I eventually built changed the way I work entirely. Fewer barriers mean more shooting, and more shooting means better portraits.
That’s why I kept coming back to this Sean Tucker tutorial on converting his garage into a dedicated portrait space. Watch the full tutorial on YouTube. Tucker is thoughtful about gear decisions in a way that a lot of YouTube photographers aren’t. He’s not chasing the newest kit. He’s asking what actually serves the work, and that discipline shows throughout this walkthrough.
What struck me most watching this is that Tucker’s garage isn’t large. He mentions struggling to park a car in it. But size is rarely the actual constraint. Decisions are the constraint, and Tucker makes good ones.
Step 1: Commit to a Permanent Setup Before You Buy Anything
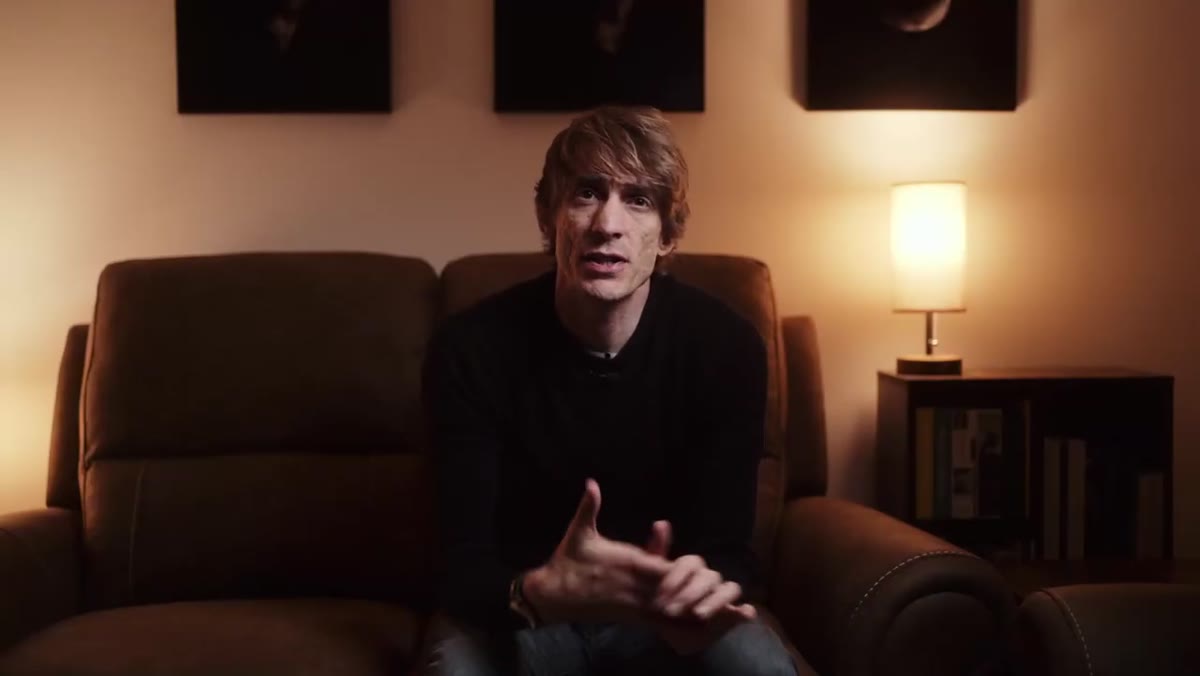 Tucker describing frustration of setting up lights in small London flat
Tucker’s insight here is simple but easy to overlook. He had old studio strobes sitting unused in roller bags for years because his previous apartment made setup impractical. The lights worked fine. The space was the problem. When he moved somewhere with a garage, he didn’t rush out for new gear. He asked what he already owned that could live in that space permanently.
Tucker describing frustration of setting up lights in small London flat
Tucker’s insight here is simple but easy to overlook. He had old studio strobes sitting unused in roller bags for years because his previous apartment made setup impractical. The lights worked fine. The space was the problem. When he moved somewhere with a garage, he didn’t rush out for new gear. He asked what he already owned that could live in that space permanently.
Before you spend a dollar on equipment, define your footprint. Measure your space. Decide which wall gets the backdrop. Know where your power drops are. A permanent studio, even a modest one, only works if the layout is committed. Rearranging it every session defeats the purpose.
Step 2: Choose a Hero Backdrop, Then Build Flexibility Around It
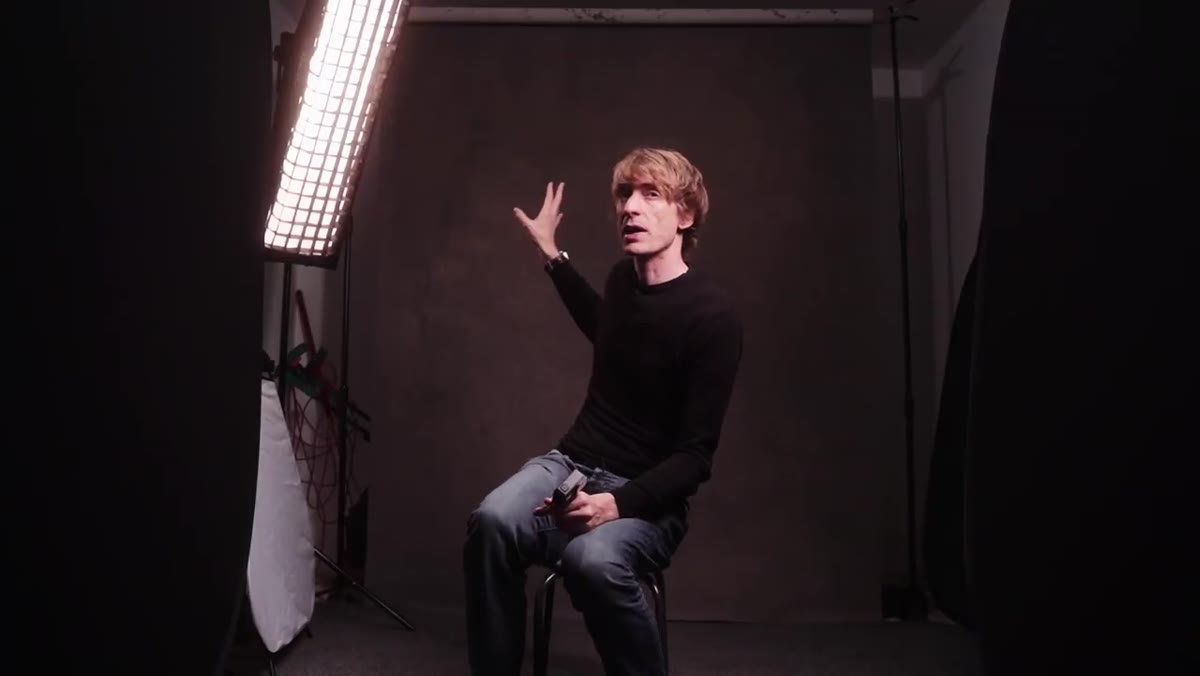 Tucker showing the Gravity hand-painted gray canvas backdrop
Tucker’s main backdrop is a hand-painted canvas from Gravity, a Serbian company that produces textured studio backdrops. He chose a medium gray with a medium texture, deliberately avoiding anything too coarse or too saturated. His reasoning: when the backdrop falls into soft focus behind a portrait subject, moderate texture reads as depth without competing with the face. Heavy weave patterns or strong color casts fight the subject. Neutral gray serves it.
Tucker showing the Gravity hand-painted gray canvas backdrop
Tucker’s main backdrop is a hand-painted canvas from Gravity, a Serbian company that produces textured studio backdrops. He chose a medium gray with a medium texture, deliberately avoiding anything too coarse or too saturated. His reasoning: when the backdrop falls into soft focus behind a portrait subject, moderate texture reads as depth without competing with the face. Heavy weave patterns or strong color casts fight the subject. Neutral gray serves it.
That said, one backdrop is never enough. Tucker keeps collapsible pop-up backdrops in black, white, and two gray variants leaning behind his primary canvas. These don’t need stands. They prop against the wall and are usable in under a minute. The budget for collapsible backdrops is low, often under $50 each. The flexibility they add is disproportionate to the cost.
Step 3: Position Your Key Light for the Angle You Actually Shoot At
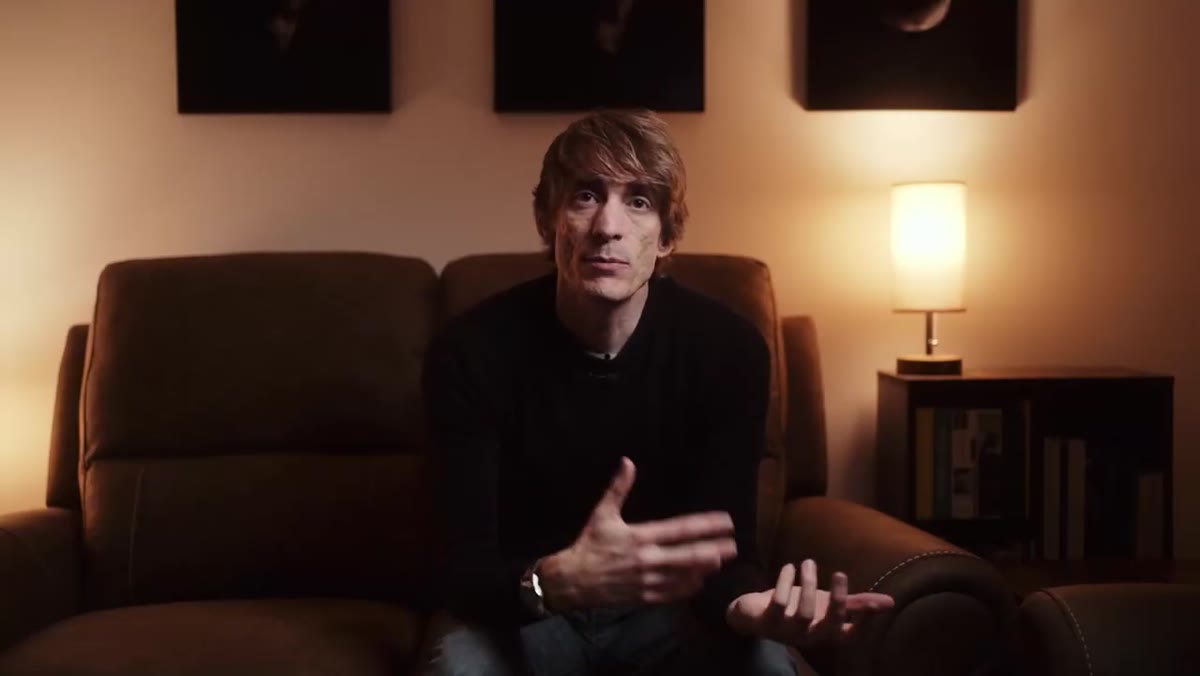 Tucker explaining the ceiling fixture blocking his ideal light position in the flat
One of the more relatable moments in this tutorial is Tucker describing the frustration of trying to place a key light in his old apartment. The ceiling fixture sat exactly where his strobe needed to be. He could never get the right angle. In a permanent studio, you solve that once and never revisit it.
Tucker explaining the ceiling fixture blocking his ideal light position in the flat
One of the more relatable moments in this tutorial is Tucker describing the frustration of trying to place a key light in his old apartment. The ceiling fixture sat exactly where his strobe needed to be. He could never get the right angle. In a permanent studio, you solve that once and never revisit it.
For portrait work, your key light angle almost always wants to come from above and slightly to the side of the subject’s face. Somewhere between 30 and 45 degrees lateral, and elevated enough to create shadow under the cheekbone and nose without dropping the shadow below the lip line. In a permanent setup, mark the floor with tape where your stand goes. In my studio, I use masking tape with the modifier name and power setting written directly on it. When I return to a setup, it’s already mapped.
Step 4: Plan for Travel Gear and Studio Gear as Separate Systems
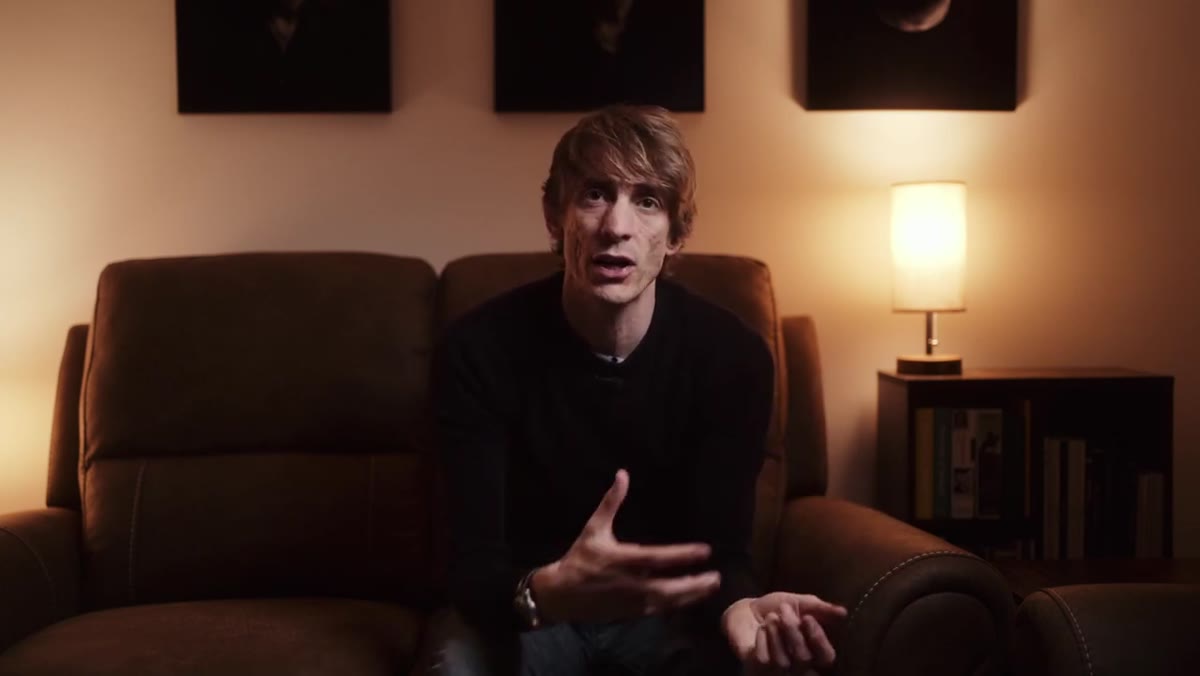 Tucker contrasting his Godox travel kit with older studio strobes
Tucker draws a clear line between his Godox portable kit and his older studio strobes. The portables travel. The studio lights stay. He doesn’t try to make one system do both jobs, and he doesn’t sell the studio strobes just because they’re older. They work. They’re already paid for. Keeping them permanently rigged means zero setup time.
Tucker contrasting his Godox travel kit with older studio strobes
Tucker draws a clear line between his Godox portable kit and his older studio strobes. The portables travel. The studio lights stay. He doesn’t try to make one system do both jobs, and he doesn’t sell the studio strobes just because they’re older. They work. They’re already paid for. Keeping them permanently rigged means zero setup time.
This is a systems mindset worth adopting. If you shoot on location regularly, your portable kit needs to be quick, lightweight, and battery-capable. Your studio kit can be heavier, corded, and optimized purely for consistency and output. Mixing the two creates compromises in both directions. Keep them separate and spec each for its actual use case.
Step 5: Solve for Small-Budget Versions at Every Stage
 Tucker noting speedlights as a small-budget alternative to studio strobes
Tucker is consistent about acknowledging that his specific gear isn’t the point. Throughout the tour, he flags alternatives for photographers working with speedlights and limited space. A speedlight through a small softbox gives you a workable key light. A white wall serves as a reflector. A pop-up backdrop replaces a full canvas system.
Tucker noting speedlights as a small-budget alternative to studio strobes
Tucker is consistent about acknowledging that his specific gear isn’t the point. Throughout the tour, he flags alternatives for photographers working with speedlights and limited space. A speedlight through a small softbox gives you a workable key light. A white wall serves as a reflector. A pop-up backdrop replaces a full canvas system.
The underlying principles, key light direction, background distance from subject, separation, stay constant regardless of the equipment. If you’re starting out, don’t buy studio strobes and a hand-painted canvas on day one. Buy one good speedlight, a 60cm octabox, and a collapsible gray backdrop. Master the single-light portrait completely before adding complexity. I’ve seen photographers with $10,000 rigs produce flatter portraits than someone working with a $150 speedlight kit because the gear outpaced their understanding.
What I’d Add From My Own Studio Experience
Tucker’s setup is clean and well-reasoned. The one thing I’d extend for photographers doing commercial or editorial work is the value of logging every configuration you use. I keep a lighting journal, a physical notebook, where I sketch every setup after a shoot with the modifiers, distances, and power ratios noted. When a client calls back six months later wanting to recreate a look from a previous session, I can rebuild it in 20 minutes instead of guessing.
In a permanent studio, this becomes even more valuable because you start accumulating a library of setups that work for specific subjects. Some faces respond better to a broader, softer source. Others need more directionality to read on camera. Over time, your journal becomes a reference document for your own visual language, which is ultimately what separates a studio that produces consistent commercial work from one that gets lucky occasionally.
The single most important takeaway from Tucker’s tour is this: permanence is a creative decision, not just a logistical one. When the lights are already up, the backdrop is already placed, and the camera is ready to plug in, the barrier to shooting drops to almost nothing. That accessibility changes how often you create, and frequency is how craft develops.
Watch the full tutorial on YouTube and pay particular attention to how Tucker talks about the relationship between his available space and his gear choices. He’s not building a dream studio. He’s building the best studio possible inside real constraints, which is exactly the problem most of us are actually solving.
Comments (2)
Solid advice. Especially the part about taking your time with it.
Just used this on a wedding shoot edit. Client was thrilled.
Leave a Comment