There is a moment on almost every athletic shoot where the ambient light humiliates you. You are in a gym, or a studio with modest overhead LEDs, and your subject is moving fast. You crank the ISO, you open the aperture, and your camera still tells you the shutter speed is somewhere around 1/60. That is not a photography problem. That is a physics problem, and the only way out of it is understanding what actually stops motion in a photograph. Hint: it is almost never your shutter speed.
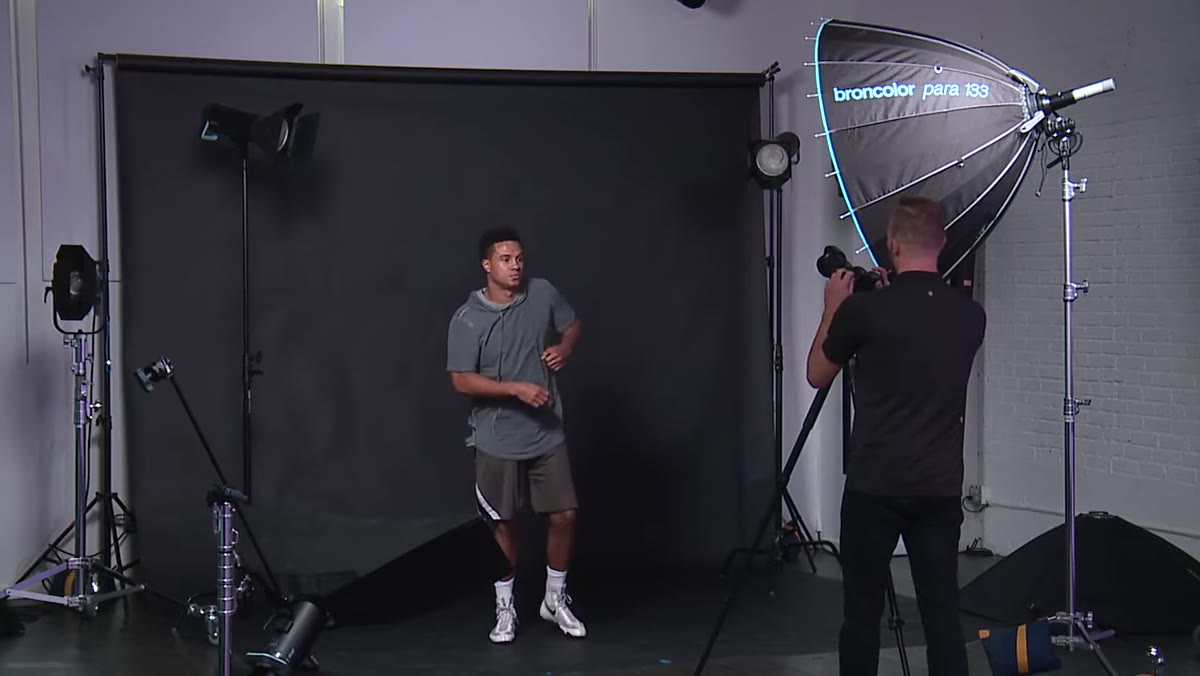
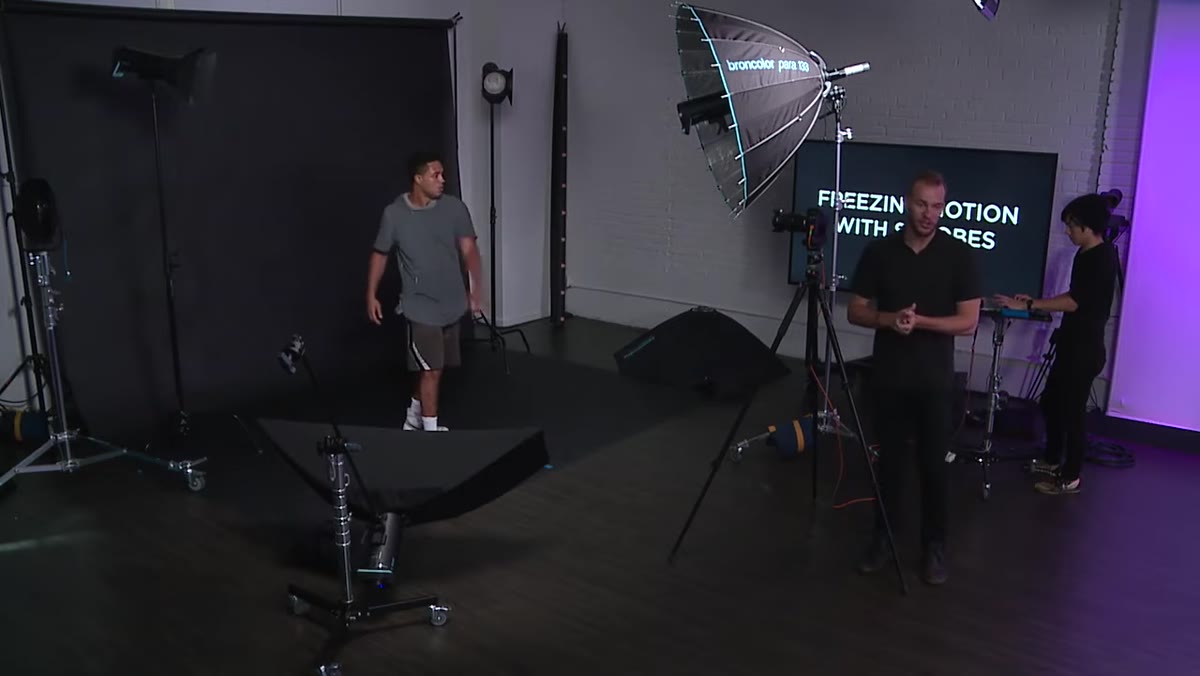
In this CreativeLive tutorial, a photographer works through exactly this scenario with a boxer in a studio. The subject is fast, the ambient light is dim, and the goal is sharp frames of a fist mid-punch. The setup is worth breaking down step by step, because the logic behind it applies to any moving subject you want to freeze indoors. Watch the full tutorial on YouTube
I keep a lighting journal where I sketch every setup from every shoot, and this kind of strobe-for-motion configuration has its own dedicated section. It is one of those foundational techniques that feels obvious in retrospect and costs you real money when you do not understand it.
Step 1: Establish What Ambient Light Actually Gives You
 Camera display showing 2-second exposure at F11 ISO 200
Before touching a strobe, the tutorial starts by shooting in the available light and reading the camera’s exposure meter. At F11 and ISO 200, the camera calls for a two-second exposure. Even cranking ISO to 3200 and opening the aperture to f/5.6 only gets you to 1/60 of a second. That is the ceiling. That is what the room gives you, and it is nowhere near fast enough for a moving fist or any other athletic subject.
Camera display showing 2-second exposure at F11 ISO 200
Before touching a strobe, the tutorial starts by shooting in the available light and reading the camera’s exposure meter. At F11 and ISO 200, the camera calls for a two-second exposure. Even cranking ISO to 3200 and opening the aperture to f/5.6 only gets you to 1/60 of a second. That is the ceiling. That is what the room gives you, and it is nowhere near fast enough for a moving fist or any other athletic subject.
This is a useful diagnostic step, not just a setup formality. Know your ambient before you add artificial light. It tells you how much lifting your strobes need to do, and it confirms that you cannot cheat your way to a sharp frame by pushing ISO or opening up. You need to eliminate ambient as the primary exposure and replace it entirely with flash.
Step 2: Switch to Manual Mode and Set a High Sync Shutter Speed
 Camera settings display at ISO 200, F11, slow shutter
Once you have confirmed that ambient light cannot do the job, the next move is to take control away from the camera. Switch out of aperture priority and into manual mode. Set your shutter speed to somewhere around 1/200 or your camera’s rated sync speed, keep ISO low (200 is fine), and choose an aperture that suits your composition. The exact shutter speed matters less than you might think at this stage, because you are not using it to freeze motion. You are using it to black out the ambient.
Camera settings display at ISO 200, F11, slow shutter
Once you have confirmed that ambient light cannot do the job, the next move is to take control away from the camera. Switch out of aperture priority and into manual mode. Set your shutter speed to somewhere around 1/200 or your camera’s rated sync speed, keep ISO low (200 is fine), and choose an aperture that suits your composition. The exact shutter speed matters less than you might think at this stage, because you are not using it to freeze motion. You are using it to black out the ambient.
Think of it this way: the shutter speed controls how much of the room’s continuous light bleeds into the frame. The flash duration controls how sharply the strobe captures your moving subject. Those are two separate jobs. Once the shutter is fast enough to suppress ambient, you hand motion-freezing duties entirely over to the flash.
Step 3: Choose Strobes with Fast Flash Duration
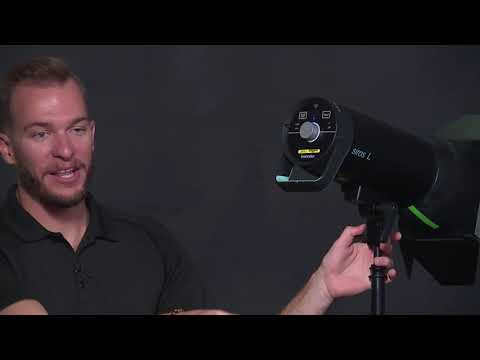
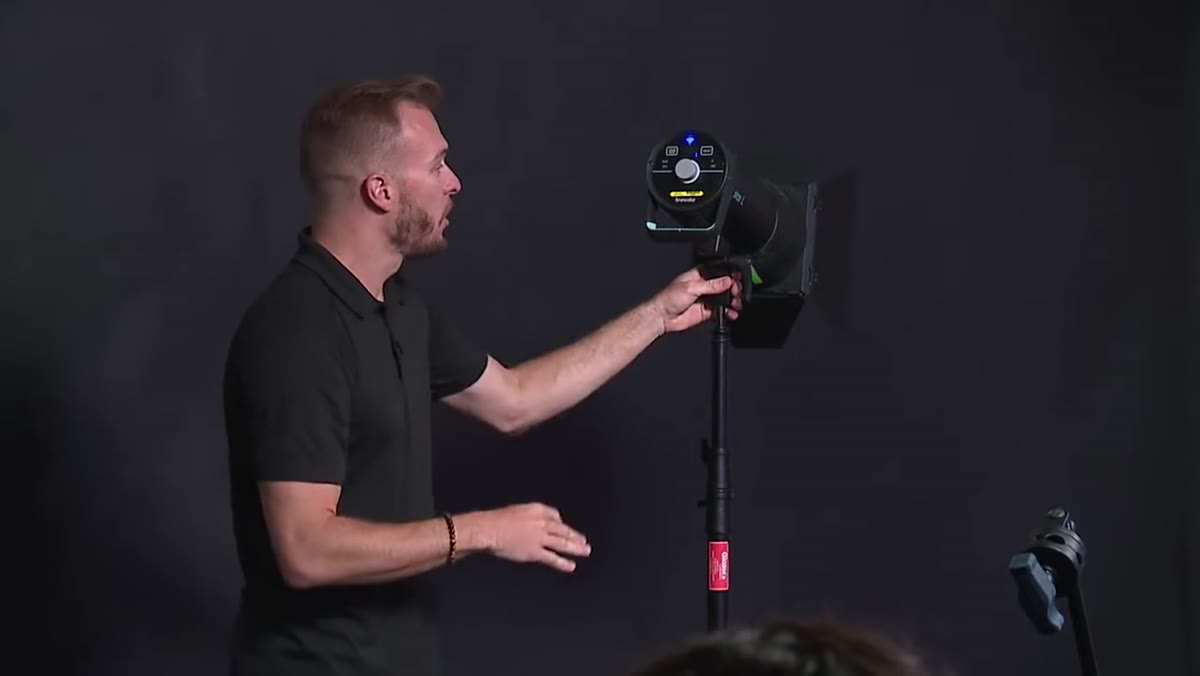 Broncolor Siros 800Ws strobe unit in studio
The tutorial uses Broncolor Siros 800Ws battery-powered strobes, and the reason given matters more than the brand name. At most power settings, these units produce an extremely short flash duration. That is the spec to hunt for when you are buying or renting strobes for action work. A strobe with a slow flash duration at full power will blur a fast subject just as badly as a slow shutter speed will.
Broncolor Siros 800Ws strobe unit in studio
The tutorial uses Broncolor Siros 800Ws battery-powered strobes, and the reason given matters more than the brand name. At most power settings, these units produce an extremely short flash duration. That is the spec to hunt for when you are buying or renting strobes for action work. A strobe with a slow flash duration at full power will blur a fast subject just as badly as a slow shutter speed will.
Flash duration is typically listed in a strobe’s specs as either t0.1 or t0.5. The t0.1 value is the more conservative and more useful number for freezing motion, as it measures how long the flash is above 10% of its peak output. For athletic or fast-action work, look for strobes with a t0.1 value under 1/2000 of a second. When I am evaluating a new unit, this is the first number I check. I test every new modifier and strobe the day it arrives, and flash duration is always part of that test.
Step 4: Position Lights to Wrap the Subject
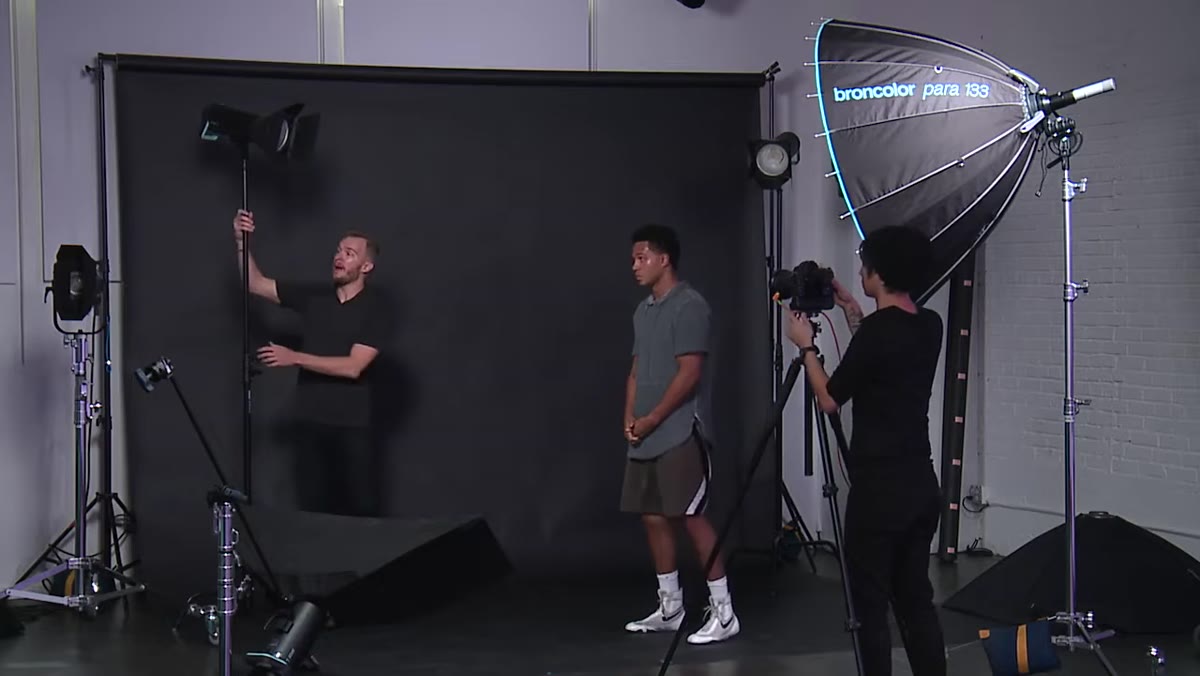 Photographer describing light placement to wrap the subject
The tutorial introduces a concept that shows up throughout this kind of work: wrapping the subject in light. Rather than placing one light and hoping for the best, the goal is to surround the subject with enough illuminated coverage that motion in any direction stays within the lit zone. A boxer punching toward camera, twisting at the waist, dropping low, all of those positions need to stay exposed and sharp.
Photographer describing light placement to wrap the subject
The tutorial introduces a concept that shows up throughout this kind of work: wrapping the subject in light. Rather than placing one light and hoping for the best, the goal is to surround the subject with enough illuminated coverage that motion in any direction stays within the lit zone. A boxer punching toward camera, twisting at the waist, dropping low, all of those positions need to stay exposed and sharp.
This means thinking about your lighting in three dimensions. Front, side, and some kind of fill or rim on the back edges. A flat front light alone will leave one side of a moving body in shadow the moment the subject turns. Wrapping is not about making the light soft. It is about making the coverage complete.
Step 5: Use Barn Doors to Control Spill
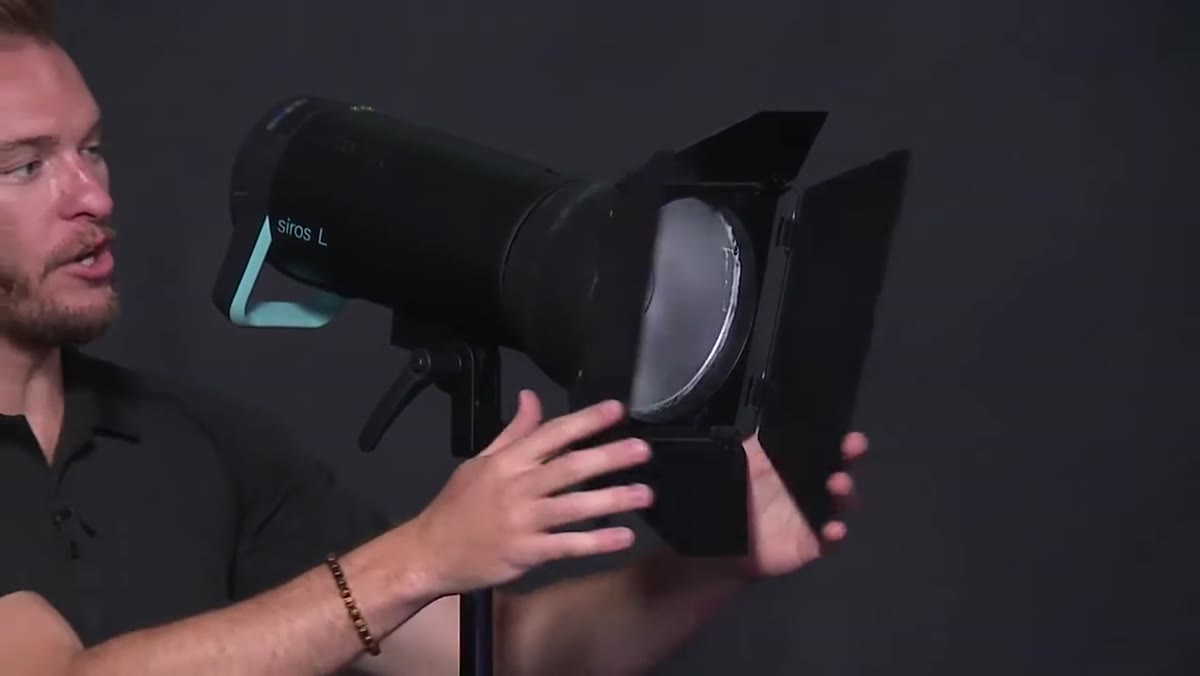 L40 reflector with barn doors attached to strobe head
On one of the key lights, the tutorial shows an L40 reflector with barn doors attached. The L40 produces a roughly 40-degree spread of light, which is directional enough to have character but wide enough to cover a moving subject. The barn doors allow you to flag the light off areas you do not want it to hit, which is especially useful when you are shooting against a backdrop and do not want uneven hotspots.
L40 reflector with barn doors attached to strobe head
On one of the key lights, the tutorial shows an L40 reflector with barn doors attached. The L40 produces a roughly 40-degree spread of light, which is directional enough to have character but wide enough to cover a moving subject. The barn doors allow you to flag the light off areas you do not want it to hit, which is especially useful when you are shooting against a backdrop and do not want uneven hotspots.
Barn doors are one of those modifiers I always test before a shoot, not during one. They are simple to adjust, but the relationship between the door angle and the spread of the underlying reflector is something you want to understand before your subject is standing in front of you. I label every light and modifier in my studio with masking tape. “L40 + barn doors, athlete setup” is an actual piece of tape on one of my Siros units right now.
What I Would Add From My Own Studio Work
The tutorial does not spend much time on the relationship between strobe power and flash duration, and that is worth addressing directly. On most monolight and battery strobe systems, flash duration gets longer as you increase power. Running your strobes at full power to get more light can actually slow your flash duration enough to introduce motion blur at the edges of a fast subject. The fix is to use more lights at lower power, or to add a faster modifier, rather than cranking one unit to maximum. I learned this the hard way on a product shoot involving water splashes. Multiple lower-powered strobes gave me sharper edges than one strobe at full output.
The single most important thing to take away from this tutorial is that shutter speed does not freeze motion when you are working with strobes indoors. Flash duration does. Once that distinction clicks, a whole set of problems about blurry action shots in controlled environments becomes solvable. Your strobe spec sheet becomes as important as your lens choice.
Watch the full tutorial on YouTube to see the full demonstration, including the live test shots with the boxer.
Comments (1)
Love how you break down complex stuff into manageable steps.
Leave a Comment