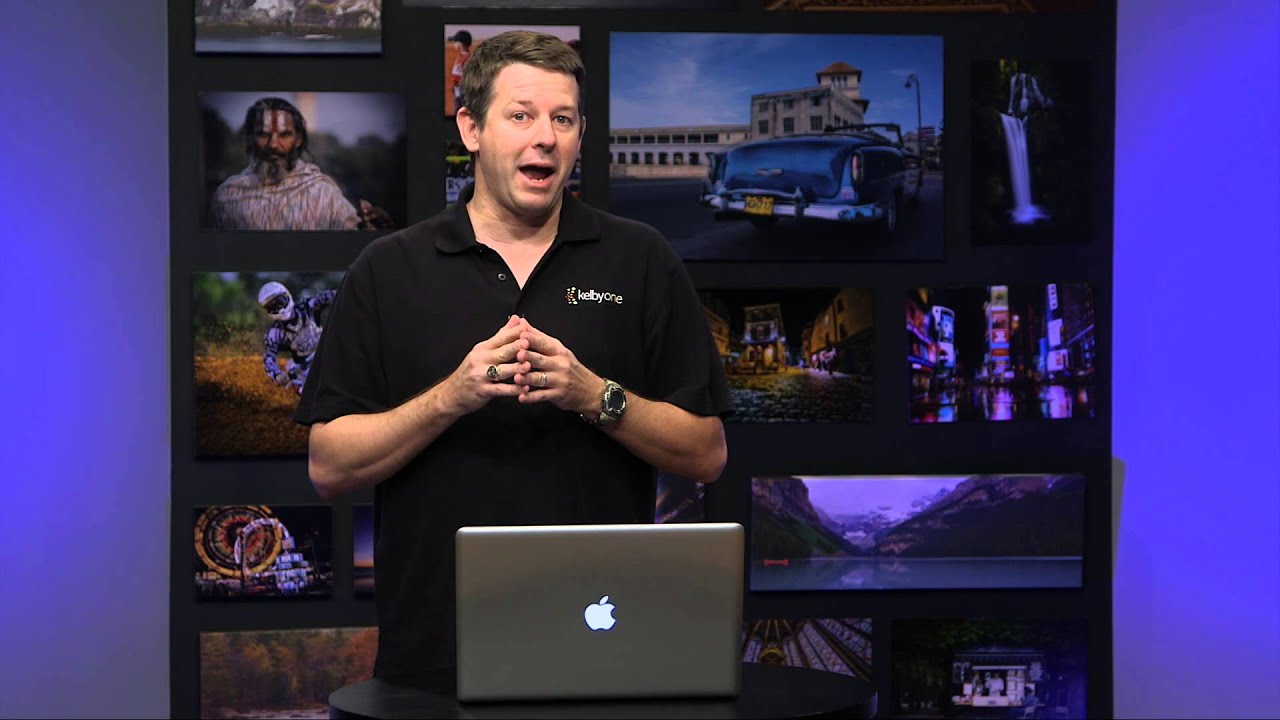
Posing is the part of studio work that separates photographers who produce technically correct images from photographers who produce compelling ones. I can dial in a perfect three-light setup, calibrate my color temperature, sketch the diagram in my lighting journal before the client walks through the door - and still blow a shoot if I can’t direct a subject with confidence. The technical side of this job I figured out through practice and repetition. The human side took me much longer, and honestly, I’m still working on it.
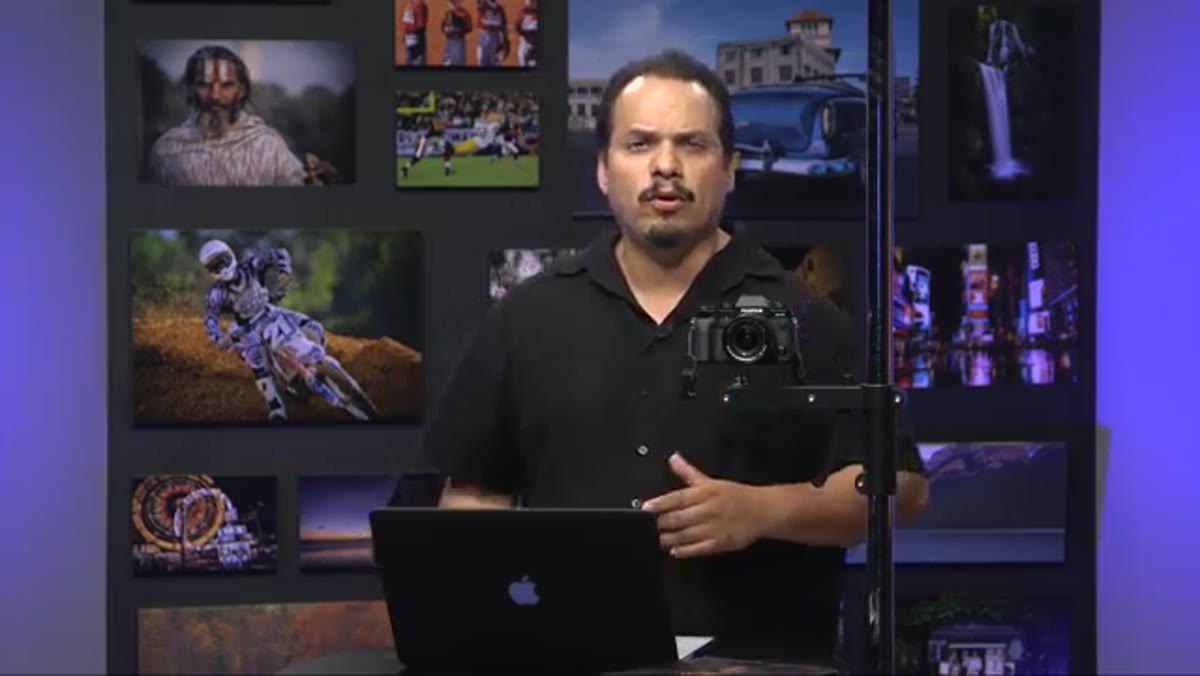
That’s why I kept coming back to this particular episode from KelbyOne’s Photography Tips and Tricks series. RC Concepcion answers viewer questions on posing in a way that’s practical and immediate - no vague advice about “building rapport,” just specific mechanics you can use on your next shoot. Watch the full tutorial on YouTube and follow along with the breakdown below.
What struck me watching this is that RC frames posing as a confidence problem before it’s a technique problem. He’s right. The subject reads everything - hesitation, uncertainty, the half-second pause while you second-guess yourself. The tips in this tutorial are tools for projecting authority in the room, not just mechanical tricks for moving bodies around.
Step 1: Get the Camera Off Your Hands
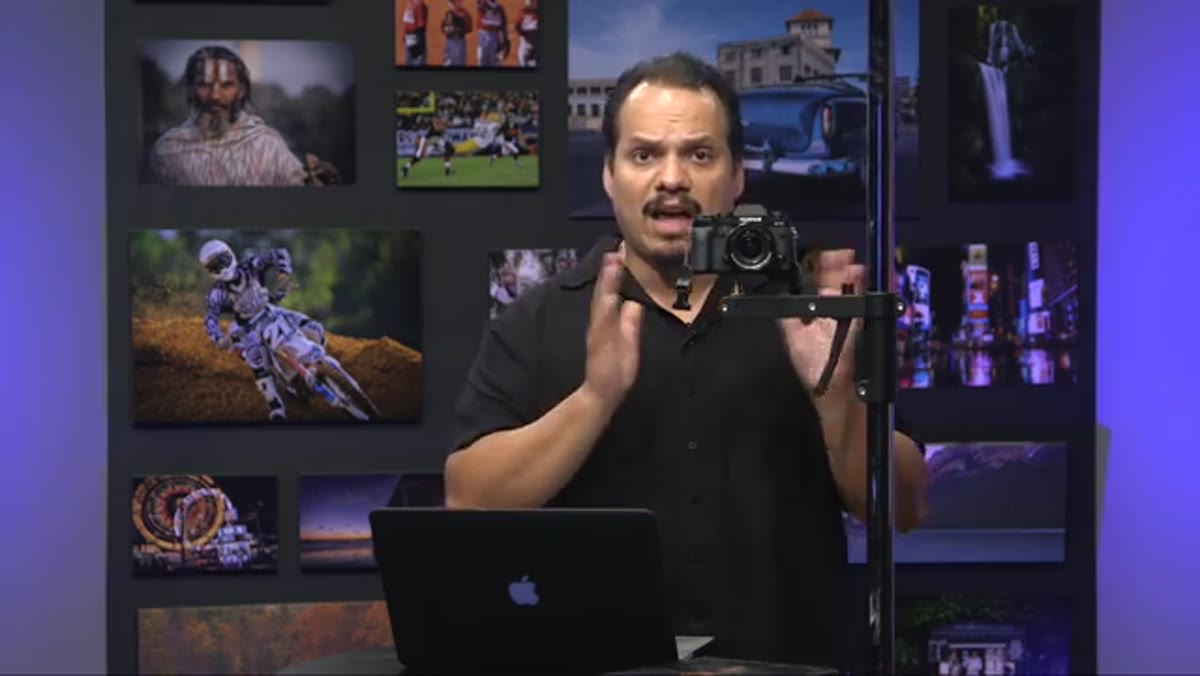 Photographer placing camera on stand with remote trigger attached
Mount your camera on a tripod or a Manfrotto-style articulating stand and fire it with a remote trigger. This sounds almost too simple to mention, but the behavioral shift it produces is real. When the camera is in your hands, your attention splits between the subject and the machine. Every time you raise it to your eye, you break eye contact, change your physical orientation, and signal to the subject that the interaction has shifted into a transactional mode: you shoot, they wait.
Photographer placing camera on stand with remote trigger attached
Mount your camera on a tripod or a Manfrotto-style articulating stand and fire it with a remote trigger. This sounds almost too simple to mention, but the behavioral shift it produces is real. When the camera is in your hands, your attention splits between the subject and the machine. Every time you raise it to your eye, you break eye contact, change your physical orientation, and signal to the subject that the interaction has shifted into a transactional mode: you shoot, they wait.
With the camera on a stand set at roughly eye level and a remote in your pocket or hand, you can keep the conversation going and capture the natural moments that happen inside it. RC’s point is that the best frames often come from in-between moments, not from the formal “okay, here we go” beat. A remote trigger lets you take the picture without announcing that you’re taking the picture.
Step 2: Keep the Lens at Eye Level
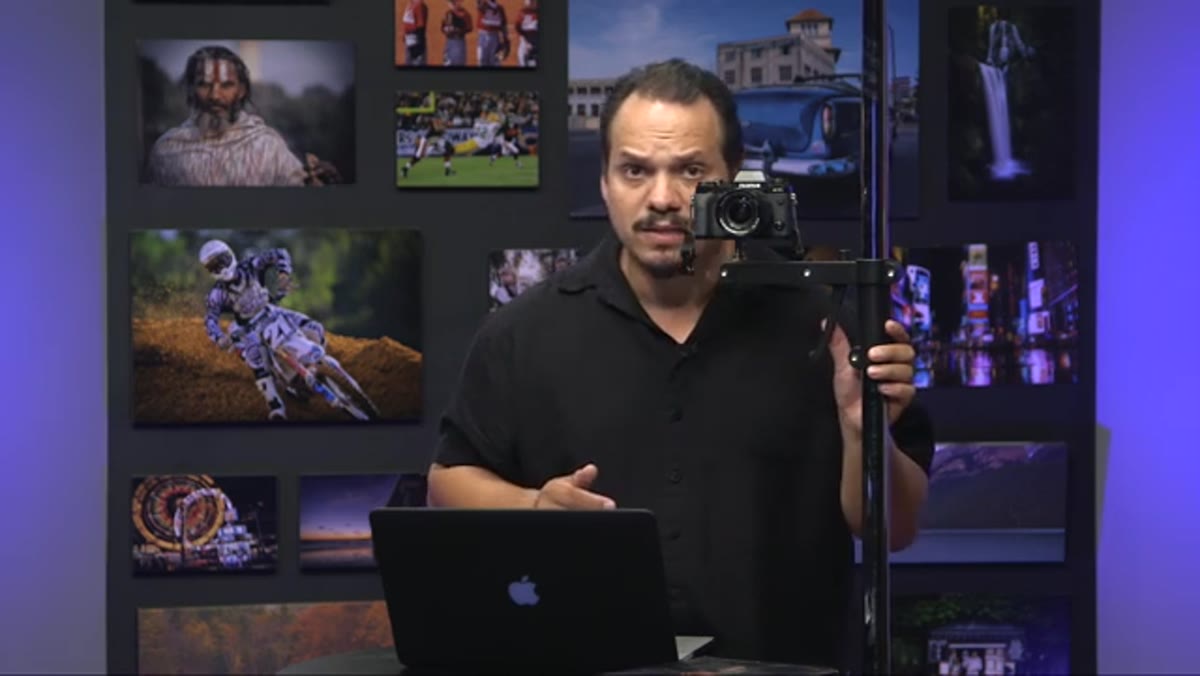 Camera mounted on stand positioned at subject’s eye level
This is a calibration detail that gets skipped in most posing guides, but it matters compositionally and psychologically. If your lens sits significantly below eye level, you’re shooting up into the subject’s face, which distorts features and puts the subject in a position of dominance they probably didn’t ask for. Too high and you compress them, create an unflattering downward angle on the face, and make them feel small in the frame.
Camera mounted on stand positioned at subject’s eye level
This is a calibration detail that gets skipped in most posing guides, but it matters compositionally and psychologically. If your lens sits significantly below eye level, you’re shooting up into the subject’s face, which distorts features and puts the subject in a position of dominance they probably didn’t ask for. Too high and you compress them, create an unflattering downward angle on the face, and make them feel small in the frame.
Eye level, or within a few inches of it, is a neutral starting point. From there you can make intentional adjustments for creative effect. But you want your default - especially when you’re focused on directing rather than on composition - to be a camera position that doesn’t fight you. Set it, confirm it, then forget about it while you work with the person.
Step 3: Use the “I’ve Got Your Nose” Hand Technique
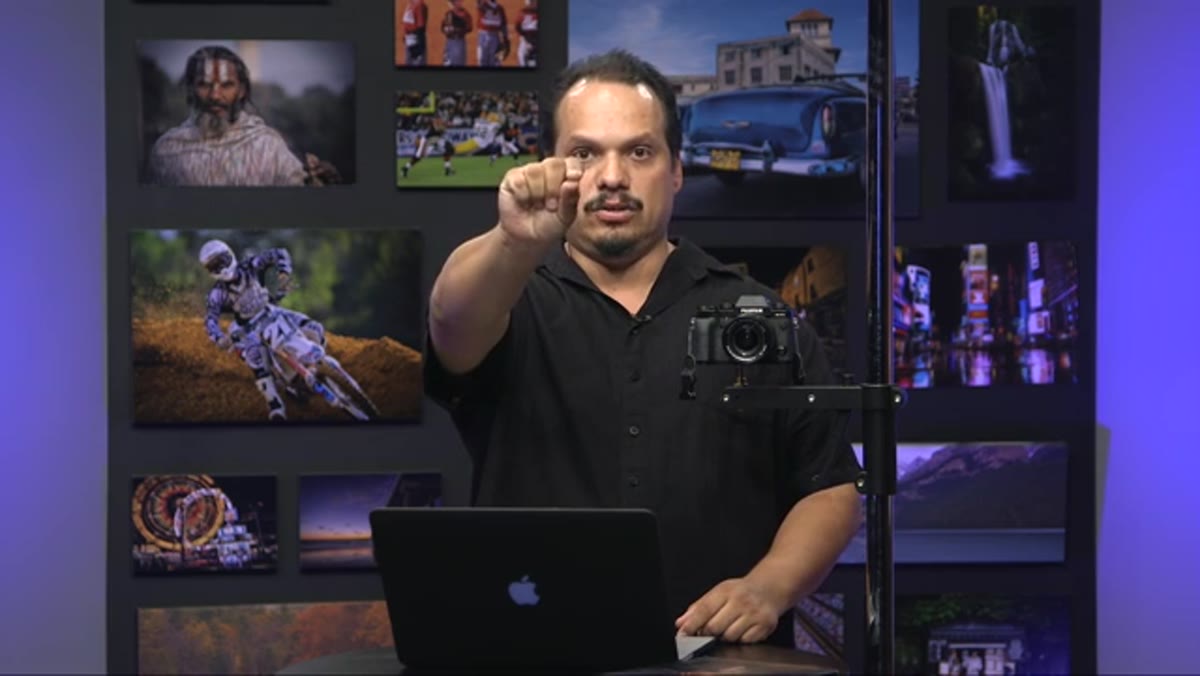 Hands demonstrating nose and ear grip gestures for directing head position
This is the trick RC credits to photographer David Ziser, and it’s the most immediately transferable thing in the entire tutorial. Instead of giving verbal instructions like “turn your face slightly to the left, no, a little more, your other left” - which creates confusion and awkwardness - you use a physical shorthand.
Hands demonstrating nose and ear grip gestures for directing head position
This is the trick RC credits to photographer David Ziser, and it’s the most immediately transferable thing in the entire tutorial. Instead of giving verbal instructions like “turn your face slightly to the left, no, a little more, your other left” - which creates confusion and awkwardness - you use a physical shorthand.
Hold out one hand as if you’ve grabbed the subject’s nose between your fingers. Move your hand up and down: you’re showing them to tilt their chin. Shift to holding your hand as if you’ve cupped both ears, then rotate: you’re showing them to turn their head left or right. The subject mirrors your hand movement almost involuntarily, which means you get to the correct position in one or two seconds instead of thirty. It reads as confident, clear direction. The subject feels guided rather than fumbled through. I’ve started using a version of this in my commercial headshot work and the time savings alone are worth it.
Step 4: Demonstrate the Pose Before You Describe It
 RC demonstrating a full body pose himself before asking the subject to replicate it
Mimicry is faster than language for conveying physical positions. RC makes this point bluntly: instead of building a pose out of a series of verbal instructions, just do the pose yourself and let the subject copy it. Yes, you’ll look strange standing in the middle of your studio with one arm over your head. Do it anyway.
RC demonstrating a full body pose himself before asking the subject to replicate it
Mimicry is faster than language for conveying physical positions. RC makes this point bluntly: instead of building a pose out of a series of verbal instructions, just do the pose yourself and let the subject copy it. Yes, you’ll look strange standing in the middle of your studio with one arm over your head. Do it anyway.
The reason photographers resist this is self-consciousness - the same self-consciousness that makes subjects tense up when they’re being photographed. When you’re willing to look a little ridiculous demonstrating a pose, two things happen. First, the subject understands immediately what you’re asking for, because they can see it. Second, the dynamic in the room loosens. You’ve shown that you’re not standing behind the camera judging them - you’re working with them. Clients who come in stiff and uncertain tend to relax faster when the photographer is willing to make the first awkward move.
What I’d Add from My Own Studio Work
I’ve found that these three techniques work best when you combine them in sequence rather than reaching for them individually. Start with the camera on the stand and the remote in hand. That frees you up to use your hands for the nose-and-ears direction. Once you’ve got the head where you want it, step into the scene and demonstrate the body position through mimicry. Then step back, keep talking, and capture the moment when they settle into it naturally.
The one thing this tutorial doesn’t address is what happens after you’ve captured the frame - showing the subject the back of the camera at strategic moments. I do this selectively. Too often and they start directing themselves, second-guessing every shot. But showing them one strong image early in the session, before they’ve fully relaxed, can recalibrate their internal picture of themselves and change their energy for the rest of the shoot. Pair that with RC’s direction techniques and you’re not just posing people - you’re building a working collaboration.
The single biggest takeaway from this tutorial is that posing difficulty is mostly a confidence problem in disguise. When you have a physical system for directing the head, a physical shorthand for demonstrating the body, and a camera setup that keeps your hands free and your attention on the subject, you stop second-guessing yourself mid-shoot. Your subject stops second-guessing themselves. The pictures get better, and they get better fast.
Watch the full tutorial on YouTube - RC covers additional posing ground in the full episode that’s worth your time if any of this landed for you.
Comments (2)
This is exactly what I needed today. Been struggling with this for weeks.
The before and after really sells it. Incredible difference.
Leave a Comment