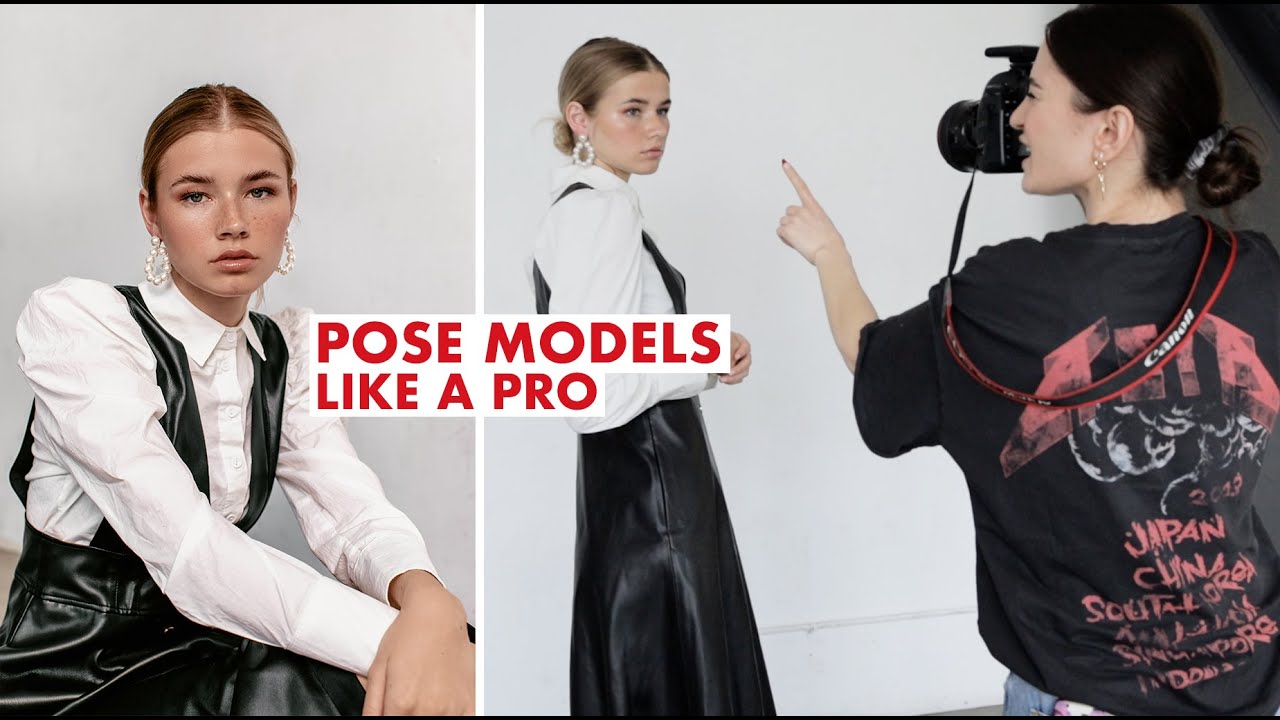
Lighting is my specialty. I can dial in a three-point setup in under ten minutes, and I keep a sketch of every configuration I’ve ever used in a journal I’ve maintained since 2009. But for years, posing was the part of my shoots that quietly undermined everything else. I’d have perfect exposure, a beautiful modifier, a well-calibrated strobe — and then a subject standing in the middle of my studio with no idea what to do with their hands, and neither did I. The image would be technically flawless and emotionally dead.
That gap between good light and a good photo is almost always a posing and direction problem. It’s one thing to know how to position lights. It’s another to know how to position a person who has never been photographed professionally. In Watch the full tutorial on YouTube, portrait photographer Jessica Kobeissi lays out a set of posing principles that are genuinely practical — not vague advice about “making people feel comfortable,” but specific techniques you can apply in your next session. What follows is my breakdown of those techniques, with notes from my own studio work layered in.
This approach applies whether you shoot in a studio with controlled light or outdoors with a reflector. The mechanics of directing people are the same. The only thing that changes is the backdrop.
Step 1: Build a Connection Before You Lift the Camera
 Photographer and subject talking beside a car in a park
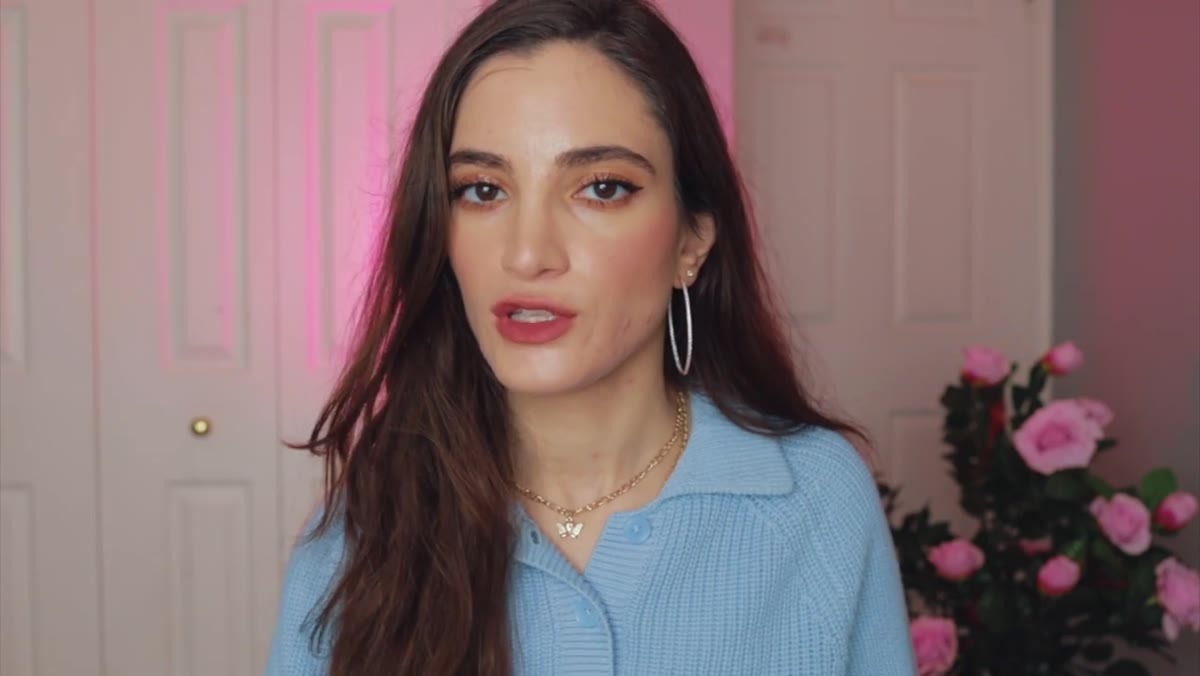
The first mistake most photographers make — myself included, early on — is treating the shoot like it begins the moment the first frame fires. Jessica opens with something I now consider a non-negotiable: spend real time with your subject before you ever raise the camera. Five to ten minutes of genuine conversation changes the body language in your photos completely.
Photographer and subject talking beside a car in a park
The first mistake most photographers make — myself included, early on — is treating the shoot like it begins the moment the first frame fires. Jessica opens with something I now consider a non-negotiable: spend real time with your subject before you ever raise the camera. Five to ten minutes of genuine conversation changes the body language in your photos completely.
In the studio, I do this while I’m doing my final light check. I walk my subject around the set, show them what I’m doing and why, and ask them low-stakes questions. By the time I say “let’s try a frame,” they’ve already been in the space long enough that it doesn’t feel foreign. First frames from nervous subjects cost you ten minutes of warm-up time anyway. You might as well spend that time actually warming them up.
Step 2: Give Specific Direction, Not Open-Ended Instructions
 Jessica demonstrating a directed hair-fix gesture to camera
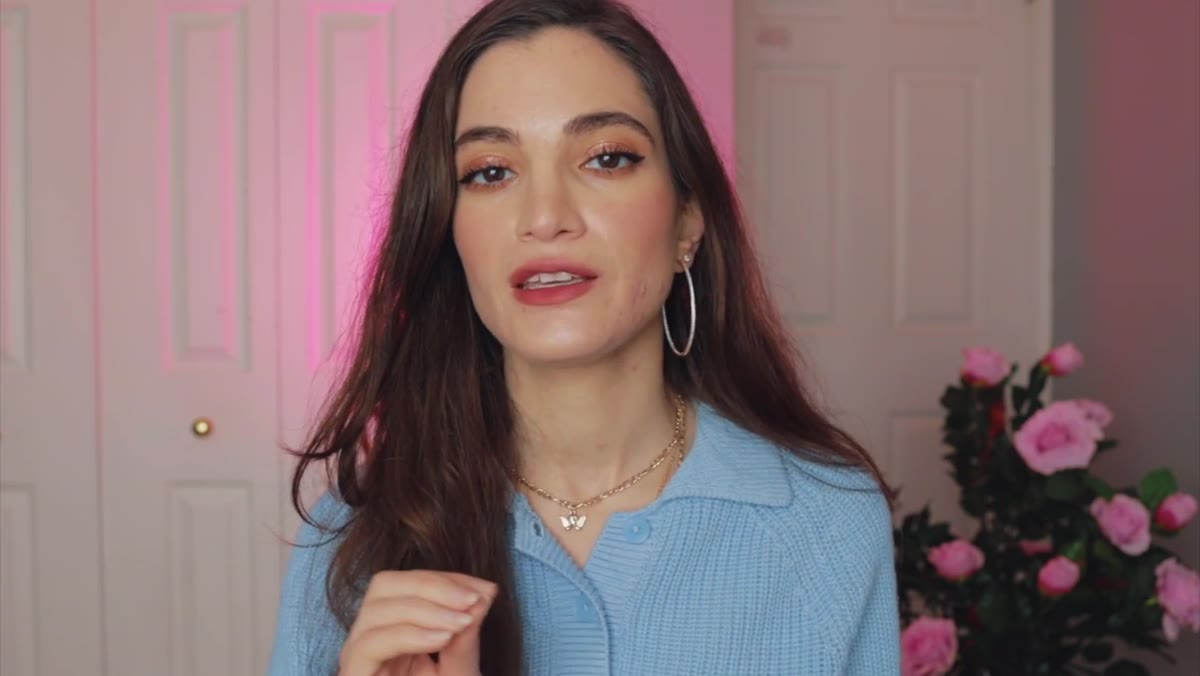
“Just do whatever feels natural” is the most useless direction you can give a non-model. What Jessica advocates for instead is specificity: tell your subject exactly what to do, down to which hand, which direction, which strand of hair. The more granular the instruction, the less cognitive load the subject carries, and the more relaxed they look on camera.
Jessica demonstrating a directed hair-fix gesture to camera
“Just do whatever feels natural” is the most useless direction you can give a non-model. What Jessica advocates for instead is specificity: tell your subject exactly what to do, down to which hand, which direction, which strand of hair. The more granular the instruction, the less cognitive load the subject carries, and the more relaxed they look on camera.
Her specific examples are worth internalizing. Ask someone to tuck one strand of hair behind their ear, or to adjust a collar, or to check their watch. These micro-actions serve two purposes simultaneously: they give the subject something concrete to execute, and they generate natural in-between moments that often produce the best frames of a session. I started building a short list of these directional prompts years ago. It lives in my lighting journal right alongside my modifier sketches, and I pull from it on every shoot.
Step 3: Use Action Prompts to Capture Movement
 Subject reaching for a branch, camera capturing mid-motion
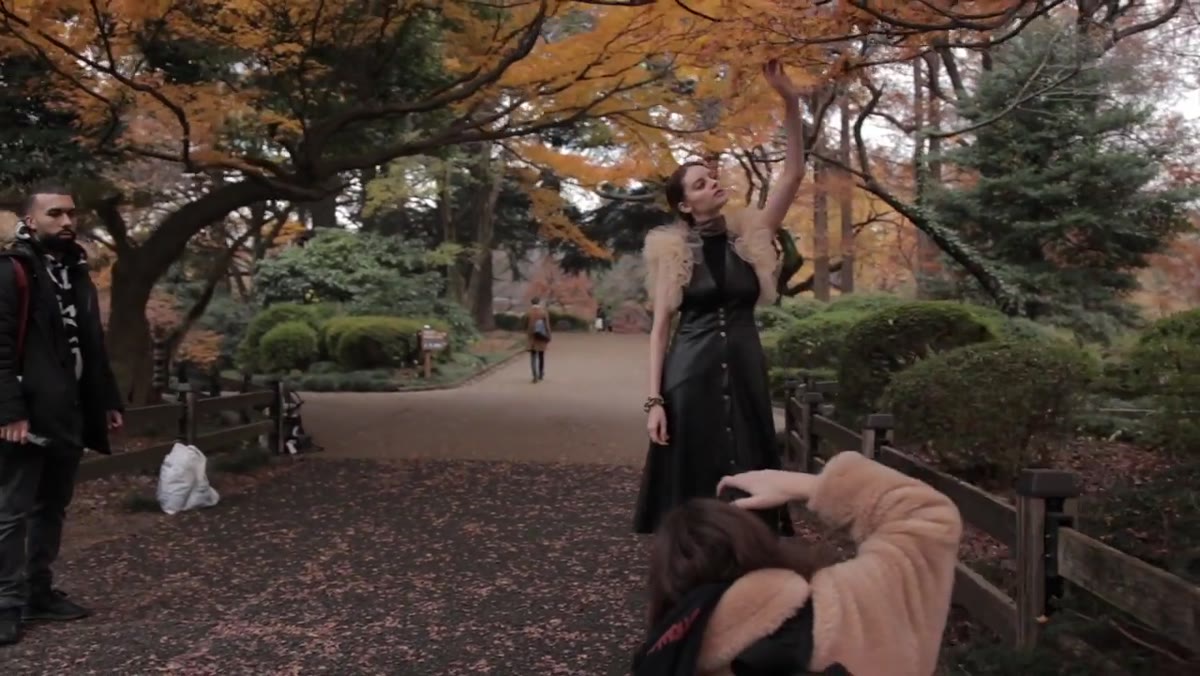
Static poses have their place — particularly in commercial work where the product needs to read clearly. But for portraits, movement introduces a quality that no amount of posing can fake. Jessica suggests prompts like reaching for something, spinning, or picking something up. These aren’t just tricks to get a candid-looking shot. They physically loosen the body.
Subject reaching for a branch, camera capturing mid-motion
Static poses have their place — particularly in commercial work where the product needs to read clearly. But for portraits, movement introduces a quality that no amount of posing can fake. Jessica suggests prompts like reaching for something, spinning, or picking something up. These aren’t just tricks to get a candid-looking shot. They physically loosen the body.
When I shoot in the studio, I often have subjects walk toward me or step around a mark on the floor. The act of walking resets their posture and drops their shoulders. Then I have them stop and look back. That transition moment, where they’re not quite posed but not quite moving, is consistently where I get the frames clients choose. Movement is a reset button.
Step 4: Use Humor and Silliness Deliberately
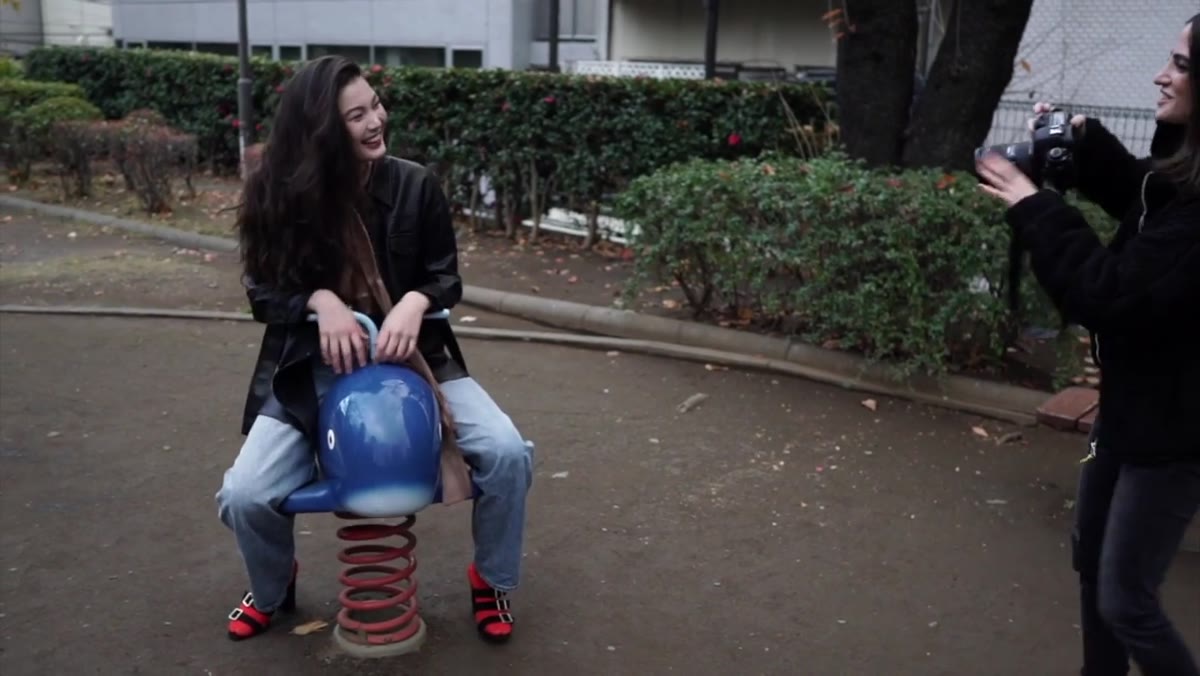 Jessica laughing while describing wedding photographer whisper technique
This one took me longer to embrace than it should have. Jessica describes wedding photographers whispering something absurd in the couple’s ear to generate a genuine laugh. The principle extends far beyond weddings. Making someone feel slightly silly, on purpose, breaks the psychological tension of being photographed.
Jessica laughing while describing wedding photographer whisper technique
This one took me longer to embrace than it should have. Jessica describes wedding photographers whispering something absurd in the couple’s ear to generate a genuine laugh. The principle extends far beyond weddings. Making someone feel slightly silly, on purpose, breaks the psychological tension of being photographed.
I’ll sometimes ask a subject to hold a ridiculous pose for a test frame while I’m “checking the light,” then tell them it’s actually my favorite shot of the day. The laugh that follows is almost always better than anything we’d planned. The point isn’t the joke. The point is that laughter resets the face and the body in ways that no technical direction can replicate.
Step 5: Don’t Over-Direct — Know When to Step Back
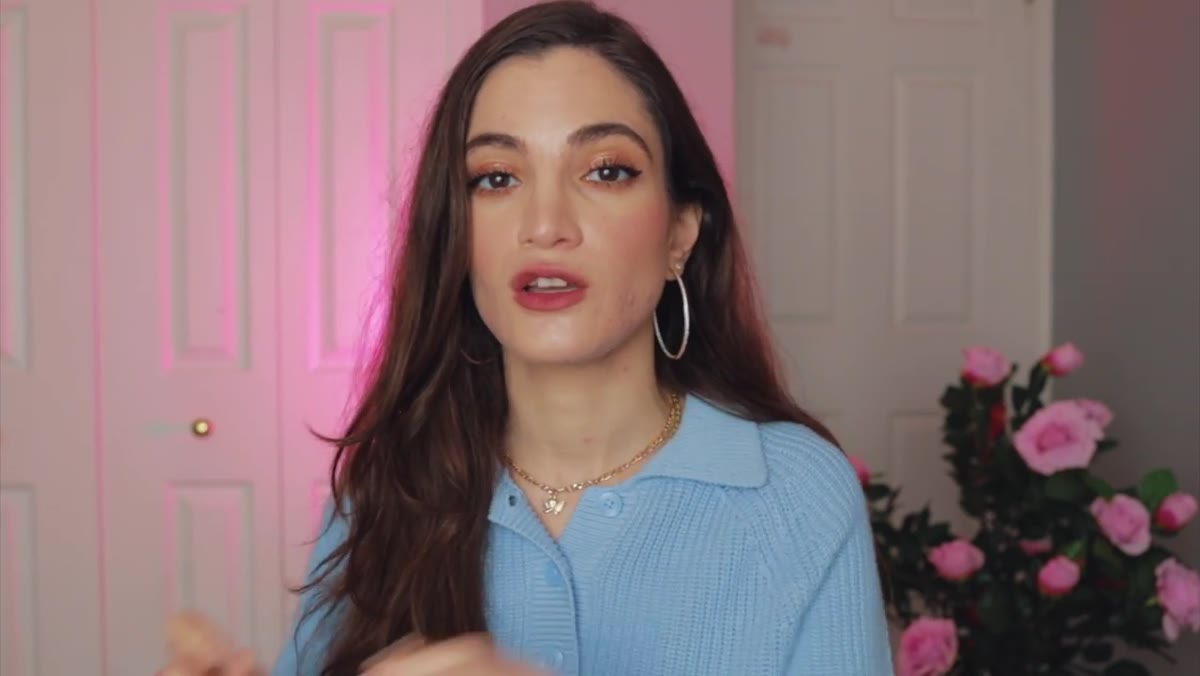 Jessica gesturing to balance direction versus space for the subject
There’s a threshold beyond which direction becomes management, and managed subjects look managed. Jessica is clear about this: give an instruction, see where it goes, then adjust. Constant correction makes subjects self-conscious and stiff. They stop moving and start performing your notes.
Jessica gesturing to balance direction versus space for the subject
There’s a threshold beyond which direction becomes management, and managed subjects look managed. Jessica is clear about this: give an instruction, see where it goes, then adjust. Constant correction makes subjects self-conscious and stiff. They stop moving and start performing your notes.
My rule in the studio is one adjustment at a time. If I see three things I want to change, I fix the most important one, fire a few frames, and reassess. By the time I’d normally have given three corrections, the subject has had time to settle into something that might be better than all three.
Step 6: Keep a Pose Reference Library Ready
 Jessica showing pose inspiration folder saved on her phone
Jessica keeps a folder of poses she likes on her phone and pulls it out mid-shoot when she needs a reference. I do the same thing, though mine is organized by body part and situation: hands, seated poses, three-quarter length, full body. When a shoot stalls, having a visual reference to show a subject is faster and more effective than trying to describe a position from scratch.
Jessica showing pose inspiration folder saved on her phone
Jessica keeps a folder of poses she likes on her phone and pulls it out mid-shoot when she needs a reference. I do the same thing, though mine is organized by body part and situation: hands, seated poses, three-quarter length, full body. When a shoot stalls, having a visual reference to show a subject is faster and more effective than trying to describe a position from scratch.
Subjects respond to images far better than verbal description. Show them what you’re going for, let them interpret it, and then refine from there. The interpretation is usually more interesting than the reference anyway.
What I’d Add From My Own Experience
The one element Jessica doesn’t address directly — and it’s specific to studio work — is how light direction should inform posing direction. A pose that looks natural in open shade looks completely different under a hard beauty dish. I sketch my intended lighting setup before any session, and I use that sketch to anticipate where shadows will fall on the body. If I know my key light is at 45 degrees camera left, I’m going to direct my subject’s face toward that light, which means my posing instructions need to account for head position from the start.
Posing and lighting aren’t separate decisions. The best posing tip I ever received was from my wife, who pointed out that I kept directing subjects to look away from where the light was most flattering on their skin. She was right. I’d been thinking about posing and lighting as two different problems. They’re one problem.
The single most transferable idea from Jessica’s approach is this: give people something to do rather than a position to hold. Stillness is hard. Action is natural. When your subjects are occupied, they stop performing and start existing in front of your camera. That’s when the real frames happen.
Watch the full tutorial on YouTube to hear Jessica walk through these techniques in her own words — her delivery makes some of the subtler points land in ways a written breakdown can’t fully replicate.
Comments (2)
Clear and practical. No fluff. Appreciate that.
I've been looking for exactly this kind of tutorial. Perfect timing.
Leave a Comment