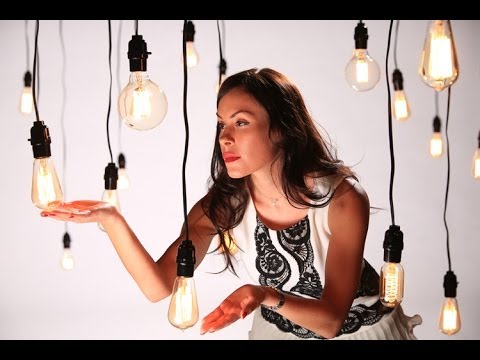
There’s a specific kind of frustration that comes from a room that looks beautiful to your eye but flat and dead in camera. You’ve got warm lamps glowing in the background, a strobe dialed in on your subject, and somehow the final image looks like a passport photo taken inside a furniture showroom. I spent an embarrassing amount of time early in my career treating practical lights as a nuisance to overpower rather than an asset to balance. It cost me at least one editorial shoot where the entire set looked sterile despite a genuinely beautiful location. That mistake is why this particular technique now gets its own page in my lighting journal.
In this The Slanted Lens tutorial, Jay P Morgan walks through the underlying logic of how to combine strobes with practical tungsten lights, including room lamps and bare bulbs on a set. Watch the full tutorial on YouTube before or after reading this breakdown. The core idea is elegant once you see it: the exposure triangle gives you two independent levers, and each lever controls a different light source. Once that clicks, the whole process becomes methodical instead of guesswork.
What follows is a step-by-step walkthrough of exactly how this works in practice, with the actual numbers Morgan uses so you can replicate it on your own set.
Step 1: Understand Why ISO Sits Outside the Equation
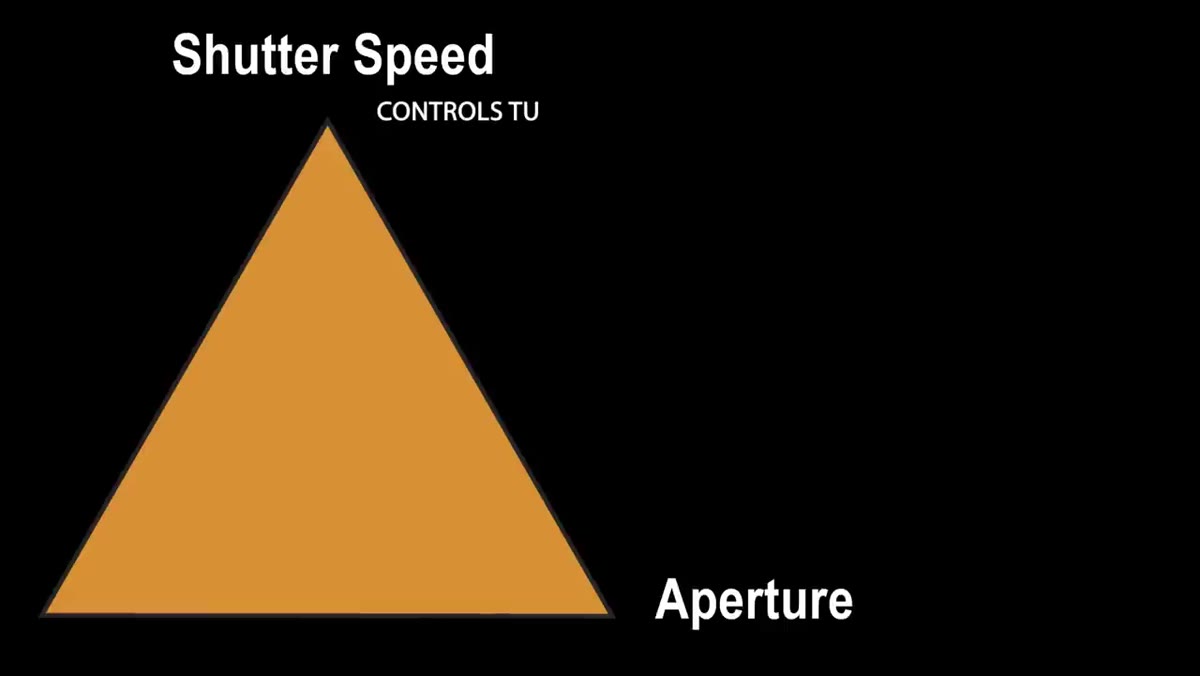
 Exposure triangle diagram showing ISO, shutter, aperture labeled
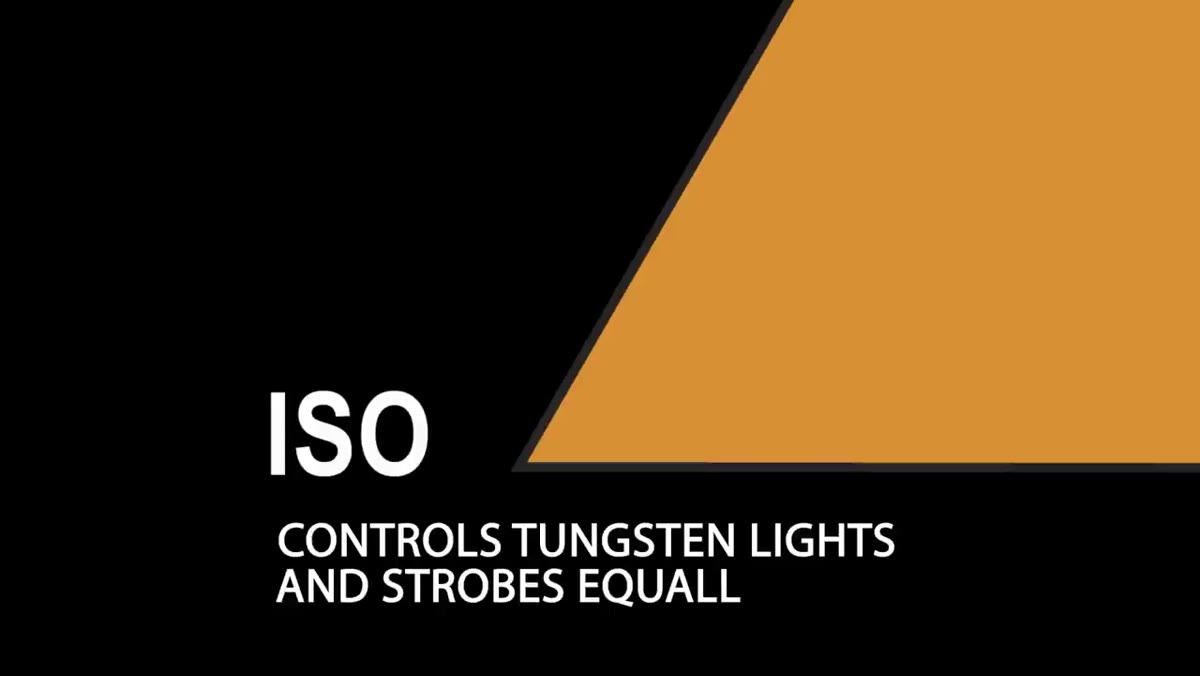
ISO behaves differently from your other two controls because it affects every light source in the frame equally. Whether you raise ISO to 400 or 1600, your strobe output and your tungsten practicals both get brighter by the same amount. That means ISO cannot be used to separate the two sources from each other. Set it once based on your working conditions and then leave it alone. From that point forward, the only knobs that matter are shutter speed and aperture.
Step 2: Use Aperture to Control the Strobes
 Light meter reading at subject position showing f-stop value
Strobes emit a burst of light so brief that shutter speed has almost no effect on how much of that light the sensor records, provided you stay below your sync speed. That leaves aperture as the primary control for strobe exposure. Meter your strobe at the subject position with a handheld incident meter, read the f-stop it gives you, and set your camera to match. Morgan uses f/8 as his working example here, but the principle applies at any aperture. Once the aperture is set, your strobe exposure is locked.
The one caveat worth knowing: shutter speeds faster than roughly 1/180th of a second will start clipping the tail end of the flash duration on most monolights and pack-and-head systems, which darkens the frame. Stay at or below your camera’s sync speed and this is never a problem.
Step 3: Start with a Baseline Shutter Speed and Read the Room
 Camera display showing 1/60th shutter speed setting
With your aperture fixed to your strobe reading, set a starting shutter speed of 1/60th of a second and take a test frame. Look specifically at the practical lights in the background, not at your subject. At this point the practicals will almost certainly look underexposed compared to what you see with your eyes. That’s expected and correct. You haven’t adjusted for them yet. What you’re doing at this stage is confirming that the strobe exposure on your subject is accurate before you introduce any other variables.
Step 4: Lengthen the Shutter Speed to Bring Up the Practicals
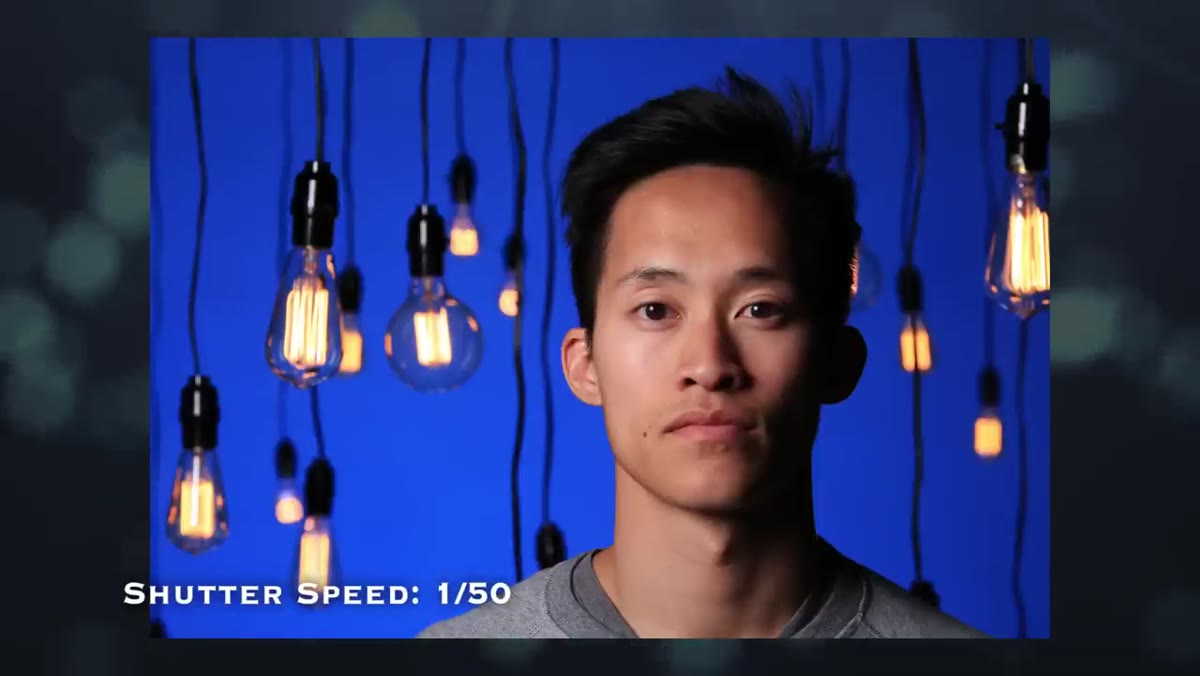 Side-by-side frames showing bulbs at 1/50th versus 1/25th second
This is where the real control happens. Because strobes are unaffected by shutter speed in normal sync conditions, you can slow your shutter down significantly without changing how your subject is lit. Morgan demonstrates this by moving from 1/50th of a second to 1/25th and then down to 1/6th, and with each step the background bulbs get progressively brighter while the subject’s face stays consistent.
The practical lights in your scene are continuous sources, meaning they behave exactly like any ambient light. The longer the shutter stays open, the more of that continuous output the sensor accumulates. Slowing from 1/50th to 1/25th is a one-stop increase on the practicals. Slowing to 1/12th is two stops. You are essentially doing an independent exposure adjustment for the background without touching the foreground lighting at all.
Step 5: Account for Whether You’re Seeing the Bulb or Its Effect
 Close frame of bare filament bulb burning on set
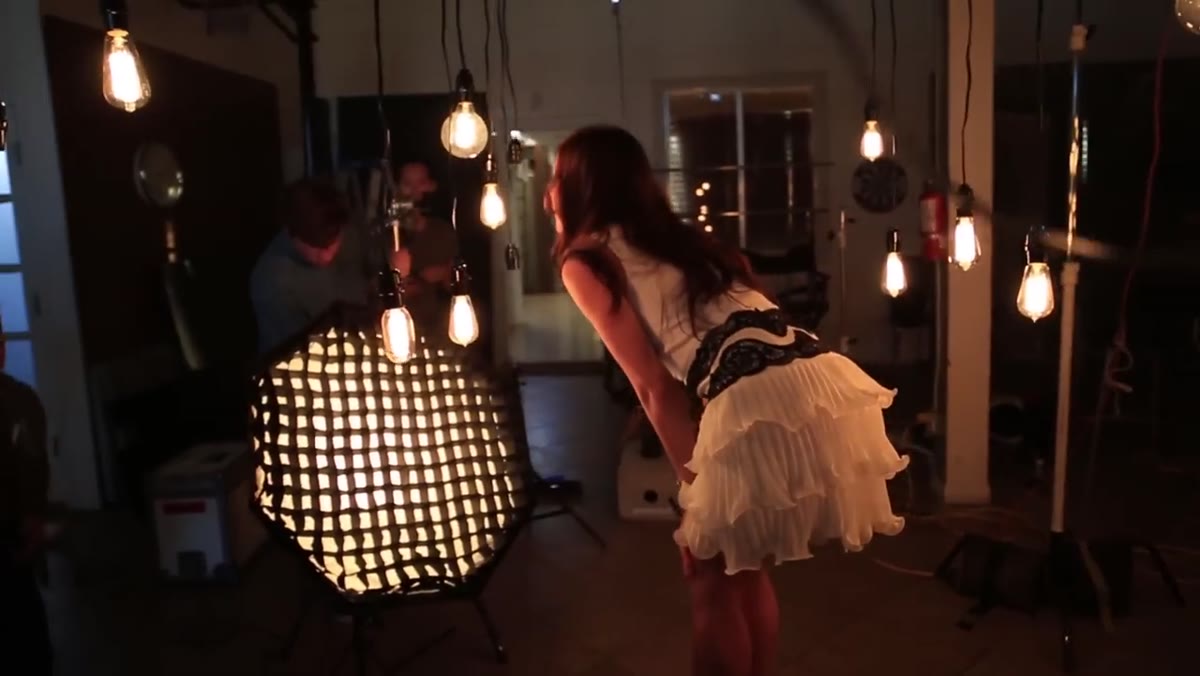
Morgan makes a distinction here that I think is genuinely underappreciated. When a bare filament bulb is visible in the frame, you are looking directly at the light source itself, which is extremely bright. A lamp with a shade diffuses that output, so you are seeing the effect of the light rather than the source. The practical consequence is that a shaded lamp will require a much longer shutter speed to register at the same apparent brightness as a bare bulb. Keep this in mind when you’re scouting a location or building a set. A room full of lampshades will need more shutter latitude than one with exposed Edison bulbs. Factor that into whether your intended shutter range is even achievable given your sync speed.
Step 6: Fine-Tune Until the Balance Looks Natural
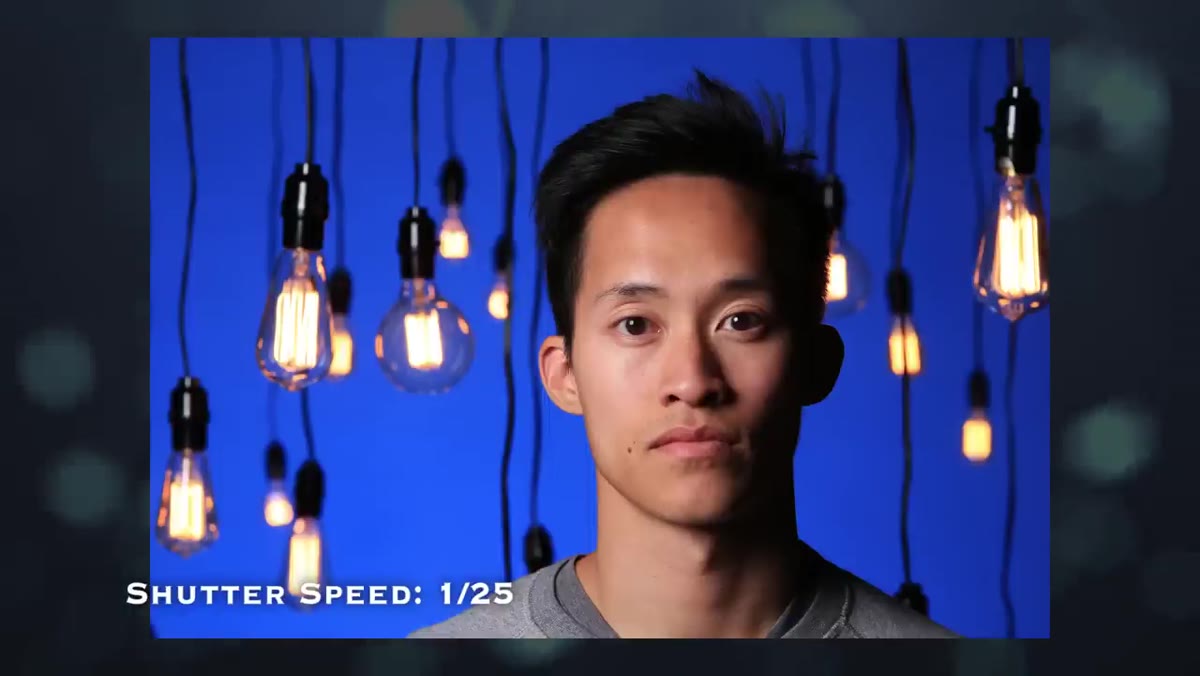 Final hero frame showing subject with balanced background bulbs
The target is not maximum brightness on the practicals. It’s the exposure that makes the room feel inhabited and warm without the background competing with the subject for attention. Morgan lands on 1/25th of a second as his preference for his specific setup at f/14. That longer shutter is necessary because f/14 admits very little light, so continuous sources need more time to accumulate a visible exposure. Work in small increments once you’re close: one shutter stop at a time, and review each frame before going further.
One Thing I’d Add from My Own Work
When I shoot interiors with clients in frame, I always label my key strobe and any fill separately with masking tape on the stand before I start this balancing process. It sounds trivial but the moment a client or art director asks you to adjust something and you’re already juggling two exposure systems, having physical labels eliminates one point of confusion. More practically, I keep a note of my final shutter speed alongside my lighting diagram for every setup. If anything shifts during the shoot, like a lamp getting knocked or a dimmer getting bumped, I can re-establish the balance faster than I could reconstruct it from scratch by feel.
One technical extension worth testing: if your practicals are tungsten and your strobes are daylight balanced, the color separation between the warm background and the neutral subject actually reinforces the depth Morgan describes. You can push this intentionally by gelling your strobes slightly warm to close the gap if you want a more unified palette, or leave it wide open to create contrast. Either choice should be deliberate.
The single most important idea here is that the exposure triangle isn’t one system. It’s two systems that share an ISO. Aperture runs your strobes. Shutter speed runs your continuous sources. Once you internalize that, balancing practicals with strobes stops feeling like a guessing game and starts feeling like a simple two-channel mixer. Set one, adjust the other, meet in the middle.
Watch the full tutorial on YouTube to see Jay P Morgan demonstrate the shutter progression on a live set with side-by-side comparisons that make the incremental changes immediately visible.
Comments
Leave a Comment