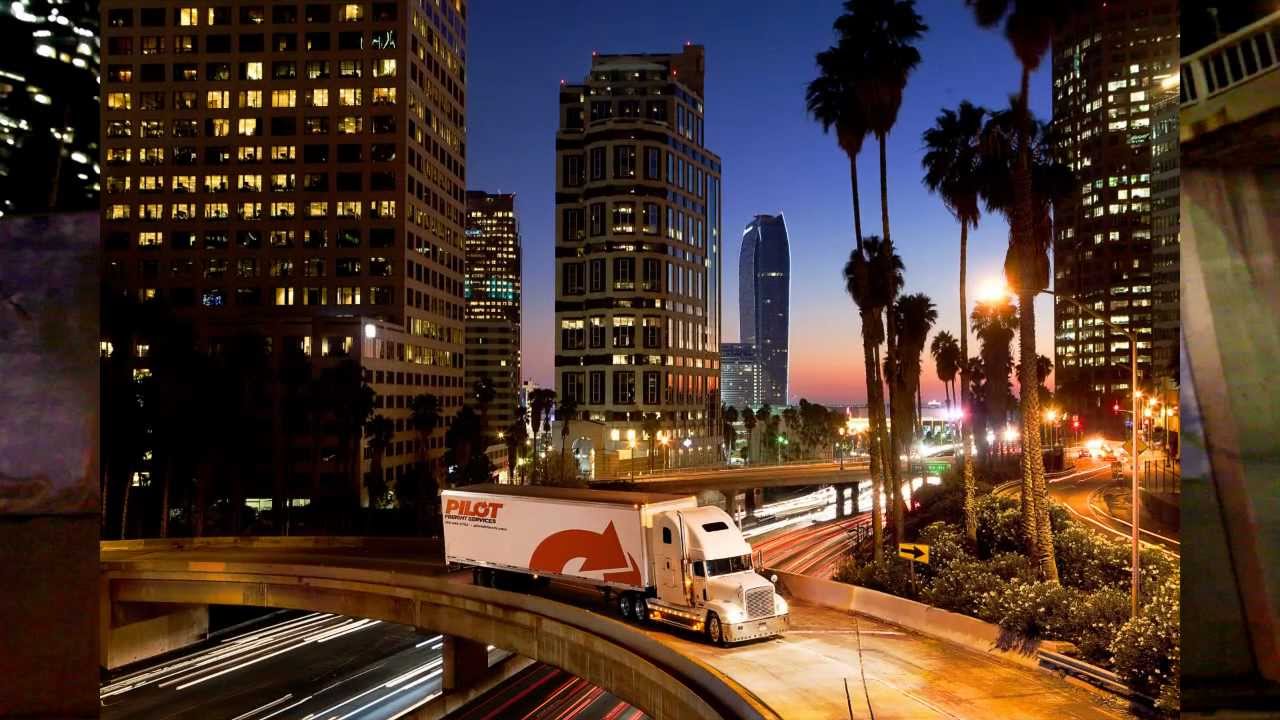
There is a narrow window at dusk, maybe twenty minutes on a good night, where the ambient light from a city and the last color in the sky exist at roughly the same exposure level. If you have a subject to light in that window, you can create something that looks genuinely cinematic. Miss it by fifteen minutes in either direction and you’re either fighting the sun or shooting in the dark. I’ve chased that window on enough commercial jobs around Los Angeles that I’ve developed strong opinions about how to work it, which is exactly why a tutorial like this one stopped me mid-scroll.
In this The Slanted Lens tutorial, photographer JP Morgan documents a real commercial shoot for Pilot Freight Services, set on a closed freeway off-ramp in downtown Los Angeles. The assignment was to photograph a semi-truck against the city skyline. The technical challenge, balancing strobe output against moving ambient light while the sun dropped, is one of the cleaner demonstrations of this problem I’ve seen laid out on video. The scale is unusual, but the methodology is directly transferable to any exterior shoot where you’re mixing artificial sources with a fading sky. Watch the full tutorial on YouTube
What follows is my breakdown of the steps he walks through, with the settings and reasoning you’d need to replicate this approach on your own location work.
Step 1: Lock Your ISO for Clean Shadow Detail
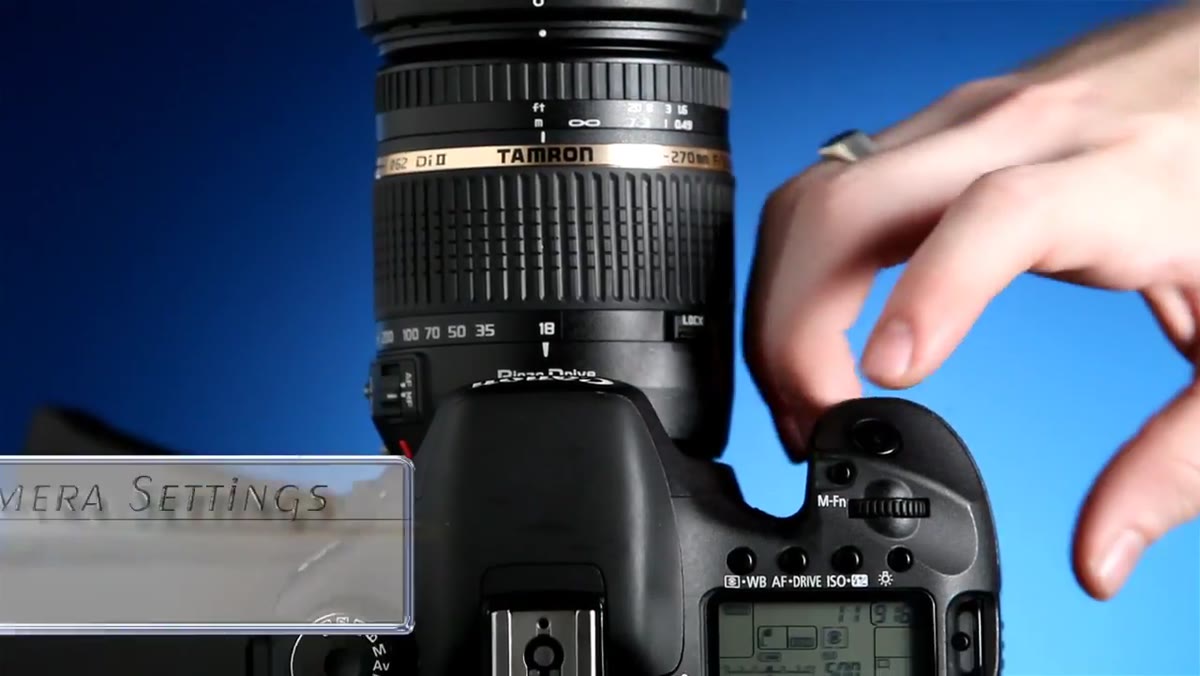 Camera settings menu showing ISO 125 selection
Morgan sets the camera to ISO 125 from the start, and the reasoning matters: he wants the darkest parts of the frame to be clean and truly black. Noise in shadows is the first thing that makes a composite or a dusk shot look cheap. On a six-second exposure, even modest grain in the sky or the underside of a vehicle will compound and become visible in print. If you’re working with a modern mirrorless body, ISO 64 is worth considering for the same reason. Set it low and leave it there for the duration of the shoot.
Camera settings menu showing ISO 125 selection
Morgan sets the camera to ISO 125 from the start, and the reasoning matters: he wants the darkest parts of the frame to be clean and truly black. Noise in shadows is the first thing that makes a composite or a dusk shot look cheap. On a six-second exposure, even modest grain in the sky or the underside of a vehicle will compound and become visible in print. If you’re working with a modern mirrorless body, ISO 64 is worth considering for the same reason. Set it low and leave it there for the duration of the shoot.
Step 2: Choose Aperture Priority and Set Your Aperture
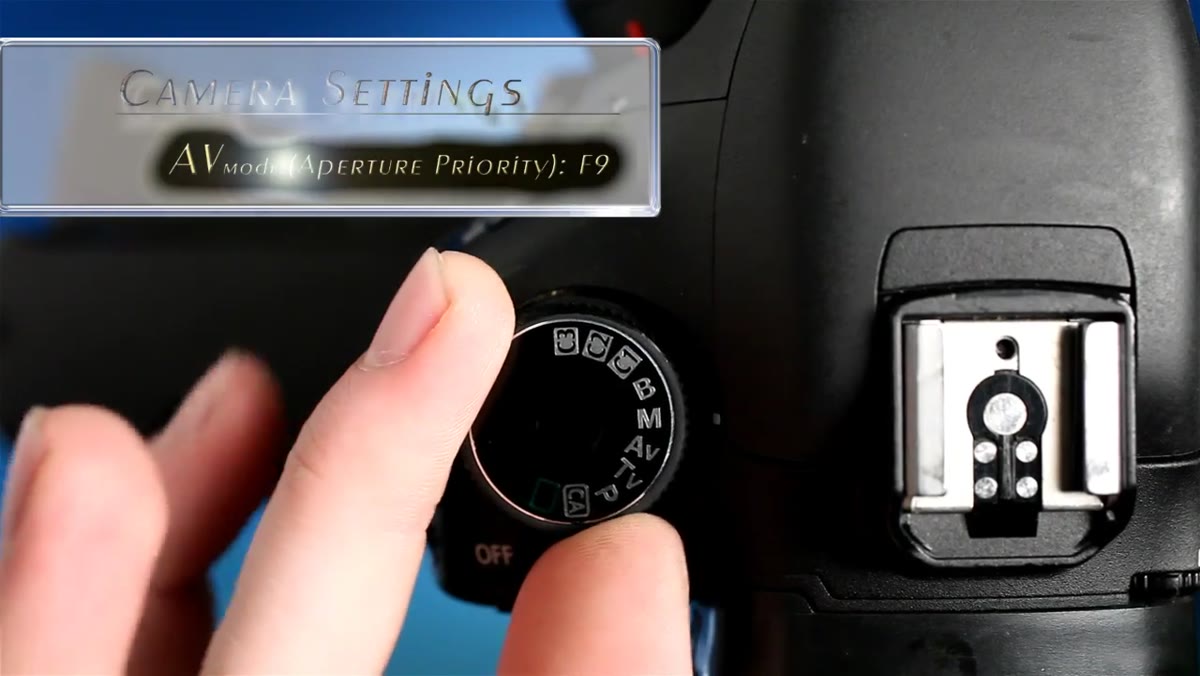 Camera dial set to AV aperture priority mode
Rather than shooting in manual, Morgan selects aperture priority mode. This is a deliberate choice on a location shoot with changing light: the ambient exposure will drift as the sky darkens, and letting the camera adjust shutter speed automatically keeps the background consistently exposed while the strobe output remains constant. He selects f/9, which gives him enough depth of field to keep both the truck and the cityscape readable while still being within an efficient power range for the strobes. For portrait or product work at a smaller scale, f/8 to f/11 is usually where I land for the same reason, depth and strobe efficiency in the same window.
Camera dial set to AV aperture priority mode
Rather than shooting in manual, Morgan selects aperture priority mode. This is a deliberate choice on a location shoot with changing light: the ambient exposure will drift as the sky darkens, and letting the camera adjust shutter speed automatically keeps the background consistently exposed while the strobe output remains constant. He selects f/9, which gives him enough depth of field to keep both the truck and the cityscape readable while still being within an efficient power range for the strobes. For portrait or product work at a smaller scale, f/8 to f/11 is usually where I land for the same reason, depth and strobe efficiency in the same window.
Step 3: Dial In a Custom White Balance at 3600K
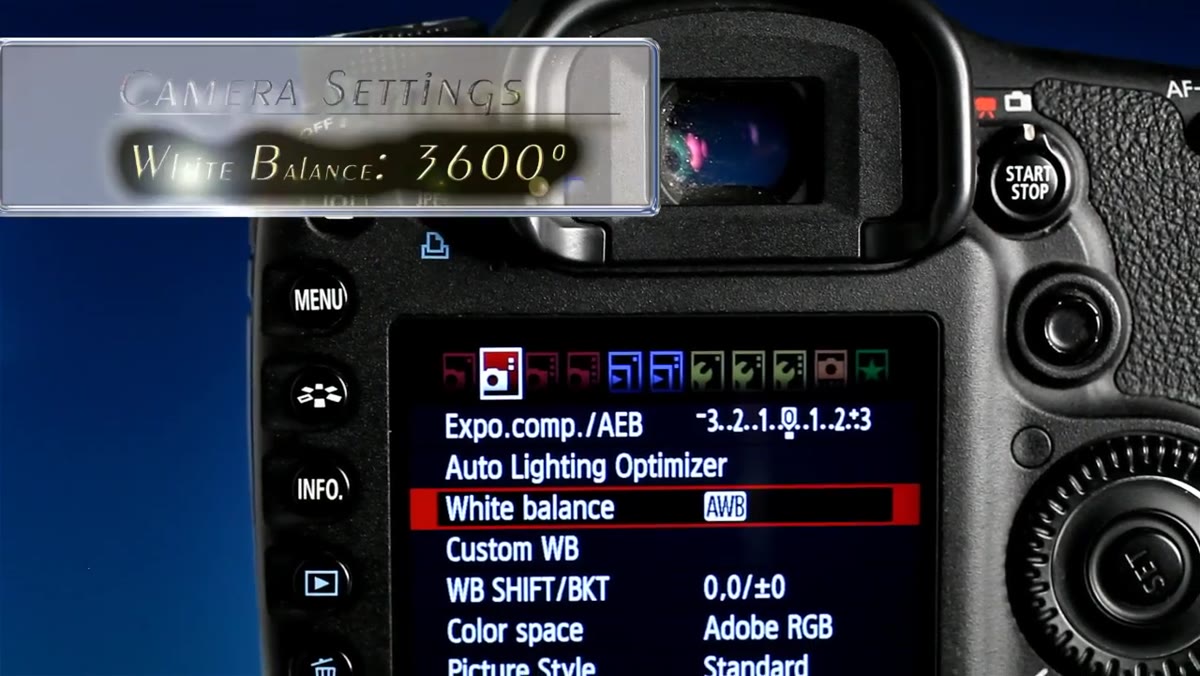 White balance setting at 3600 Kelvin on camera
This is the setting most photographers get wrong, and it cost me an entire editorial shoot early in my career before I learned to think about it properly. Morgan sets white balance to 3600K, a deliberate choice that sits between tungsten (around 3000K) and daylight (5000K). At 3600K, the tungsten street lights and building lights in the scene render slightly warm, which reads as natural and inviting rather than sickly yellow. The sky, which is a much cooler source, renders as a deep, saturated blue. The result is that classic dusk look where warm foreground light contrasts against a blue-hour sky. If you go too warm on the white balance, you lose the blue in the sky. If you go too cool, the practical lights in the scene look clinical and wrong.
White balance setting at 3600 Kelvin on camera
This is the setting most photographers get wrong, and it cost me an entire editorial shoot early in my career before I learned to think about it properly. Morgan sets white balance to 3600K, a deliberate choice that sits between tungsten (around 3000K) and daylight (5000K). At 3600K, the tungsten street lights and building lights in the scene render slightly warm, which reads as natural and inviting rather than sickly yellow. The sky, which is a much cooler source, renders as a deep, saturated blue. The result is that classic dusk look where warm foreground light contrasts against a blue-hour sky. If you go too warm on the white balance, you lose the blue in the sky. If you go too cool, the practical lights in the scene look clinical and wrong.
Step 4: Set Exposure Compensation to Plus 2/3
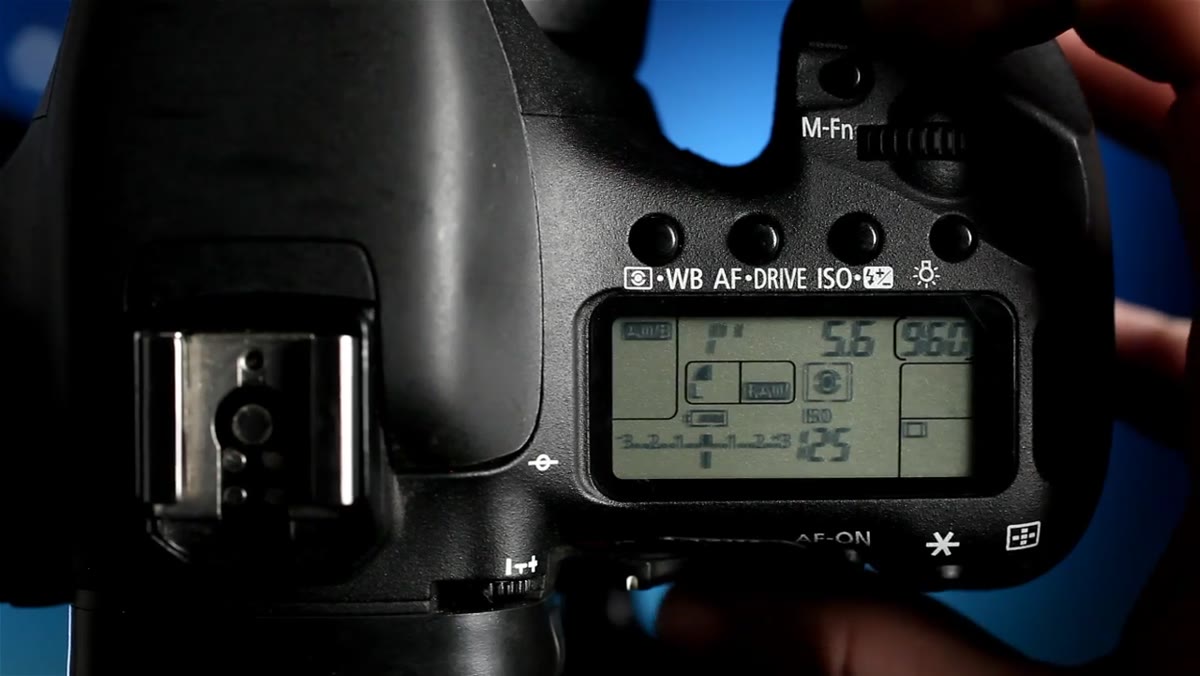 Exposure compensation dial showing plus two thirds
With aperture priority doing the heavy lifting on exposure, Morgan dials in plus 2/3 exposure compensation to keep the background sky bright and detailed rather than underexposed. This is important: in aperture priority, the camera meters for a middle-toned exposure, which will often render an evening sky darker than it actually appears to the eye. The compensation pushes the ambient exposure up so the skyline retains color and separation. On location I usually start at plus 1/3 and adjust from there based on how quickly the light is dropping, but plus 2/3 is a reasonable anchor point for the blue hour window.
Exposure compensation dial showing plus two thirds
With aperture priority doing the heavy lifting on exposure, Morgan dials in plus 2/3 exposure compensation to keep the background sky bright and detailed rather than underexposed. This is important: in aperture priority, the camera meters for a middle-toned exposure, which will often render an evening sky darker than it actually appears to the eye. The compensation pushes the ambient exposure up so the skyline retains color and separation. On location I usually start at plus 1/3 and adjust from there based on how quickly the light is dropping, but plus 2/3 is a reasonable anchor point for the blue hour window.
Step 5: Shoot a No-Strobe Reference Frame First
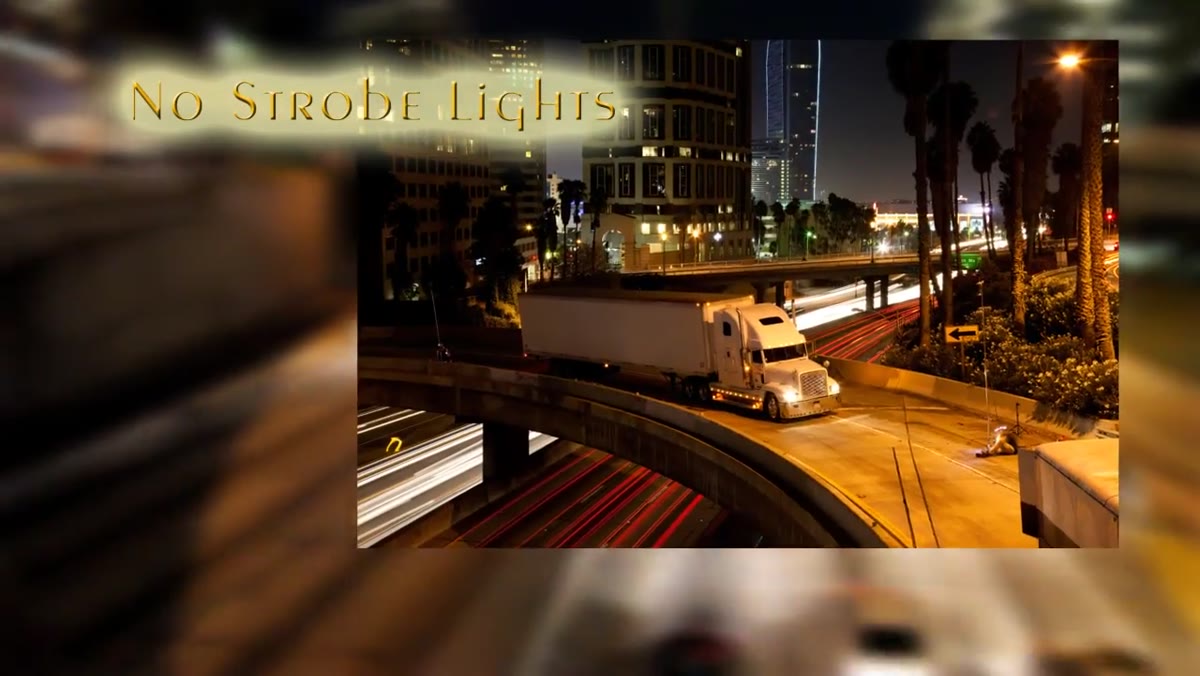 Camera frame showing truck and skyline without any strobe
Before any light goes on, Morgan captures a clean ambient frame at the working settings: f/9, six-second exposure. This is a step that takes thirty seconds and saves significant time later. The reference frame tells you exactly what the ambient is doing, where the shadows fall, and what the background exposure looks like before any artificial source is introduced. I do this on every exterior shoot and keep that frame in my lighting journal sketch alongside the final setup. It’s the baseline everything else is measured against.
Camera frame showing truck and skyline without any strobe
Before any light goes on, Morgan captures a clean ambient frame at the working settings: f/9, six-second exposure. This is a step that takes thirty seconds and saves significant time later. The reference frame tells you exactly what the ambient is doing, where the shadows fall, and what the background exposure looks like before any artificial source is introduced. I do this on every exterior shoot and keep that frame in my lighting journal sketch alongside the final setup. It’s the baseline everything else is measured against.
Step 6: Place the Key Light for Front Edge and Highlight
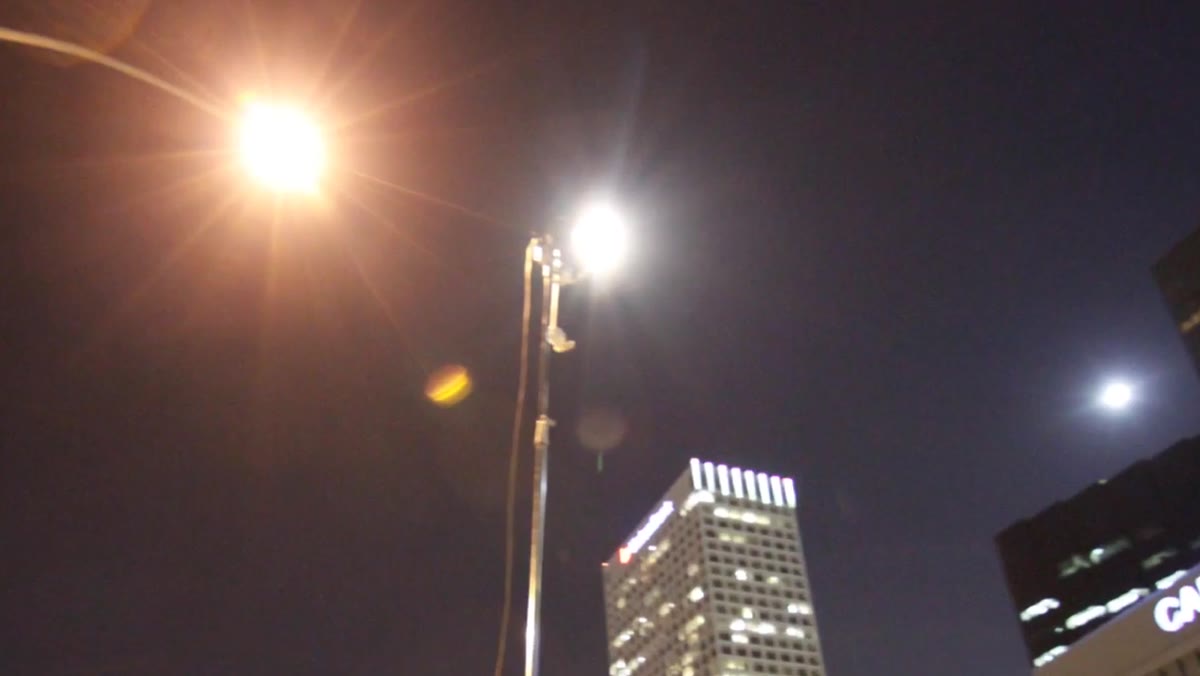 First strobe light positioned in front of truck illuminating the nose
The first strobe is a Hensel 3000 pack with a single head, positioned in front of and slightly to the side of the truck to create a highlight on the nose and front panels. The goal is separation, making the subject read against the background by giving it a bright leading edge. On a smaller subject, this translates directly to a rim or edge light placed opposite your camera axis. The key principle is that without some directional light creating a highlight on the subject’s nearest surface, it will merge with whatever is behind it, especially as the ambient drops and the background gets darker.
First strobe light positioned in front of truck illuminating the nose
The first strobe is a Hensel 3000 pack with a single head, positioned in front of and slightly to the side of the truck to create a highlight on the nose and front panels. The goal is separation, making the subject read against the background by giving it a bright leading edge. On a smaller subject, this translates directly to a rim or edge light placed opposite your camera axis. The key principle is that without some directional light creating a highlight on the subject’s nearest surface, it will merge with whatever is behind it, especially as the ambient drops and the background gets darker.
Step 7: Fill the Shadow Side
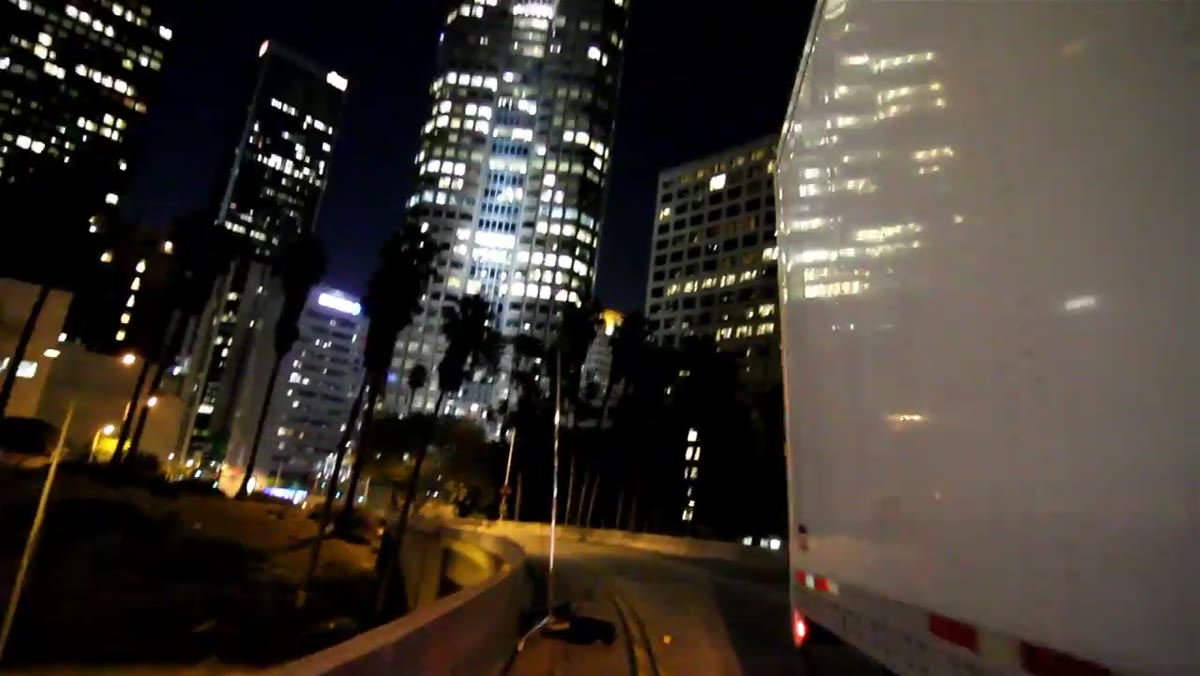 Second strobe on opposite side of truck filling dark shadow areas
The second light is a portable pack with a single head, aimed at the shadow side of the truck. Without it, the far panel goes dark and the truck reads as half a subject. This is exactly the same logic as adding a fill card or second light on any studio setup: the key light creates the shape, the fill light controls how much of that shape you actually see. The ratio between them determines how dramatic or commercial the result feels. Morgan keeps his fill softer than the key, which preserves the illusion that the truck is lit by a single convincing source.
Second strobe on opposite side of truck filling dark shadow areas
The second light is a portable pack with a single head, aimed at the shadow side of the truck. Without it, the far panel goes dark and the truck reads as half a subject. This is exactly the same logic as adding a fill card or second light on any studio setup: the key light creates the shape, the fill light controls how much of that shape you actually see. The ratio between them determines how dramatic or commercial the result feels. Morgan keeps his fill softer than the key, which preserves the illusion that the truck is lit by a single convincing source.
Step 8: Add a Background or Detail Light
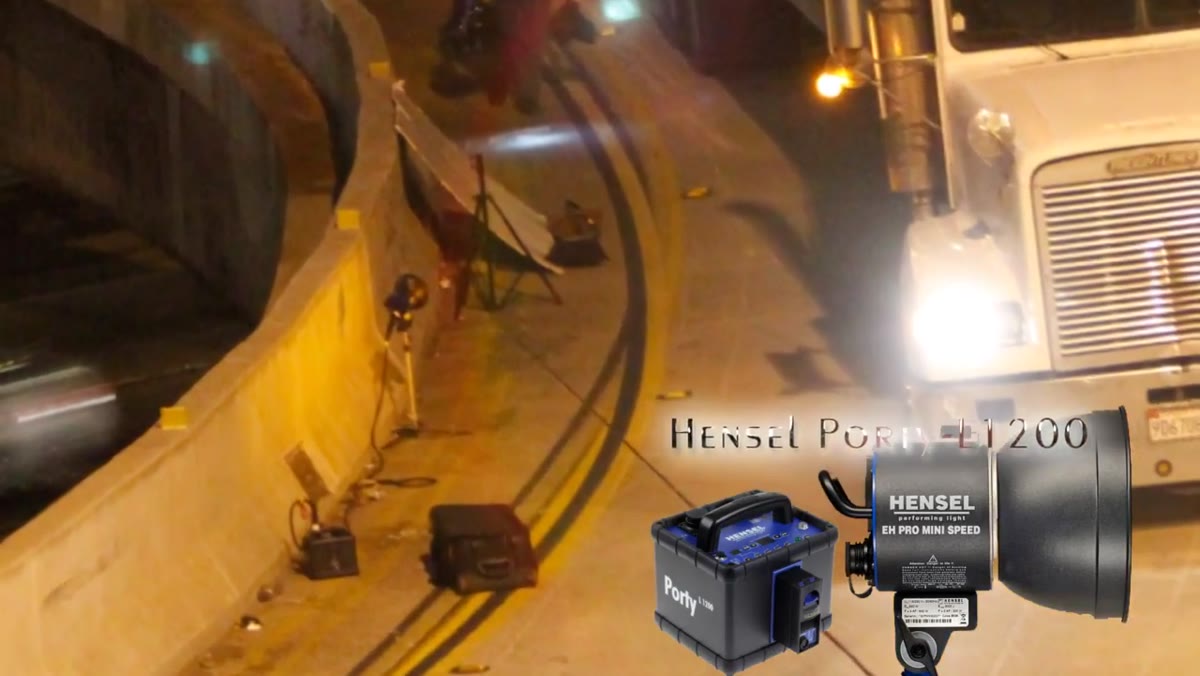 Third strobe aimed at reflective surface lighting truck detail
The third light is aimed at a large reflective surface to bounce fill across the remaining surfaces of the truck. By this point, you have a key, a fill, and a broad ambient wrap. The background plate handles the sky and cityscape. Every element in the frame now has a defined light source and a logical reason for its brightness. This is how commercial lighting is built: one decision at a time, with a reference frame to measure each addition against.
Third strobe aimed at reflective surface lighting truck detail
The third light is aimed at a large reflective surface to bounce fill across the remaining surfaces of the truck. By this point, you have a key, a fill, and a broad ambient wrap. The background plate handles the sky and cityscape. Every element in the frame now has a defined light source and a logical reason for its brightness. This is how commercial lighting is built: one decision at a time, with a reference frame to measure each addition against.
What I’d Add for Studio and Portrait Work
The camera settings here, low ISO, a mid-range aperture, and a custom white balance tuned to split the difference between warm practicals and a cool sky, work just as well indoors when you’re mixing strobes with tungsten room lighting. I’ve used a 3800K custom white balance on interior editorial shoots where the client wanted to keep the warmth of practical lamps in the background while keeping the subject’s skin tones from going orange. It’s the same principle at a smaller scale. The specific Kelvin value matters less than understanding what you’re trying each source to do.
The single most important idea in this tutorial is that your white balance is not a correction, it’s a creative choice that determines how every light source in the frame is interpreted by the sensor. Get that number right and every other decision gets easier. Get it wrong and no amount of post-processing will fully save the image.
Watch the full tutorial on YouTube to see the full sequence of lights being added and the final composite image.
Comments
Leave a Comment